This site runs ads and generates income from affiliate links. Read my disclosure policy.
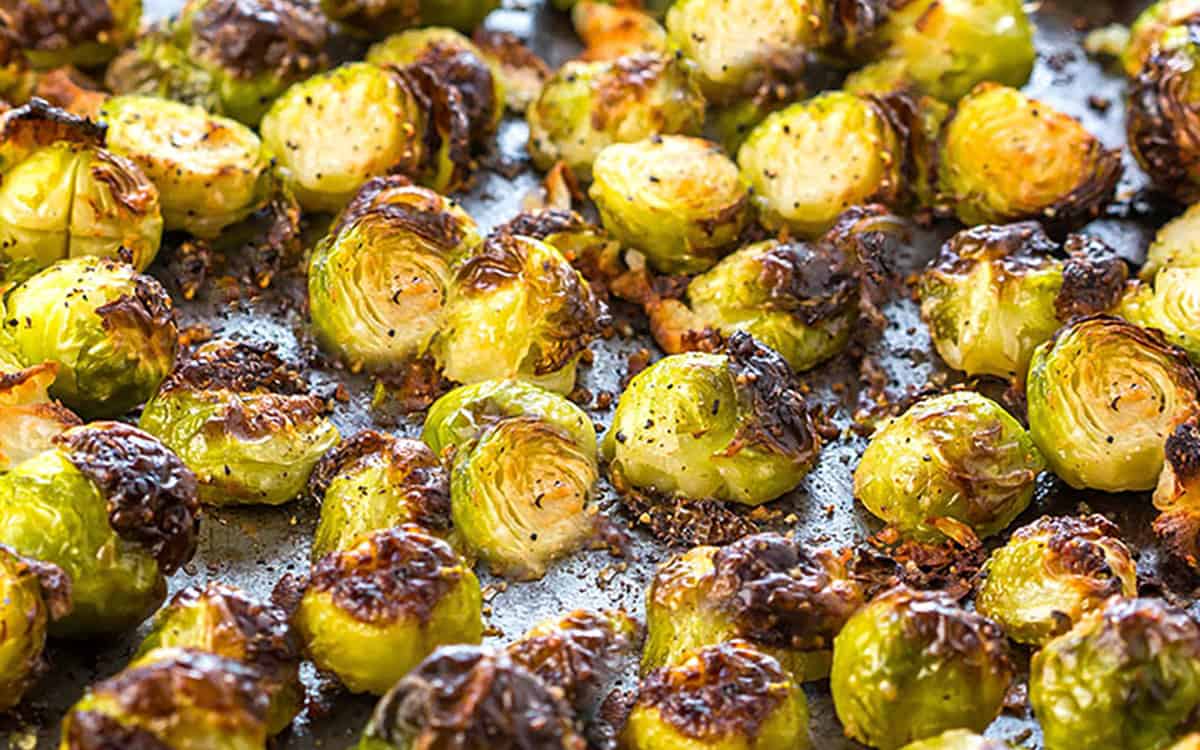
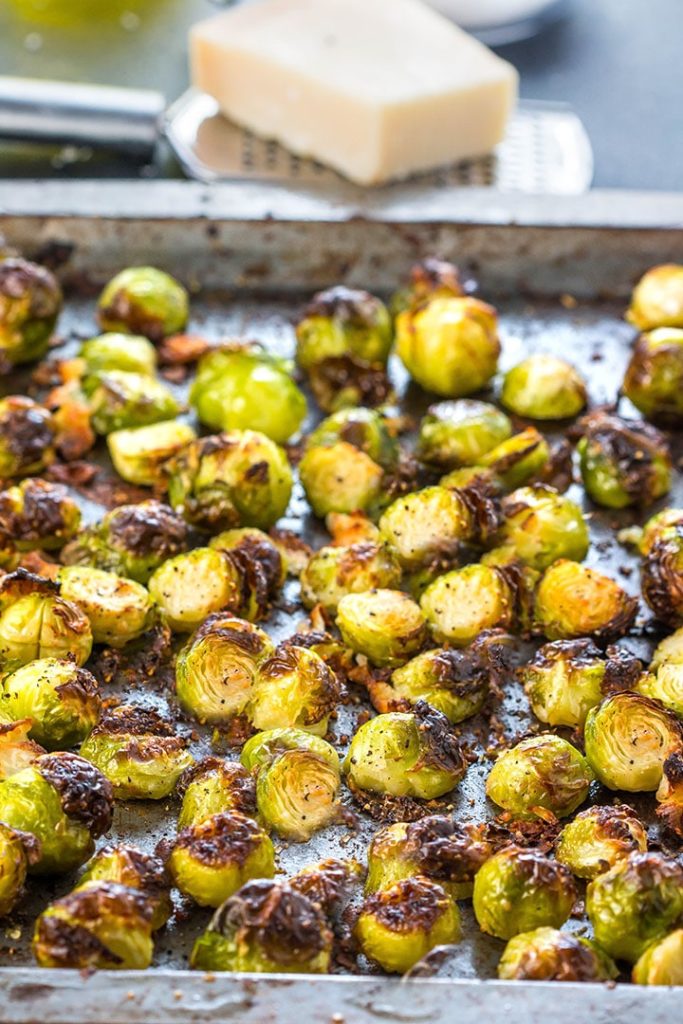
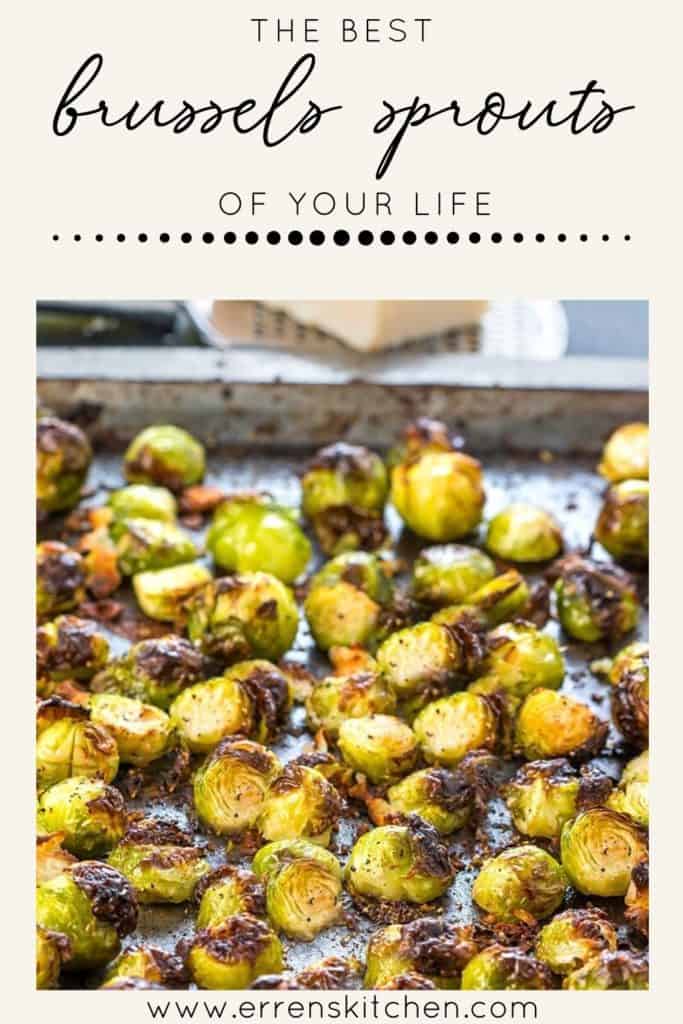
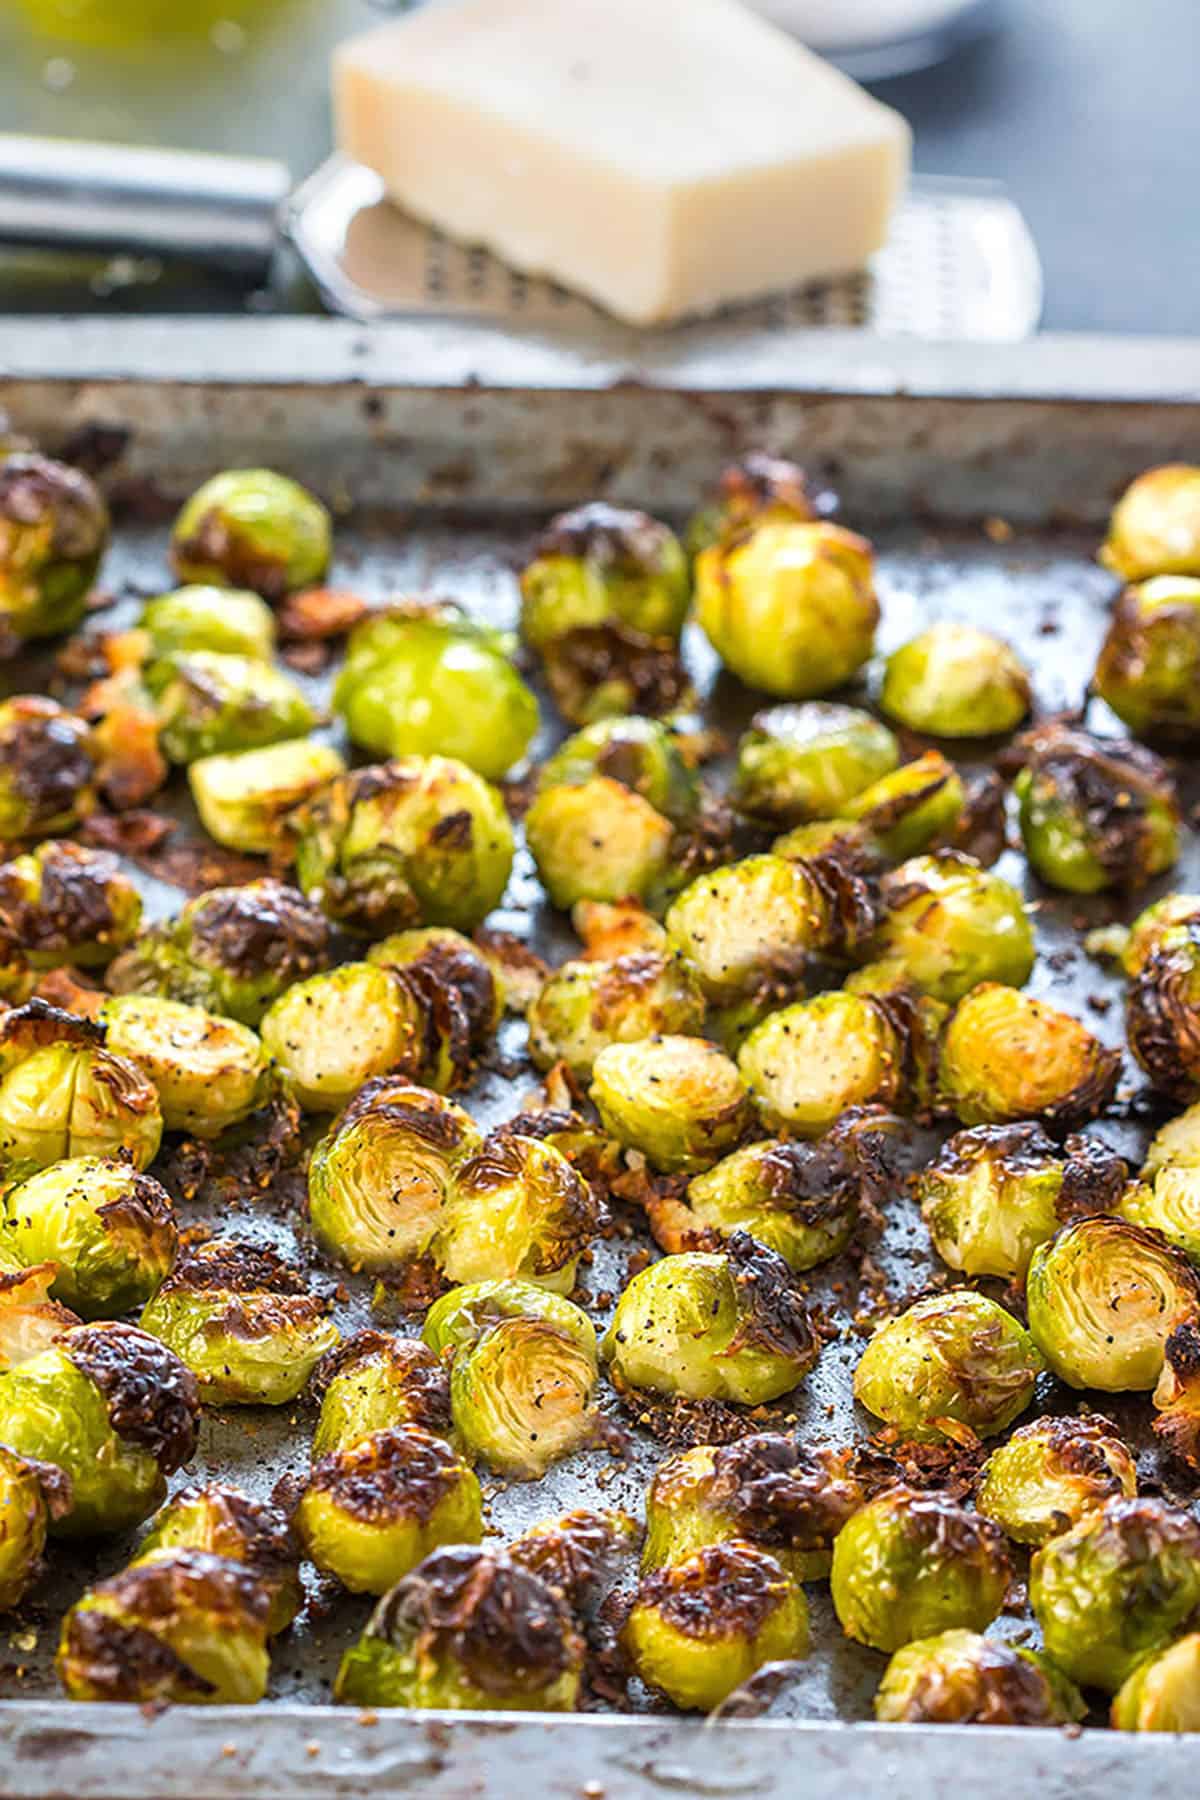
Golden & crisp on the outside, tender on the inside, and ready to serve in less than 30 minutes – The Best Brussels Sprouts of Your Life!
This easy side dish is my family’s favorite vegetable recipe… EVER. And I’m betting that once you try it, it’ll be a favorite in your house too!
Guess how many ingredients are in this recipe? C’mon guess! Okay, I’ll tell you… four. Just four ingredients (and some seasoning)! Hello, simple side dish! You’re Welcome! ?
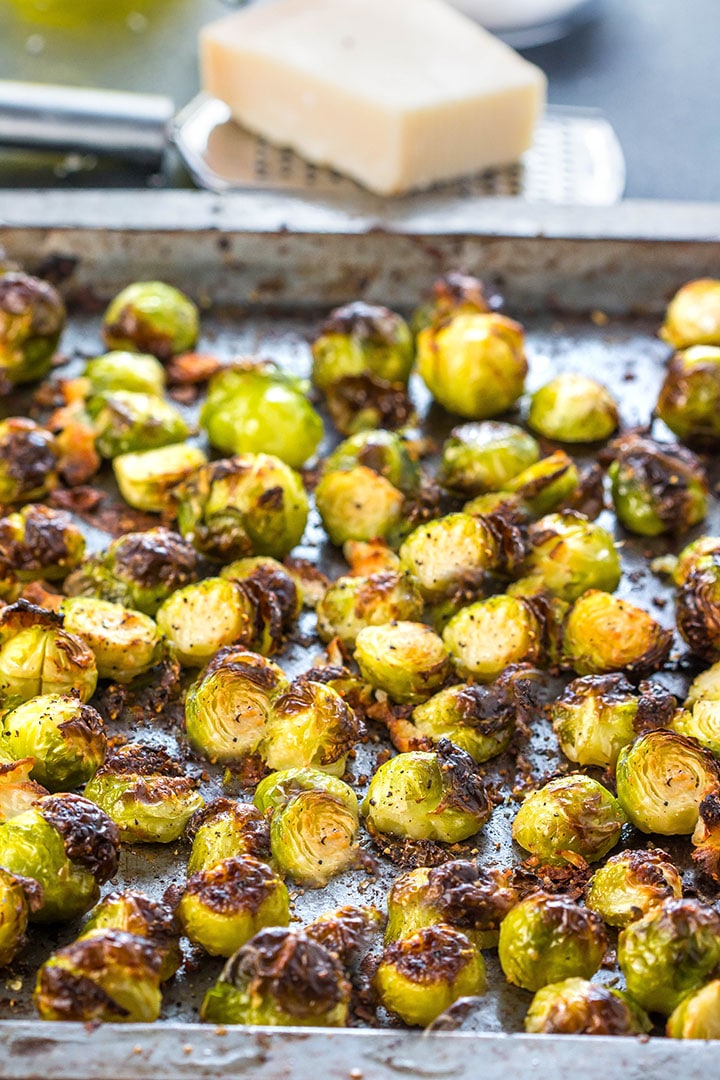
Who knew Brussels Sprouts could be so exciting? I mean really – Brussels Sprouts! For me, they always had a bad reputation. Something that was served to me steamed, or boiled to within an inch of its life.
But all that has changed with these crispy Brussels Sprouts – sprout skeptics step aside because these are amazing!
Why This Recipe Works
- Cooking the sprouts in high heat, cuts bitterness by caramelizing them, creating crispness, and a sweet, nutty flavor.
- The crisp outside contrasts well with the tenderness of the inside.
- The nuttiness of the roasted garlic and the saltiness of the cheese is a delicious combination!
The Benefits of Eating Brussels Sprouts
Like so many a cruciferous vegetables (edible members of the cabbage family), Brussels Sprouts are very low in calories, high in fiber, and help with reaching your daily value of many vitamins, and minerals. They’re rich in vitamin K, high in vitamin C. They also contain small amounts of vitamin B6, potassium, iron, thiamine, magnesium and phosphorus.
So, with all of that in mind, we should all eat more Brussel sprouts, right? Once you try this recipe, you’ll make them a lot more!
Buying Guide
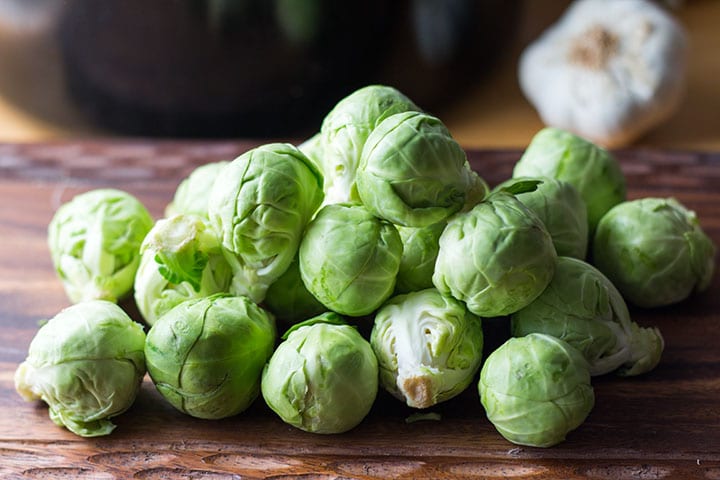
- Choose Brussels sprouts that feel tightly compacted and hard when squeezed.
- Choose bright green heads that are similar in size.
- Smaller sprouts tend to taste sweeter, while larger sprouts taste more cabbage-like.
- Untrimmed Sprouts are just as good as trimmed, and both should keep for several weeks refrigerated.
Preparing and Trimming
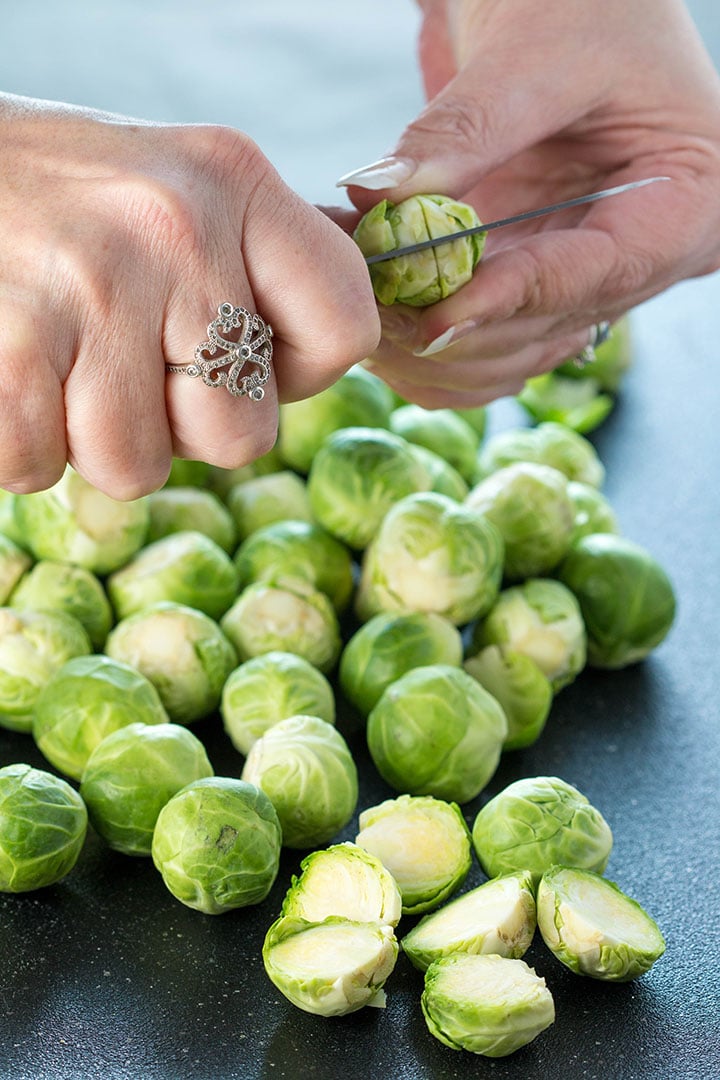
Start with cleaning the sprouts and then remove any loose leaves. Trim stems by cutting off the tough ends and halve the larger Brussels sprouts.
Leave smaller sprouts whole, but cut a cross symbol through the stem. The stem is the toughest part of the Brussels sprout and the cross allows them to cook at the same rate as the tender area.
How To Make Roasted Brussels Sprouts
- Add the prepared Brussels sprouts to a sheet pan.
- Drizzle with olive oil.
- Add sliced garlic, grated Parmesan cheese, and season with salt and pepper.
- Toss to evenly coat.
- Roast at a high temperature until crispy and golden.
Step By Step Instructions
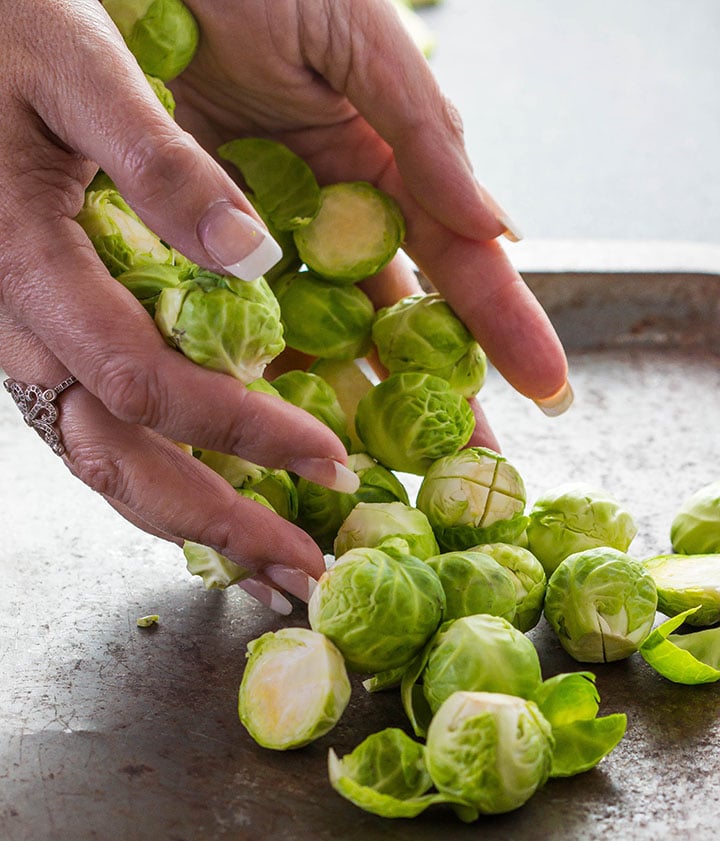
Place the prepared Brussel sprouts on a large roasting pan or a large baking sheet and arrange in a single layer.
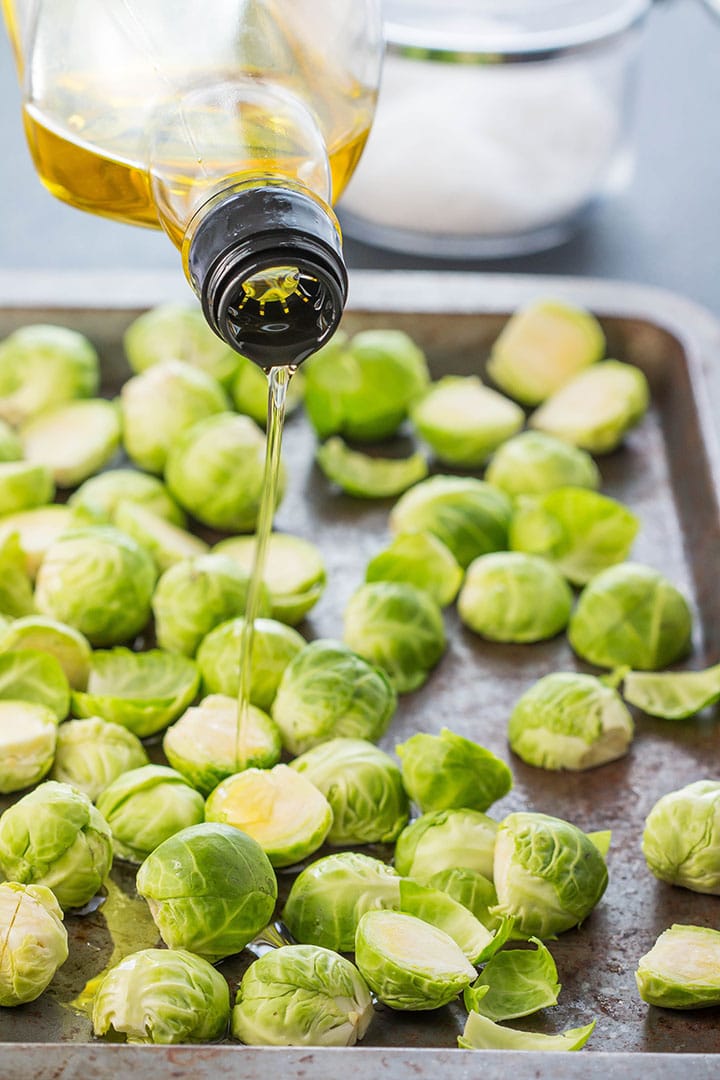
Add olive oil.
Add thinly sliced garlic to the pan evenly.
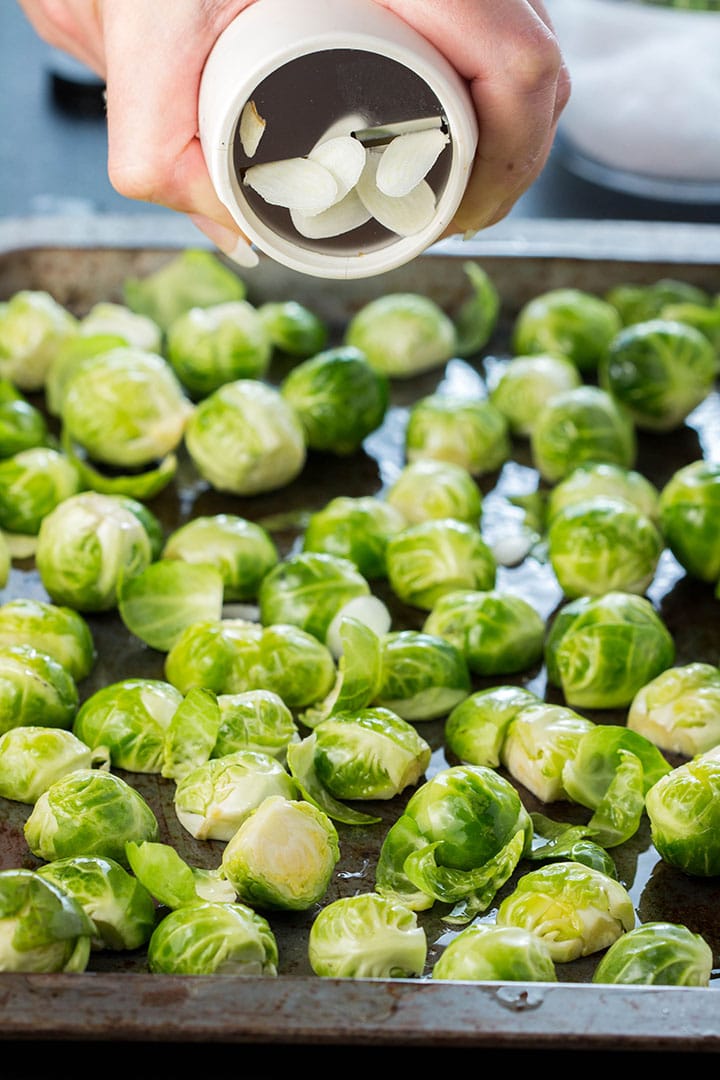
I use this garlic slicer for thinly sliced garlic.
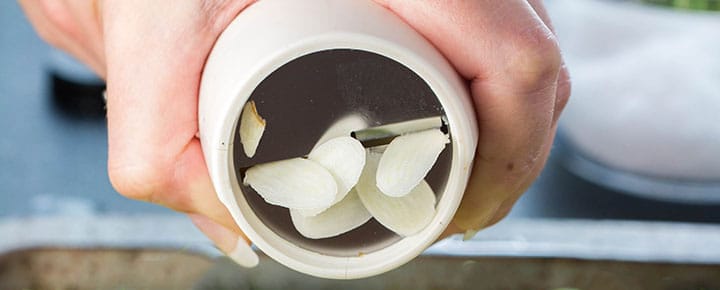
I’m telling you, if you don’t have one, you’ll love it because it is amazing! Just fill it with peeled garlic, twist, and perfectly thin sliced garlic comes out! Click this link to get one (paid link).
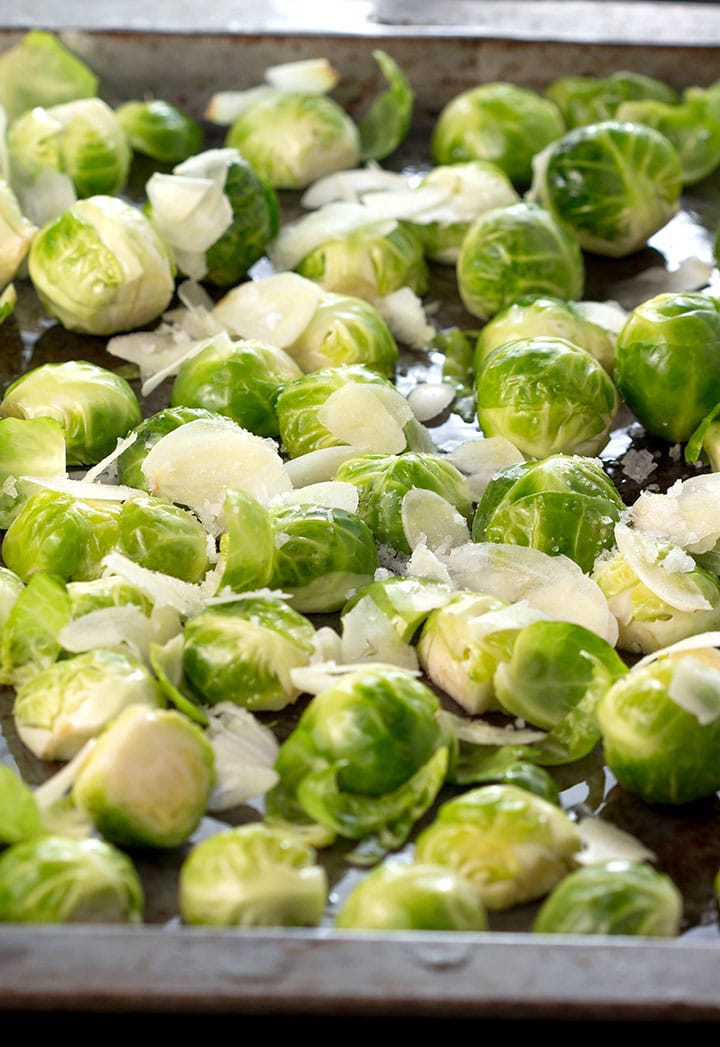
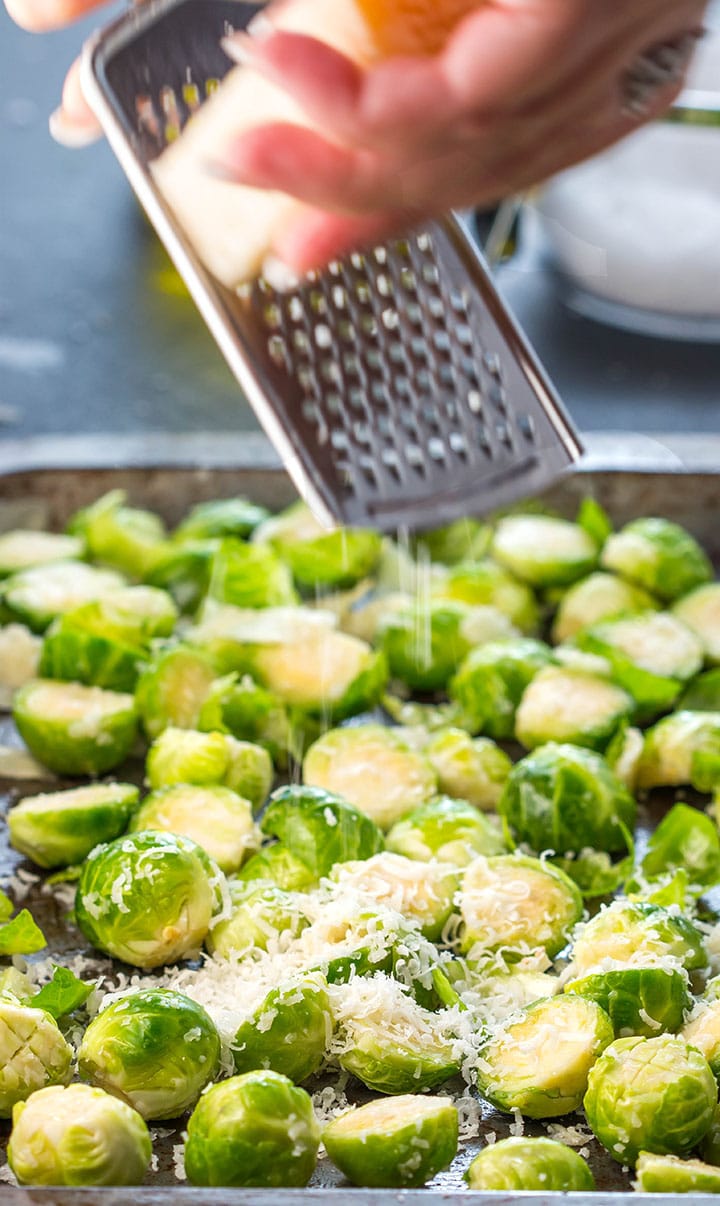
Add freshly grated Parmesan cheese. You can use pre-grated, but I promise freshly grated will be worth the extra time!
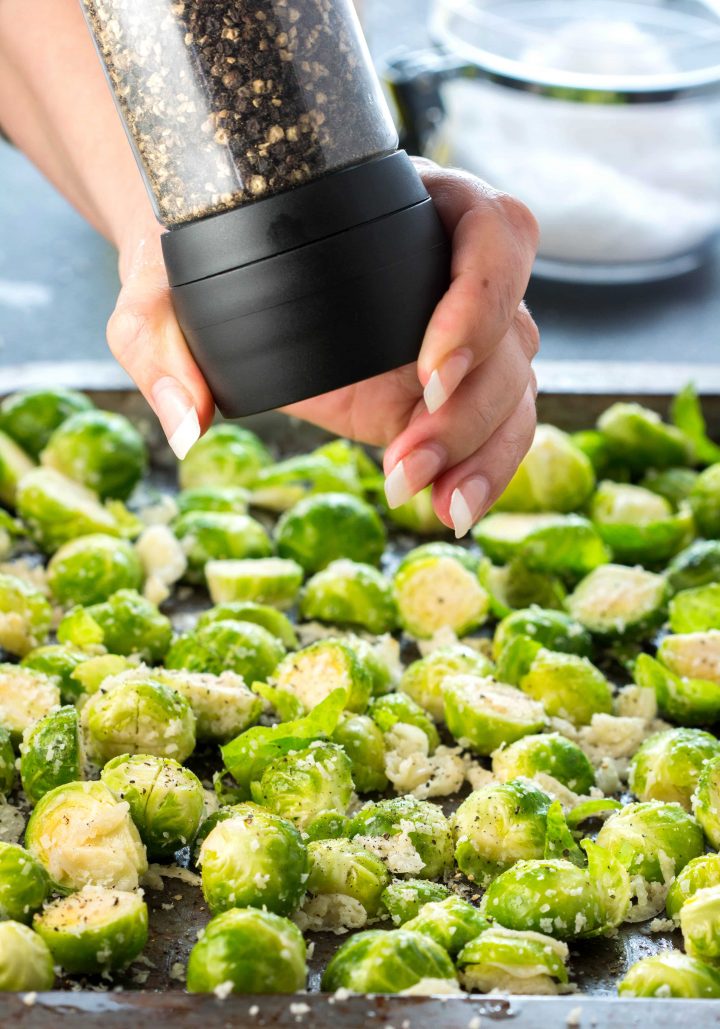
Season with salt and pepper. Toss to coat well.
Roast at 400F for 20 minutes or until golden brown with a nice sear on the bottoms. Scatter with more freshly grated Parmesan cheese and serve.
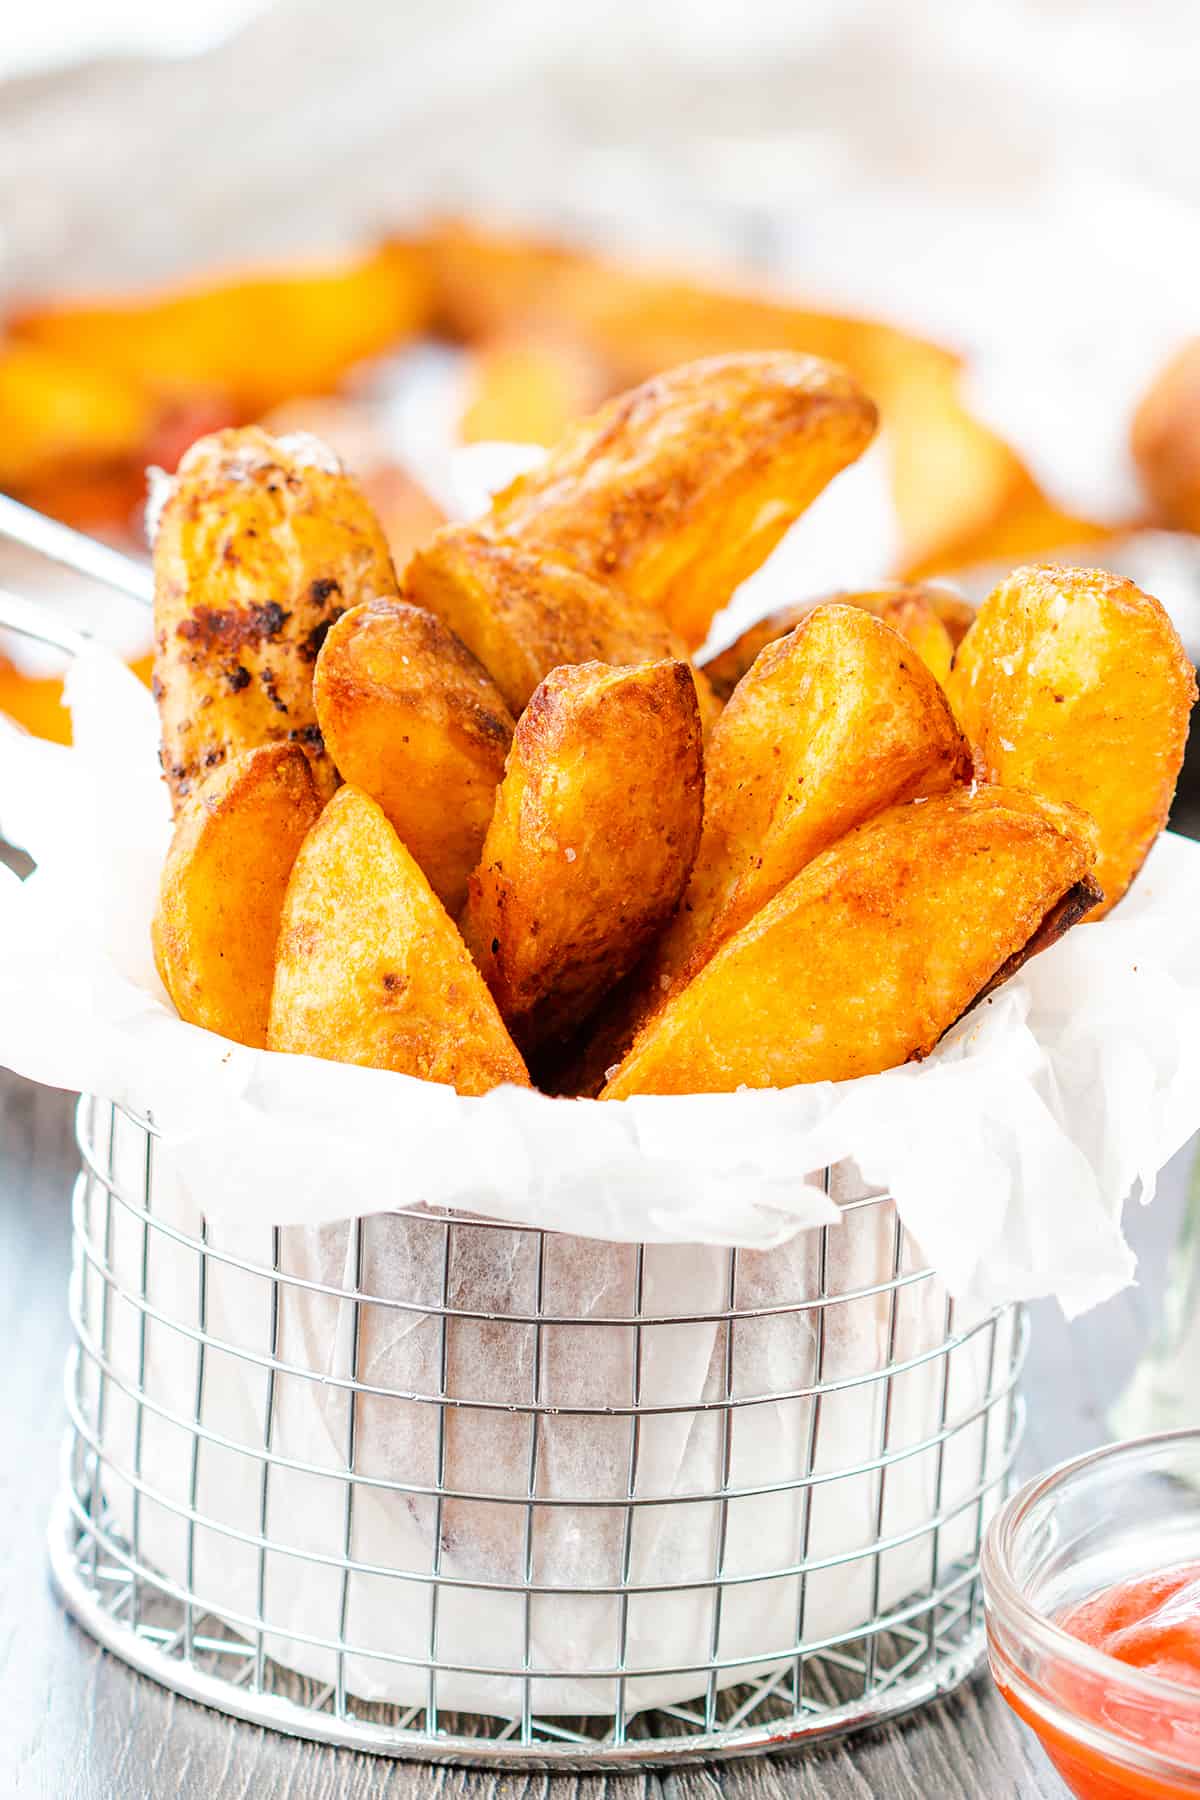
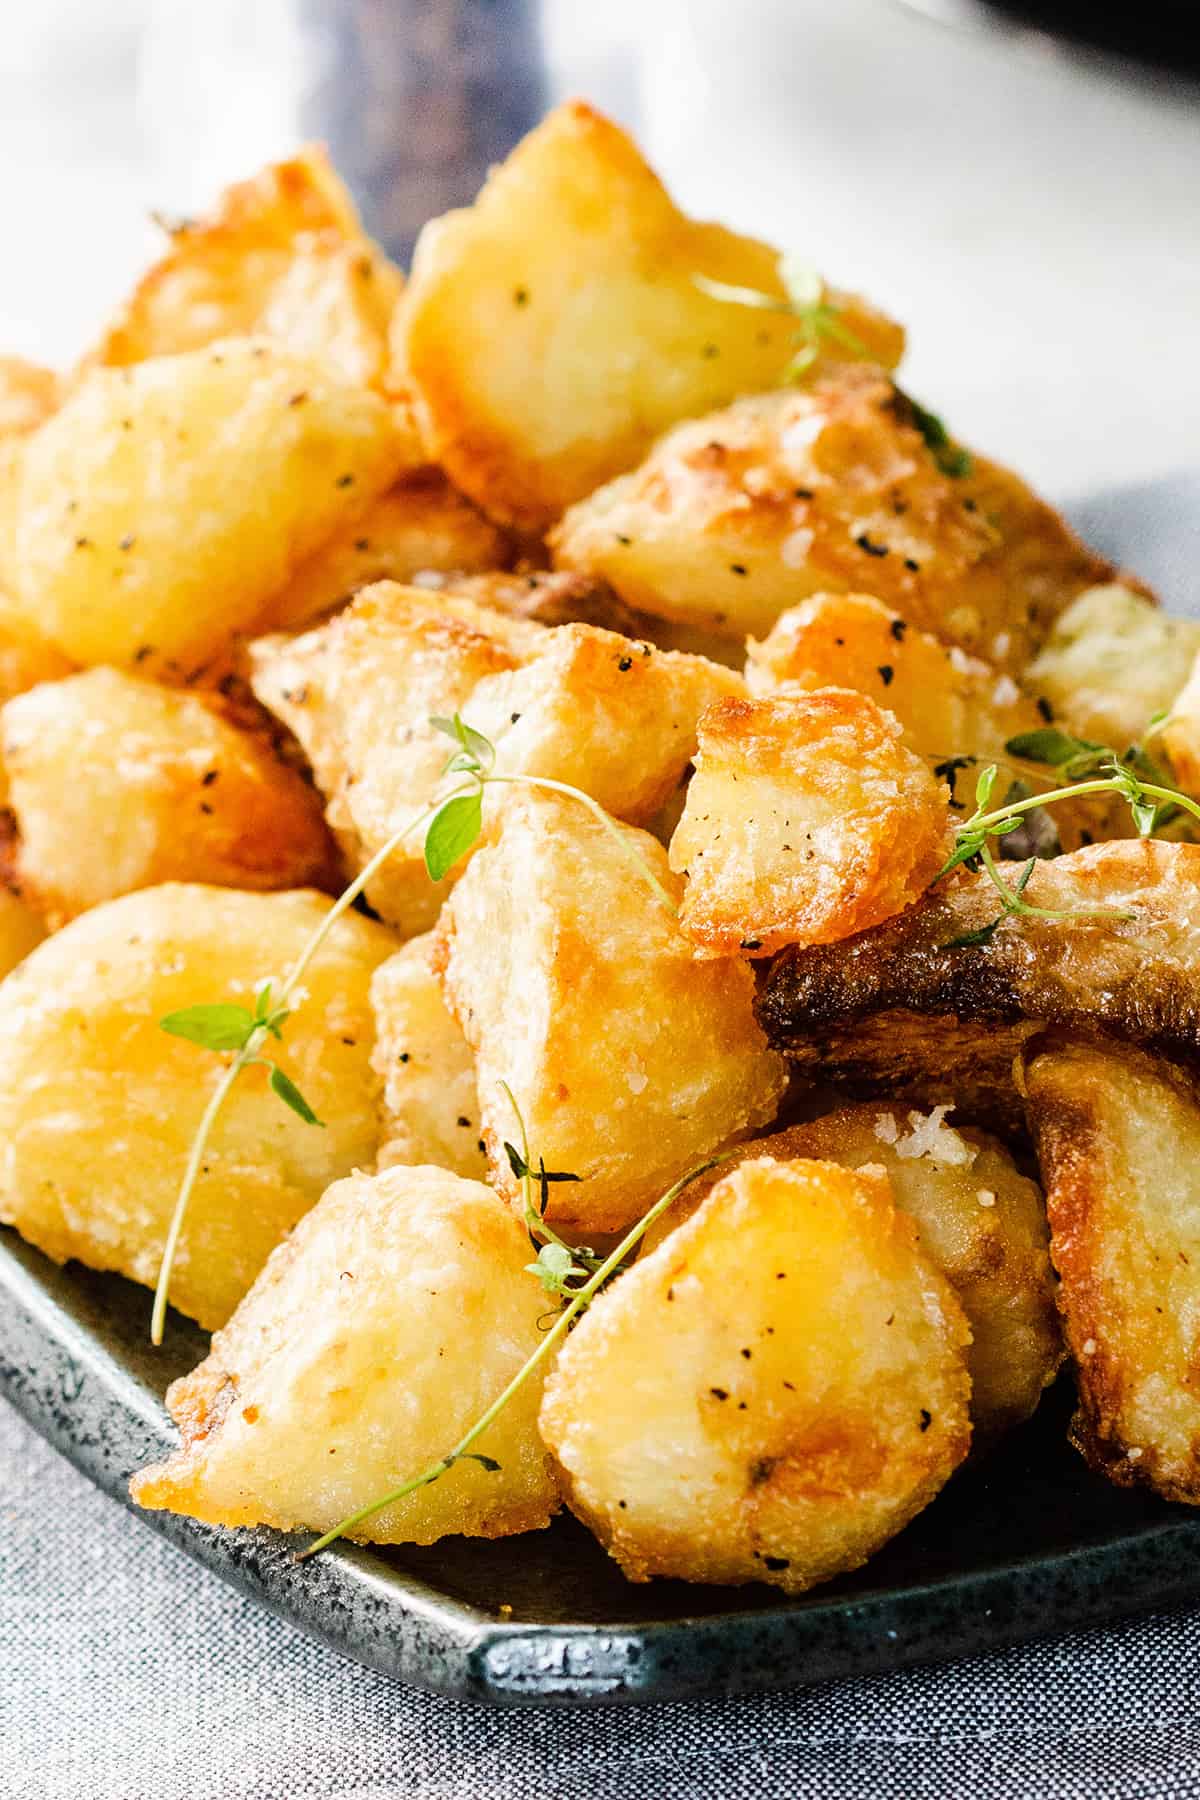
Serve this delicious recipe with anything from holiday dinners to Breaded Chicken Cutlets with a side of roasted potatoes for an easy dinner everyone will love!
Make ahead and Freezing Instructions ❄
- Making Ahead – I recommend prepping in advance and then serving straight from the oven. Alternatively, cook in advance and rewarm in the oven at 350°F/175°C until heated through (about 5-7 minutes). You can also reheat them in a microwaveable dish in the microwave until warmed through.
- Storing Leftovers: Stored in an airtight container, leftovers will keep for up to 3 days in the refrigerator.
More Roasted More Side Dishes
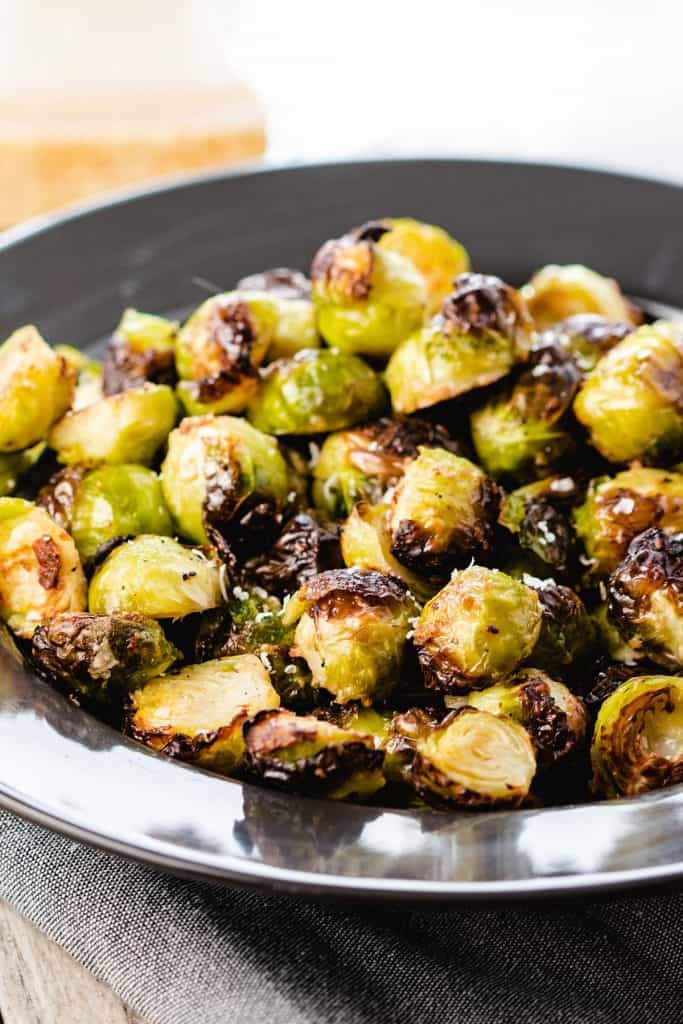
Love Brussels Sprouts? Try my Brussels Sprouts with Bacon recipe! It’s to die for!
Erren’s Top Tips
- Dry your Brussels sprouts well. The drier they are, the crispier they’ll be. If washing, use paper towels to pat them dry or use a salad spinner to spin that liquid right off.
- For crisper sprouts, spread them out on the pan without too many touching. Overcrowding causes you to steam the Brussels sprouts instead of roasting.
- Cut the sprouts to be even sized pieces if you want them to have a similar texture.
- Be sure to start with a hot oven to help the sprouts crisp on the outside and soft on the inside.
- Brown is good. If you’ve never cooked Brussels sprouts this way, at first glance you may think it looks burnt out of the oven, but once you taste it, you’ll know those little “burnt” areas are the best tasting parts!
- When using untrimmed Brussels sprouts, trim off the dry part of the stem at the base of the sprout and any loose outer leaves.
- For extra caramelized area place the sliced Brussels sprouts cut-side down at on the pan. This will give a larger browned surface area.
- Leave smaller sprouts whole to avoid overcooking.
- On smaller sprouts that don’t need to be halved, slice a cross in the stem (see the video). The stem is the toughest part of the Brussels sprout and the cross allows them to cook at the same rate as the tender area.
- For an extra kick of flavor, try adding try adding red pepper flakes or lemon zest before roasting and a squeeze of fresh lemon juice before serving.
- Be sure to taste and season well before serving.
FAQs
How do you get the bitterness out of brussel sprouts?
To cut the bitterness, be sure to start with a pre-heated oven. Hot and fast cooking is best, and a preheated oven will speed things up. Slower cooking seems to enhance the bitterness.
Do you need to soak brussel sprouts before cooking?
Unless very dirty, it’s not necessary. If they are very dirty, soaking them in cold water for 20 minutes will help remove excess soil.
Rate This Recipe
Recipe
The Best Brussels Sprouts of Your Life
Ingredients
- 1 pound Brussels Sprouts (Cleaned and trimmed)
- 3 cloves garlic (peeled & sliced *See the notes section before starting)
- ¼ cup Parmesan Cheese (Freshly grated)
- salt and freshly ground black pepper (To taste)
- 3 tablespoons good quality olive oil (or for Keto, butter flavor coconut oil)
Instructions
- Preheat the oven to 400°F/200°C.
- If needed, clean and trim the Brussels sprouts and cut them in halves and place them in an oven safe dish. Make sure to dry them very well before cooking.
- Add the garlic, Parmesan cheese, salt, and pepper, followed by the olive oil. Toss to coat.
- Roast in the oven uncovered for 20-25 minutes until crisp, brown and caramelized on the outside and tender on the inside. Serve with more grated cheese.
Tips
- *This recipe makes very crispy garlic. In some ovens, it could burn or become bitter. If you are worried about the garlic getting too dark for your liking, slice it thin and add at the last 5-7 minutes of cooking time, coated in a little oil, and scattered around the pan.
- For less crispy cheese, add it for the last 10 minutes.
- To keep your sprouts from sticking, line your pan with nonstick foil or baking paper.
- Dry your Brussels sprouts well. The drier they are, the crispier they’ll be. If washing, use paper towels to pat them dry or use a salad spinner to spin that liquid right off.
- For crisper sprouts, spread them out on the pan without too much touching. Overcrowding causes you to steam the Brussels sprouts instead of roasting them.
- Cut the sprouts into even-sized pieces if you want them to have a similar texture.
- Be sure to start with a hot oven to help the sprouts crisp on the outside and soft on the inside.
- Brown is good. If you’ve never cooked Brussels sprouts this way, at first glance, you may think it looks burnt out of the oven, but once you taste it, you’ll know those little “burnt” areas are the best-tasting parts!
- When using untrimmed Brussels sprouts, trim off the dry part of the stem at the base of the sprout and any loose outer leaves.
- For an extra caramelized area, place the sliced Brussels sprouts cut-side down on the pan. This will give a larger browned surface area.
- Leave smaller sprouts whole to avoid overcooking.
- On smaller sprouts that don’t need to be halved, slice a cross in the stem (see the video). The stem is the toughest part of the Brussels sprout, and the cross allows them to cook at the same rate as the tender area.
- For an extra kick of flavor, try adding lemon zest before roasting and a squeeze of fresh lemon juice before serving.
- Be sure to taste and season well before serving.
Update Notes: This post was originally published on Dec 5, 2017, but was republished with, step by step instructions, photos, cooking tips, and a video in September of 2018 and new information in 2020.




Leave a Reply