


This site runs ads and generates income from affiliate links. Read my disclosure policy.
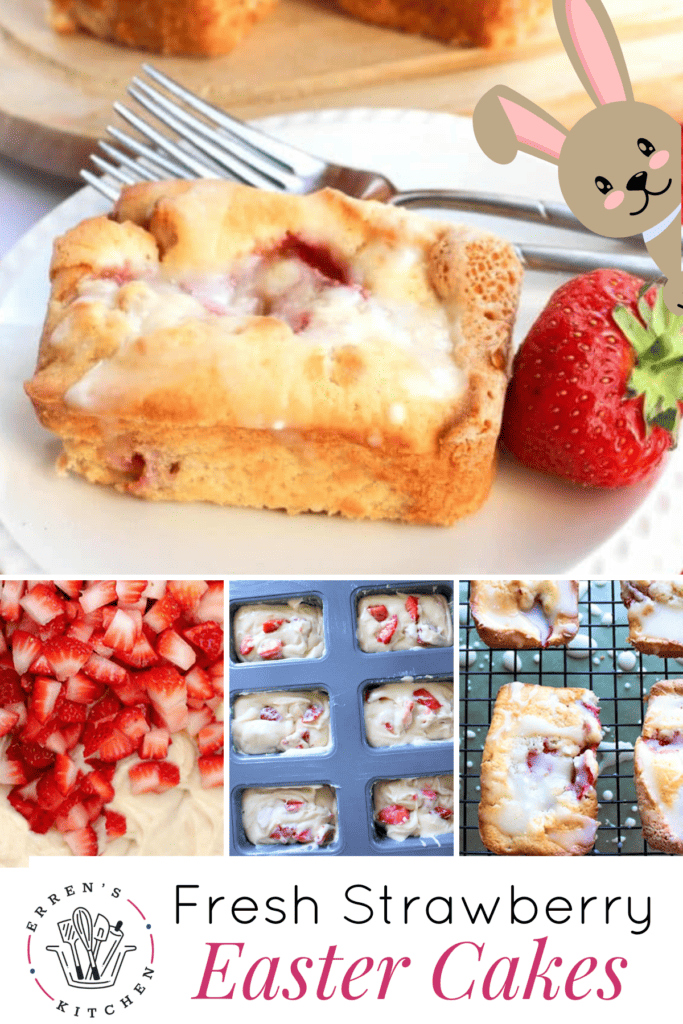
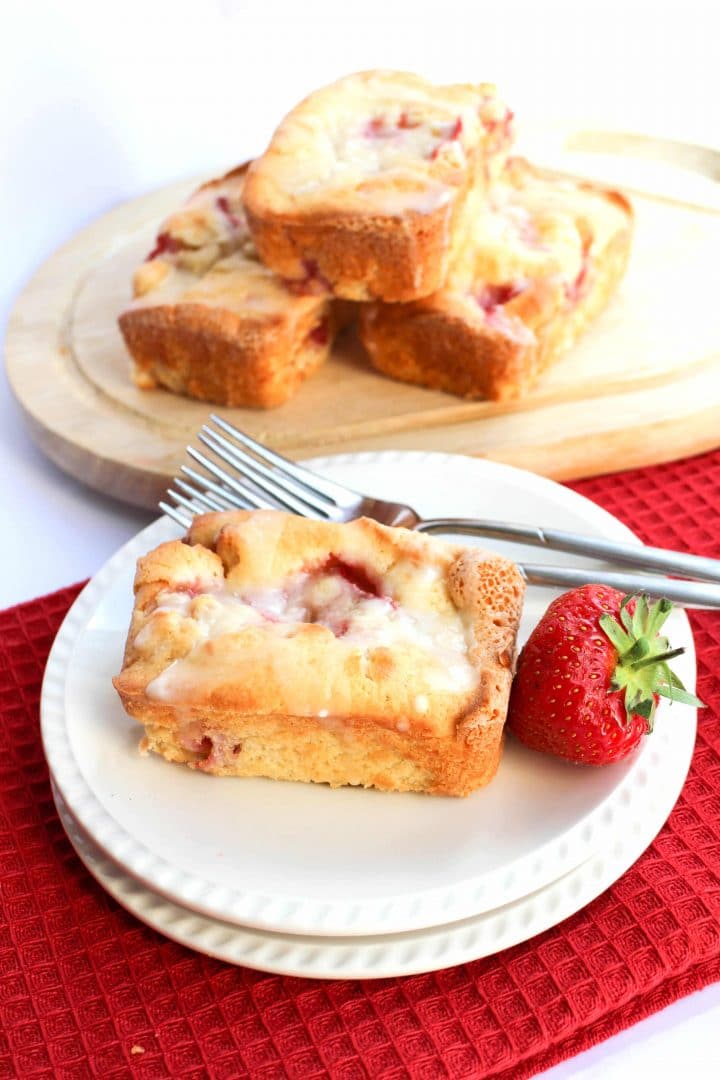
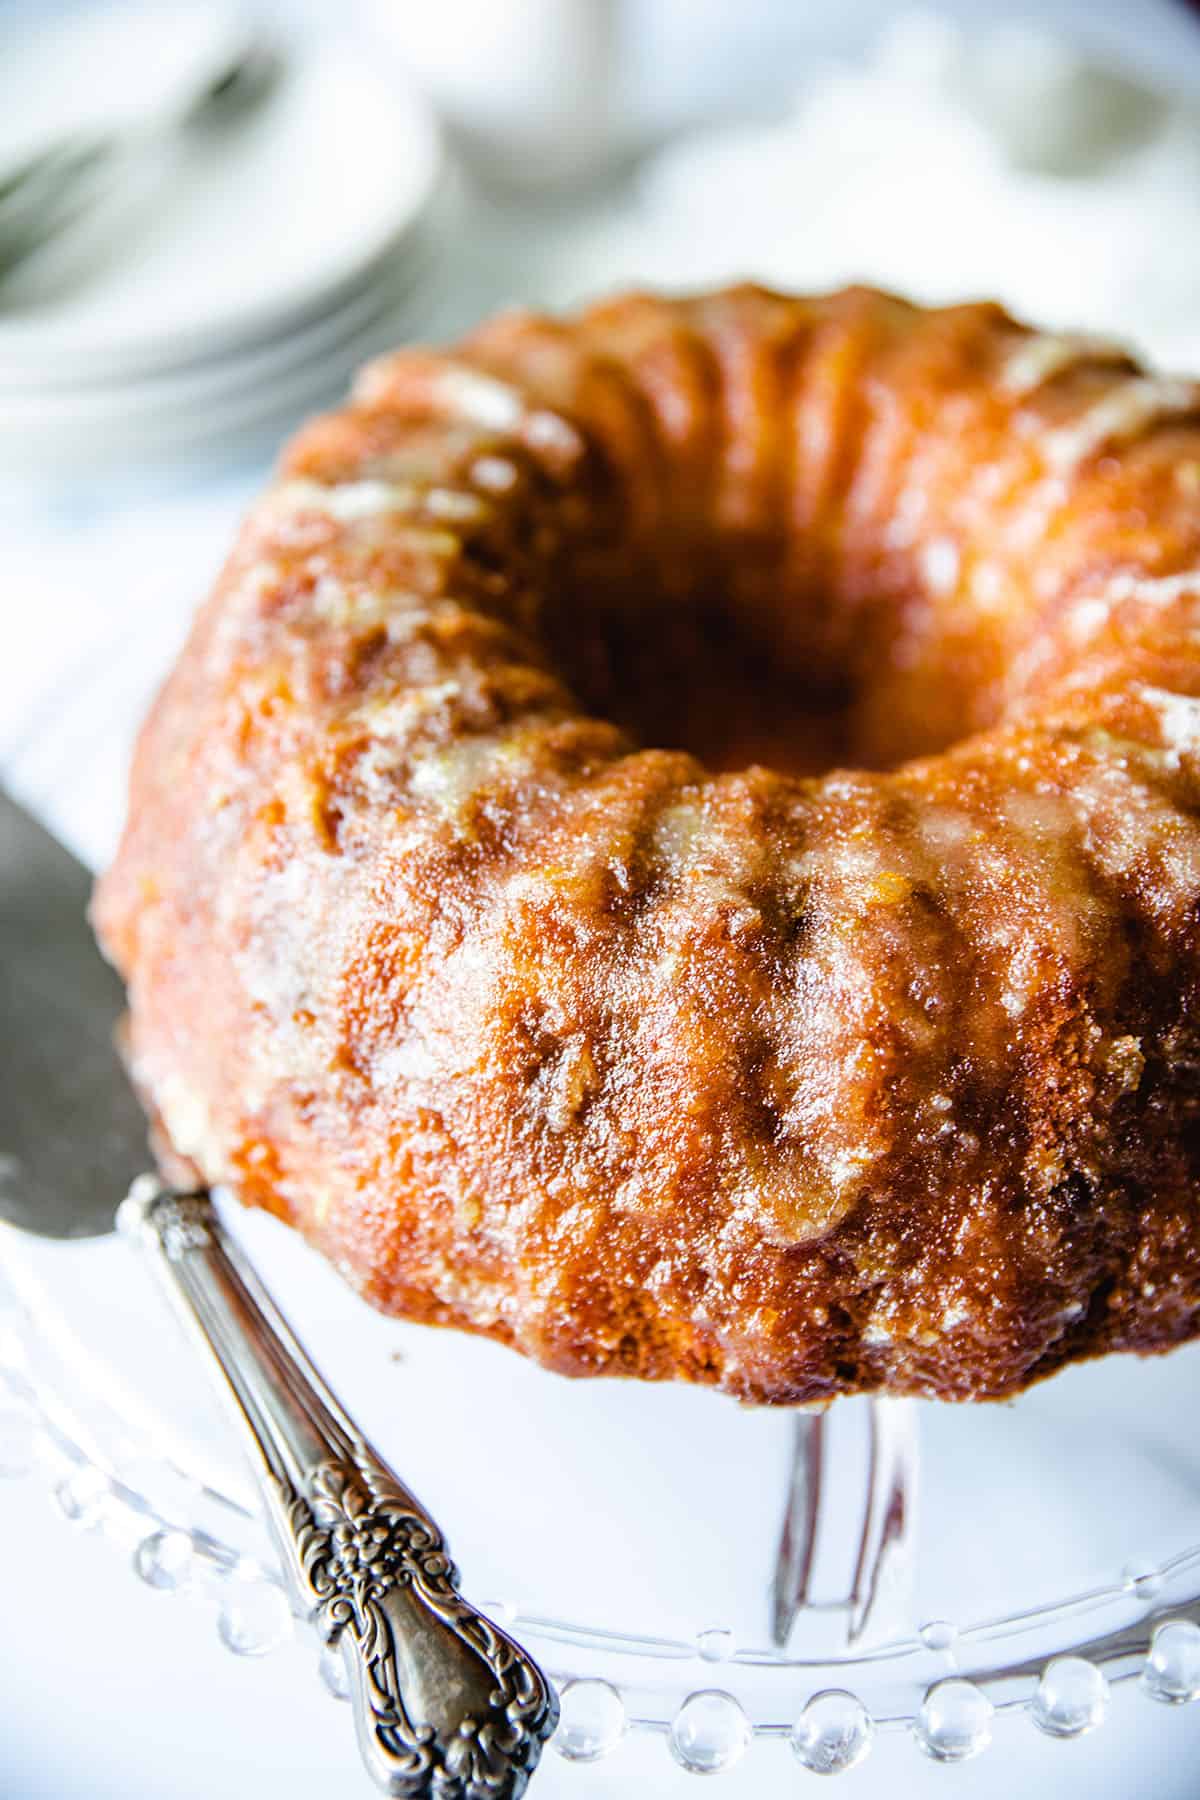
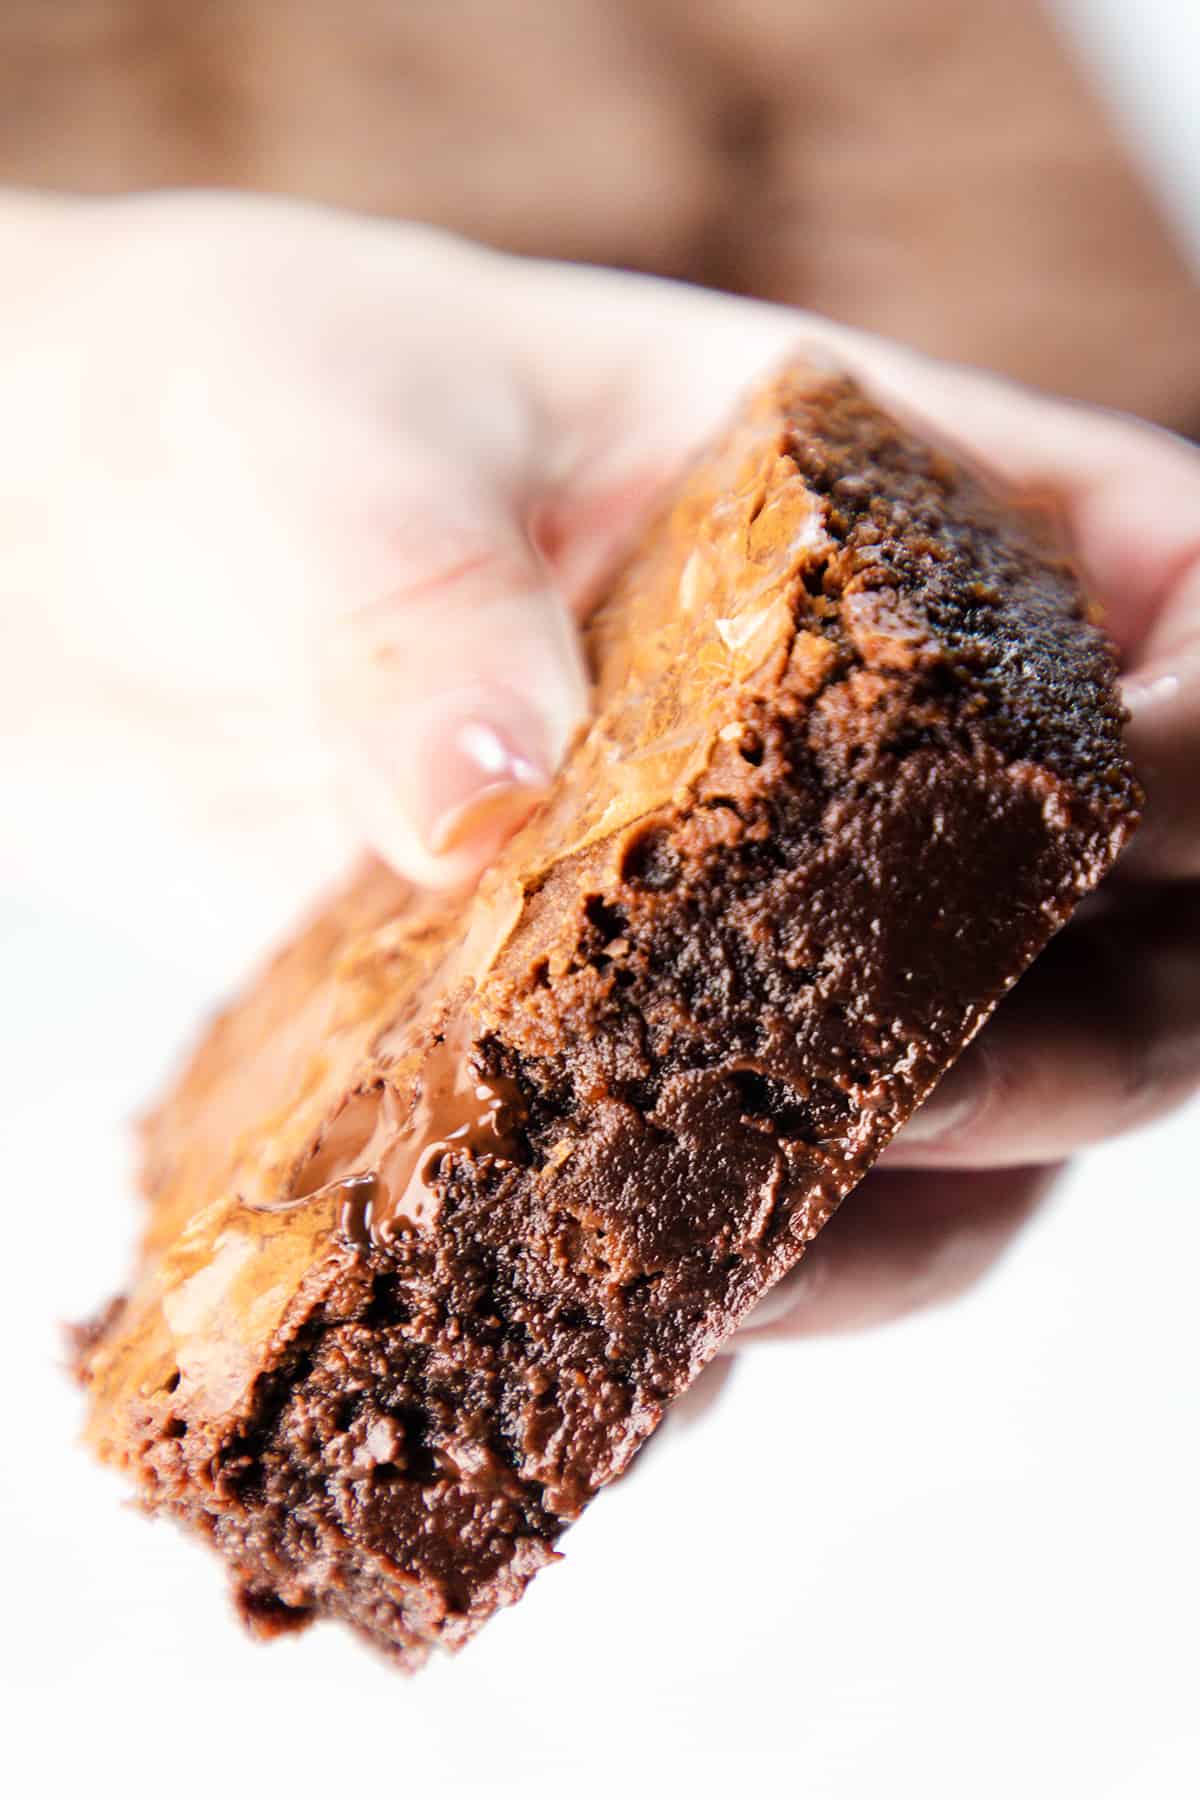
The secret ingredient in this recipe for Fresh Strawberry Cake with Cream Cheese Icing is cream cheese which makes them rich, moist, and decadent!
I love playing around with ingredients and when I made my Best Ever Blueberry Cake Recipe, I added cream cheese to the batter which came out great so I thought it was a great start for this recipe. If strawberries are your thing and you have too many to know what to do with, try Fresh Strawberry Cupcakes with Whipped Cream Frosting.
Why this recipe works:
- The thick, rich batter keeps the strawberries from sinking.
- The cream cheese and sour cream give the cake a creamy tang of flavor that works well with the sweetness of strawberries.
- The lemon zest adds extra freshness and depth of flavor to the cake.
- The buttery creaminess of the cream cheese glaze is the perfect finish to the cake.
I use a food processor for this recipe, but a mixer will work just as well.
Making this cake is super simple – Here’s how to do it:
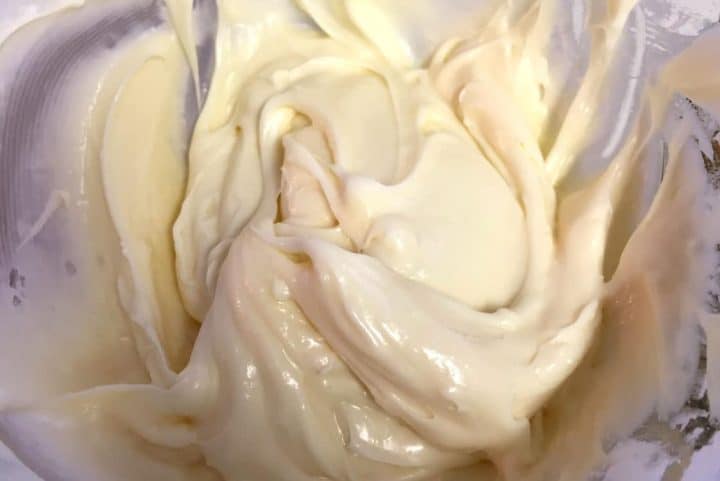
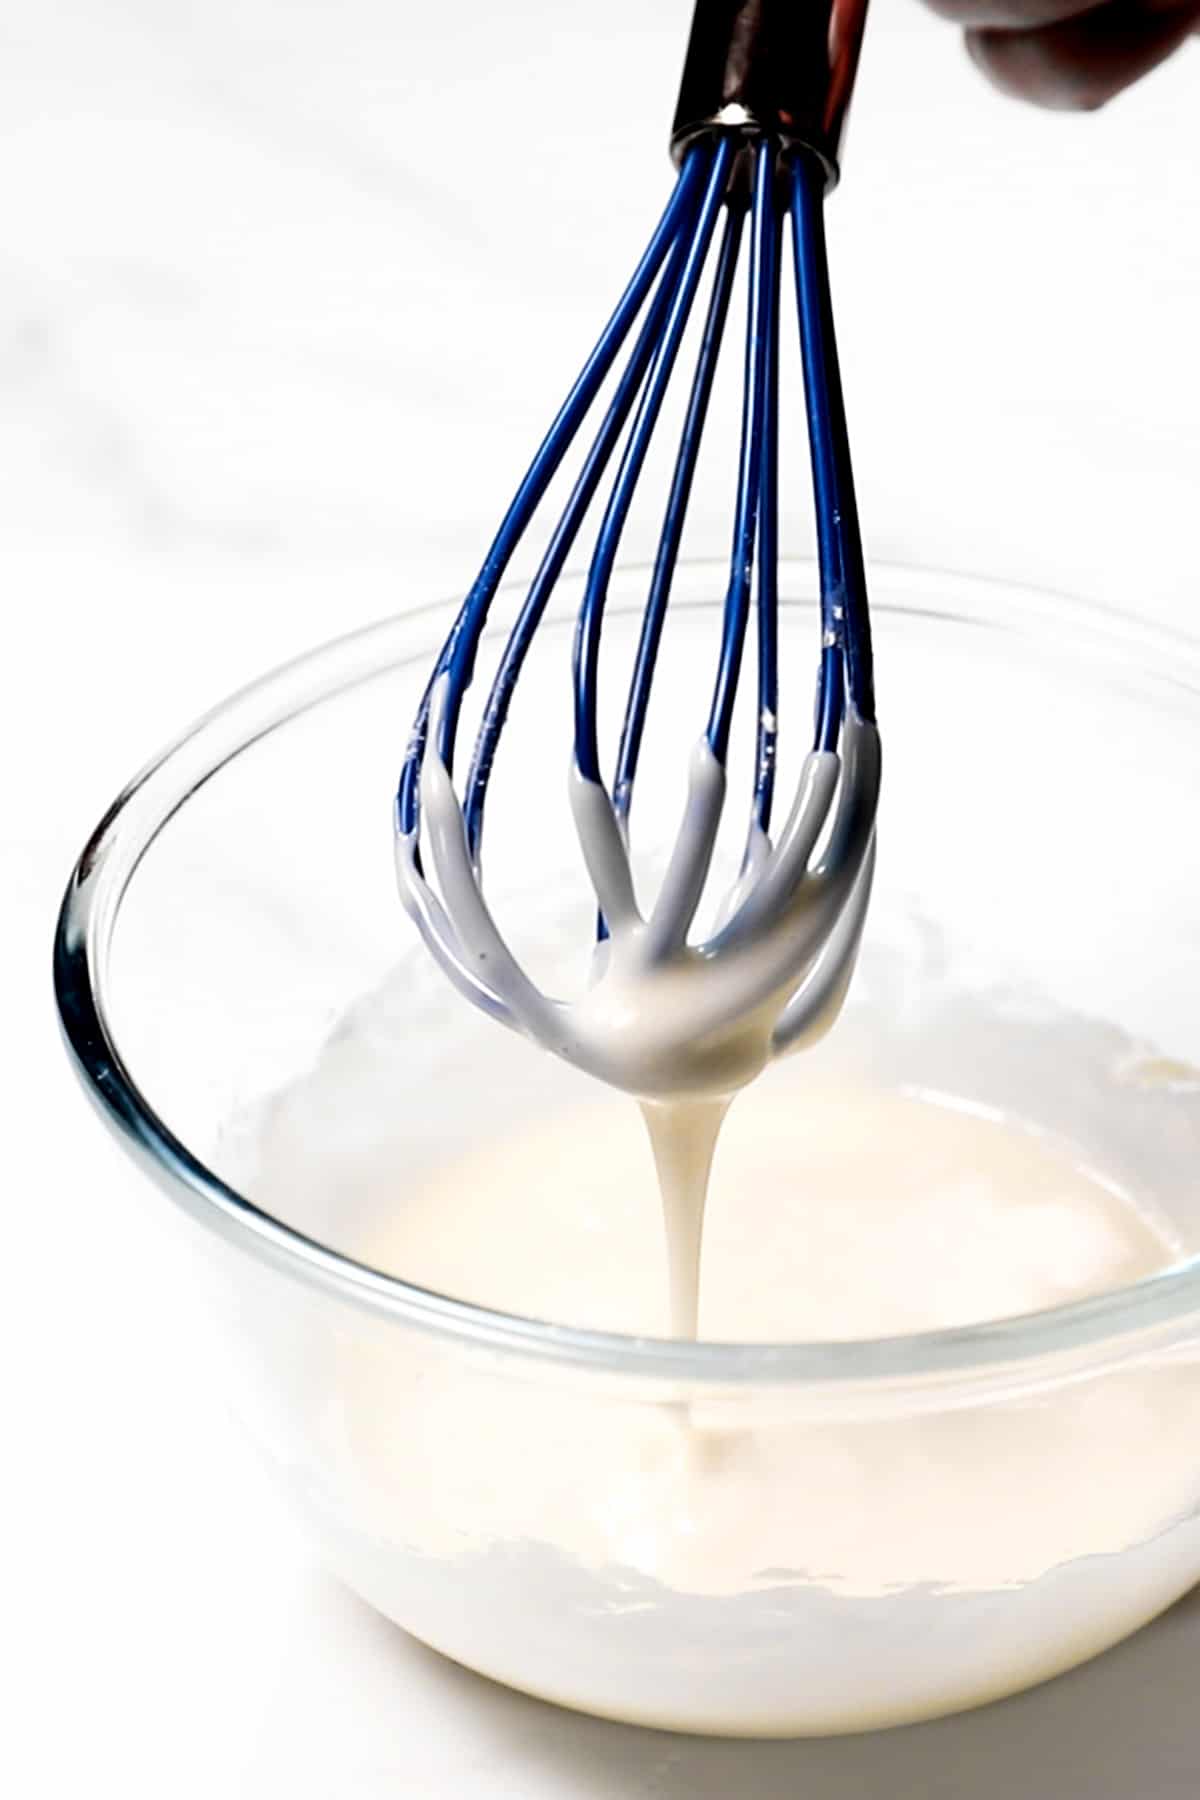
In a small heatproof bowl, soften the cream cheese and butter together in the microwave until very soft, but not completely melted.
In a food processor, mix all of the ingredients (except the strawberries) until just combined being careful not to over mix). Then add the strawberries.

Fold in the strawberries and add them to a greased mini loaf pan or muffin pan.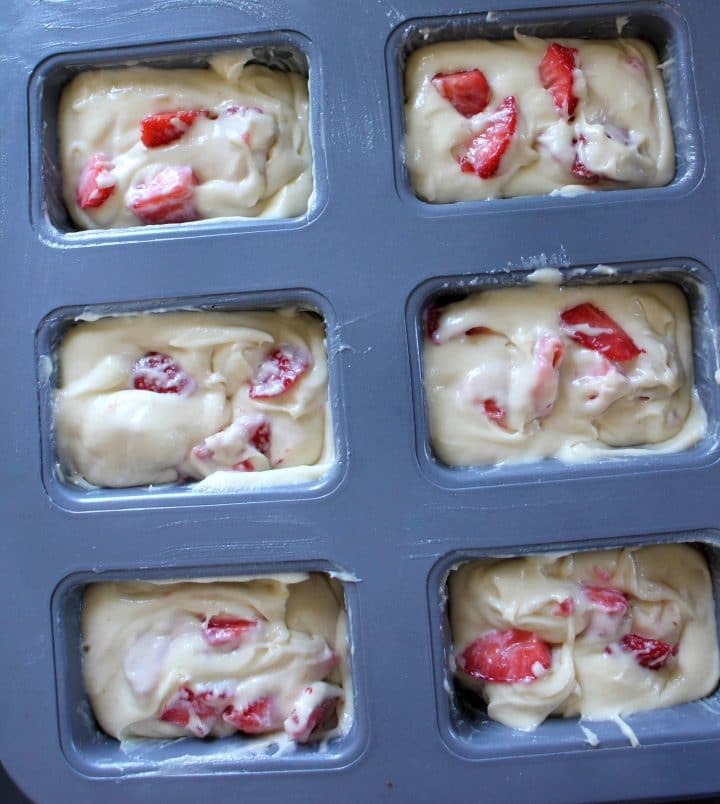
Bake for 20 minutes.
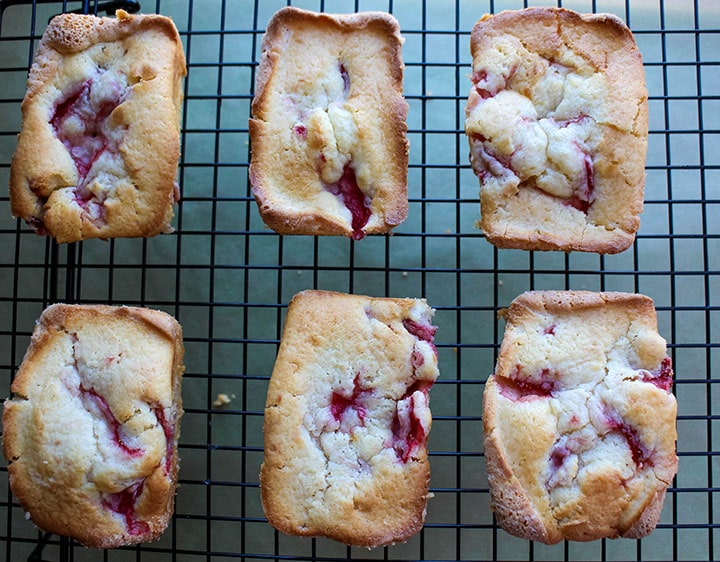
Allow to cool completely before adding the glaze. Drizzle with the glaze.
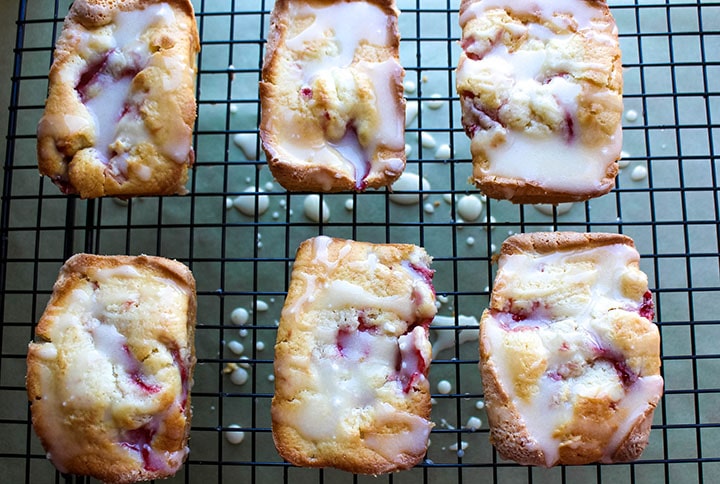
Let the glaze set and the cakes cool completely before serving. 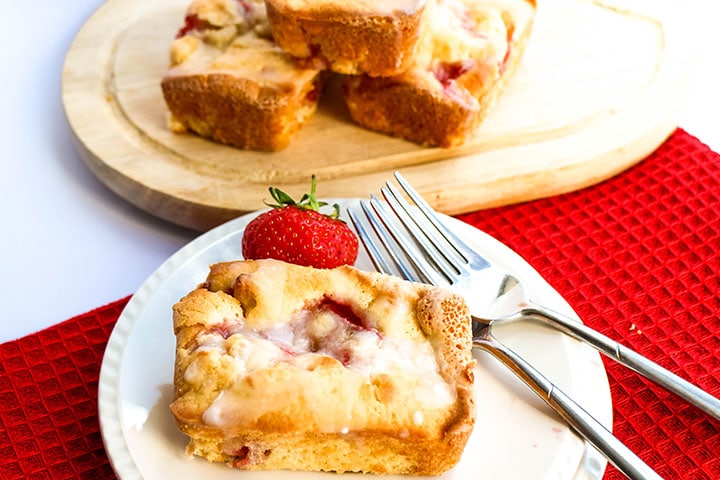
It’s that easy!
Baker’s Tips:
- When baking with sour cream It’s vital to use full-fat sour cream. Low fat and fat-free sour cream liquefy when heated.
- Be careful not to over mix the batter: When in doubt – try mixing by hand with a wooden spoon. Over mixing will result in a tough dense cake.
- You can substitute sour cream in this recipe with buttermilk or make your own by mixing 1 ½ teaspoons of lemon juice with ½ cup of whole milk.
- This cake batter will be very thick; be quite gentle when you fold in the strawberries so that they don’t get damaged.
- Want to make one big cake? Use an 8-inch springform pan and bake for 40 – 50 minutes.
- Variation – substitute the strawberries with blueberries, blackberries or raspberries. You can also use orange zest instead of lemon
More Recipes You’ll Love
? Did you make this recipe? Please give it a star rating below!

Recipe
Fresh Strawberry Cake with Cream Cheese Icing
Ingredients
- 1½ cups all-purpose flour
- 2 teaspoons baking powder
- ½ cup sour cream
- ¼ cup cream cheese
- ½ cup sugar
- ½ teaspoon salt
- 1 egg (lightly beaten)
- ½ cup butter (melted)
- 1 tablespoon lemon zest
- 1 cup fresh strawberries (diced )
- For the Drizzle:
- ½ cup cream cheese (softened)
- 2 tablespoons butter (melted)
- 1 cup confectionery sugar
- 3-5 tablespoons milk
- 1 teaspoons vanilla extract
Instructions
- Preheat the oven to 375/190C
- Grease a brownie/bar pan and set aside. (If you do not have a brownie pan, a muffin pan can be used in its place).
- In a small heat-safe bowl, soften the butter and cream cheese together in the microwave until very soft, but not completely melted.
- In a food processor, mix all of the ingredients (except the strawberries) until combined. Clean the sides with a rubber scraper and mix a few seconds more to mix any remnants into the batter.
- Remove the blade from the food processor and fold in the strawberries.
- Using an ice cream scoop, fill the sections equally (with one scoop in each section).
- Bake for 20 to 25 minutes, until a cake tester, comes out clean, and the tops are nicely browned.
- Let cool in the pan for 5 minutes before transferring to a wire rack.
- For the Drizzle:
- In a mixing bowl whisk together the butter, cream cheese, powdered sugar, and vanilla extract.
- Add in more milk as needed 1 teaspoon at a time until it is the desired consistency.
- Once the cakes have cooled for ten minutes, drizzle with the glaze and serve.
Update Notes: This post was originally published on Jun 11, 2014, but was republished with an updated step by step instructions and tips in May of 2018.


Leave a Reply