This site runs ads and generates income from affiliate links. Read my disclosure policy.
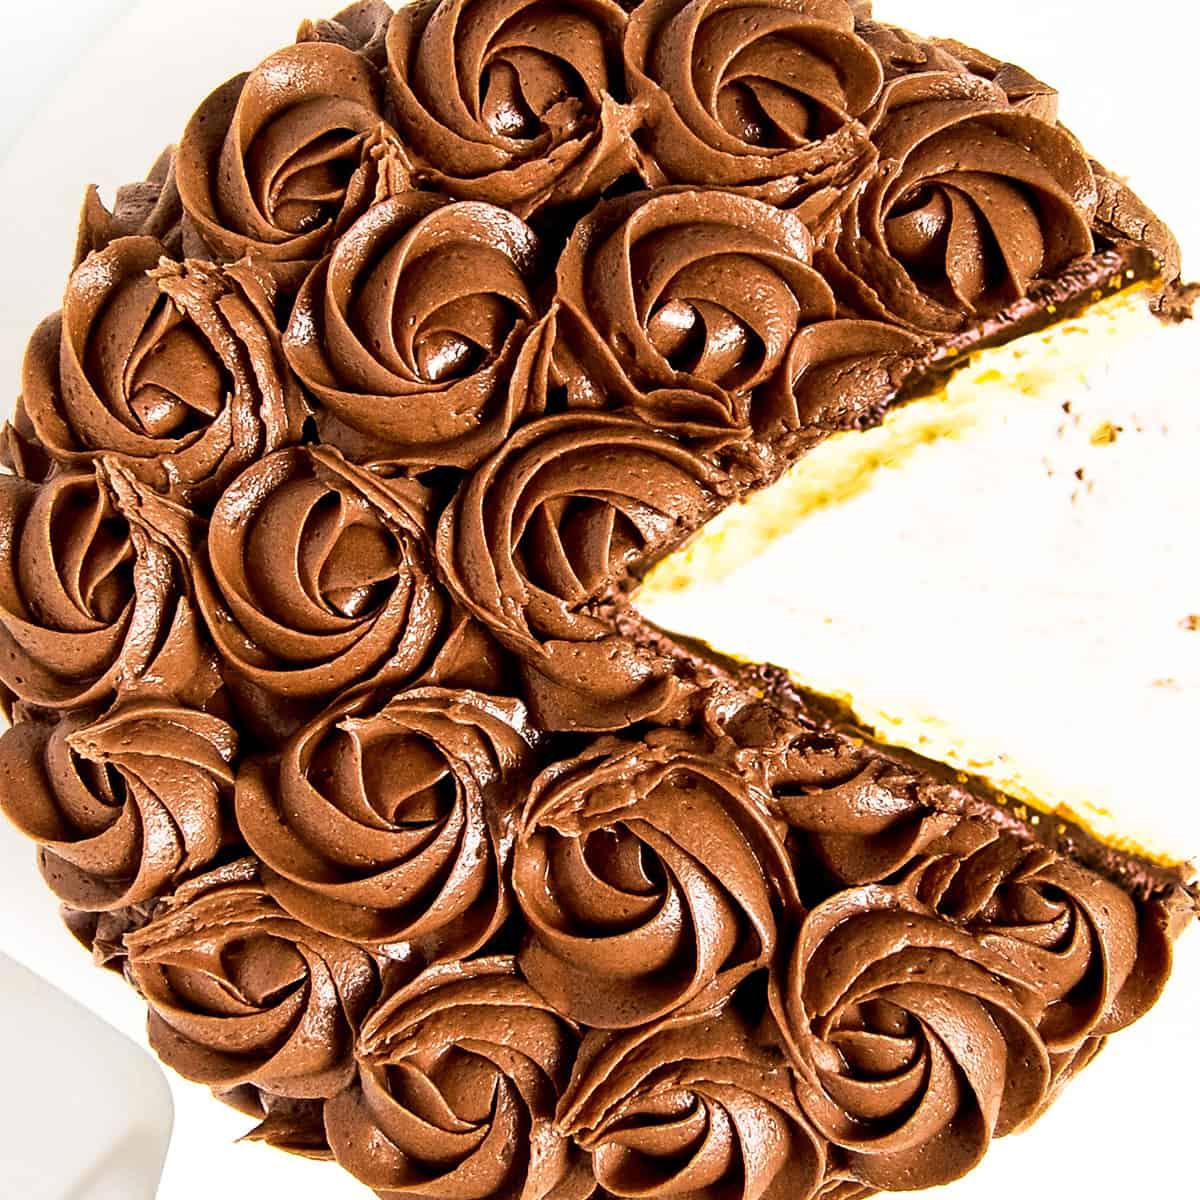
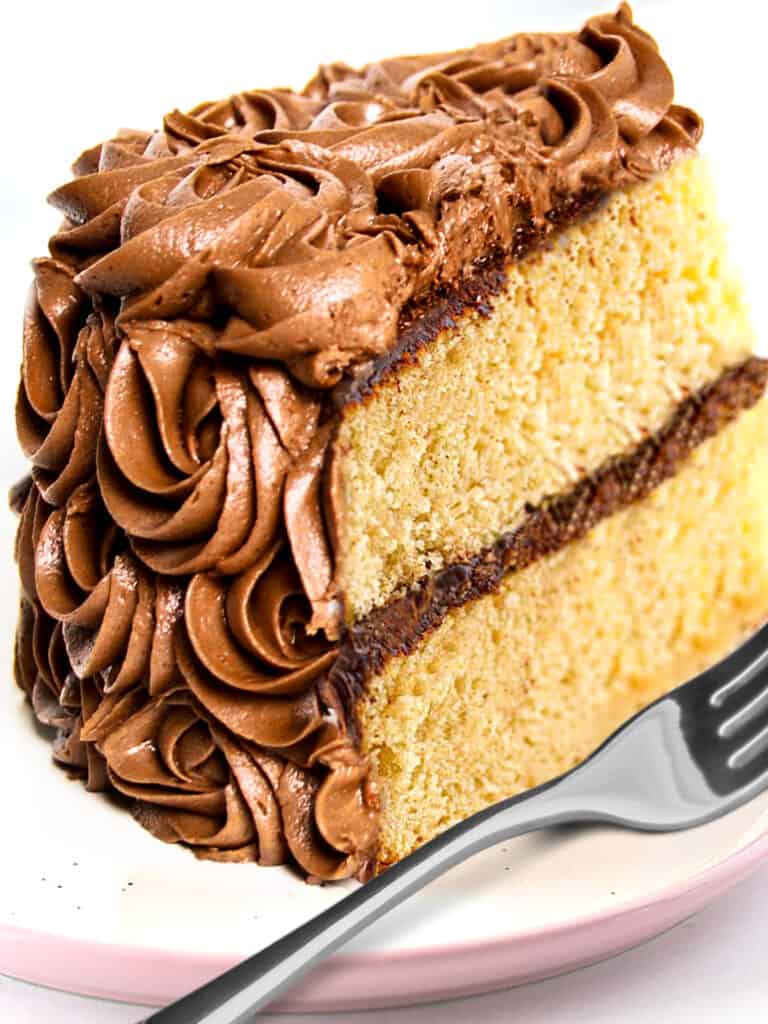
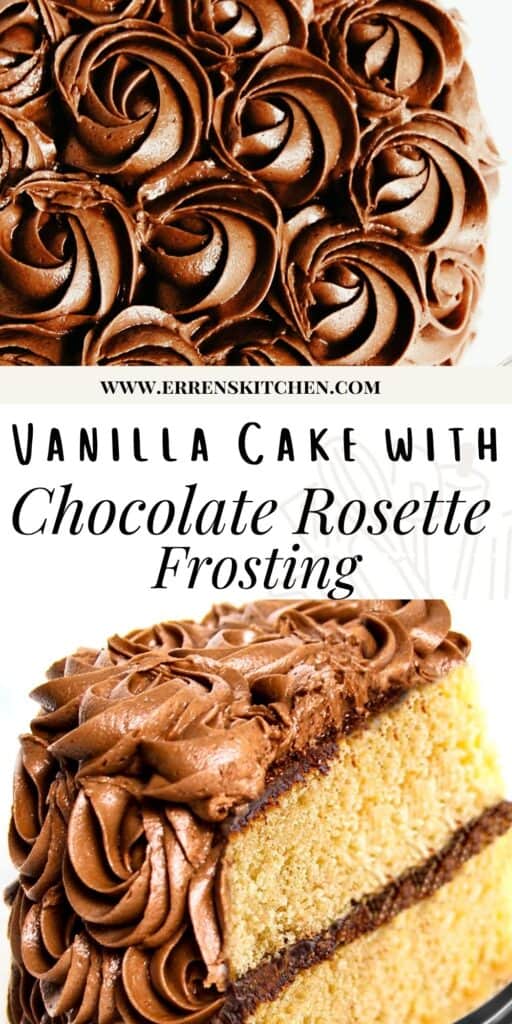
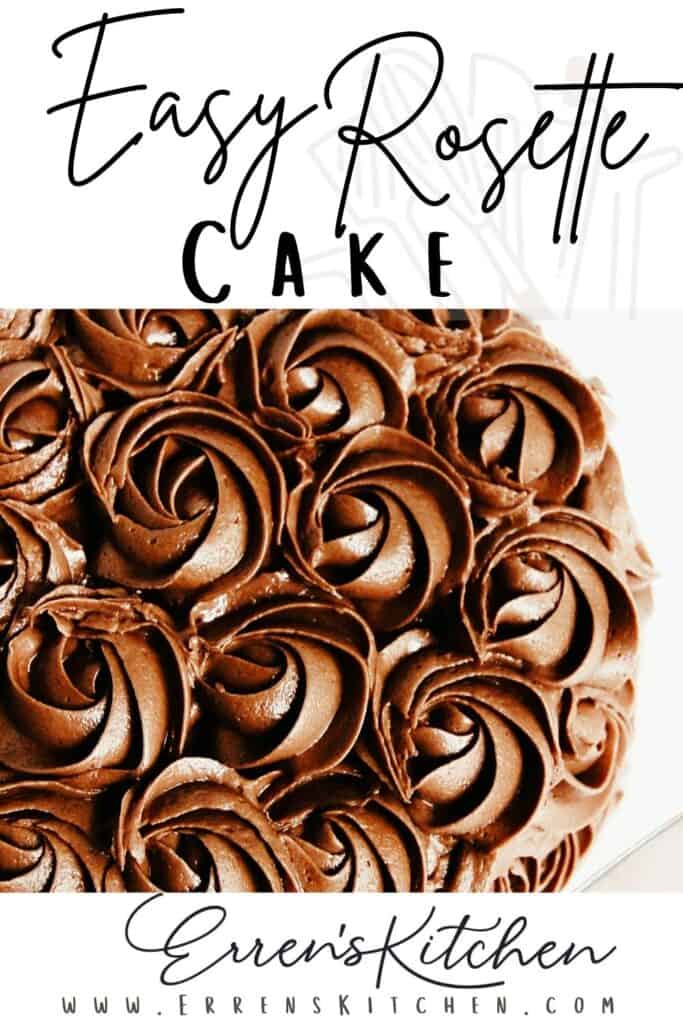
This amazing Vanilla Cake with Chocolate Rosette Frosting recipe is the perfect cake for any occasion. Every bite is a true joy!
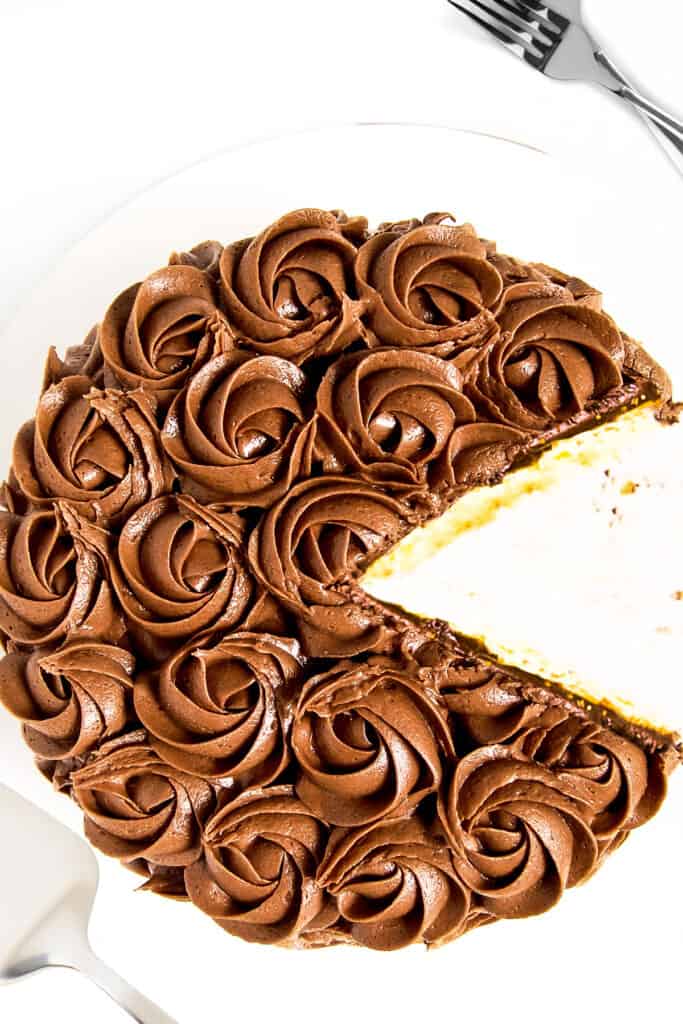
You can’t go wrong with this beautiful rosette cake! It’s perfect for anything from birthdays to weddings. Every bite will bring a taste of nostalgia.
JUMP TO RECIPEWhy This Recipe Works
- Vanilla bean paste gives this cake its rich vanilla flavor.
- Sour cream Not only makes the frosting flavorful but it provides a velvety and smooth texture.
- Dark chocolate makes this icing chocolatey without being too sweet.
Let’s put aside how beautiful this cake is for a second to talk about how delicious it is! When my son tried it for the first time, he was five years old. He took one bite and actually did a little dance because he said a cake that good deserves a dance! The cake itself is rich, moist & fluffy, and the frosting is velvety smooth, with the perfect amount of sweetness.
Ingredient Notes
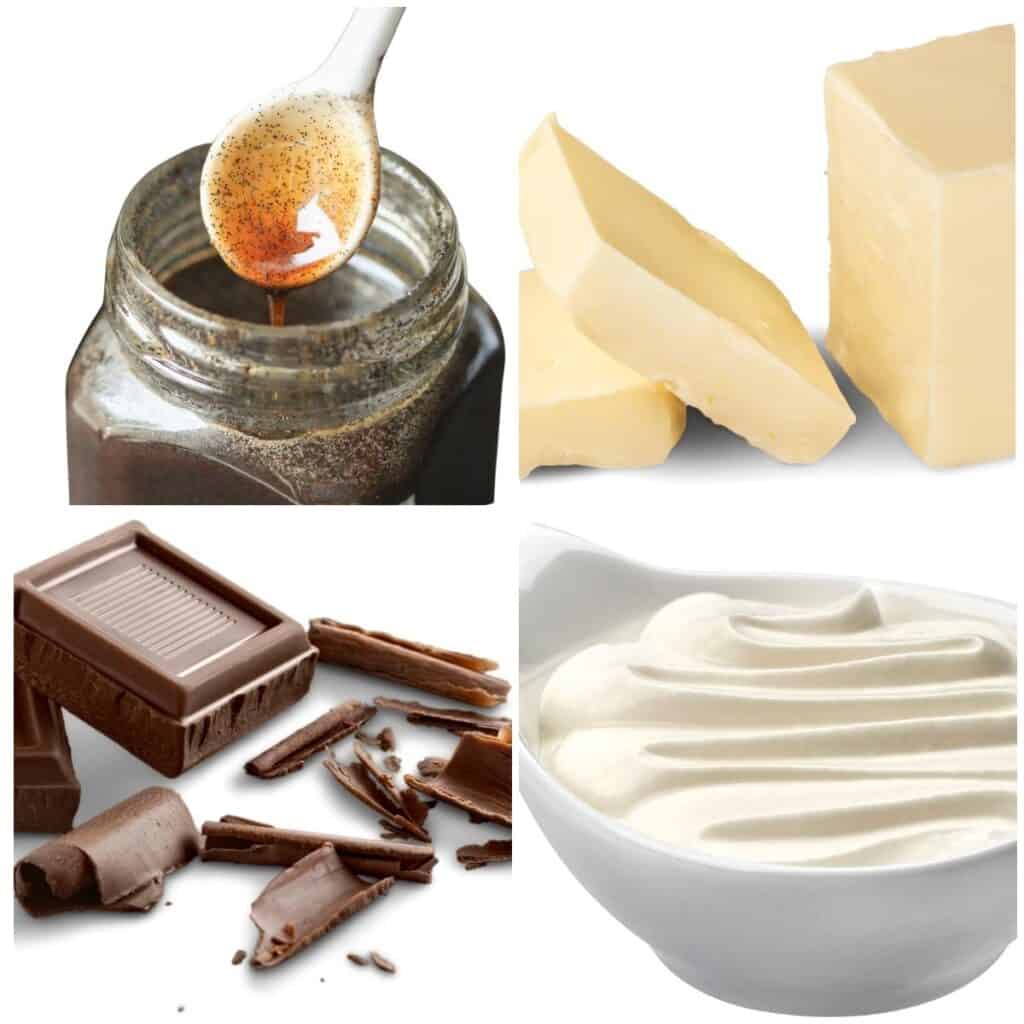
- Vanilla – I used vanilla bean paste for a rich vanilla flavor, but vanilla extract is a great replacement.
- Butter – Salted butter is my personal preference, but unsalted is best if you want to control salt levels.
- Chocolate – Semisweet or bittersweet chocolate are both great options; just make sure it’s a chocolate that melts quickly 55 to 60% cocoa solids are a great range.
- Sour Cream – be sure to use full-fat sour Cream as low-fat sour Cream will liquify too much when heated.
- Buttermilk – Any buttermilk is good, or to make your own for this recipe, mix a 1 cup (236 ml) of milk with 2 teaspoons of lemon juice or vinegar.
Piping Rosettes
For those of you who want to know how I did the decorating, I used a large Wilton 2D Tip (pictured below). You can find one like mine here on Amazon. You can also use a Wilton 1M tip (paid links).
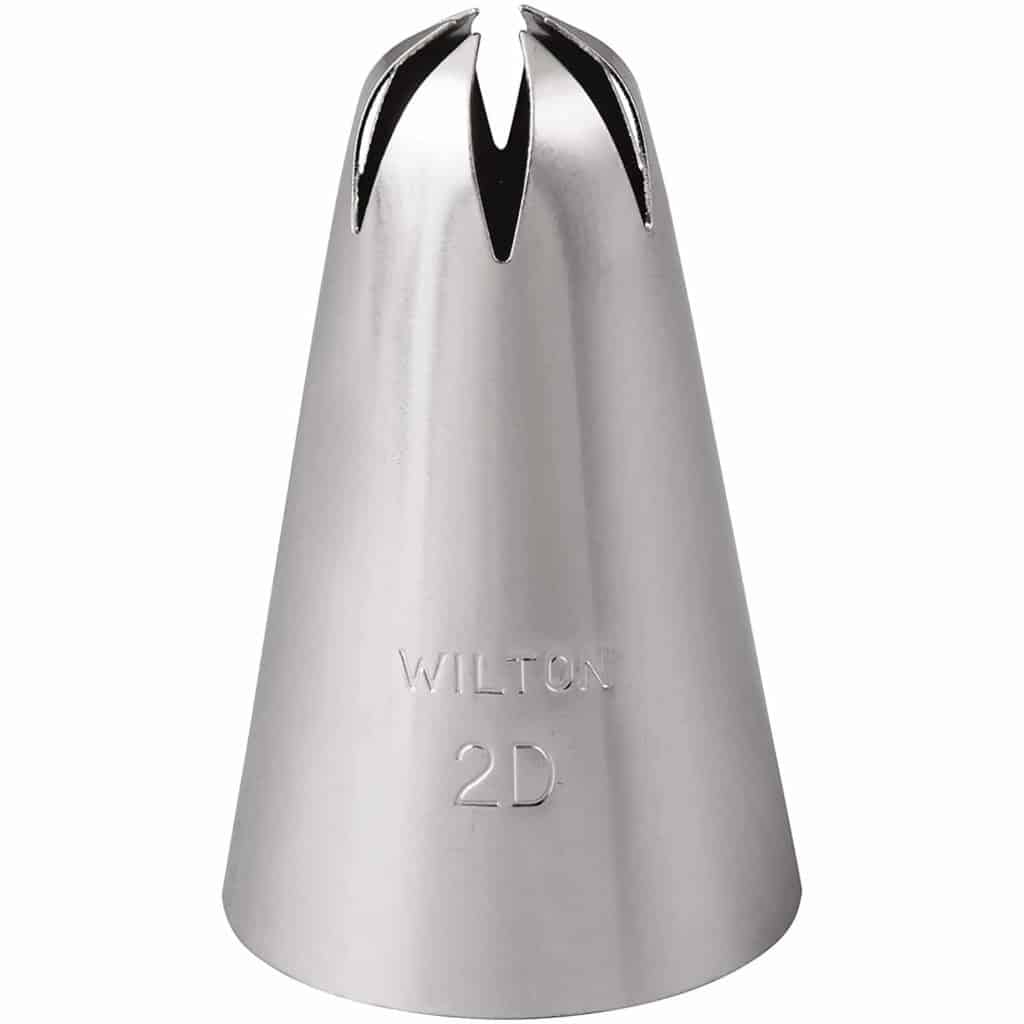
I just swirled them from the middle out. Nothing really fancy. You can check out my Easter Cupcakes video to demonstrate how it’s done. Read on for step-by-step instructions.
Step By Step Instructions
Preheat the oven to 350°F/177°C and grease two 8-inch round cake pans.
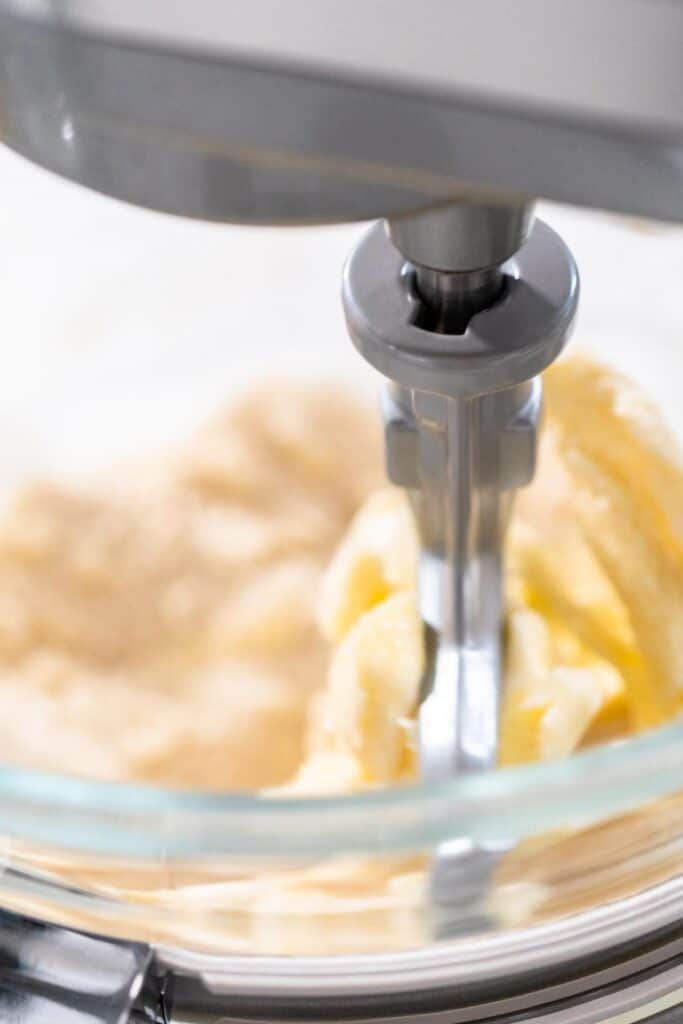
Beat the butter and sugar until the mixture is light and fluffy. I beat mine for a minimum of 3 minutes.
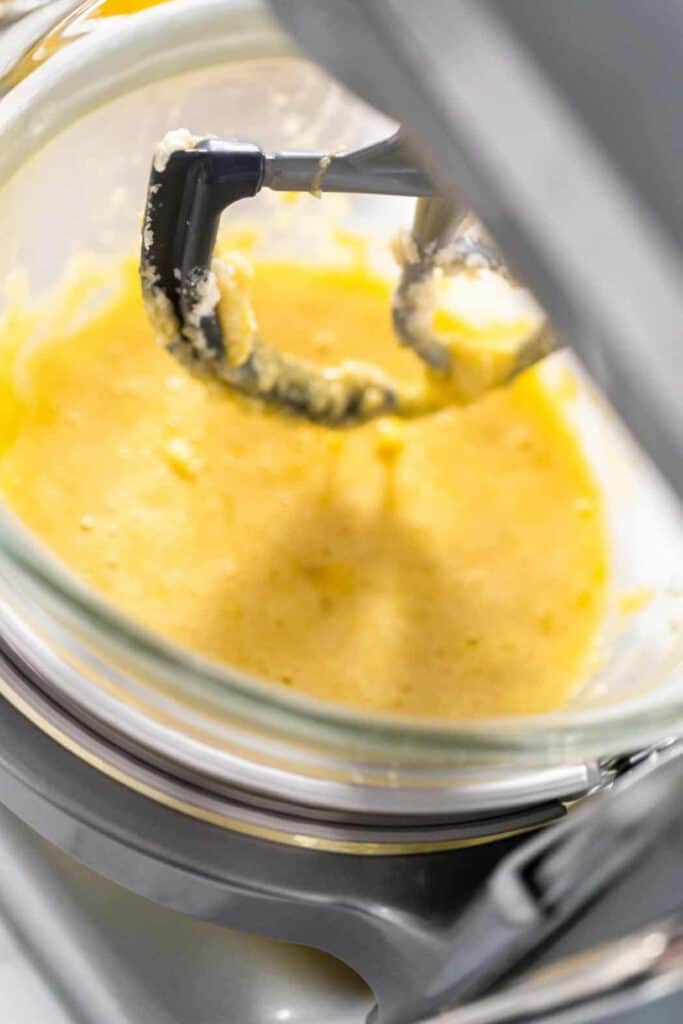
Add the eggs and vanilla extract and blend well until incorporated.
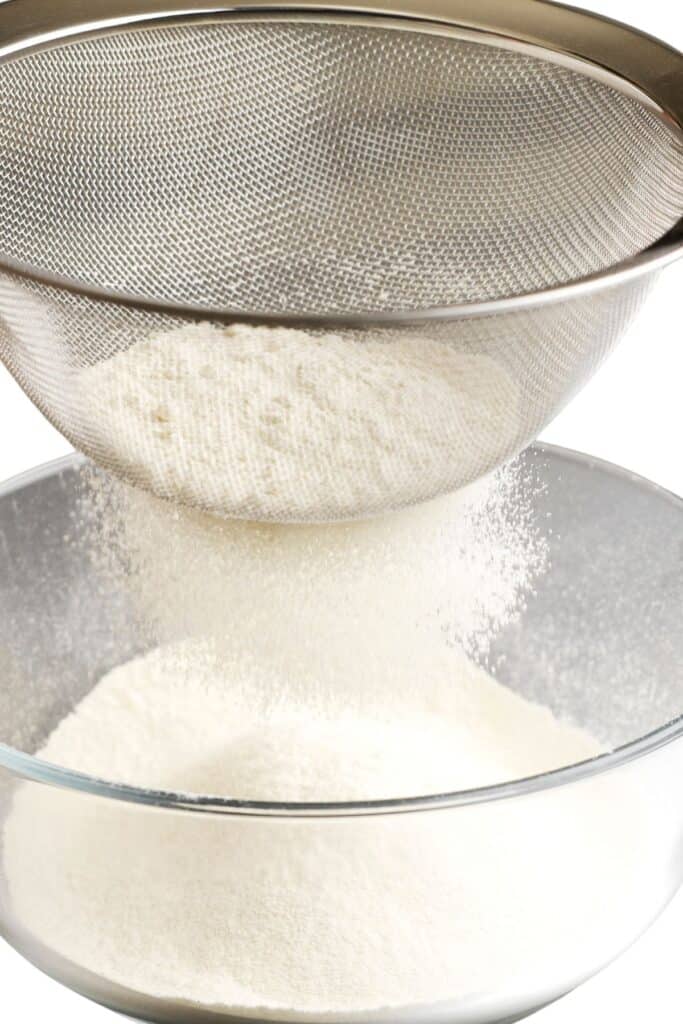
I sift the flour with baking powder and salt because I think it makes a lighter cake, but this step is totally optional.
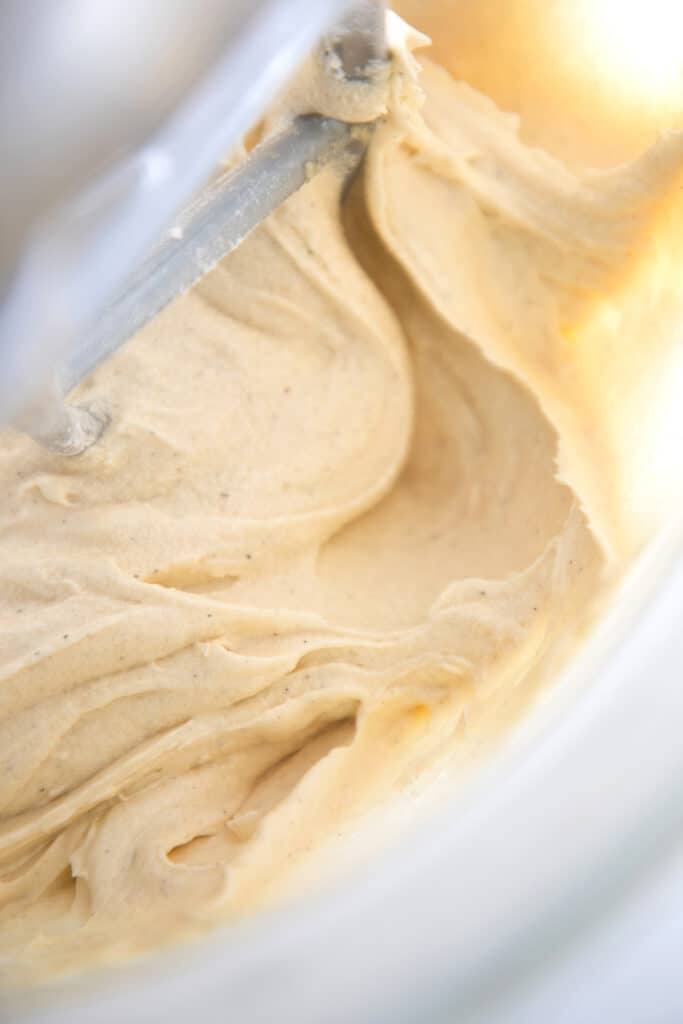
Add the dry ingredients to the butter mixture in two additions, alternating with the buttermilk.
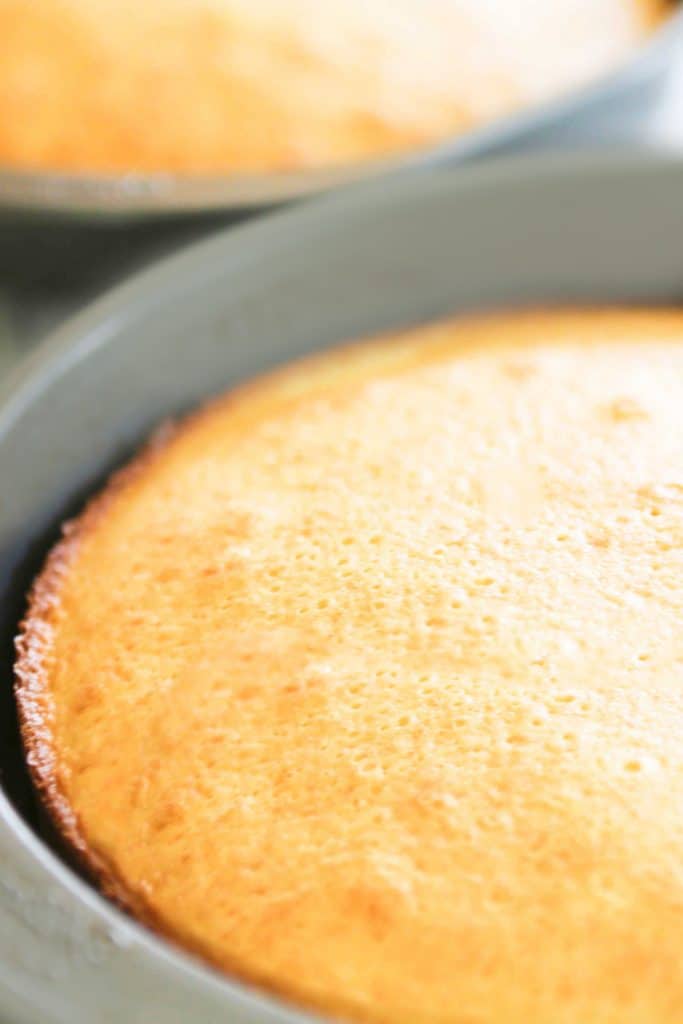
Divide the batter evenly between the two greased cake pans. Bake the cakes for 25-30 minutes or until a cake tester inserted in the center comes out clean.
While the cakes bake, start the frosting as it will need time to cool before you can use it. That way, the cakes, and frosting cool at the same time.
To make the frosting, melt the chocolate with butter over medium-low heat.
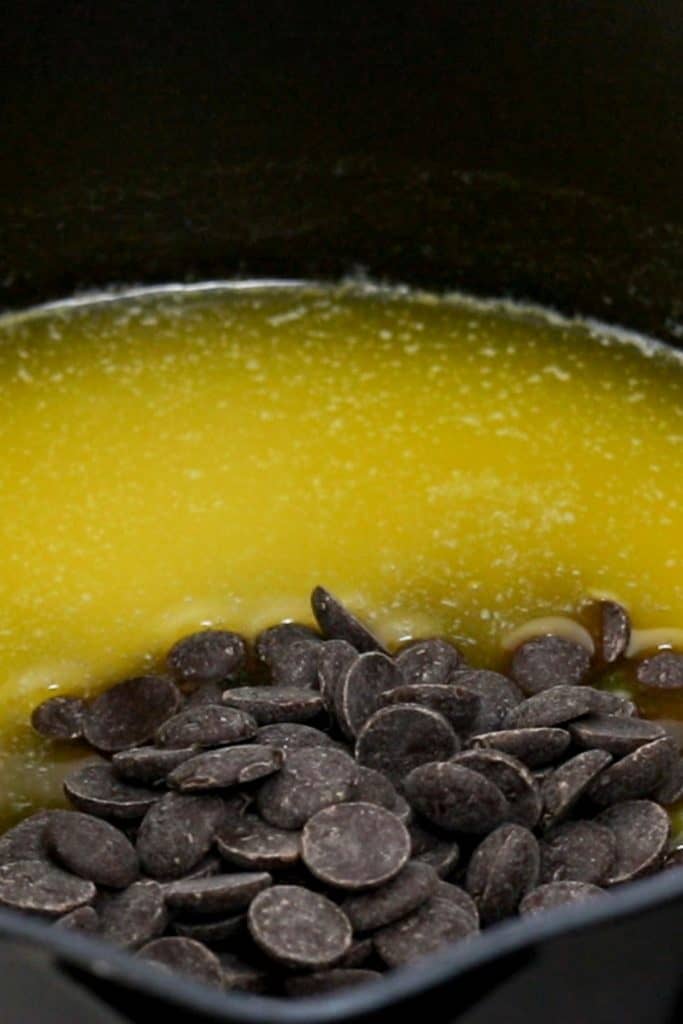
Stir occasionally until all the chocolate has melted and the mixture is smooth.
Remove it from the heat and allow the mixture to cool for about five minutes (you want it warm, but not hot). Whisk in the sour cream, vanilla, and salt.
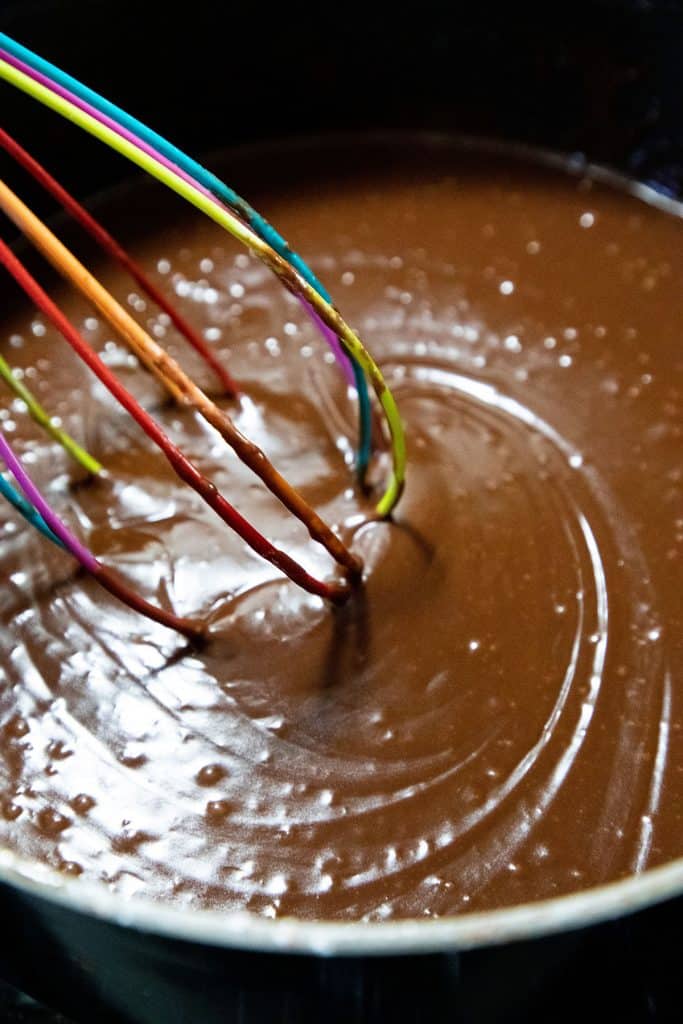
Sift the sugar and cocoa powder together to remove any lumps. Then add it to the chocolate mixture in the pot, one cup at a time.
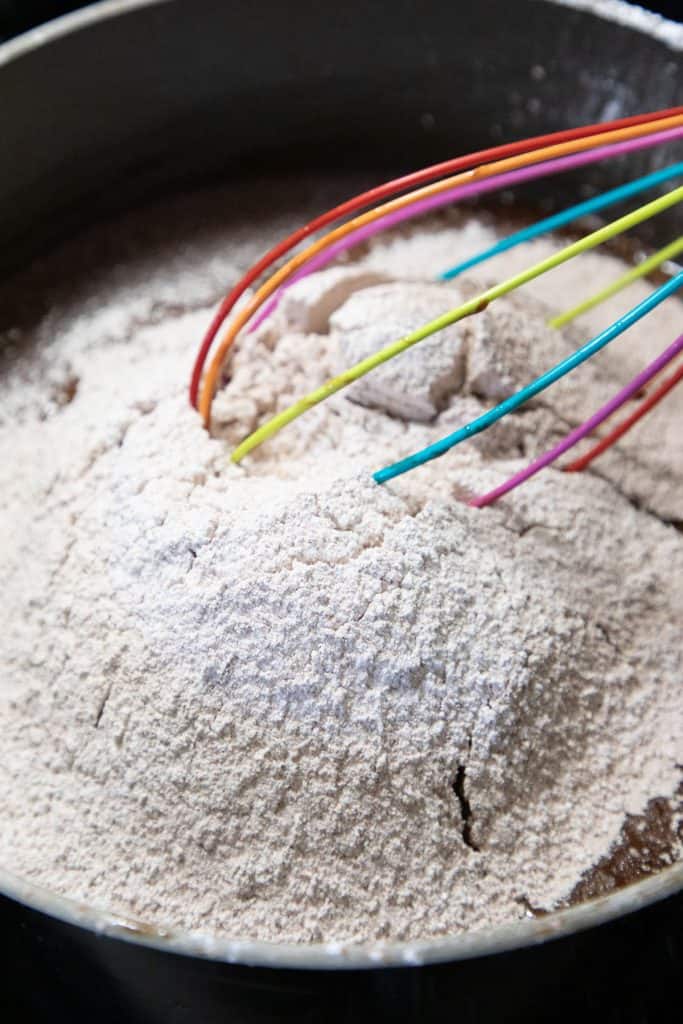
You may need a little more or less sugar for a spreadable thickness and consistency.
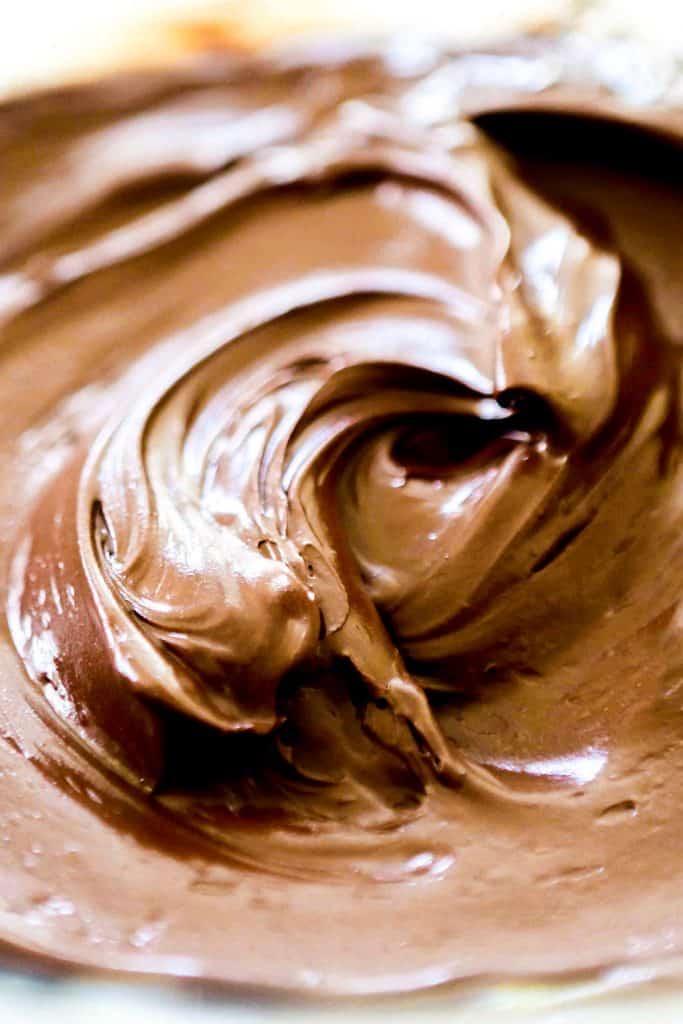
When the cakes are baked, allow them to cool for 20 minutes before taking them out of the pan. Let them cool completely on a rack before frosting.
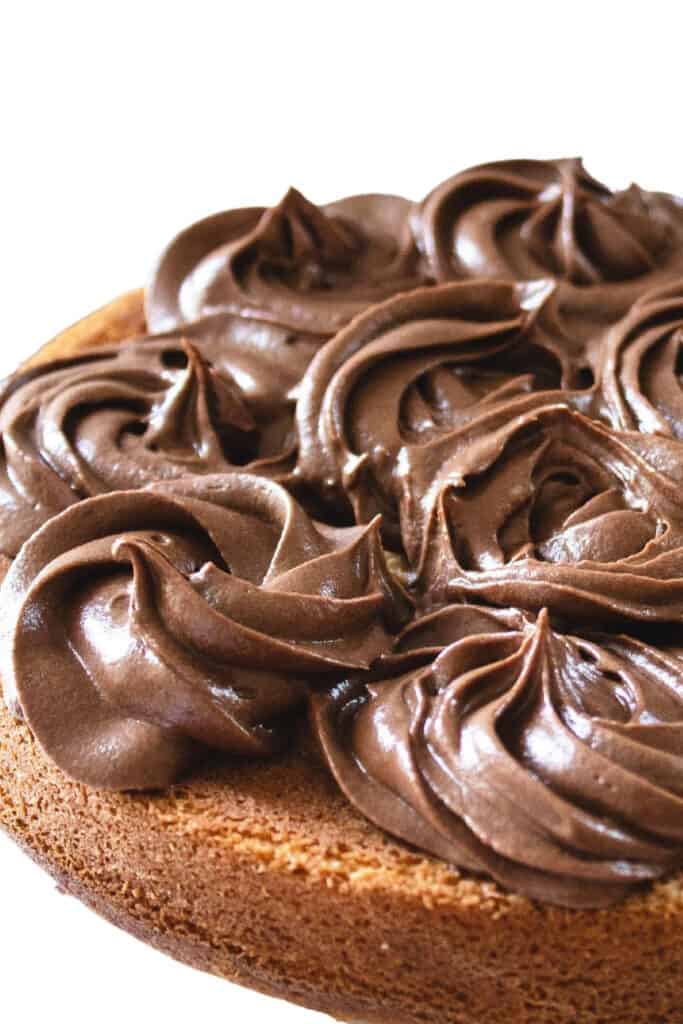
Frost the cake with a thin layer of smooth frosting.
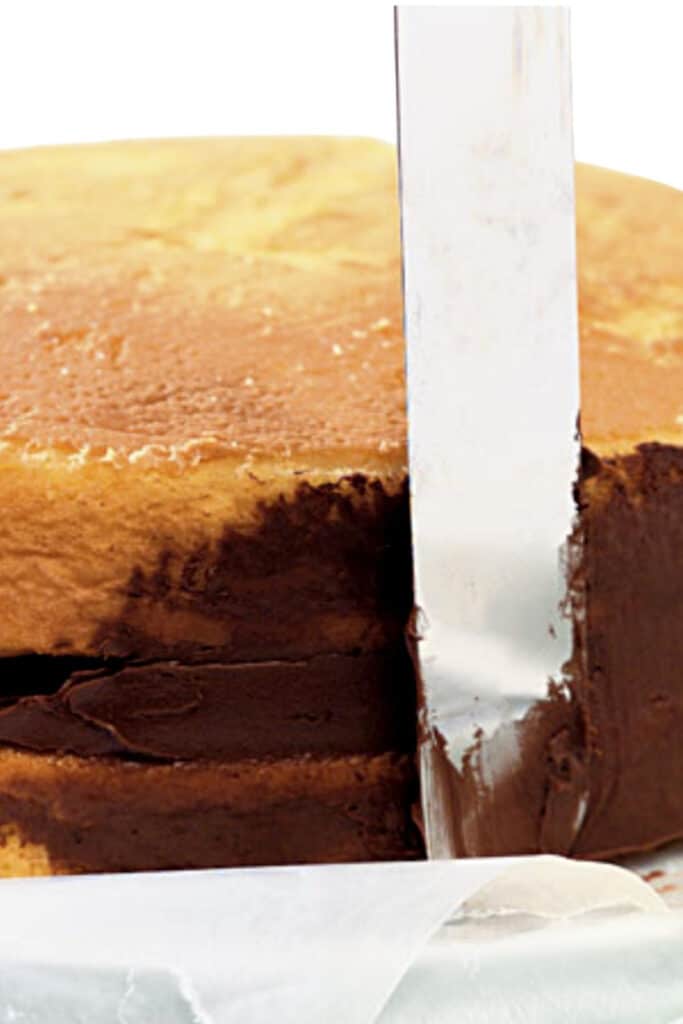
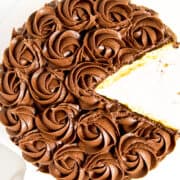
If you want to practice making the rosettes, do them on the bottom layer before stacking the cakes (as pictured below). That way, you can get the hang of it before starting on the cake. You can see in the photo that it took a while for me to find my stride. If you need more time, just scrape it off and do it again!
Prepare a piping bag with Wilton 2D Tip using the remaining frosting.
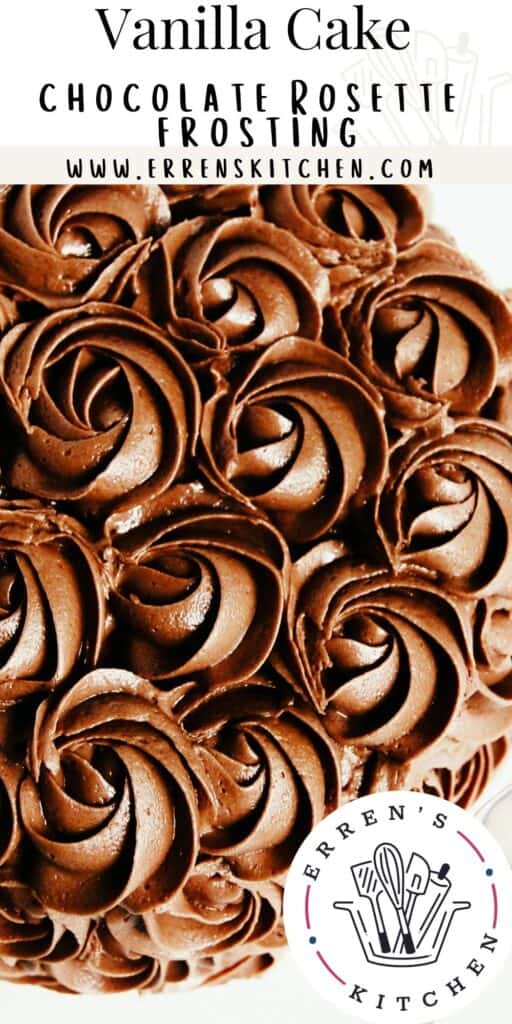
Hold the bag at a 90° angle (perpendicular) to your work surface. Spiral a rosette starting in the center of the swirl and working your way out. Once you get to the end, stop squeezing and pull away in the same direction you were piping. Start your rosettes at the bottom of the cake, and form rows of rosettes until the cake is completely covered.
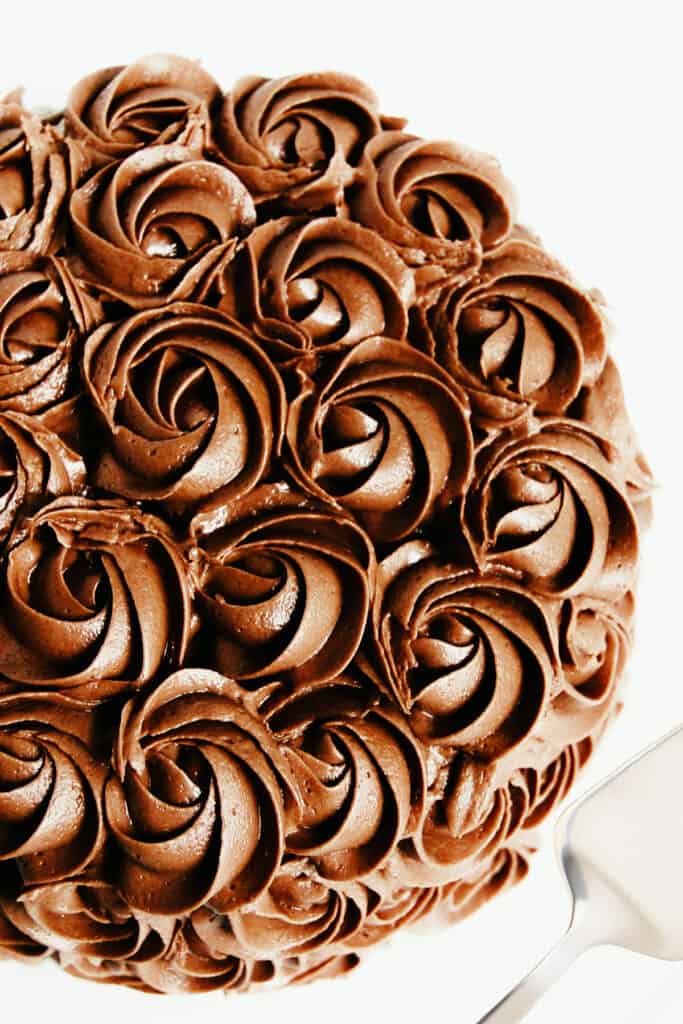
Serve and enjoy!
Erren’s Top Tips
- To ensure the butter and sugar are creamed well, beat the mixture for a good three minutes.
- For a light, airy cake, sift the dry ingredients together before adding them to the wet ingredients.
- Don’t overbeat the batter. Add the eggs, one at a time, beating just until the yellow disappears. Over beating the eggs may cause the batter to overflow the sides of the pan in the oven or create a fragile crust that crumbles when frosting. Once the flour is added, mix until just incorporated.
- If you think you may have overmixed the batter, just set it aside for ten minutes to let it relax before baking.
- Sift the sugar and cocoa powder together before making the frosting to remove any lumps.
- If you want to practice making the rosettes, do them on the bottom layer before stacking the cakes. That way, you can get the hang of it before starting. If you need more practice, just scrape it off and do it again!
- If the frosting gets too soft while you pipe, stick the decorating bag in the fridge for a few minutes to firm it back up.
- Need more information on using a piping bag? This video by Wilton may be helpful.
Rate This Recipe
Recipe
Vanilla Cake with Chocolate Rosette Frosting
Ingredients
- 10 tablespoons butter ((about ⅔ cups))
- 1⅓ cups sugar
- 2 eggs (at room temperature)
- 2 teaspoons vanilla extract
- 2 cups all-purpose flour
- ½ teaspoons baking soda
- ½ teaspoon salt
- 1 cup buttermilk (at room temperature)
For the frosting:
- 24 ounces dark chocolate (roughly chopped)
- 1 lb butter
- 2 cup sour cream
- 1 tablespoon vanilla extract
- ¼ teaspoon salt
- ¼ cup unsweetened cocoa powder (sifted)
- 8 cups confectioners sugar (plus more as needed)
Instructions
- Preheat the oven to 350°F. Grease two 8-inch round cake pans.
- Beat the butter and sugar until the mixture is light and fluffy.
- Add the eggs and vanilla extract. Mix well until combined.
- Sift the flour with the baking soda and salt.
- Add these dry ingredients to the butter mixture in two additions, alternating with the buttermilk.
- Divide the batter evenly between the two pans.
- Bake the cakes for 25-30 minutes until a toothpick inserted in the center comes out clean.
- Allow the cakes to cool for 20 minutes before taking them out of the pan. Let them cool completely on a rack before frosting.
For the frosting:
- In a saucepan over medium-low, melt the chocolate with butter, stirring until all the chocolate has melted and the mixture is smooth.
- Remove from the heat and allow to cool for about 5 minutes (you want it warm, but not hot). Whisk in the sour cream, vanilla, and salt.
- Gradually mix in the cocoa powder and then add the sugar, about 1 cup at a time, until frosting is desired consistency. You may need a little more or less sugar for a spreadable thickness and texture.
Frosting and Rosettes
- Frost the cake with a thin layer of smooth frosting. Prepare a piping bag with Wilton 2D Tip using the remaining frosting. Starting at the bottom of the cake, pipe rows of rosettes around the cake. Repeat until the cake is completely covered.
Tips
- To ensure the butter and sugar are creamed well, beat the mixture for a good three minutes.
- For a light, airy cake, sift the dry ingredients together before adding them to the wet ingredients.
- Don’t overbeat the batter. Add the eggs, one at a time, beating just until the yellow disappears. Over beating the eggs may cause the batter to overflow the sides of the pan in the oven or create a fragile crust that crumbles when frosting. Once the flour is added, mix until just incorporated.
- If you think you may have overmixed the batter, just set it aside for ten minutes to let it relax before baking.
- Sift the sugar and cocoa powder together before making the frosting to remove any lumps.
- For a visual demonstration of piping the rosettes, you can check out my Easter Cupcakes video to demonstrate how it’s done.
- Practice making the rosettes on the bottom layer before stacking the cakes. That way, you can get the hang of it before starting. If you need more practice, just scrape it off and do it again!
- If the frosting gets too soft while you pipe, stick the decorating bag in the fridge for a few minutes to firm it back up.
- Need more information on using a piping bag? This video by Wilton may be helpful.



Leave a Reply