This site runs ads and generates income from affiliate links. Read my disclosure policy.
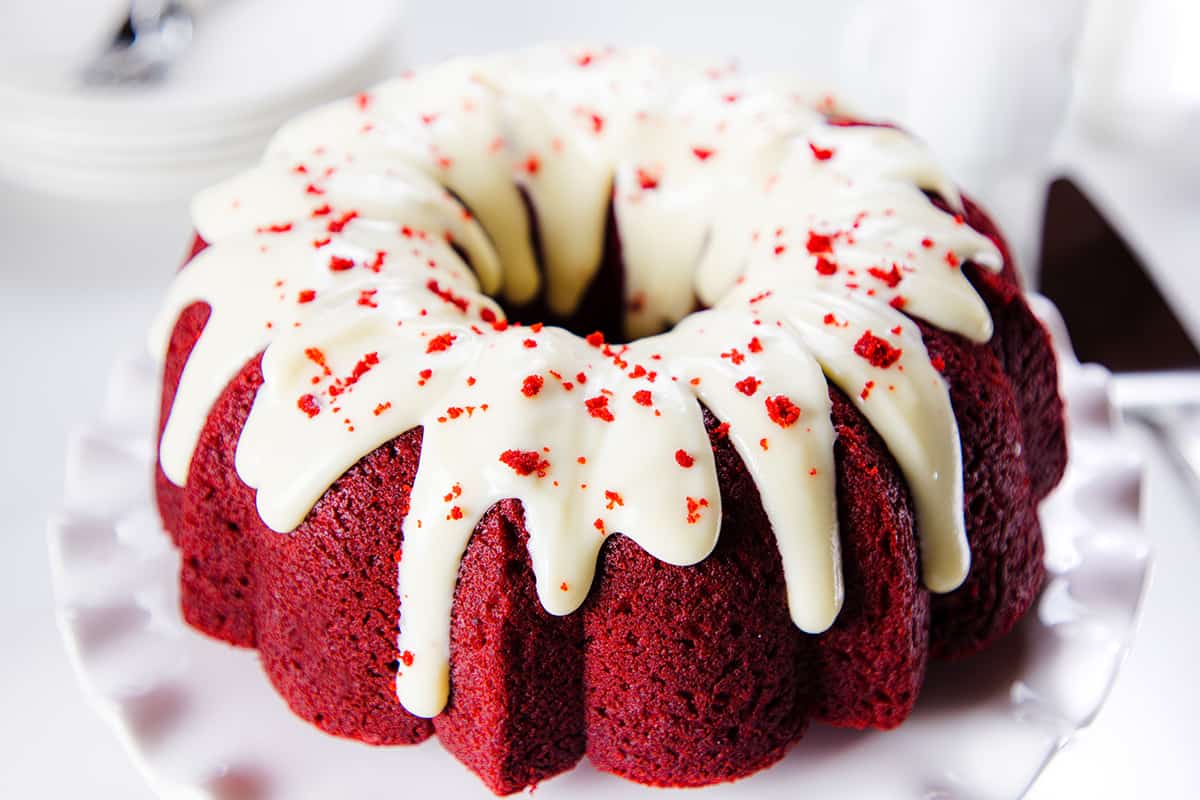
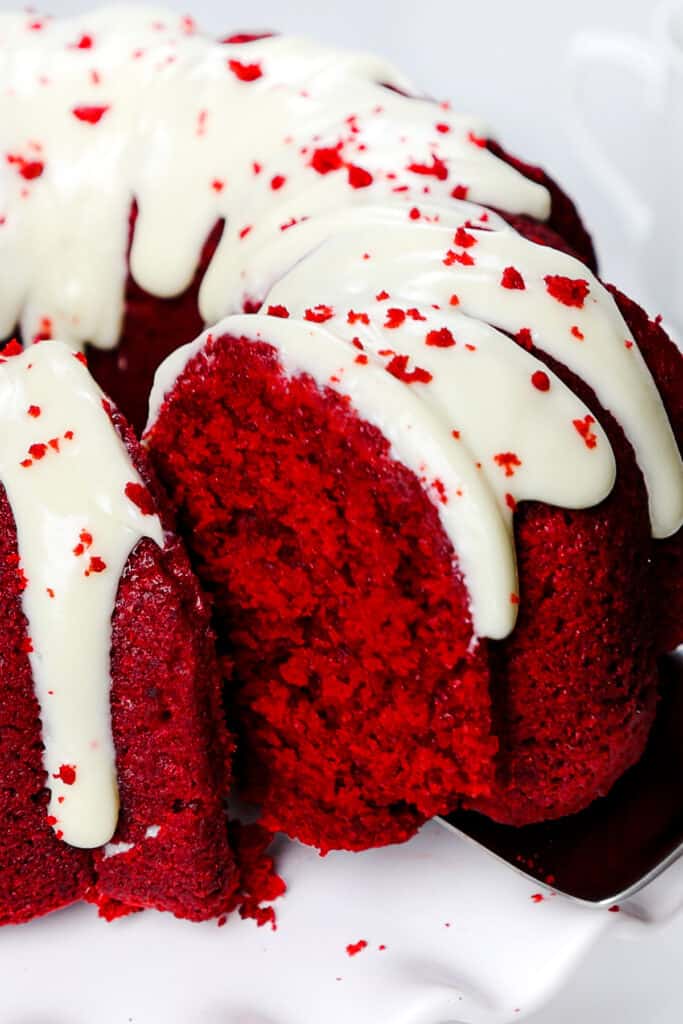
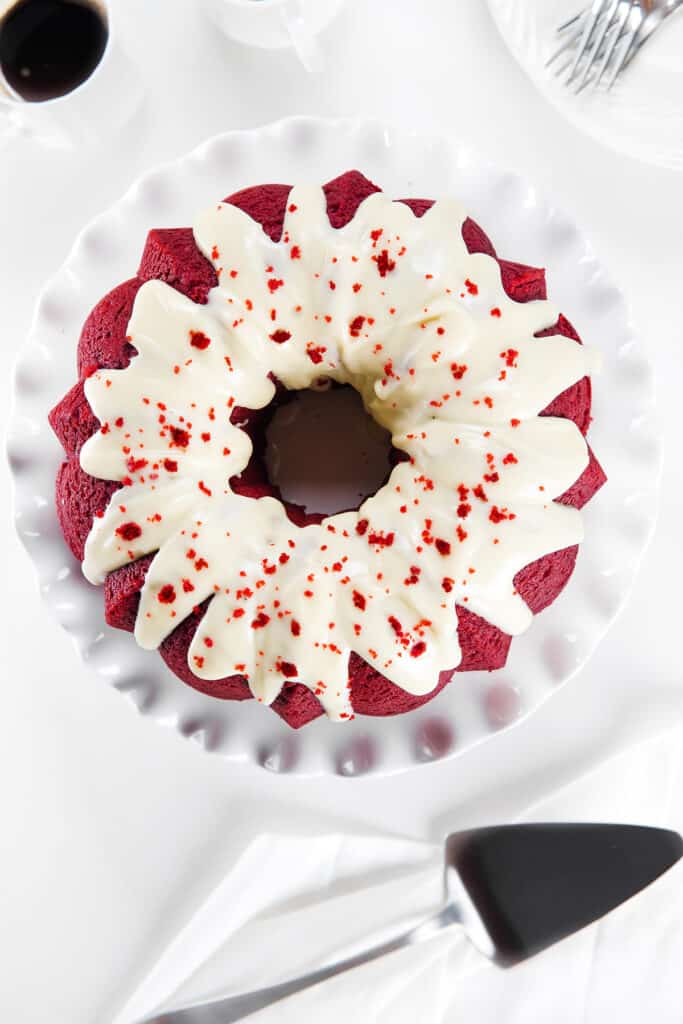
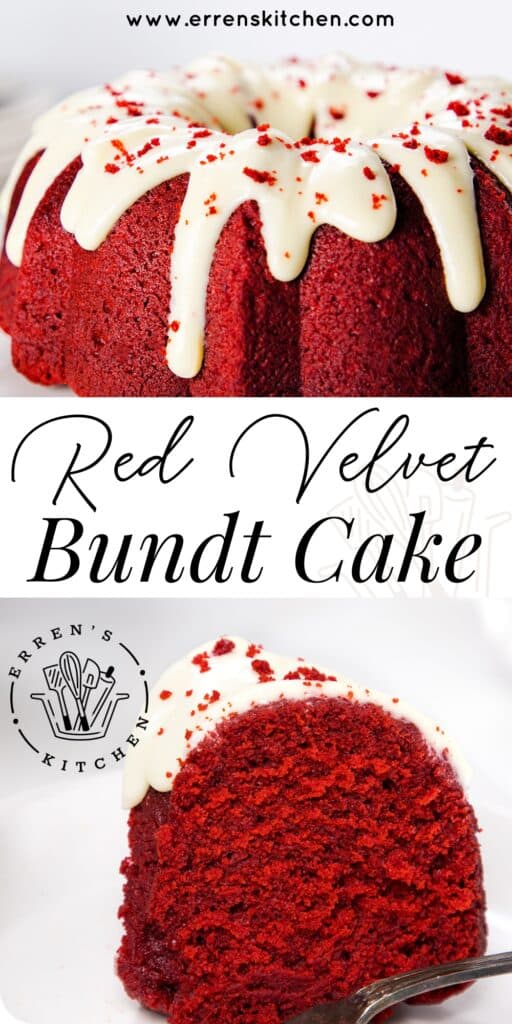
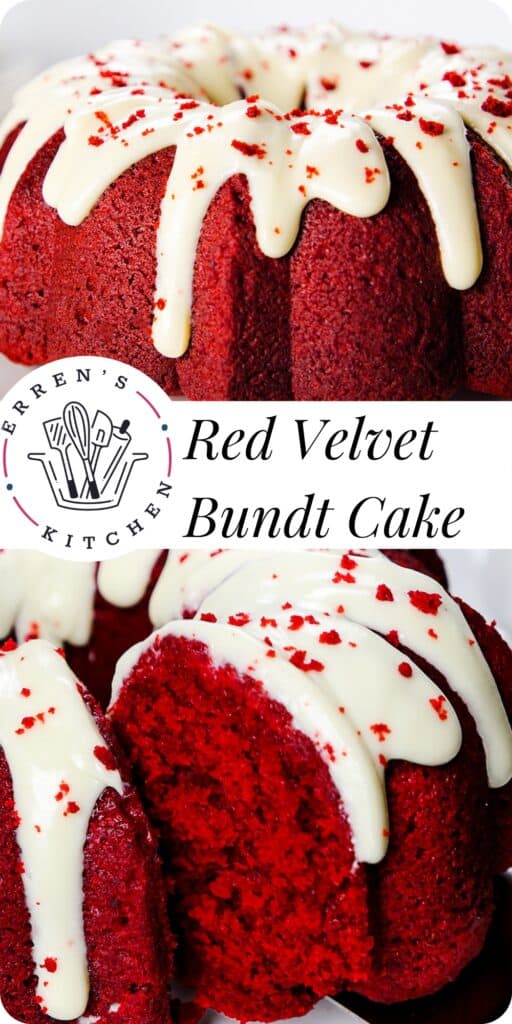
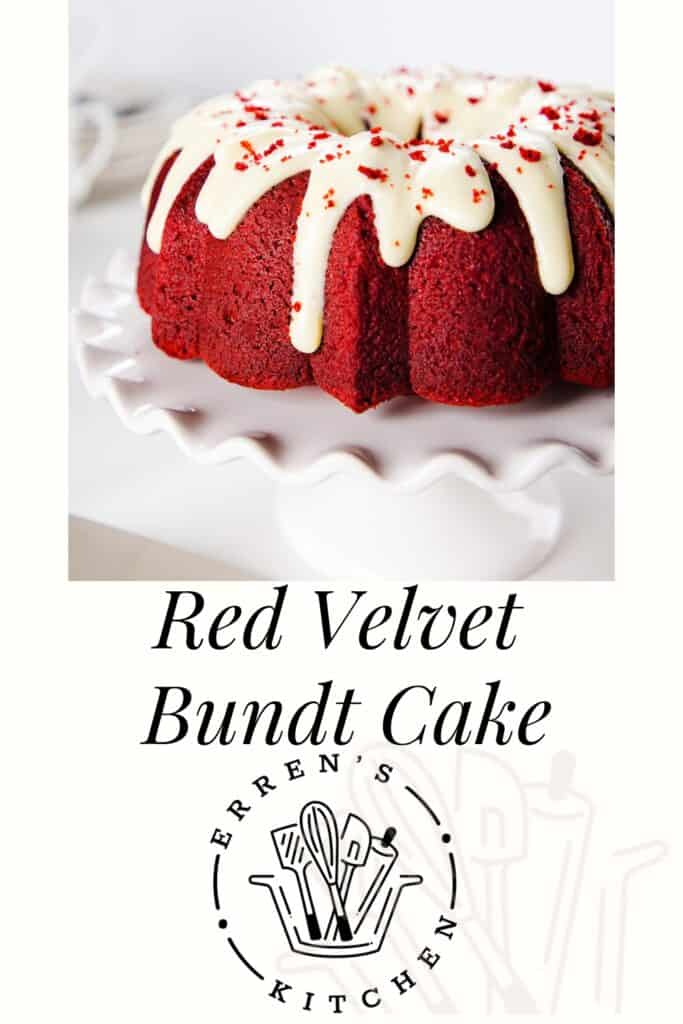
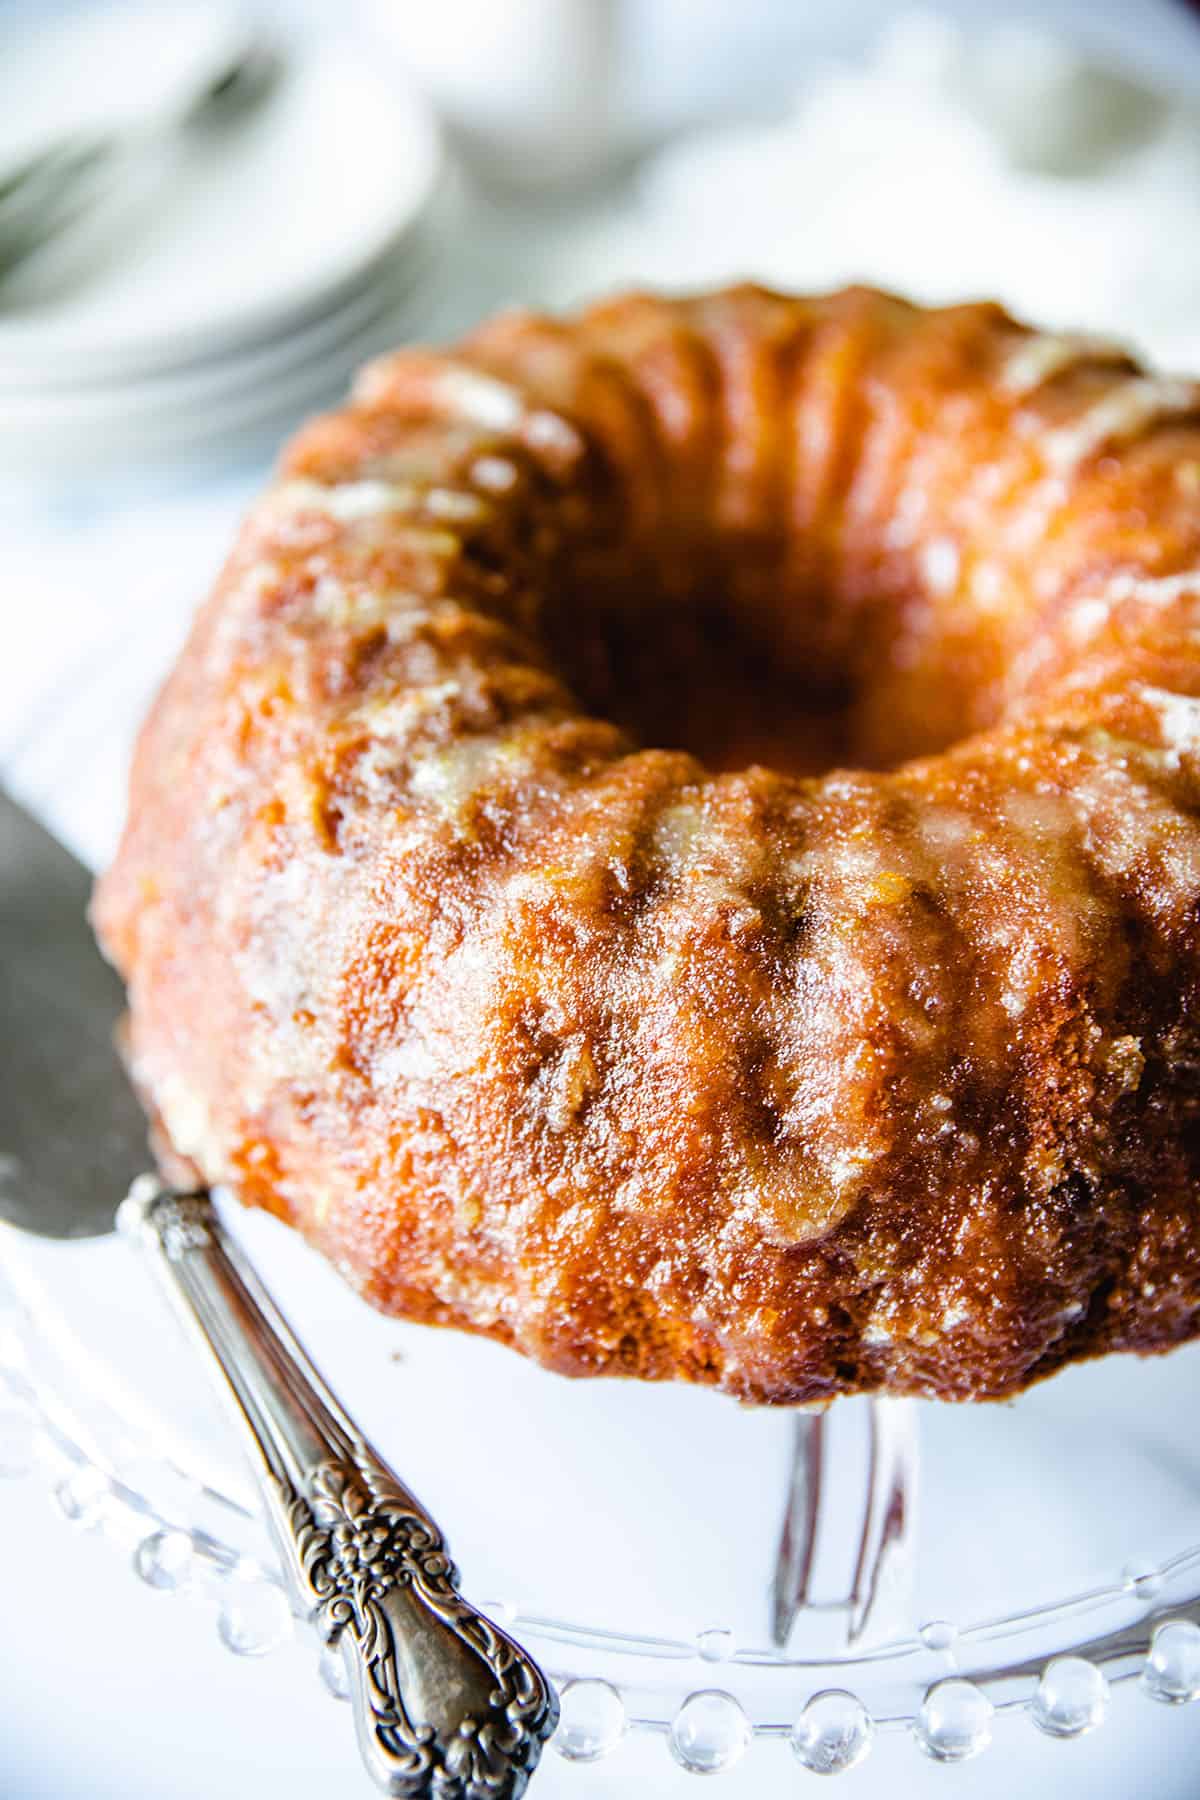
The moist and tender crumb of this Red Velvet Bundt Cake, combined with the tangy sweetness of cream cheese icing, makes it hard to resist.
If you love Red Velvet Bundt, you’ll love my Black Velvet Cake Too!
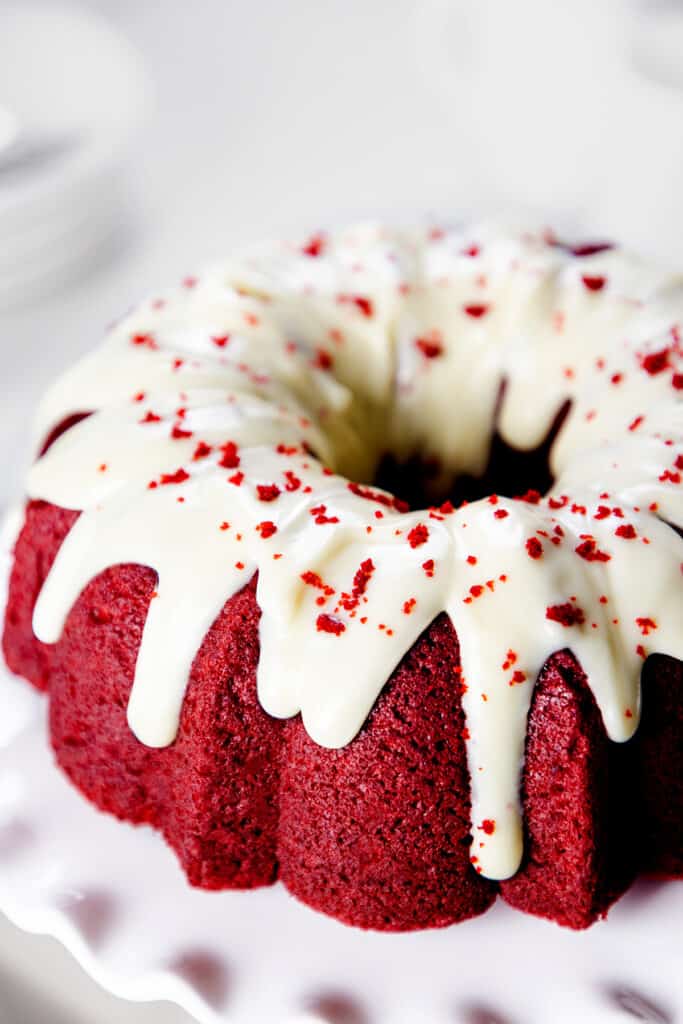
This is the cake I make for my son’s birthday every year. It is truly delicious, and making it from scratch is super simple. Plus, it’s so pretty that you’ll still be able to make an impressive presentation without much work! Trust me, once you try this Red Velvet Bundt Cake, you’ll never want to return to store-bought cakes again.
Why This Recipe Works
- Making the cake in a Bundt pan is not only easier, but it also shows off the cake’s deep red color.
- Using oil in the batter produces moister, softer cakes than cakes made with the creaming method.
- Adding melted butter adds flavor that you don’t get with oil alone.
- Using icing that can be poured onto the cake makes the recipe even simpler.
Ingredient Notes
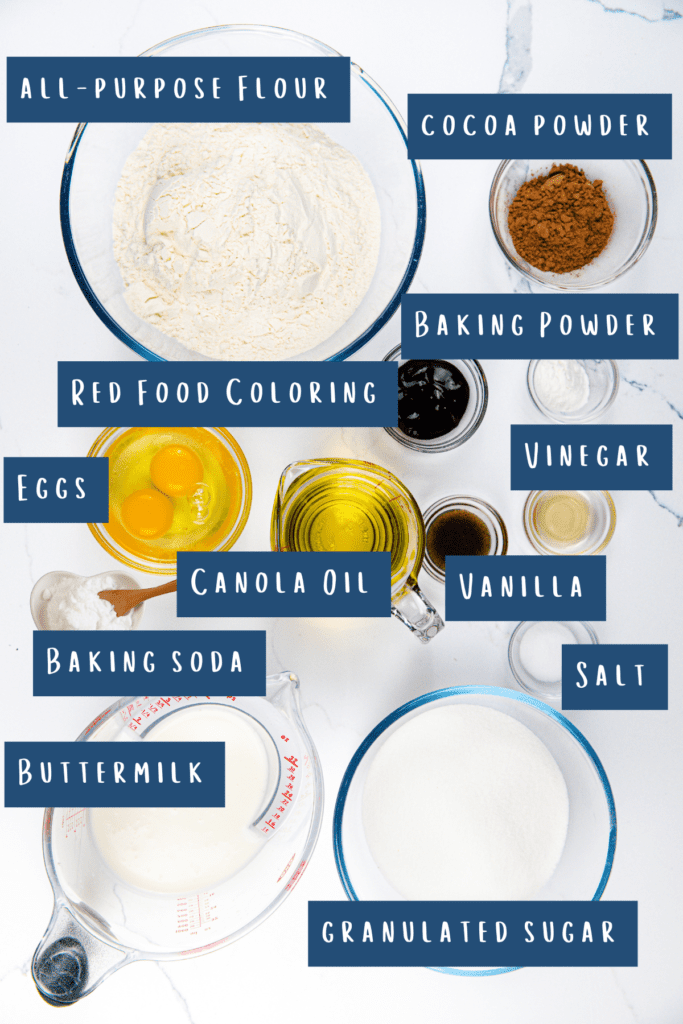
Sugar: Both granulated and caster sugar are acceptable choices for this recipe.
Flour: Use all-purpose or plain flour. Self-rising flour is not suitable for this recipe.
Cocoa Powder: Dutch process cocoa or regular unsweetened are both suitable choices
Baking Powder and Baking Soda: Ensure the baking powder and baking soda (aka bicarbonate of soda) are fresh and not expired, as they won’t work correctly.
Buttermilk: Full-fat or low-fat buttermilk can be used for this cake. If you don’t have buttermilk, make a homemade version by adding 1 tablespoon of lemon juice or white vinegar to 1 cup of milk and let it sit for 10 minutes before using.
Salt: Fine kosher salt, sea salt, or table salt are all appropriate for this recipe.
Red Food Coloring: Gel food coloring produces a brighter, deeper red color than liquid food coloring. You can get my favorite food coloring on amazon (Paid Link). A little goes a long way!
Vinegar: We use white vinegar, but apple cider vinegar will work too. The vinegar helps to make the cake more tender by breaking down some of the gluten proteins in the flour.
Vanilla: Use vanilla bean paste or pure vanilla extract for the best flavor.
Cream Cheese: Full-fat block cream cheese is best, but the tub variety will also work for the icing.
Powdered Sugar (AKA icing Sugar): Use whatever brand you like best, and be sure to sift it to avoid lumps.
Choosing And Preparing Your Bund Pan
Bundt cakes are notoriously hard to remove from the pan. The perfect solution is a good quality non-stick pan. Beware of older non-stick pans, as a scratched or worn non-stick surface may no longer be slick enough to release your cake well. So, it’s essential to take good care of your pans and make sure you hand wash them to avoid damaging the non-stick surface.
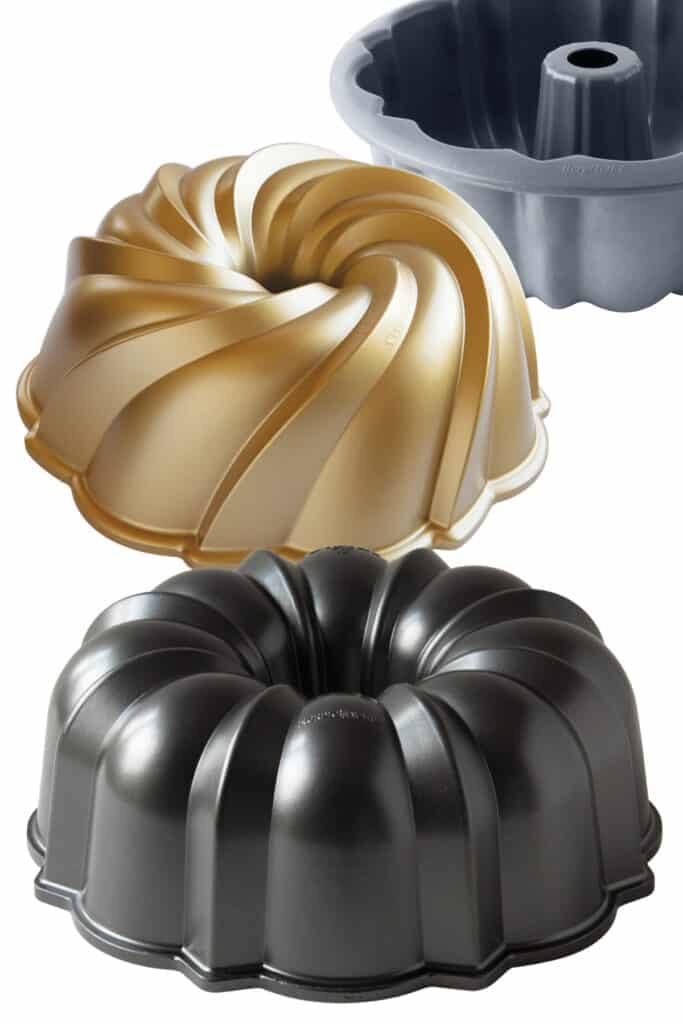
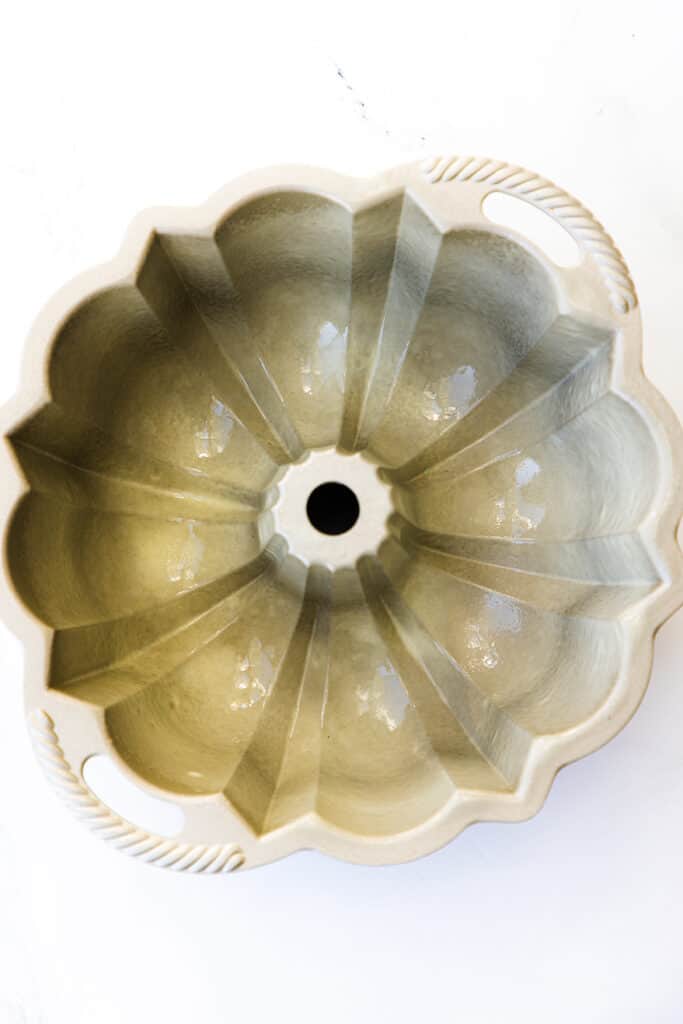
Grease the pan thoroughly with a pan-coating baking spray or shortening — not butter. The milk solids in butter can act like glue, encouraging cake batter to stick to the pan.
Food Coloring Tips
When using food coloring in a red velvet cake, there are a few essential things to keep in mind to achieve the best results:
- Use gel food coloring: Gel food coloring is more concentrated than liquid food coloring, which means you can achieve the desired shade with less. It’s also less likely to affect the cake’s texture and is easier to mix into the batter.
- Use the right amount: Start with a small amount of food coloring and gradually add more until you reach the desired shade. Overuse of food coloring can overpower the other flavors in the cake, making it taste artificial.
- Mix well: Make sure to mix the food coloring thoroughly into the batter to ensure that the color is consistent throughout the cake. This will also help prevent any streaks or spots from forming.
Step By Step Instructions
1. Preheat the oven to 350°F (180°C) and thoroughly grease a 12-cup Bundt pan with non-stick cooking spray or shortening.
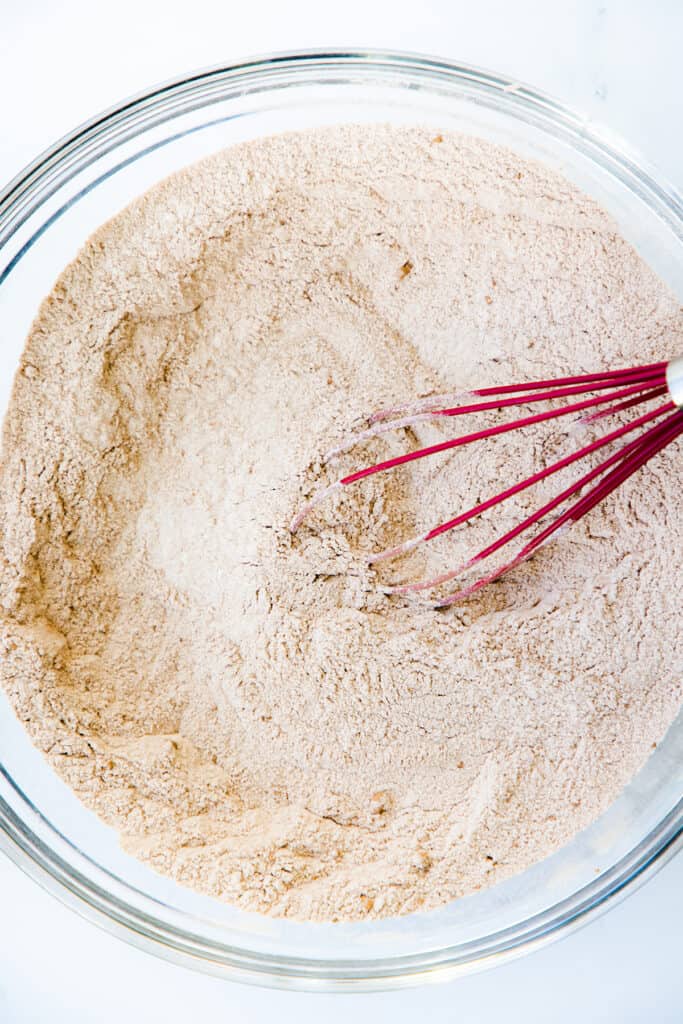
In a large mixing bowl, whisk together three cups of all-purpose flour, three tablespoons of cocoa powder, one and a half teaspoons of baking powder, a half teaspoon of baking soda, a teaspoon of salt, and three-quarters of a cup of granulated sugar. Set aside.
In a large measuring cup or jug, whisk together three-quarters of a cup of vegetable oil, ten tablespoons of melted butter, one and a half cups of buttermilk, 2 eggs, 2 teaspoons of vanilla, one teaspoon of vinegar, and one tablespoon of red food coloring gel.
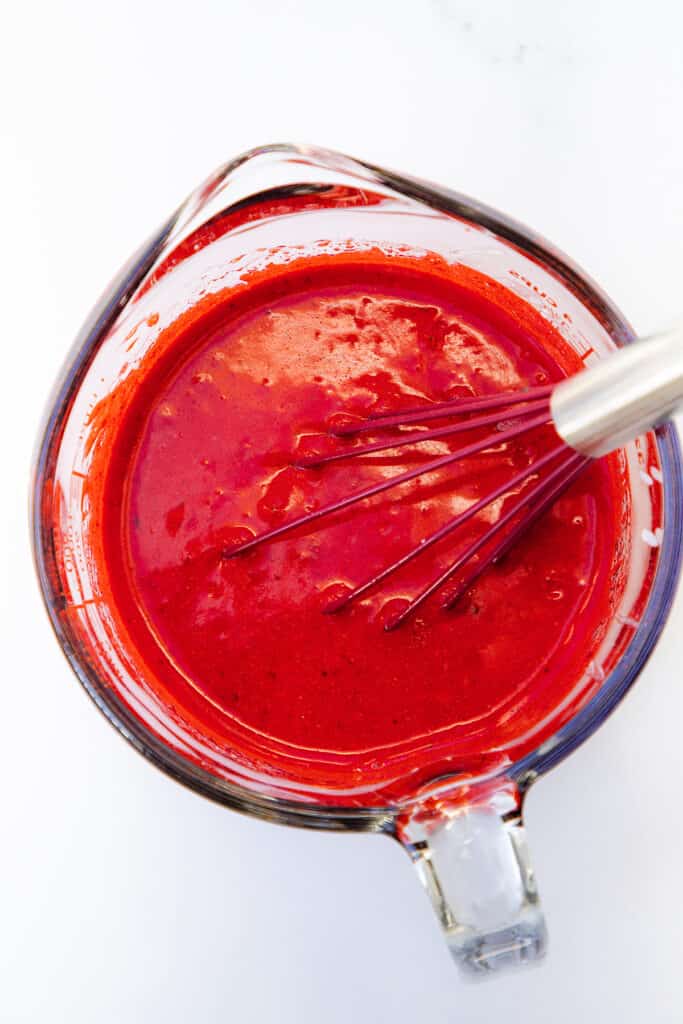
You may be tempted to add extra food coloring, but only add enough to achieve a vibrant red, as too much will affect the flavor of the cake. Depending on your brand, you may only need a couple of teaspoons.
Pour the wet ingredients into the dry ingredients and mix with a rubber spatula until combined and no lumps remain.
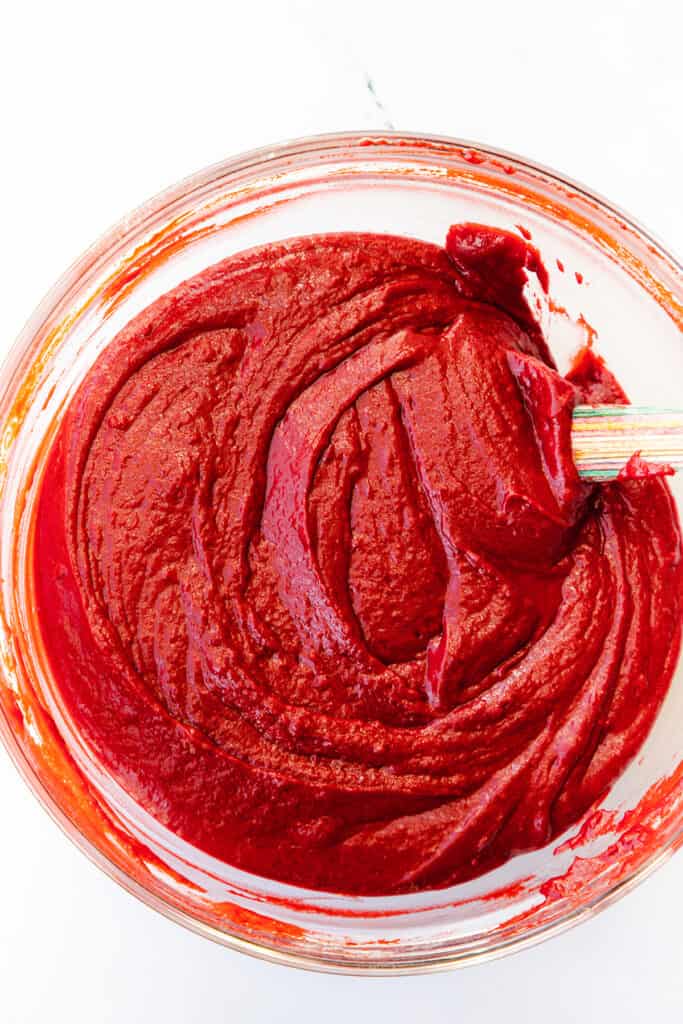
Pour the batter into the prepared pan and use a spatula to spread it evenly over the pan.
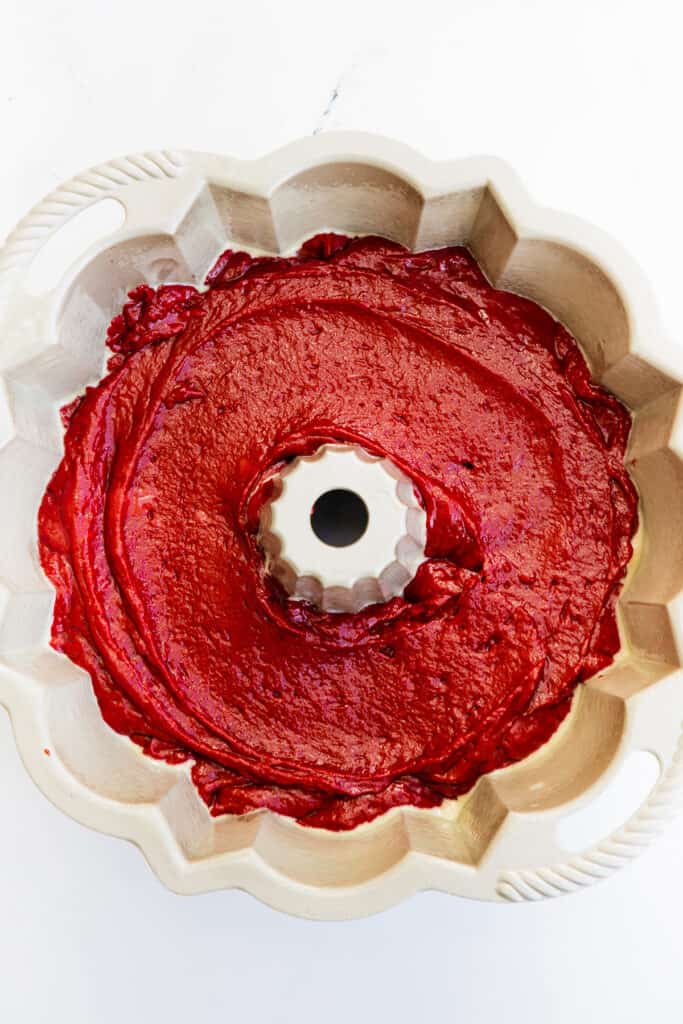
Bake in preheated oven for 40 to 50 minutes, or until a toothpick or cake tester inserted into the center of the cake comes out clean.
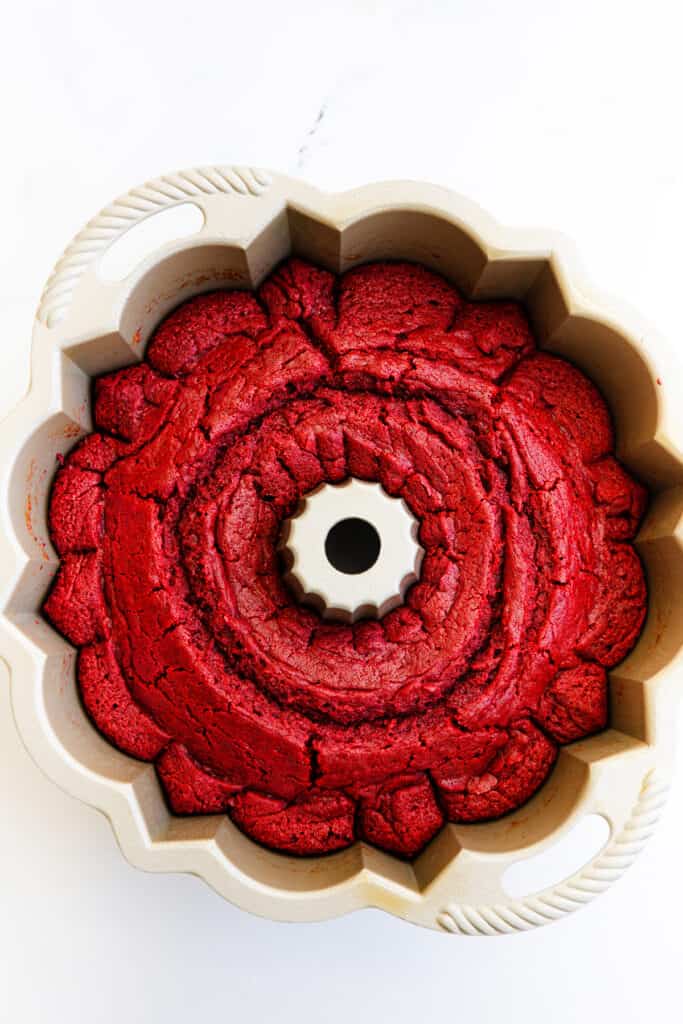
Remove from oven and allow to cool in pan on a wire rack for 10 minutes before inverting onto the cooling rack and allow the cake to cool completely before icing, about 1 hour.
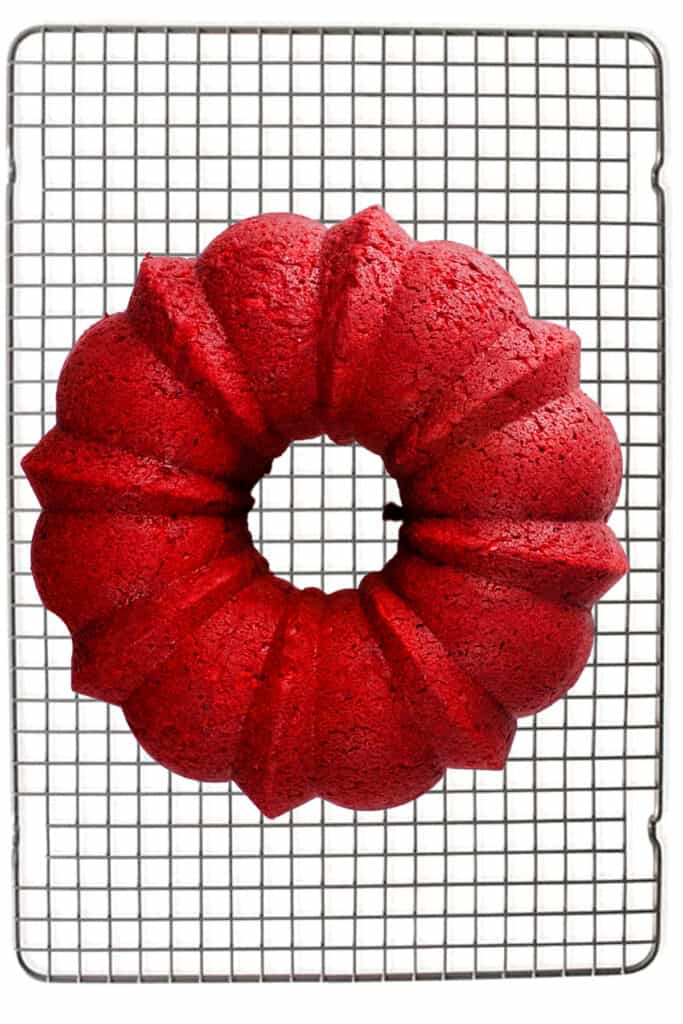
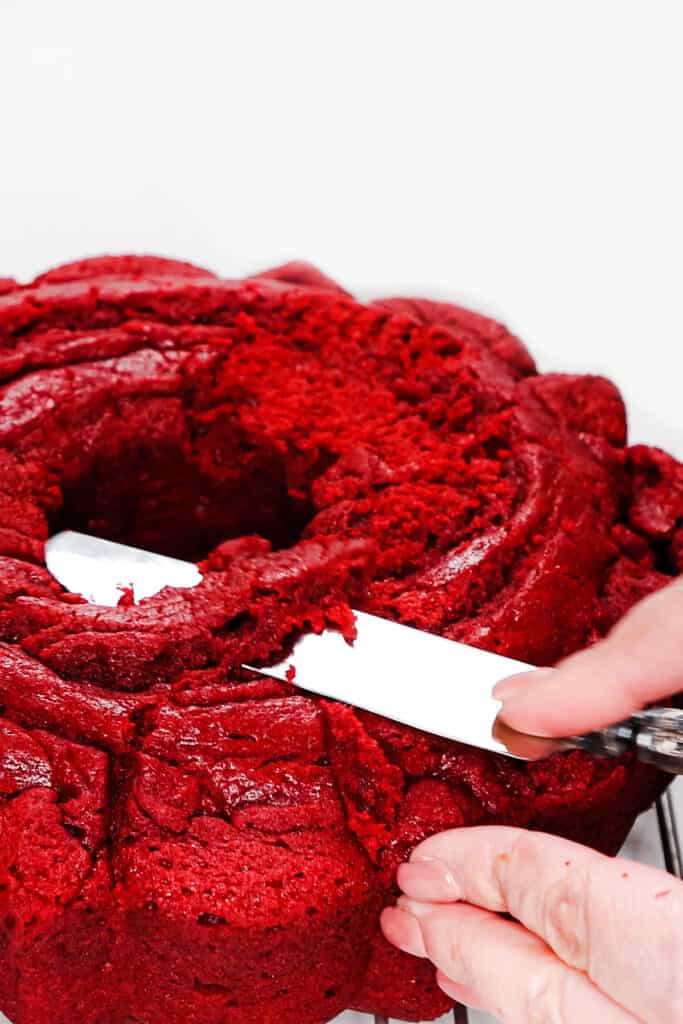
Once cooled, if you want to decorate it with cake crumbs like I did cut off a small slice and crumble it onto a plate with your fingers.
To Make the Cream Cheese Icing
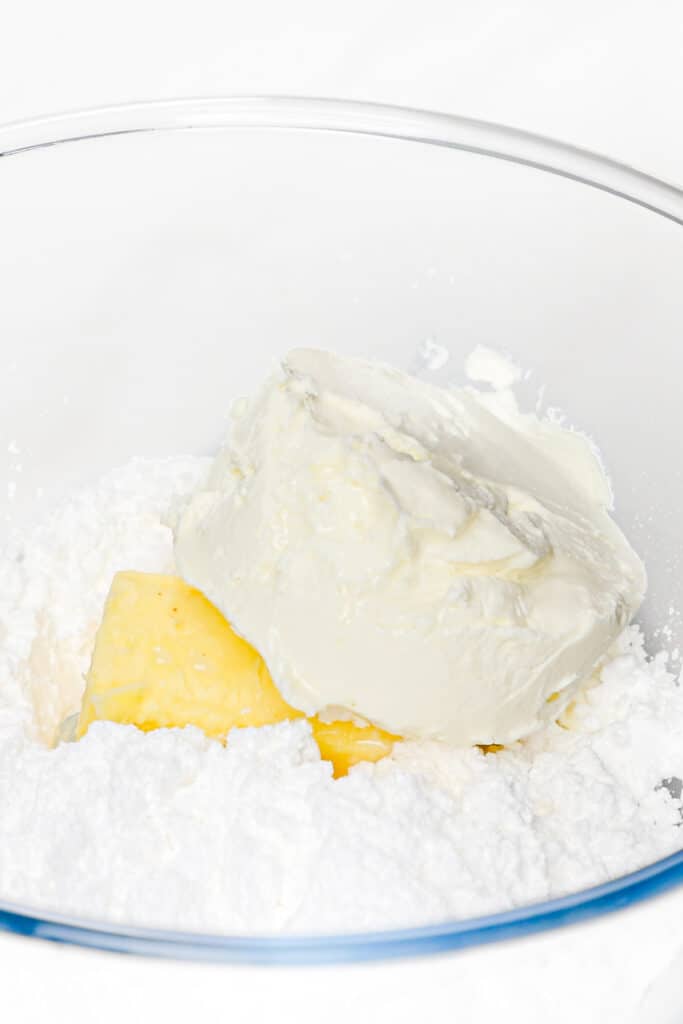
Add two tablespoons of softened butter. a cup of room-temperature cream cheese, one teaspoon of vanilla, and a cup of powdered sugar to a mixing bowl.
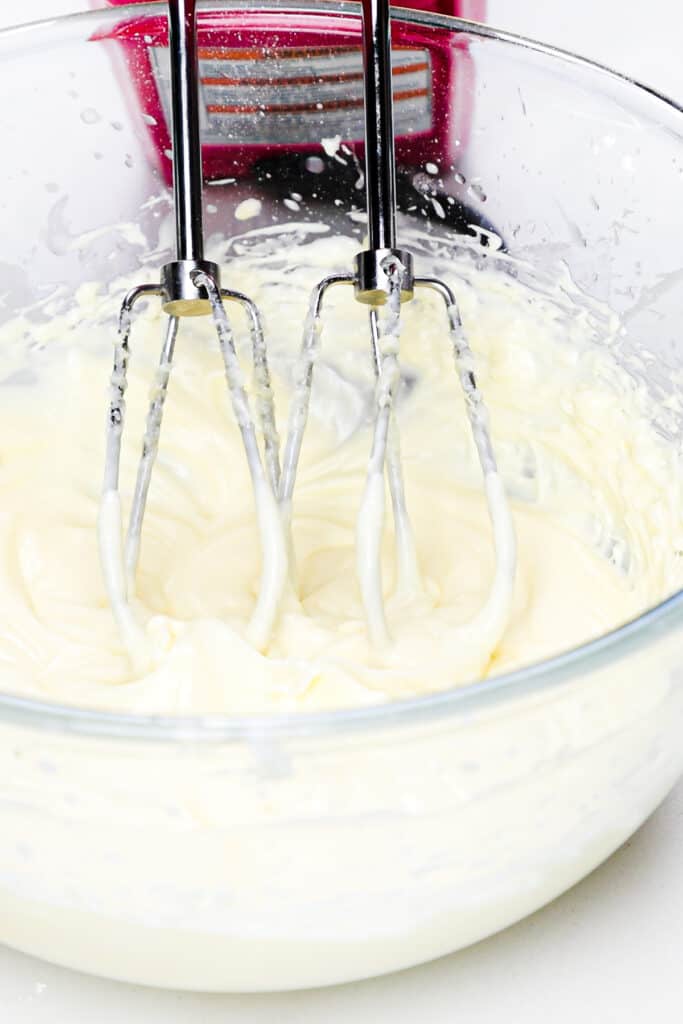
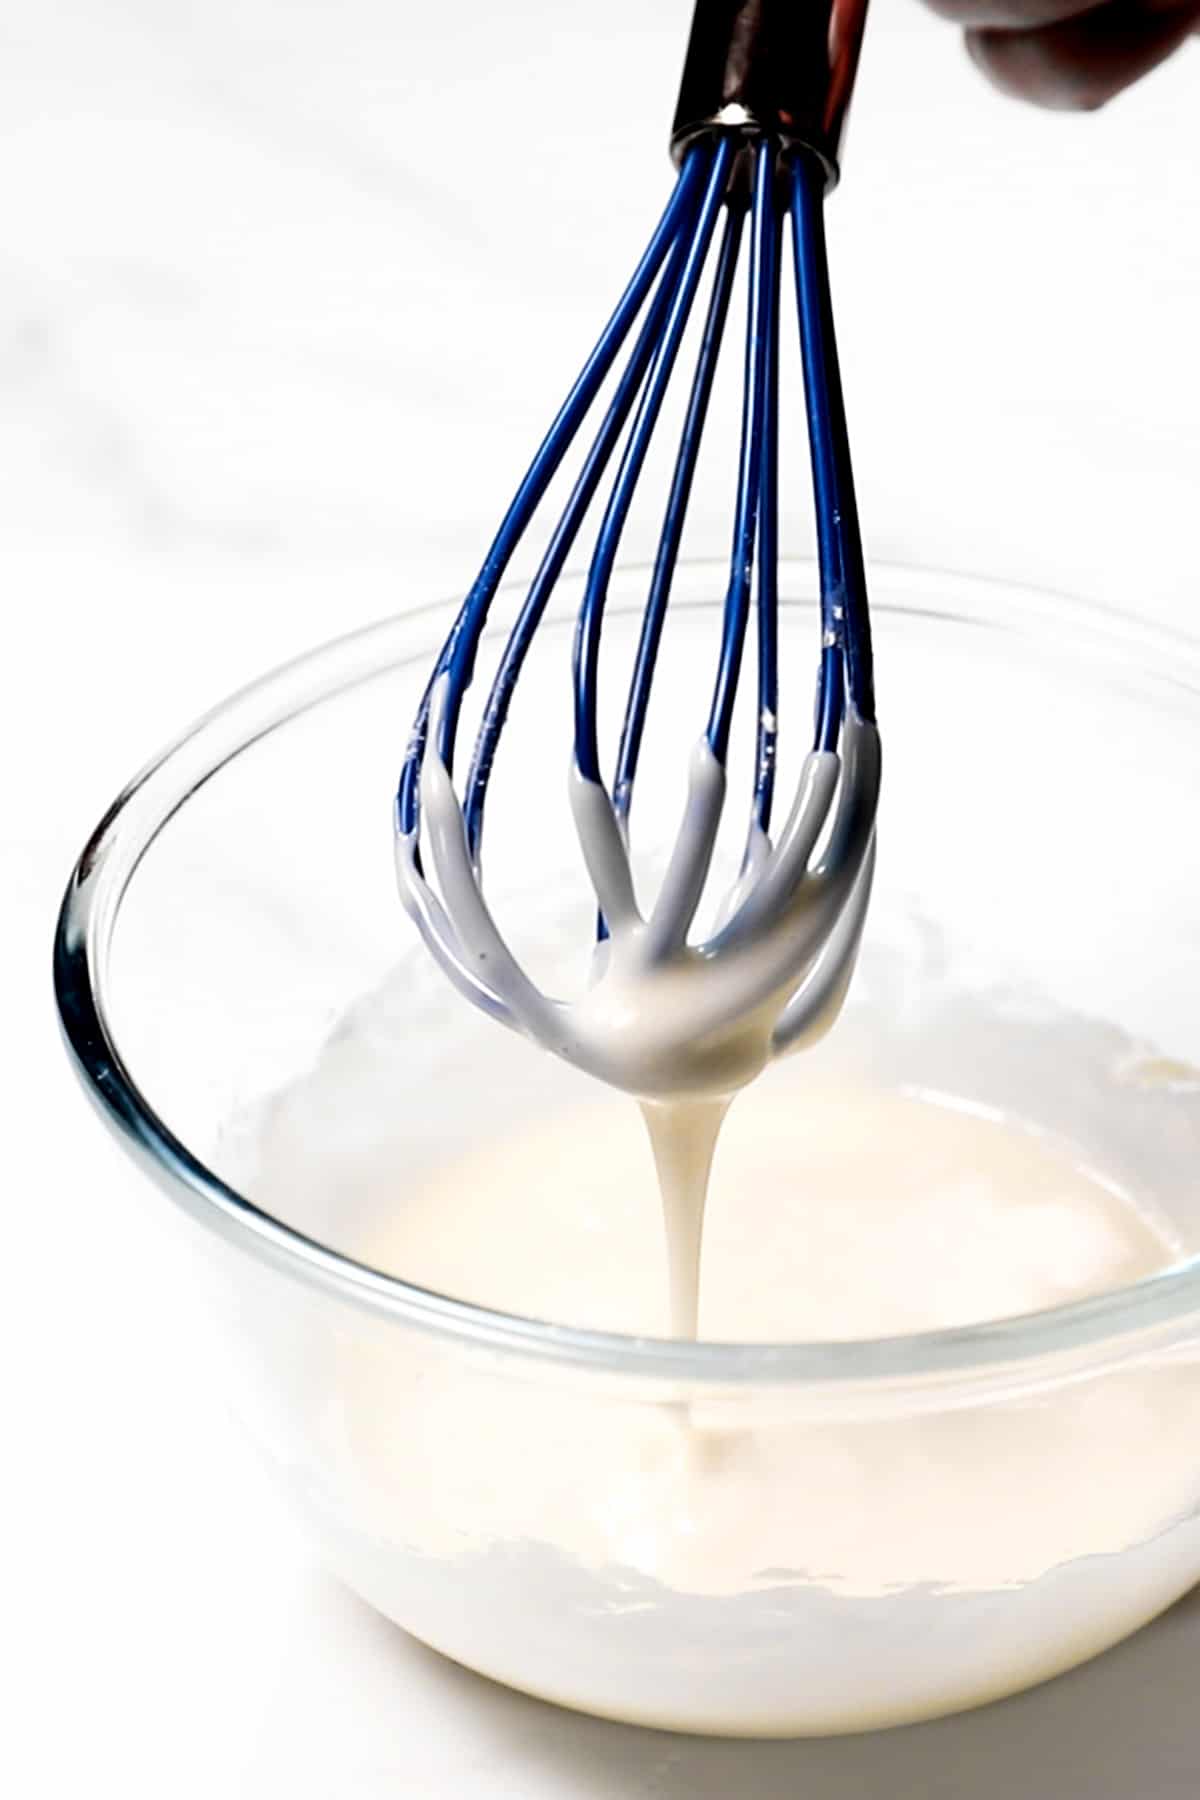
Starting with a low speed, beat the mixture together until combined. Then Increase to high speed and smooth and creamy. Then beat in one tablespoon of hot water at a time until the icing reaches your desired thickness.
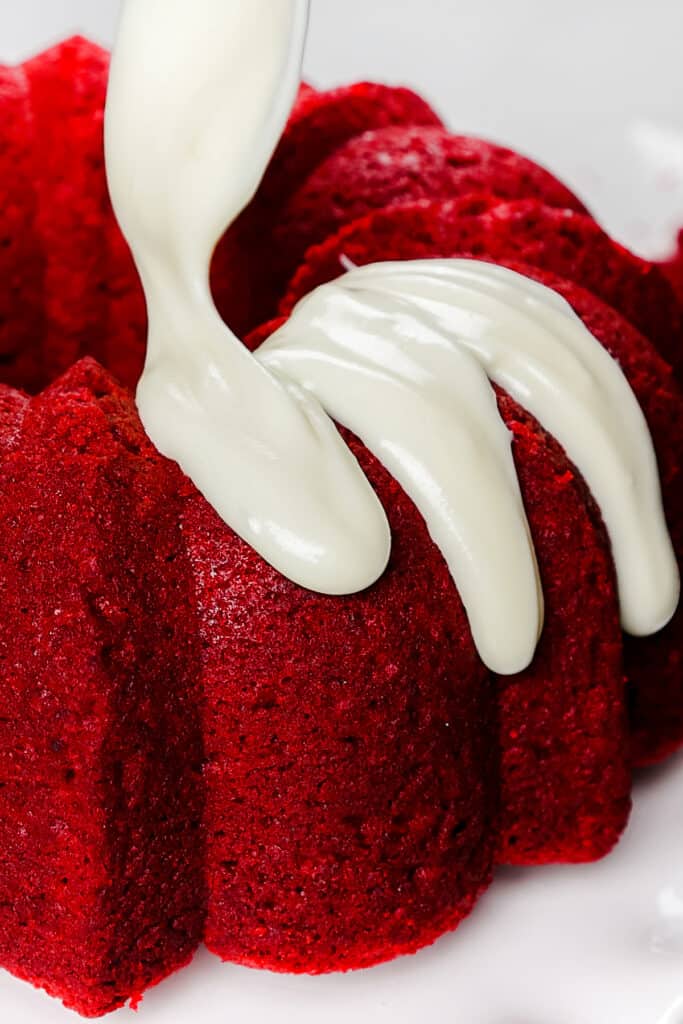
Drizzle the icing evenly over the cooled cake. Depending on how thick your icing is, this can be done by pouring it slowly onto the cake, or by spooning it over the top.
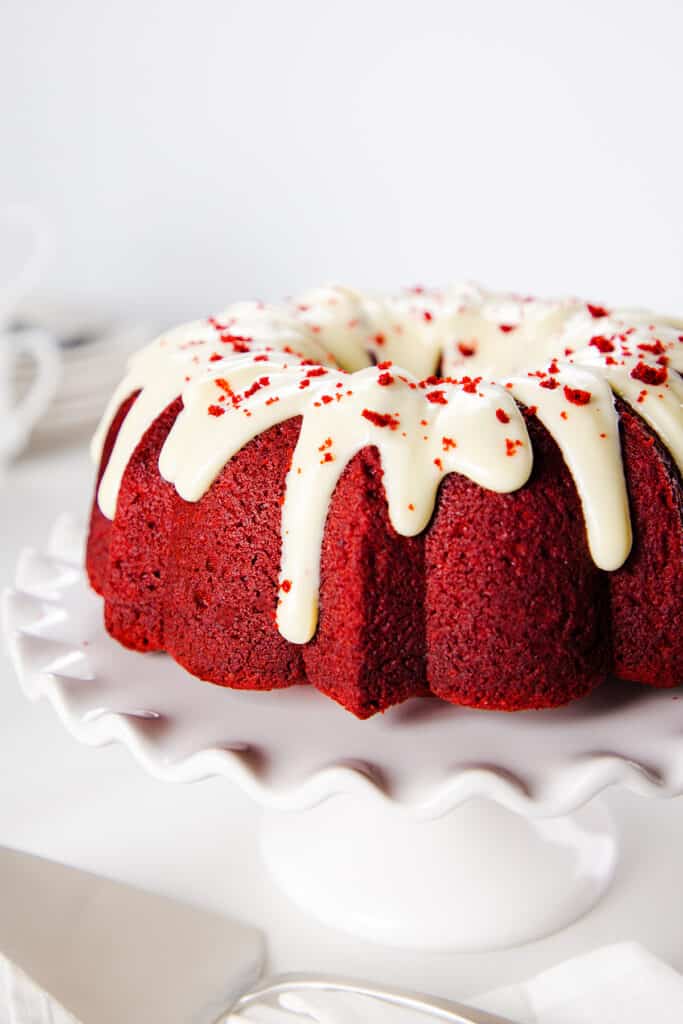
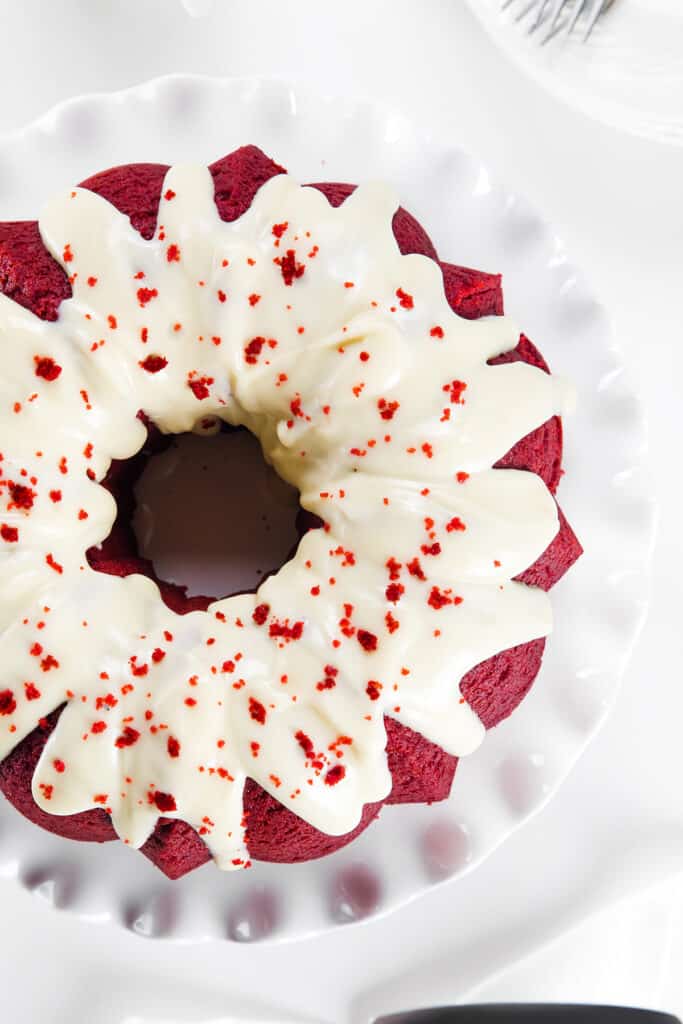
Scatter the cake crumbs on top to decorate. Dropping them from a height will allow the crumbs to spread evenly over the frosting.
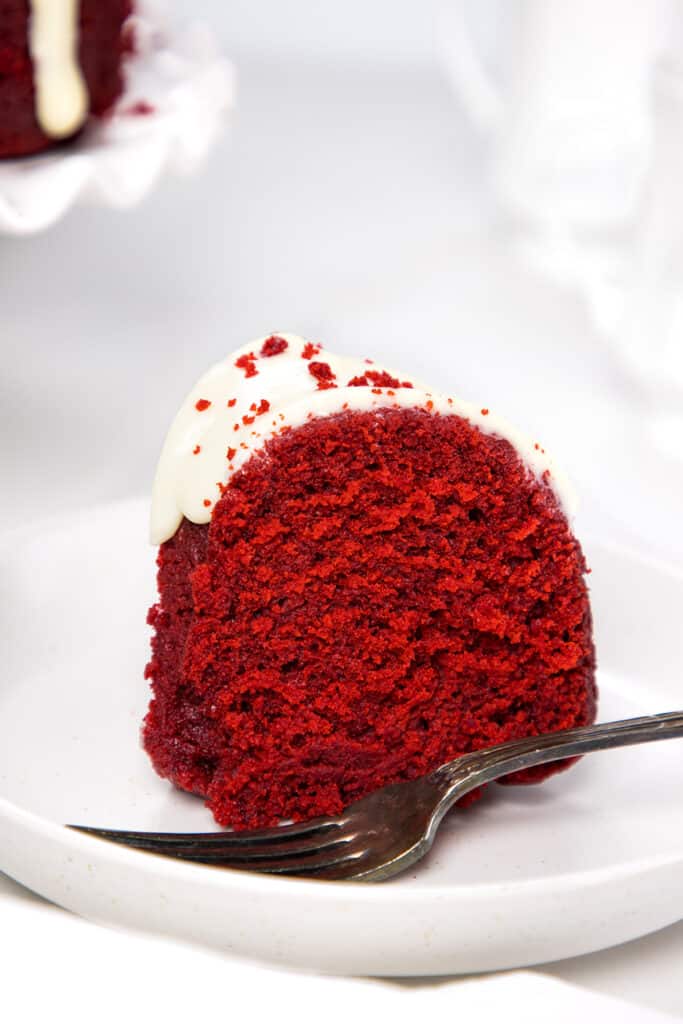
Serve and enjoy.
Storage & Freezing Instructions
Red Velvet Bundt Cake without the icing can be stored in an airtight container at room temperature for up to 3 days. Once, iced, the cake should be stored in the fridge, but cakes stored in the fridge will dry out much faster than at room temperature.
To Freeze: Cool the cake completely, then wrap it tightly in plastic or aluminum foil. Place in a freezer-safe container and store in the freezer for up to 3 months. To thaw, place the frozen cake on your counter for a few hours. Then ice before serving.
Recipe Tips
- To ensure the cake will easily come out of the pan, make sure to grease it well before adding the batter. You can also use a non-stick cooking spray for this step.
- If you find that your cake is sticking to the pan, run a silicone pallet knife around the edges of the cake to loosen it.
- Always bake with ingredients that are at room temperature. When you use buttermilk or eggs straight out of the fridge, they won’t mix as well with the dry ingredients at room temperature. Poorly combined ingredients can cause a cake to be dense rather than light and fluffy.
- Food coloring gel will give the cake the best color. Be sure to add it slowly and check the color before adding more.
- Be careful not to overmix the batter. Overmixing will result in a tough, dense cake. Once the flour is added to the batter, try mixing with a wooden spoon instead of a mixer.
- Don’t have buttermilk on hand? You can replace it with a cup of whole milk mixed with a teaspoon of vinegar or lemon juice.
- Soften the cream cheese and butter before making the icing to prevent lumps.
Did you make this?
Recipe
Red Velvet Bundt Cake
Ingredients
For the cake:
- 1¾ cup granulated sugar
- 3 cups all-purpose/plain flour
- 3 tablespoons cocoa powder
- 1½ teaspoon baking powder
- ½ teaspoons baking soda
- 1 teaspoon salt
- 2 large eggs
- 1½ cups buttermilk (at room temperature )
- 10 tablespoons butter (melted)
- ¾ cups vegetable oil
- 1 teaspoon vinegar
- 2 teaspoons vanilla extract
- 1 tablespoon red food coloring gel
For the Frosting:
- 1 cups powdered sugar
- 2 tablespoons butter (softened)
- 1 cup cream cheese (softened)
- 1 teaspoon vanilla extract
- 4 tablespoons hot water
Instructions
For the cake:
- Preheat oven to 350°F/180°C and generously grease a 12 cup bundt pan.
- In a large bowl, whisk the dry ingredients until combined.
- In a separate bowl, whisk together buttermilk, eggs, butter, oil, vinegar, vanilla, and red food coloring until well blended.
- Add the wet ingredients to the flour mixture and mix until combined.
- Add the batter to the prepared pan. Bake for approximately 40 to 50 minutes or until a cake tester comes out clean.
- Remove from the oven and let it cool for 10 minutes in the pan, then turn it out onto a cooling rack and to cool completely.
- Remove a small amount of cake from the surface of the cake that will be on the bottom and crumble it onto a small plate and set it aside to use as decoration later (see photos).
For the Icing
- Blend the softened cream cheese and butter in a medium mixing bowl until smooth.
- Add the powdered sugar ½ cup at a time, blending after each addition.
- Add the vanilla and hot water 1 tablespoon at a time until the icing is the desired consistency (I like mine quite thick).
- Spoon or drizzle the icing over the cooled cake and use the cake crumbs to decorate by sprinkling them over the icing.
Update Notes: This recipe was originally posted in 2014, but was updated in 2023 with slight changes to the recipe and new photos.





Leave a Reply