This site runs ads and generates income from affiliate links. Read my disclosure policy.
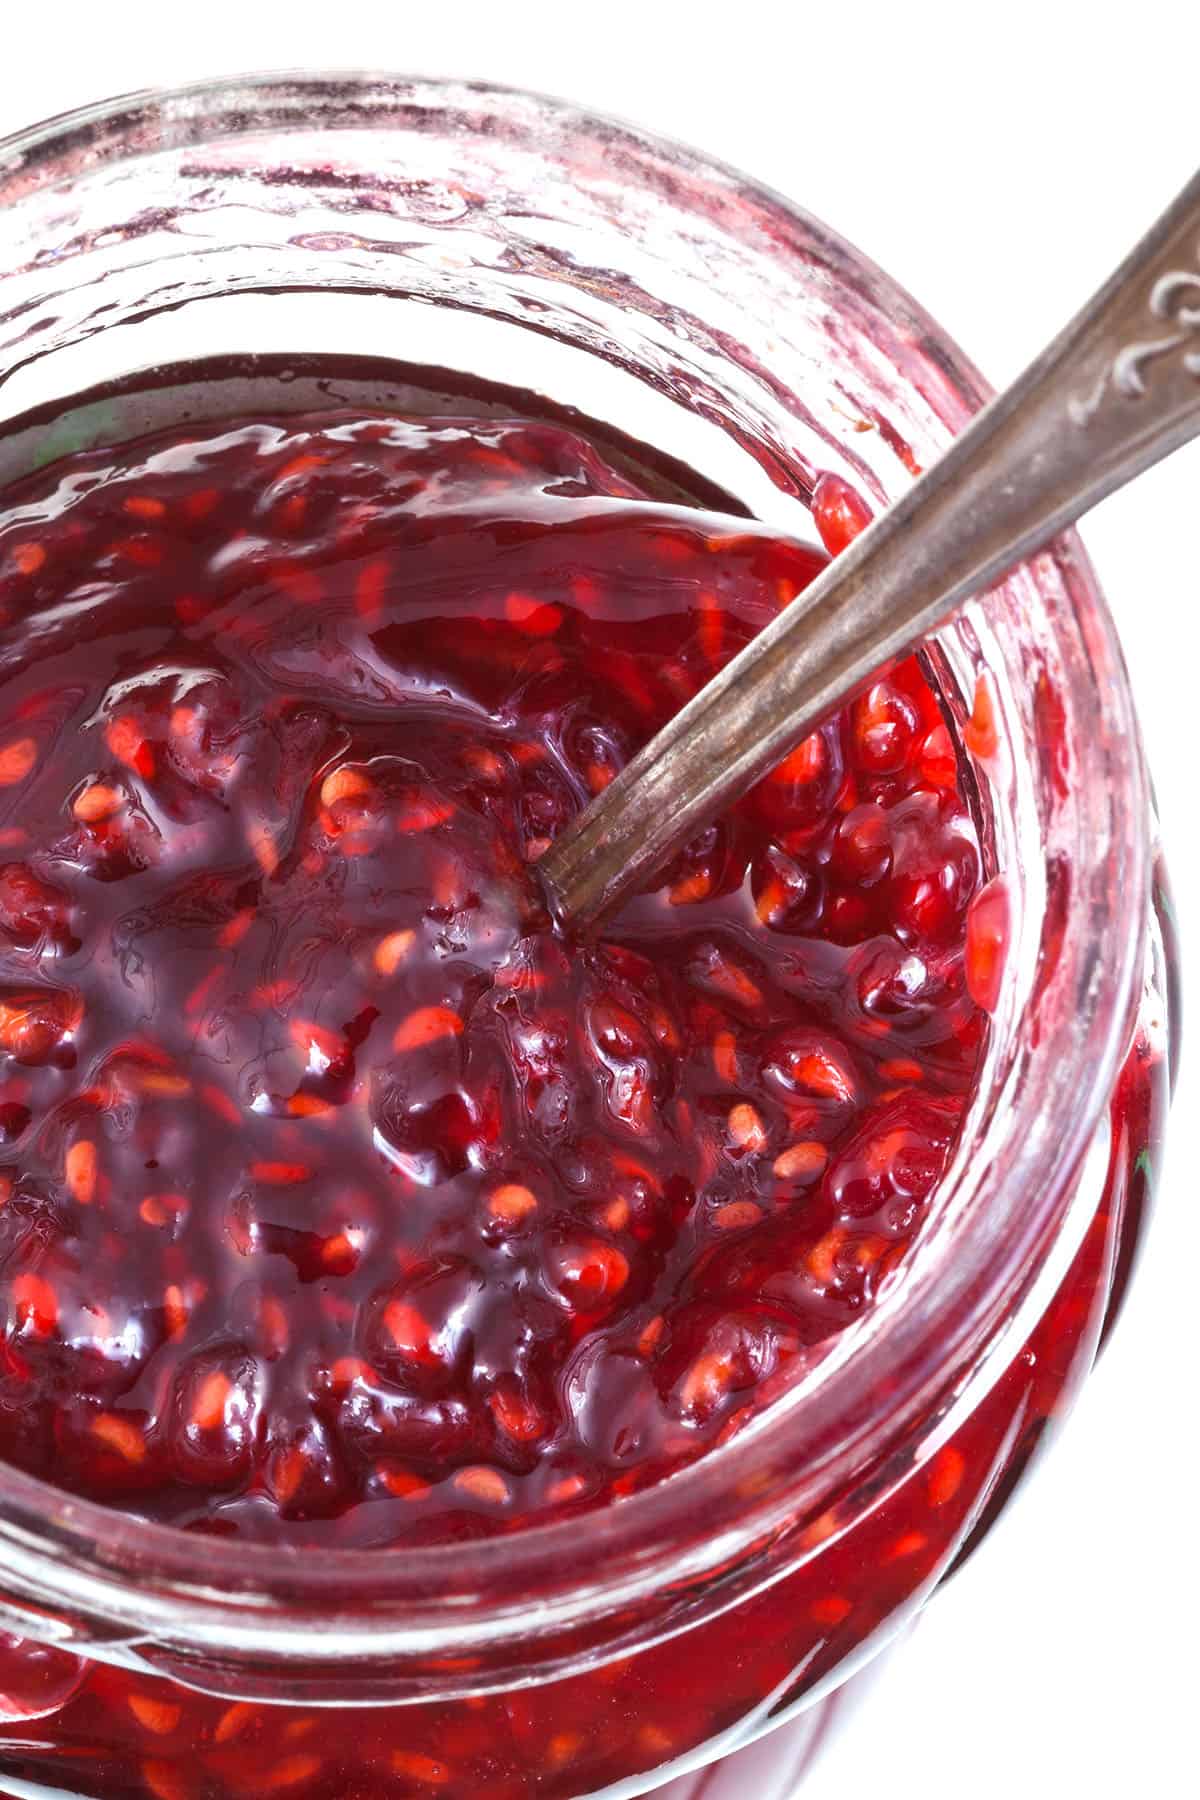
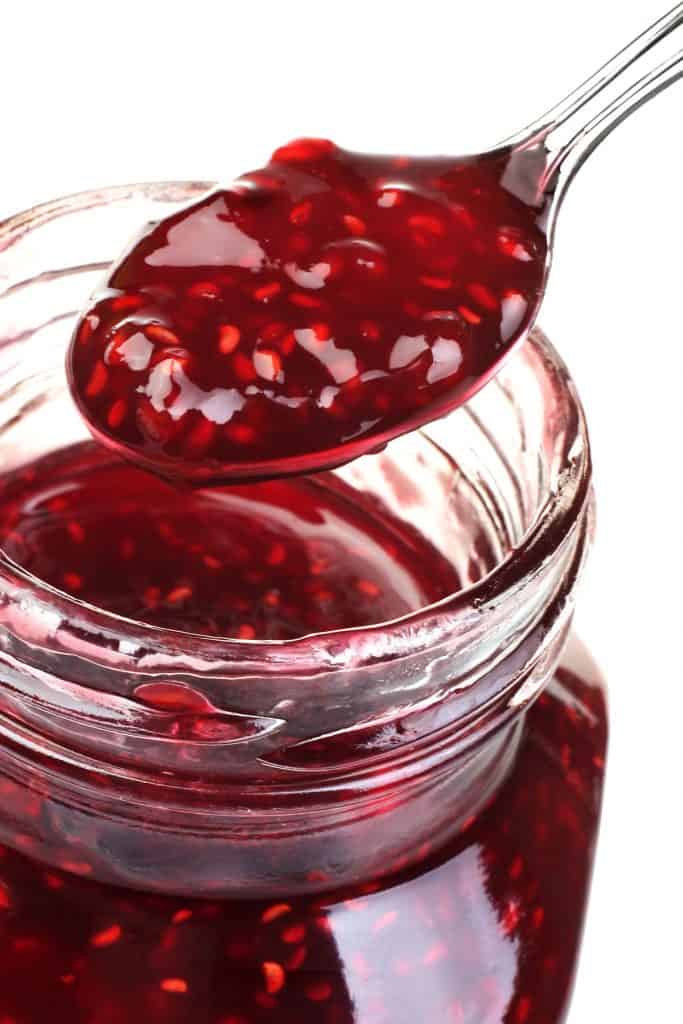
Make your own small-batch Raspberry Jam Preserves with this easy recipe. No pectin is needed for this delicious fruity condiment!
This jam is perfect for spreading on corn muffins or scones or use as a filling in Raspberry Coffee Cake or Victoria Sponge.
This recipe came about after I’d made my easy drop biscuits, I suddenly had the craving for raspberry jam. I didn’t have any jam in the pantry, but I did have a bunch of fresh raspberries!
Voila! Along came my Raspberry jam recipe. It’s so simple I couldn’t even believe it myself! I didn’t have pectin so I wasn’t sure it would work. It did and now I’m always going to make my own!
Why This Recipe Works
- Small Batch Jam means there’s no need to sanitize the jars in boiling water for long-term storage.
- Using less raspberries allows them to quickly cook to the right consistency, resulting in a vibrant, fresh flavored jam.
- The shorter cooking time along with the lemon juice and sugar help the natural pectin in the fruit set the jam perfectly.
- The butter helps dissolve foam that accumulates on top of cooked fruit and adds a glossy shine.
Ingredients Notes
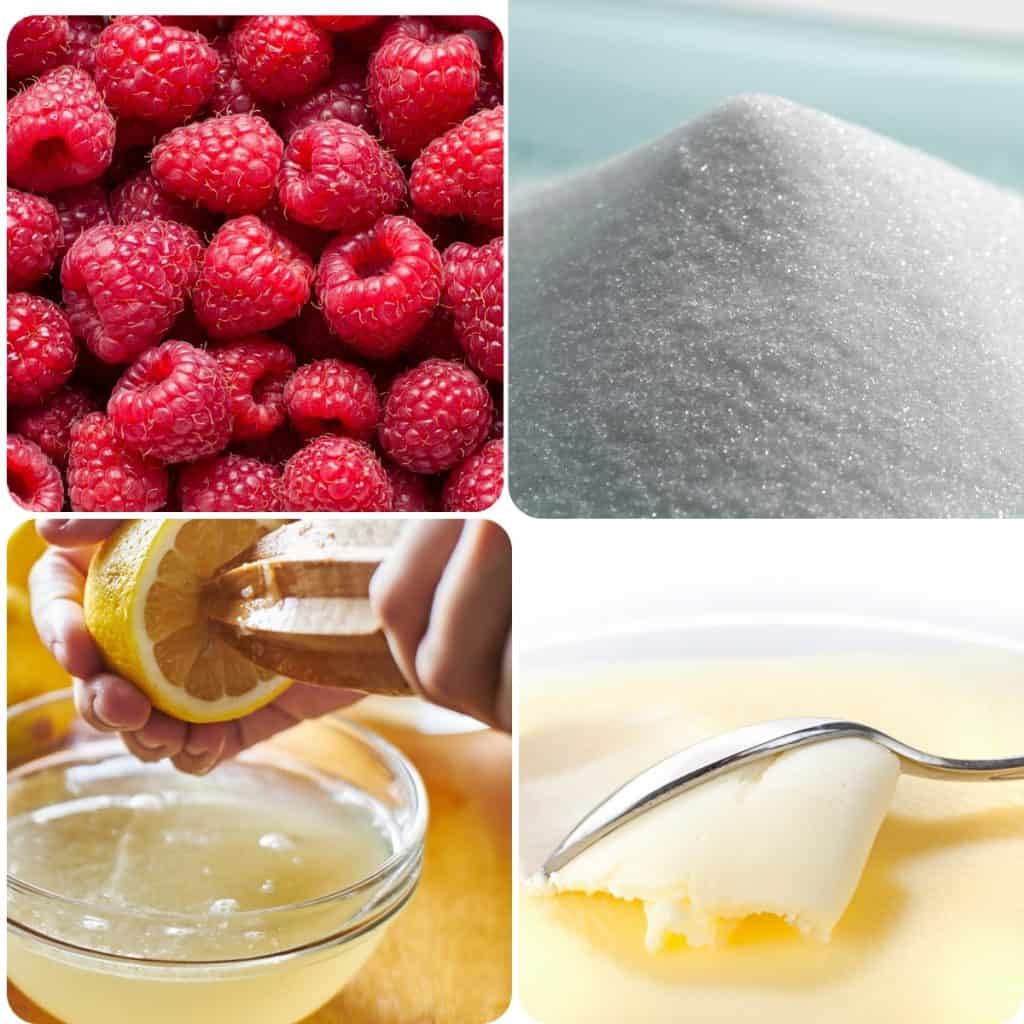
- Raspberries: I used fresh Raspberries however, this recipe also works with frozen raspberries, just defrost and drain them first.
- Lemon Juice: I used freshly squeezed lemon juice, but you can use lime or orange juice too, this will work just fine.
- Lemon zest: I had lemons on hand so I used lemon zest but you can use any citrus fruit, such as orange or lime.
- Sugar: I used superfine sugar (caster sugar) as it dissolves faster, but you can use granulated sugar. If using specialist jam sugar be aware that your jam will set much more solidly. Just swap the sugar like for like.
- Butter: I use salted butter to season the jam, but unsalted works just as well.
Sterilizing Jars
Although it’s not essential for this recipe, to give your raspberry jam preserves a longer shelf life (up to one month), sterilize your jars first! Jars that are improperly cleaned can build bacteria, resulting in quick spoilage.
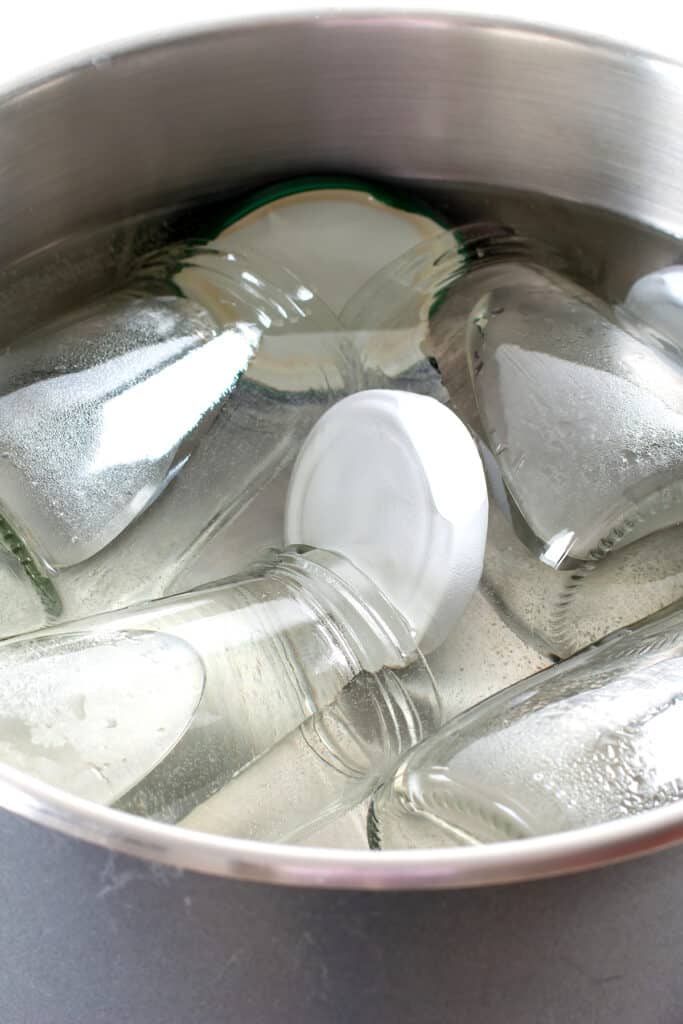
Sterilizing can be done effortlessly in the dishwasher if your machine has a high-temperature setting or you can soak your jars in a sterilizing solution (paid link).
Raspberry Buying Guide
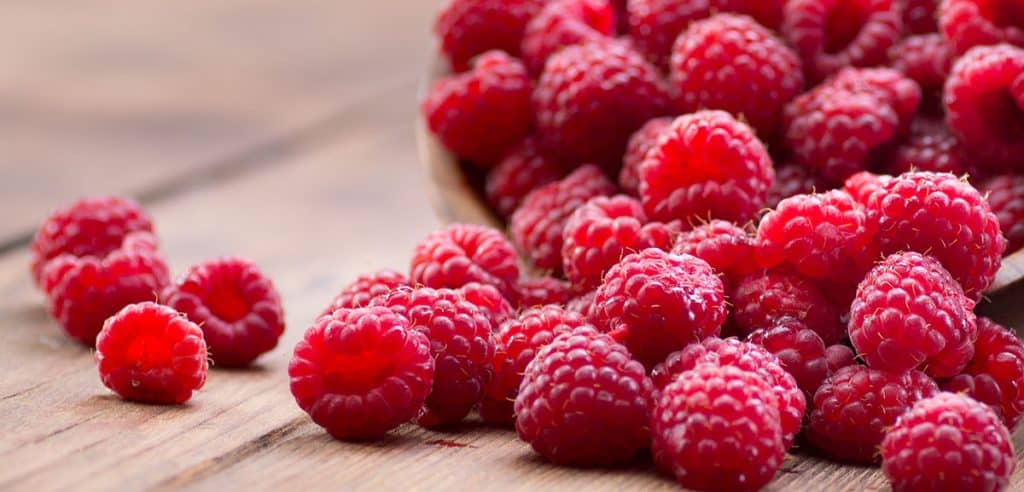
Fresh raspberries should be well-formed, plump, dry, firm, and uniform in color. Avoid berries that are bruised or crushed.
How To Make Raspberry Jam Preserves
- Wash the Raspberries.
- Zest and juice the lemon.
- Place the Raspberries, lemon juice, zest, and sugar in a pan and bring to a boil.
- Boil for 15 minutes.
- Pour into a jar and allow to cool.
- Serve and enjoy!
Step By Step Instructions
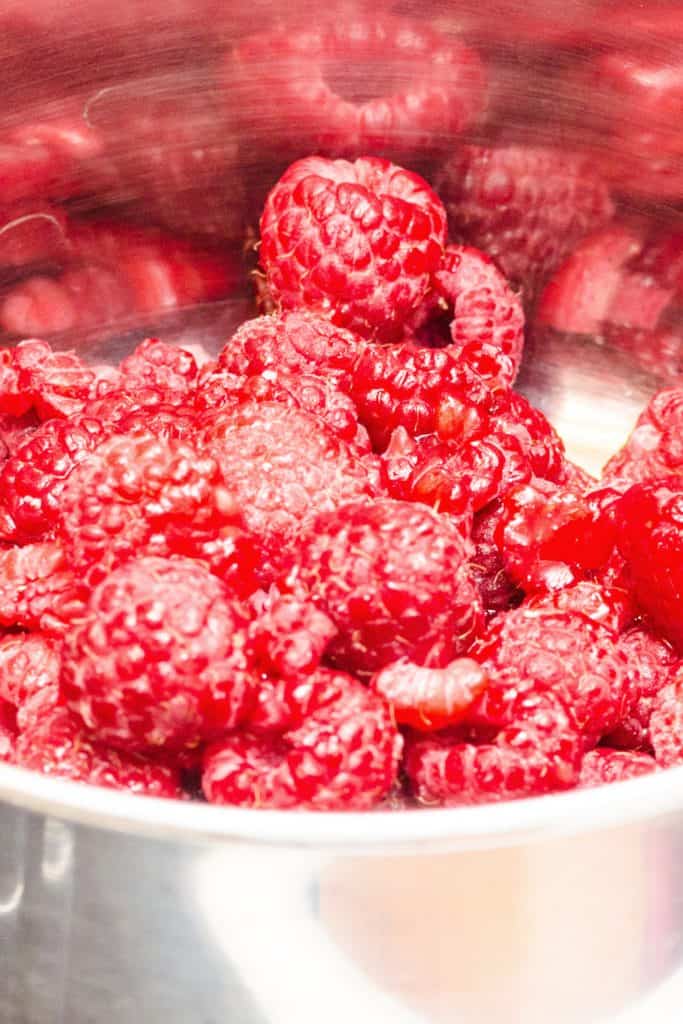
Add the raspberries to a medium saucepan.
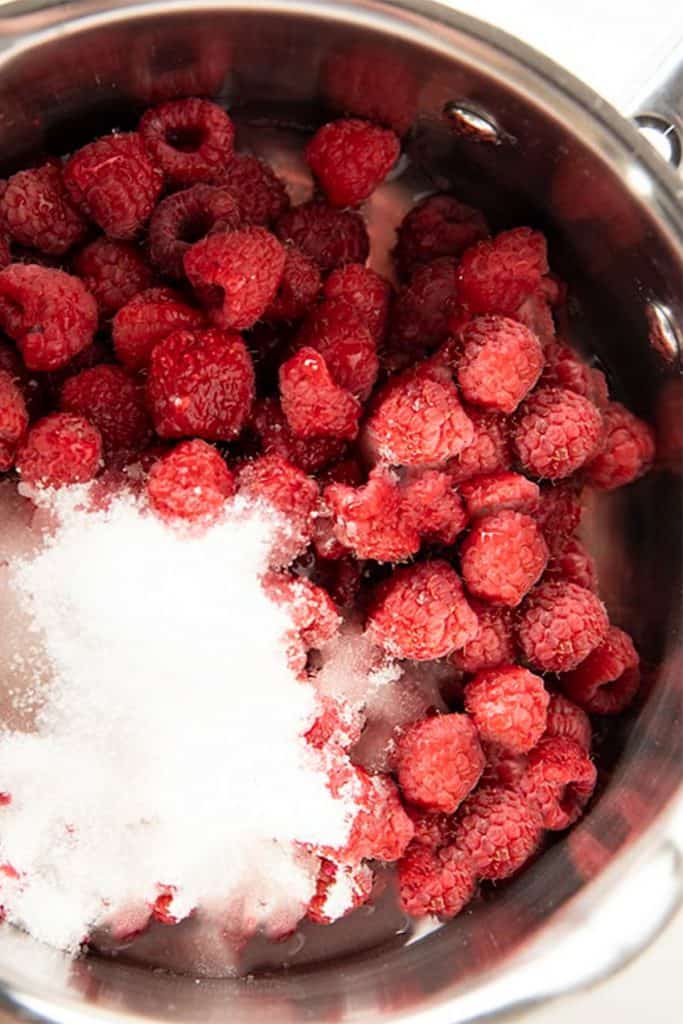
Add the granulated sugar and fresh lemon juice.
Mix over medium-low heat until sugar dissolves. This will take about 5 minutes.
Increase the heat and bring the mixture to a boil. Stir and mash the Raspberries frequently.
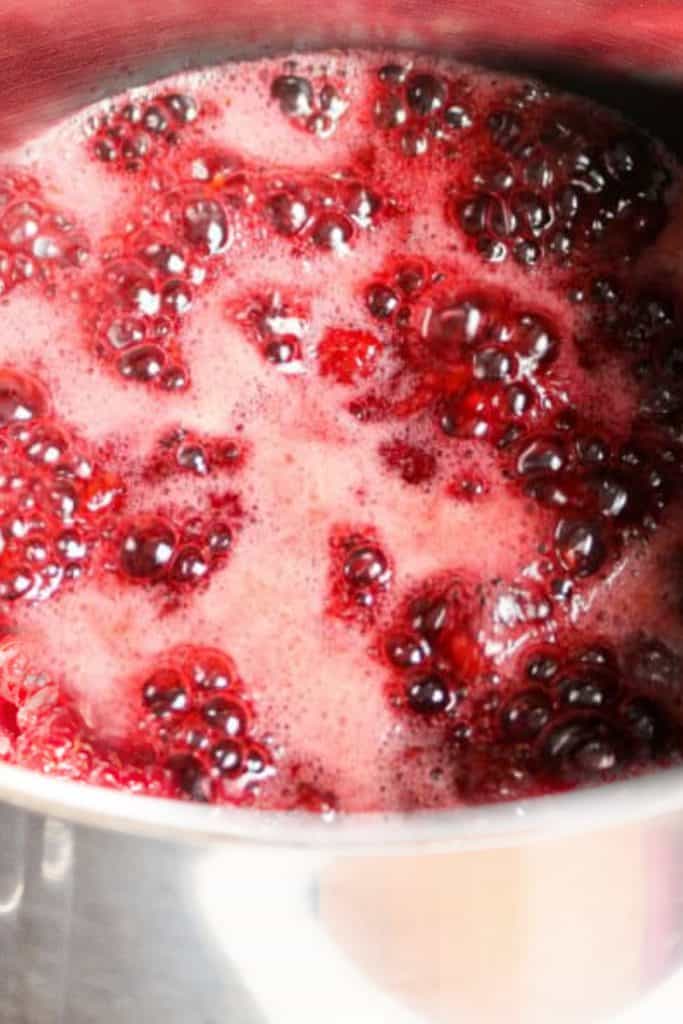
Continue to boil until the jam has thickened (approximately 10 minutes).
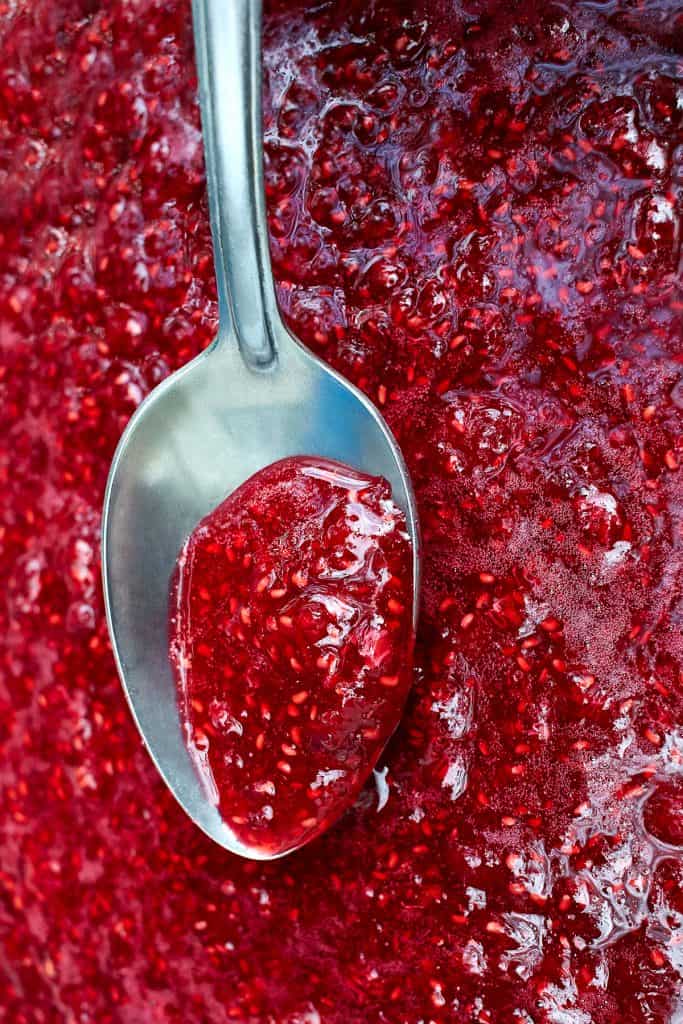
Transfer the jam to a clean jar and cool to room temperature.
Seal the jar with a lid and store it in the refrigerator for up to 10 days.
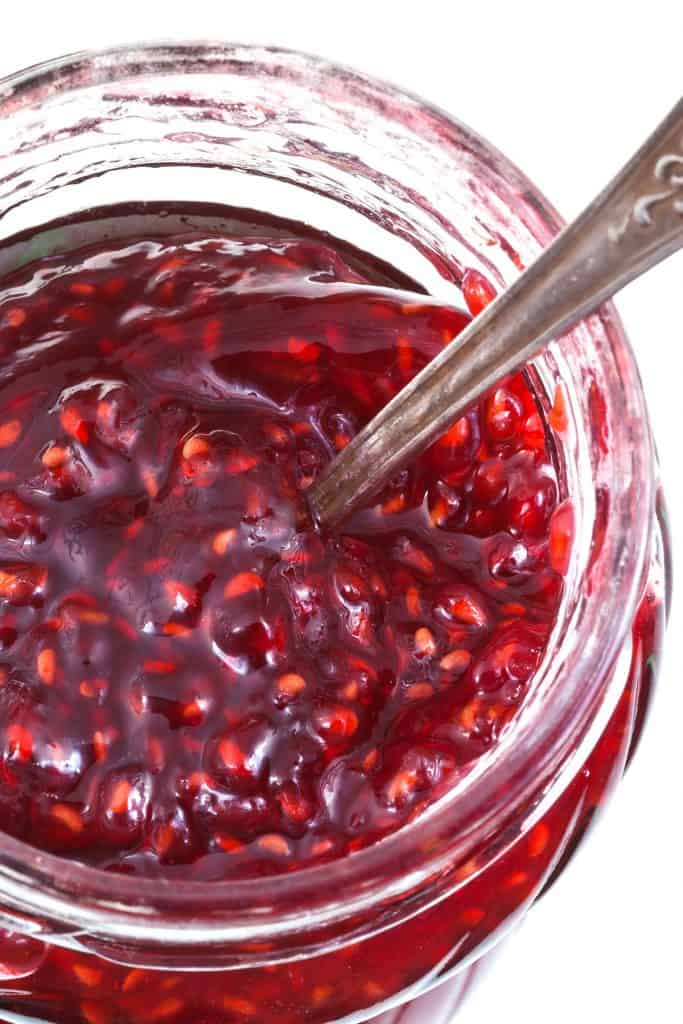
How can you tell if the jam is done without a sugar thermometer?
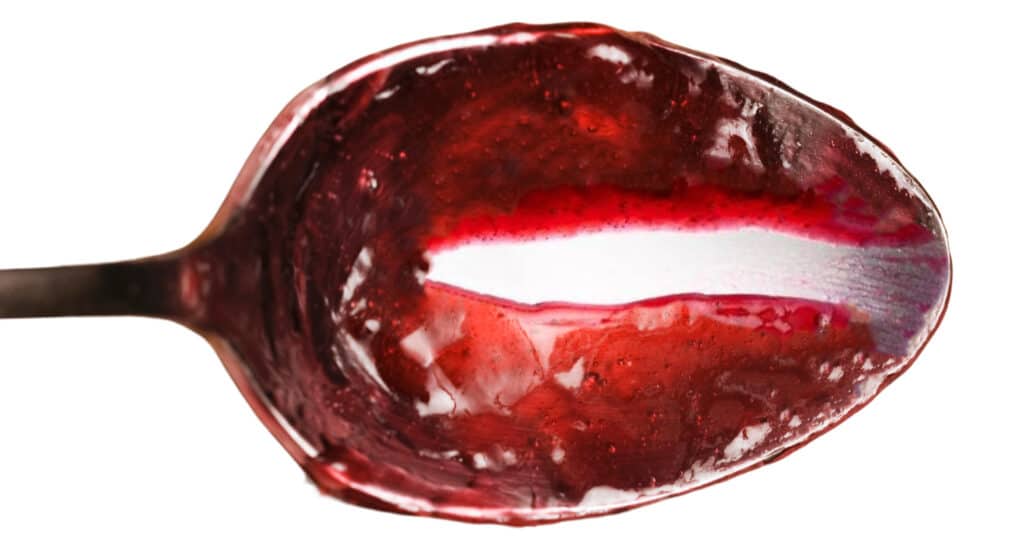
- Place a spoon or tempered dish in the freezer for around 15 minutes (be sure it’s tempered if using glass, porcelain, or pottery). Take it out and drop a spoonful of the jam onto the plate (take the jam off the heat while you do this).
- Push into the jam with your finger, you are looking for it to wrinkle and not flow back into the depression made with your finger.
- If the mixture is still quite fluid, put the pan back onto the heat and simmer for five-minute intervals until done.
Erren’s Top Tips
- Never add hot foods to a cold jar (or vice versa) especially if your jar isn’t tempered. This can cause the glass to shatter.
- The butter is optional – Butter helps dissolve foam that accumulates on top of homemade jam, but it’s not a necessity
- For Raspberry Preserves Simply, don’t mash the berries, as they cook.
- For a smooth jam – mashing the jam as it cooks will give smoother consistency.
- For seedless jam – pour the jam through a strainer as you add it to the jar.
Storing and Freezing Instructions
- Store in the fridge for up to two weeks or in a sterilized jar for up to a month.
- To freeze, once cooled, add the raspberry jam into a freezer-safe container and freeze for up to three months. You can thaw it in the refrigerator when ready to use.
FAQs
Can I use frozen raspberries to make jam?
The simple answer is yes, you can use fresh or frozen raspberries to make jam, make sure your berries are defrosted and drained of any liquid.
What is the best sugar for jam making?
A coarse sugar such as white granulated sugar is best for jam making, it dissolves better giving a much clearer brighter jam.
Recipe
Raspberry Jam Preserves
Ingredients
- 1 lb raspberries
- 1½ cups superfine sugar/caster sugar (or granulated)
- 1 teaspoon butter
- 2 tbsp lemon juice (freshly squeezed)
- ½ teaspoon lemon zest
Instructions
- Wash and prepare the raspberries.
- In a medium saucepan, add the prepared raspberries, granulated sugar, butter, and fresh lemon juice. Mix over medium-low heat until sugar dissolves (about 5 min).
- Increase the heat and bring mixture to a boil. Stir and mash the raspberries frequently and continue to boil until the jam has thickened (or until it reaches a temperature of 220°F/104°C) This will take approximately 10-15 minutes.
- Pour the jam into a clean jar and allow to cool. Once cooled, cover and refrigerate.
Tips
How can you tell if the jam is done without a sugar thermometer?
- Place a spoon in the freezer for 15 minutes. Take the spoon out and dribble some hot jam onto the frozen spoon with the jam off the heat.
- Wait a few seconds to cool, and then run your finger through the jam. If your finger makes a clear path through doesn’t fill in, it’s ready.
- If the jam is still fluid, put it back onto the heat and simmer at five-minute intervals until the jam thickens.
Tips:
- The butter is optional – Butter helps dissolve foam that accumulates on top of homemade jam, but it’s not a necessity
- Like a chunkier jam? Simply, don’t mash the berries, as they cook.
- For a smooth jam – mashing the jam as it cooks will give smoother consistency.
- For seedless jam – pour the jam through a strainer as you add it to the jar.


Leave a Reply