This site runs ads and generates income from affiliate links. Read my disclosure policy.
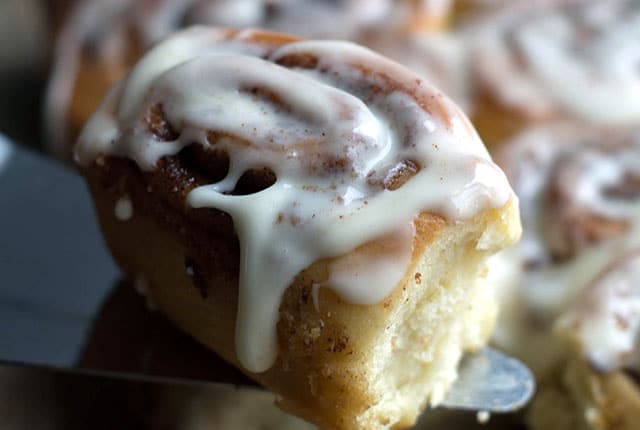
This recipe for Quick Cinnamon Rolls uses a simple method to ‘rise’ the dough, making them delicious and super fast!
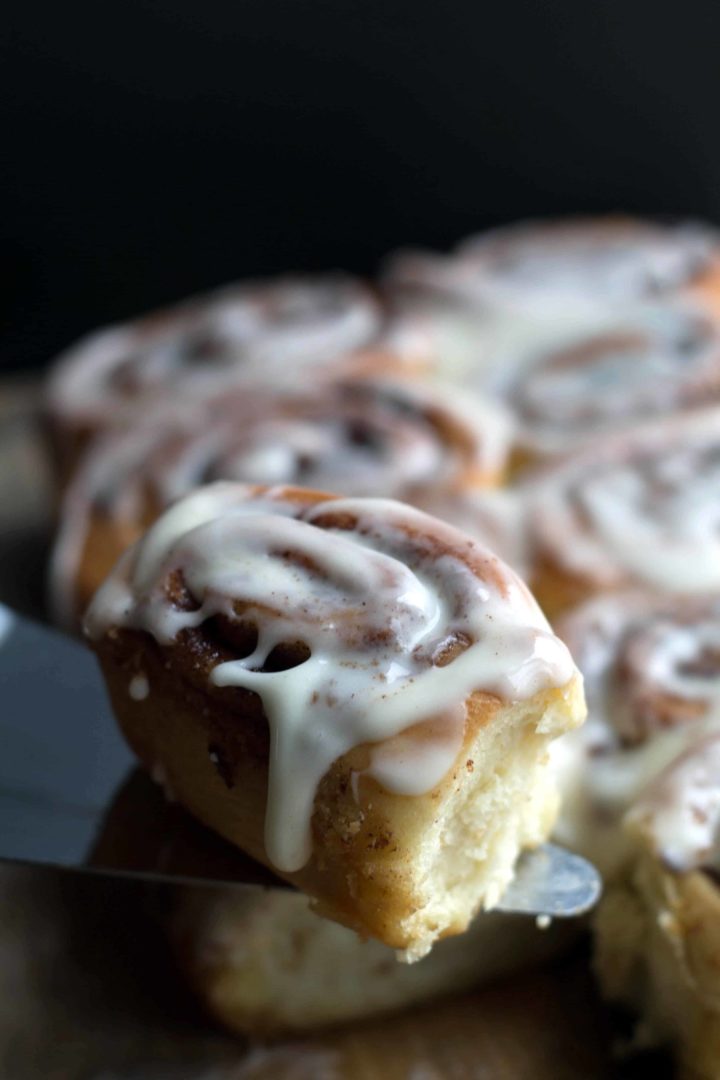
One of my favorite UK TV shows is the Great British Bake Off. I never miss an episode. This past week, one of the contestants used a microwave to ‘rise’ her yeast dough to save on time. I couldn’t believe it! I never heard of such a thing and knew I had to try it.
The next morning, I went straight to it. I mean homemade cinnamon rolls that you can have for breakfast without having to start the day before? I’m in! This worked so well for me that I used it again for my Quick Rise Chocolate & Salted Caramel Sticky Buns recipe and for my One-Hour Homemade Monkey Bread.
Why This Recipe Works
- Using a quick rise method for the dough makes these cinnamon rolls super easy to make.
- Cream Cheese glaze adds an extra element of interest to these buns.
- A mixture of brown sugar and granulated sugar mixed with the cinnamon creates a beautiful filing.
What’s The Difference Between Cinnamon Rolls and Cinnamon Buns?
There is no difference, it’s simple, some people call them rolls, some call them buns, all I know is they are the best thing ever for breakfast!
How to Make Quick Cinnamon Rolls
- Prepare the dough using a quick-rise method.
- Spread the cinnamon-sugar mixture over the rolled out dough.
- Roll the dough into a sausage shape.
- Cut the dough into rounds.
- Bake for 20 to 30 minutes until golden.
- Make the cream cheese glaze, drizzle over baked rolls.
- Serve and enjoy!
How To Test Your Microwave For The Quick-Rise Dough Method
Firstly, check your microwave owner’s manual to see if proofing is recommended. I don’t want you to waste your time, it does not work for everyone!
If you don’t have your manual handy, just do the following test before trying it on the dough you spent a lot of time on:
Place two tablespoons of cold, stick margarine in a glass cup in the center of the microwave (don’t use corn oil spread or shortening sticks).
Cook uncovered on 10% power (low) for 4 minutes. If the margarine doesn’t completely melt, your microwave can proof yeast dough. If it does melt then your microwave is just too powerful and will kill the yeast and make your dough rock hard.
Quick Rise Method Step by Step Instructions
Prepare the dough. Cover with plastic wrap and set aside.
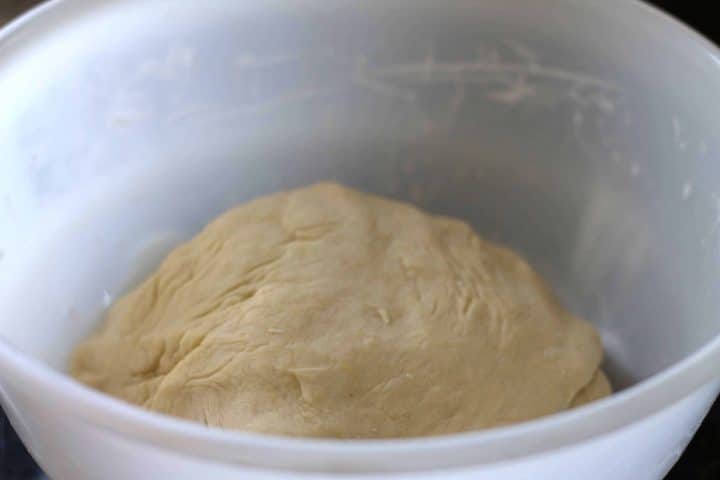
Place a mug of hot water in the microwave on high for 3 minutes (just to add some moisture to the oven.
Put the microwave on the lowest possible setting (10% power) and put the bowl with the dough in it for 3 minutes. After the 3 minutes, leave the dough to rest without touching it (in the microwave) for another 3 minutes.
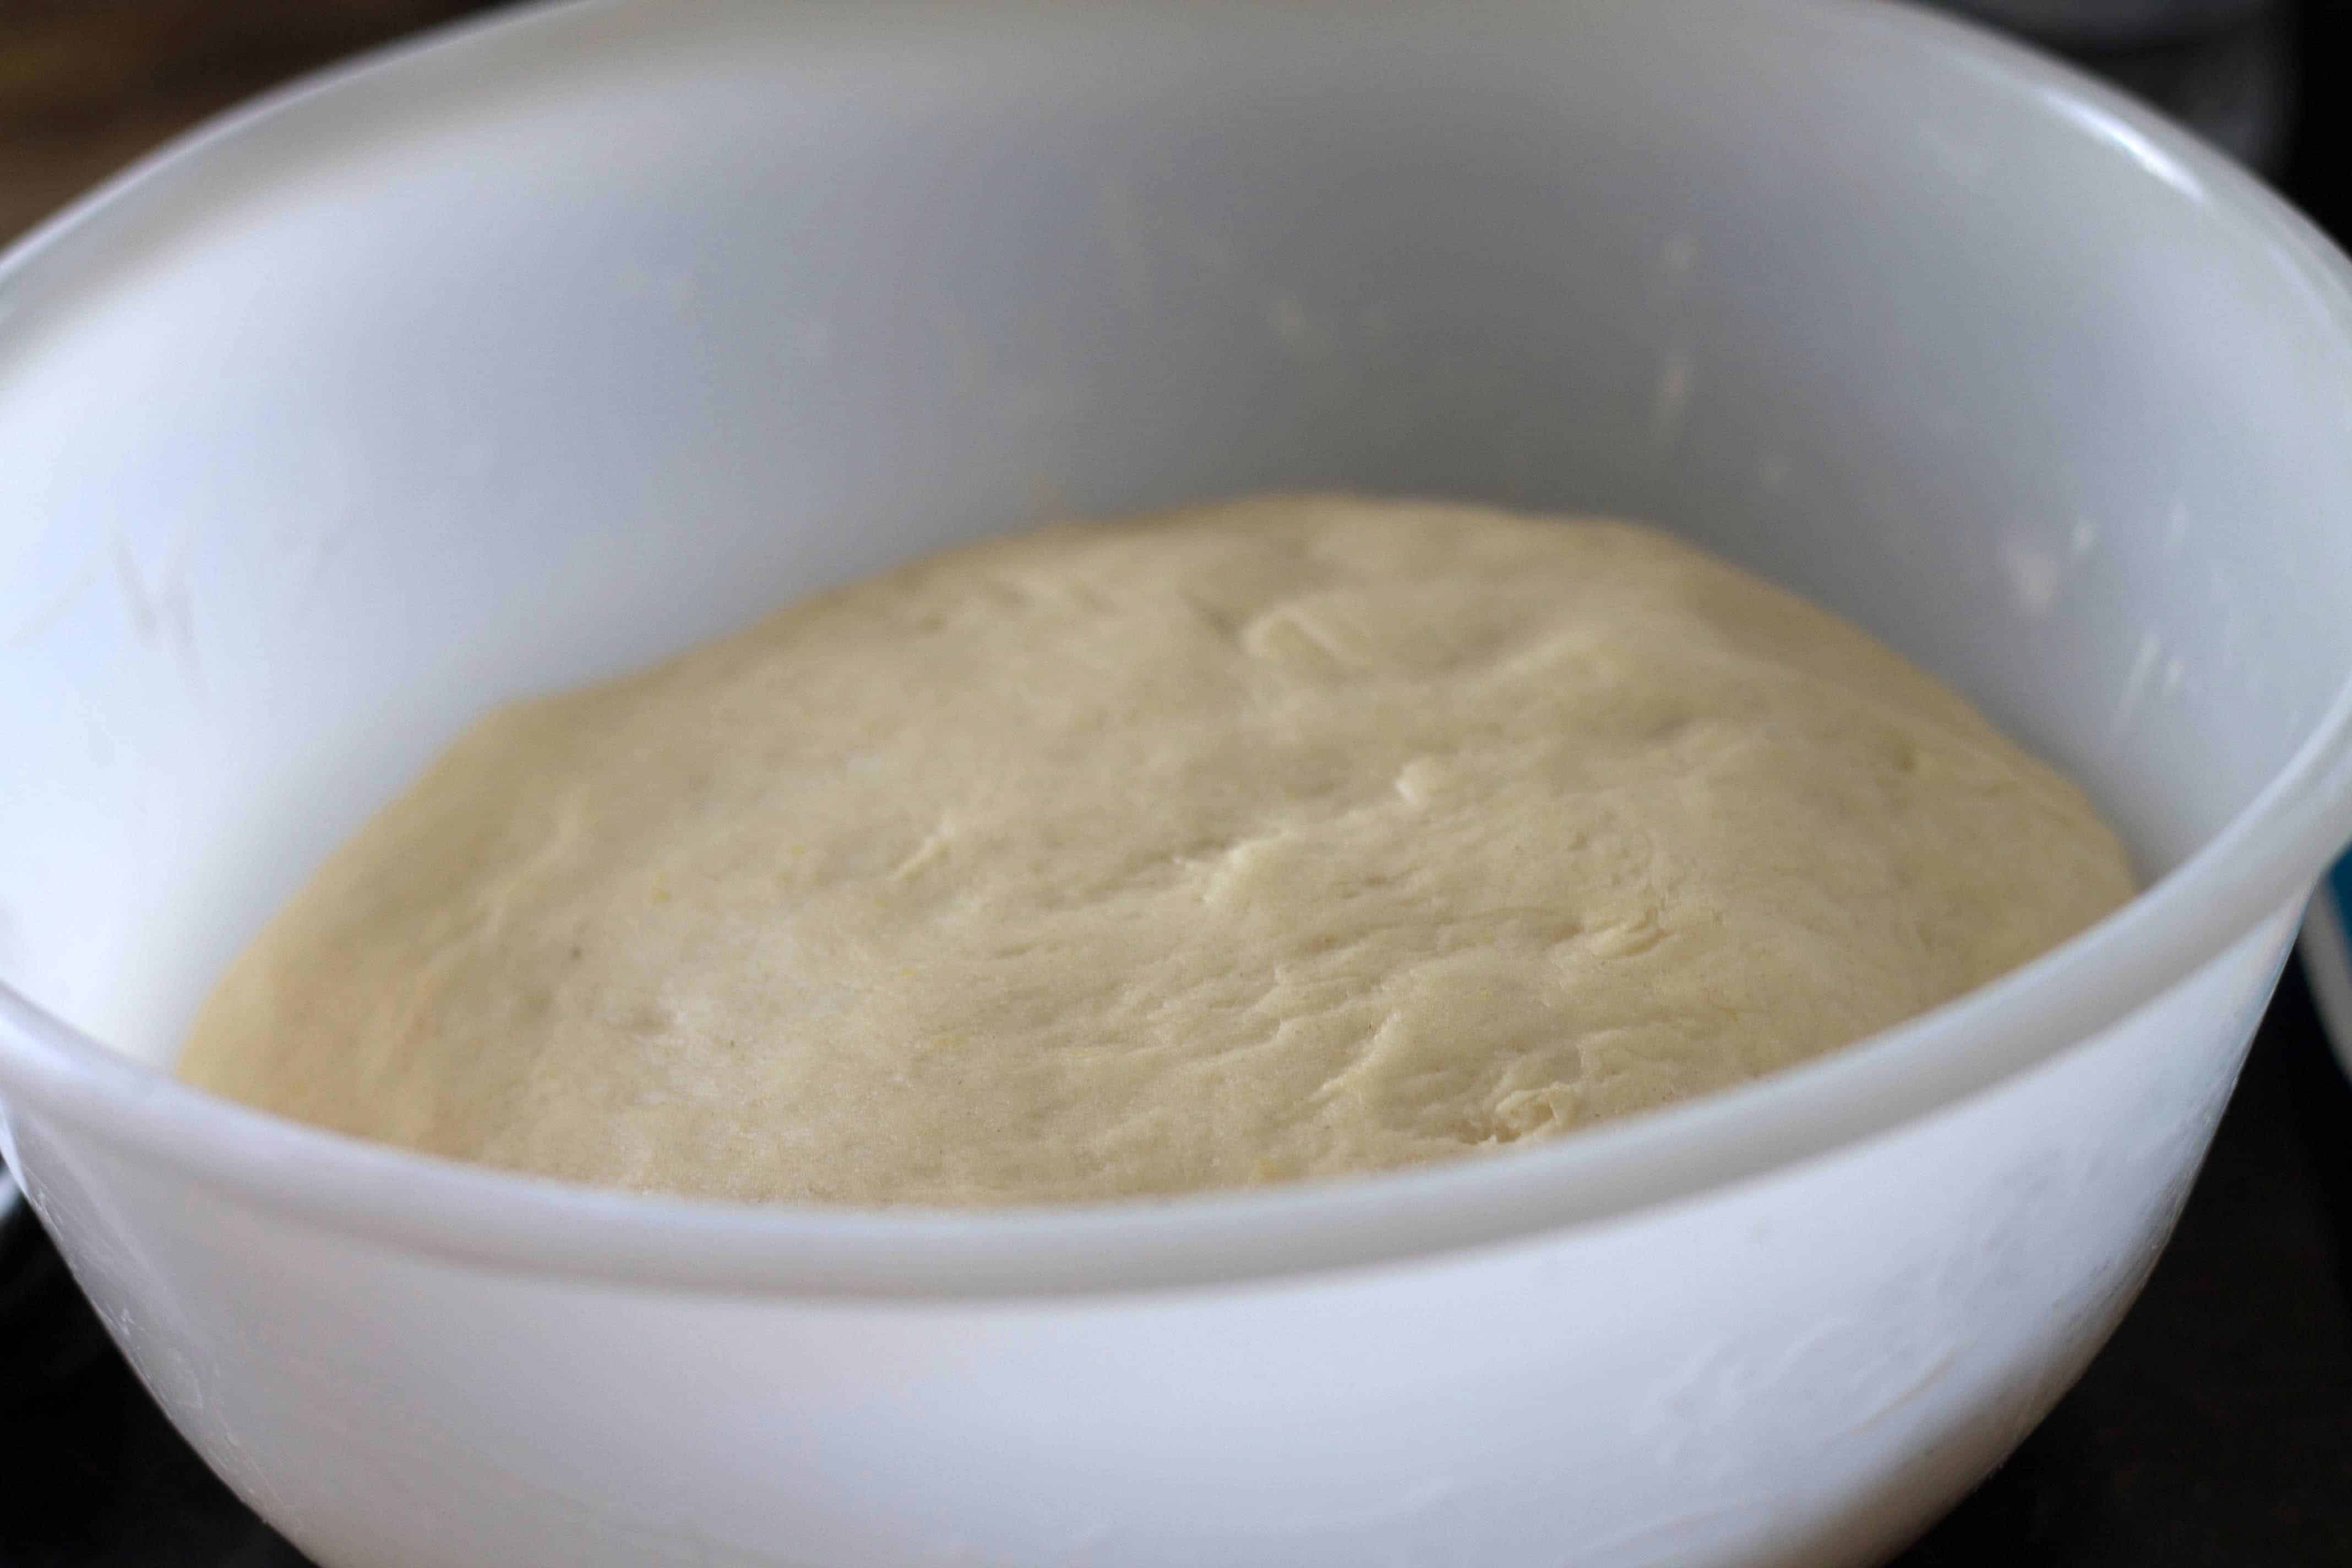
Repeat the process, but this time leave the dough to rest for 5 minutes.
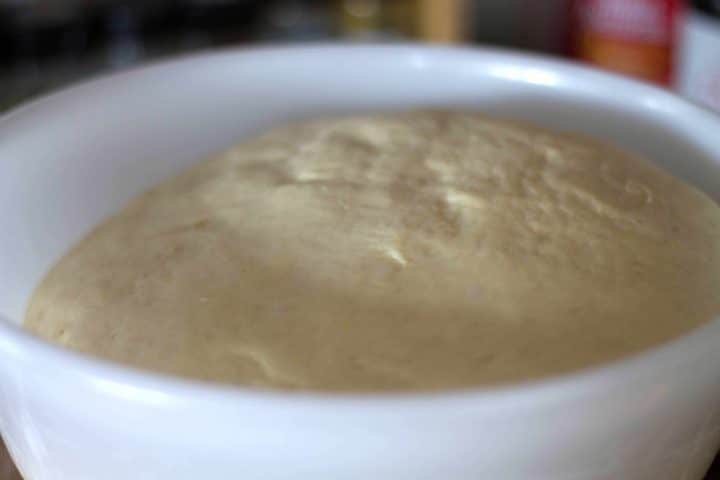
Making The Cinnamon Rolls
Next, roll out the dough and add the filling, then roll it up and slice it into rounds.

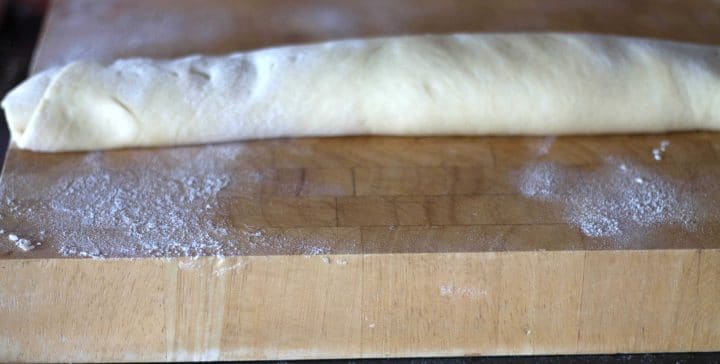

Place the rolls in a greased pan and repeat the rising process.
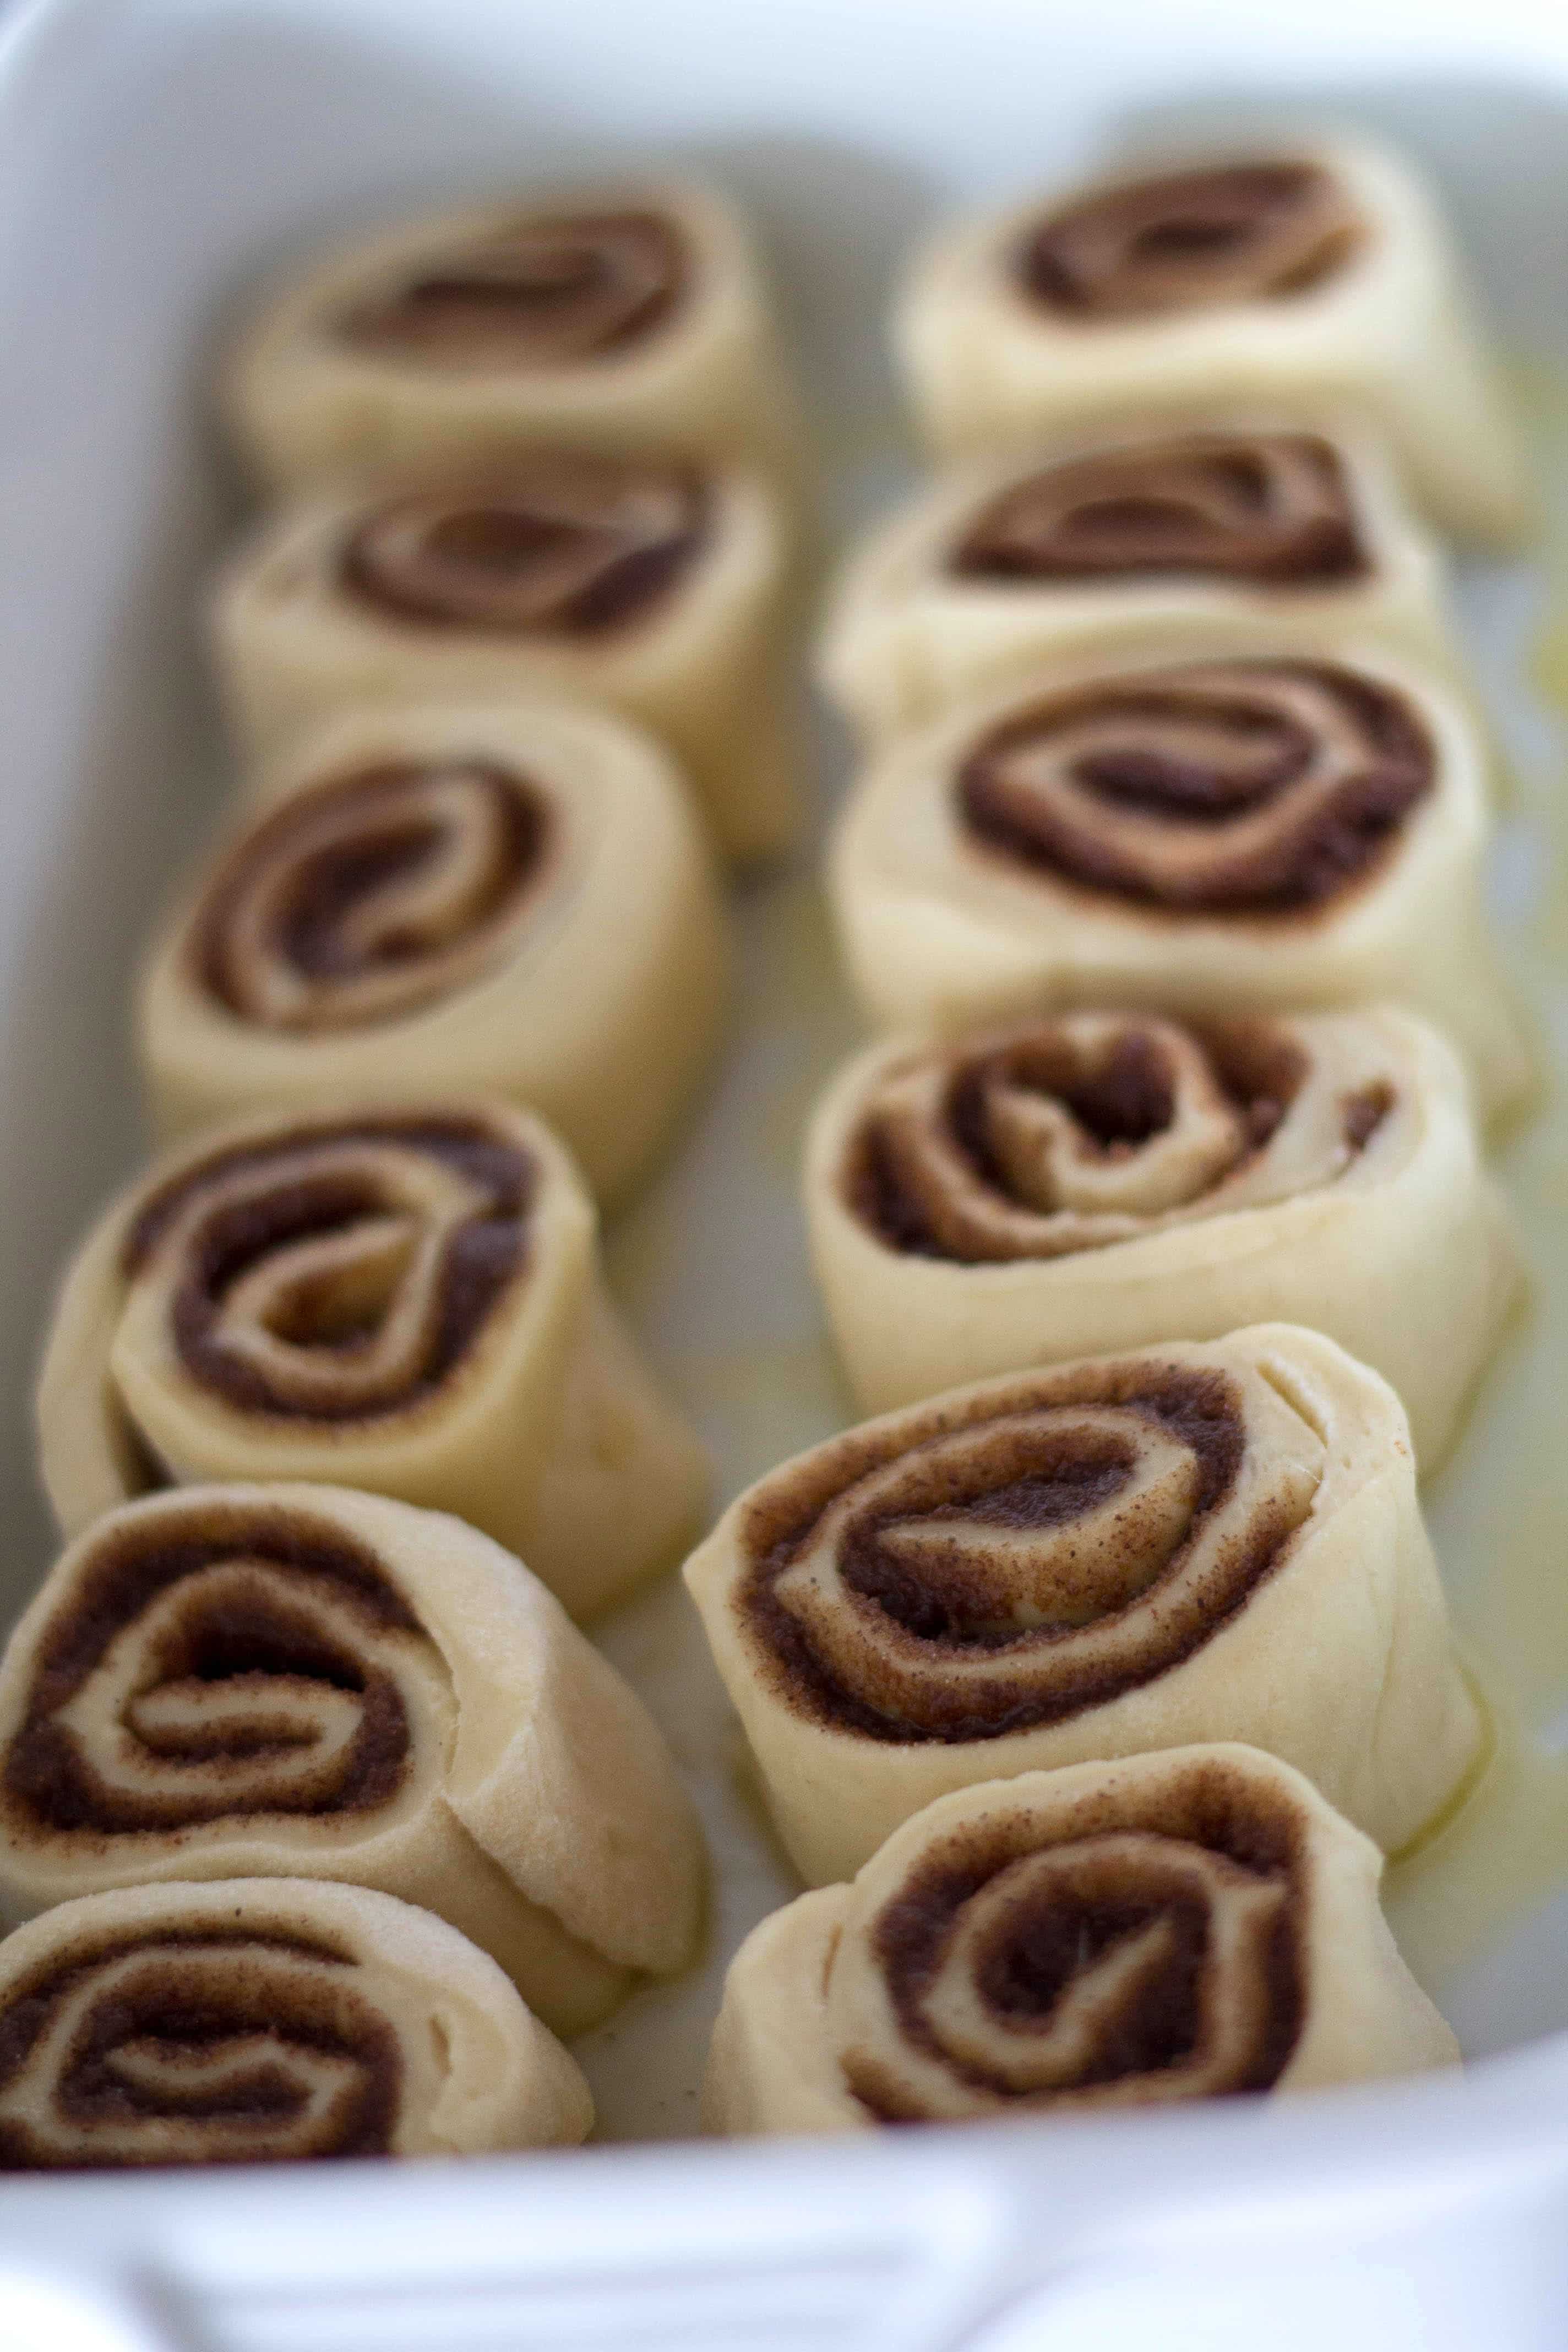
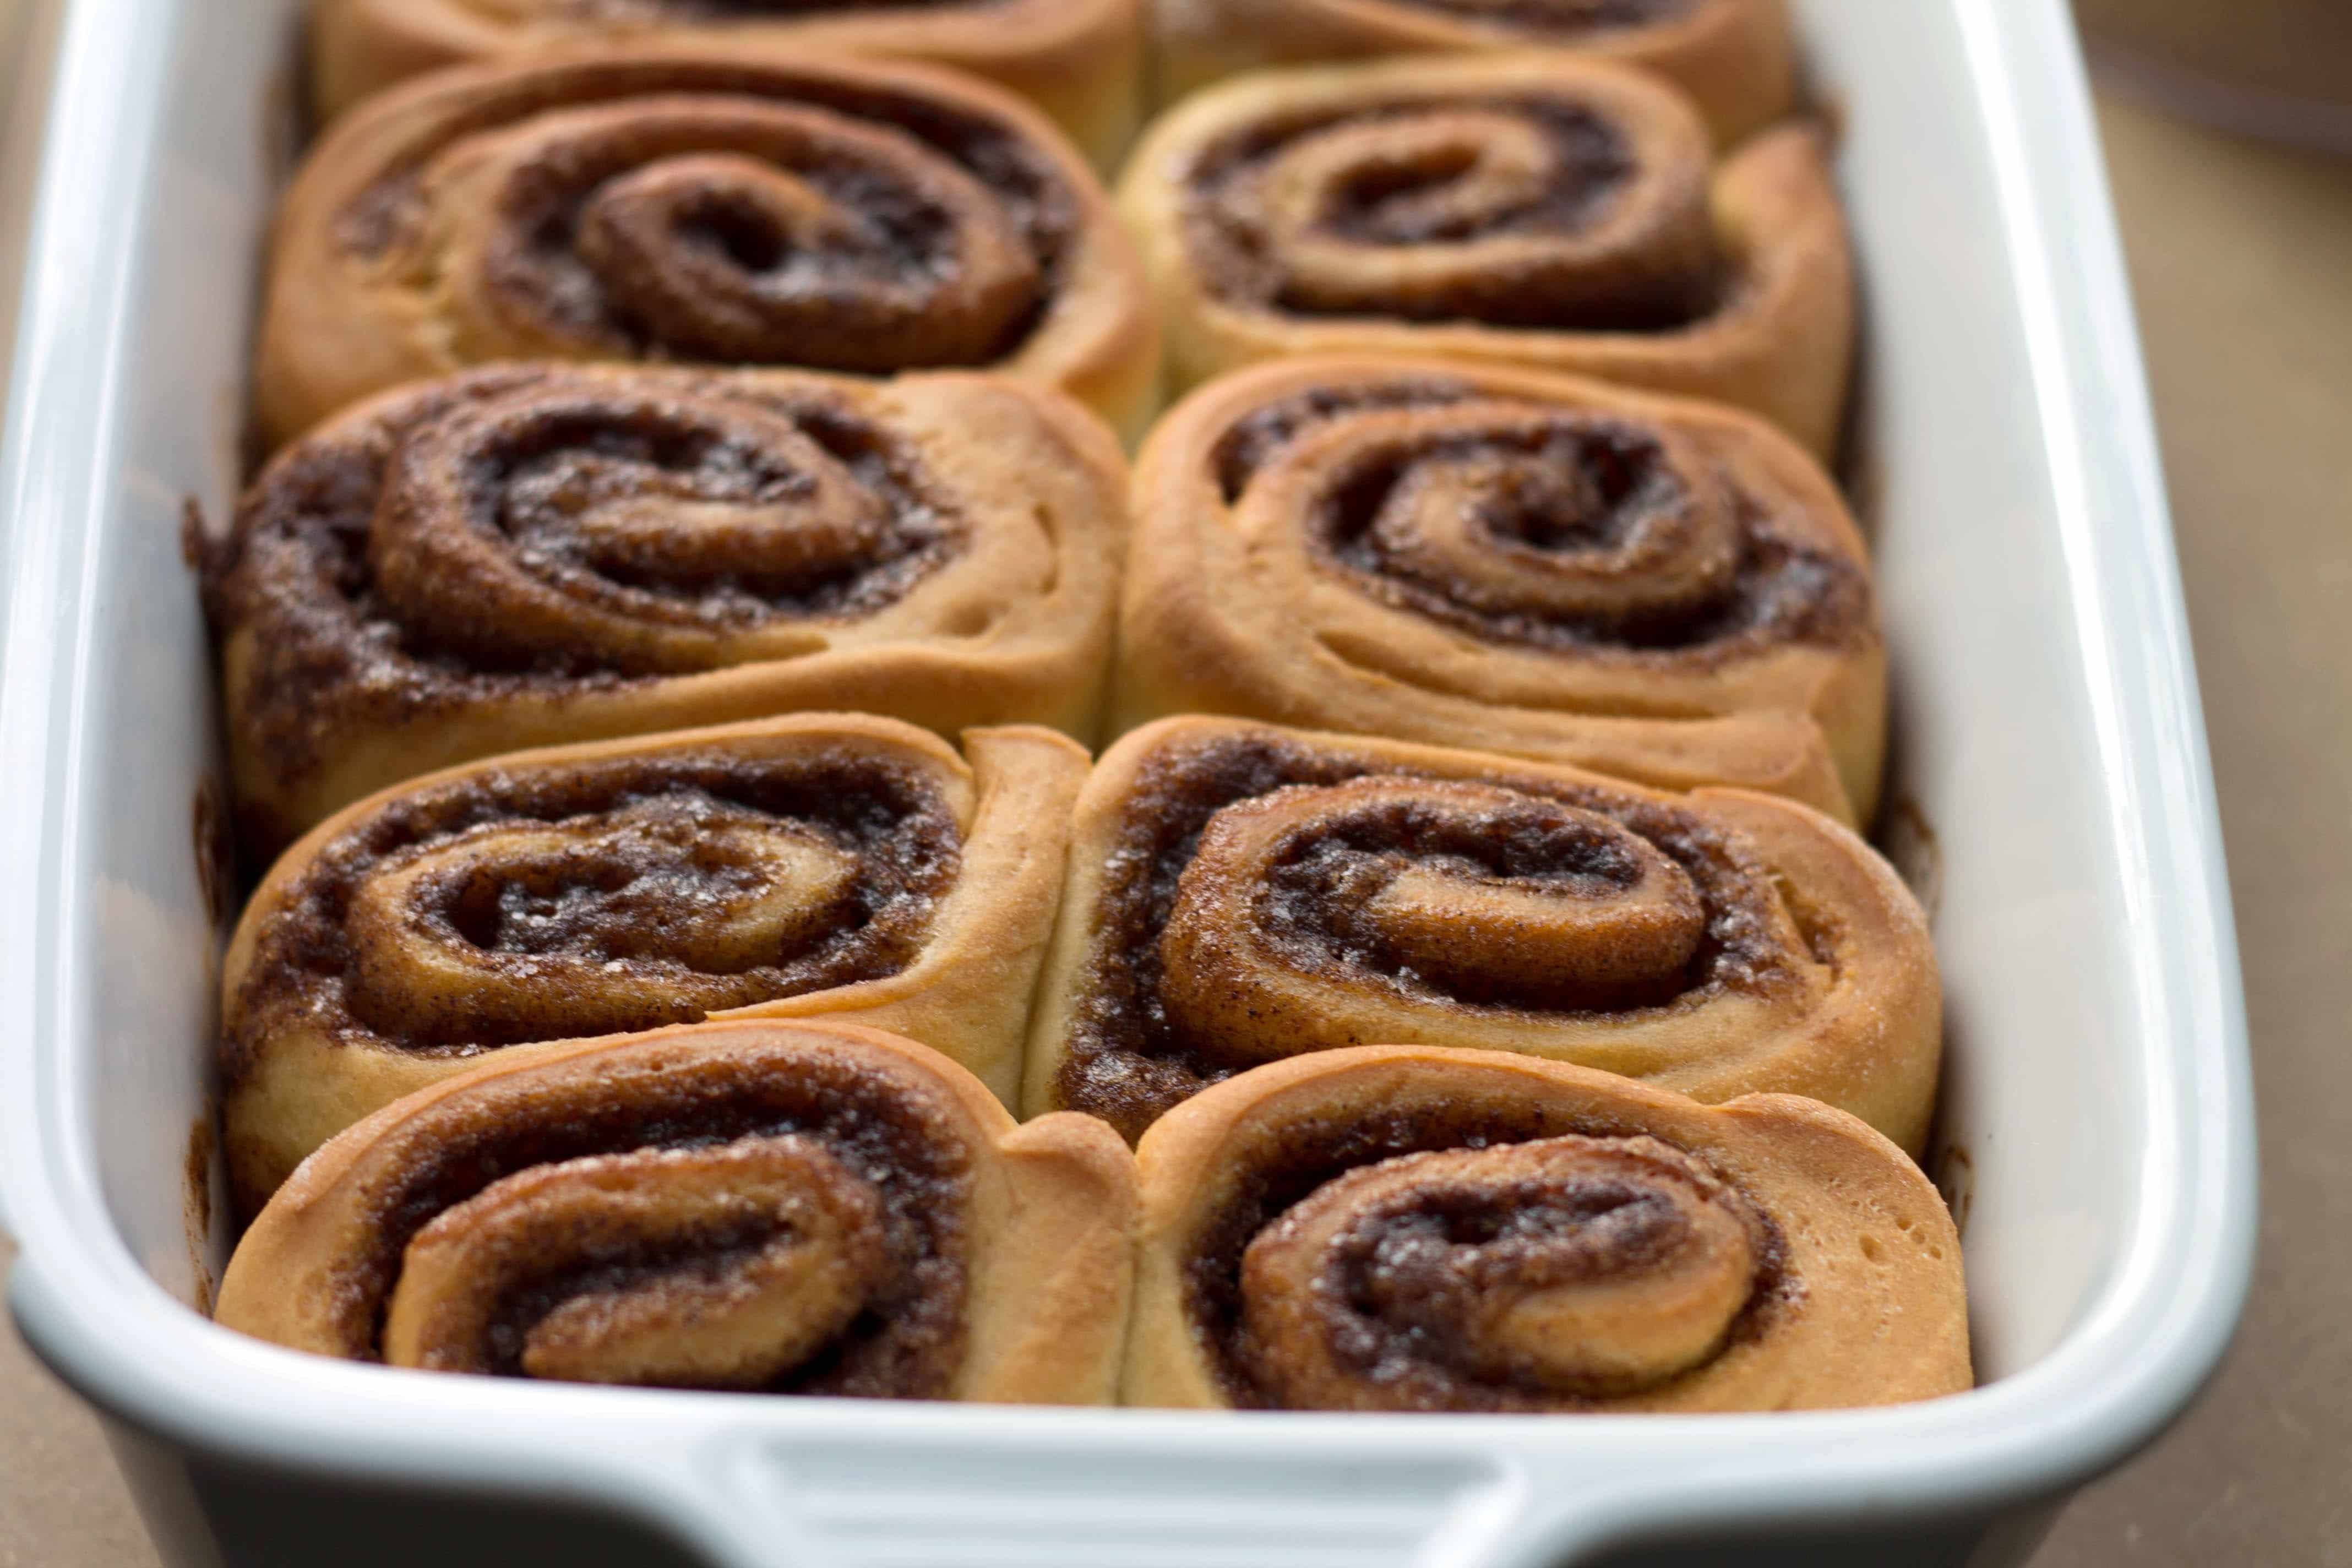
They should look like this after the second rise (around half an hour).
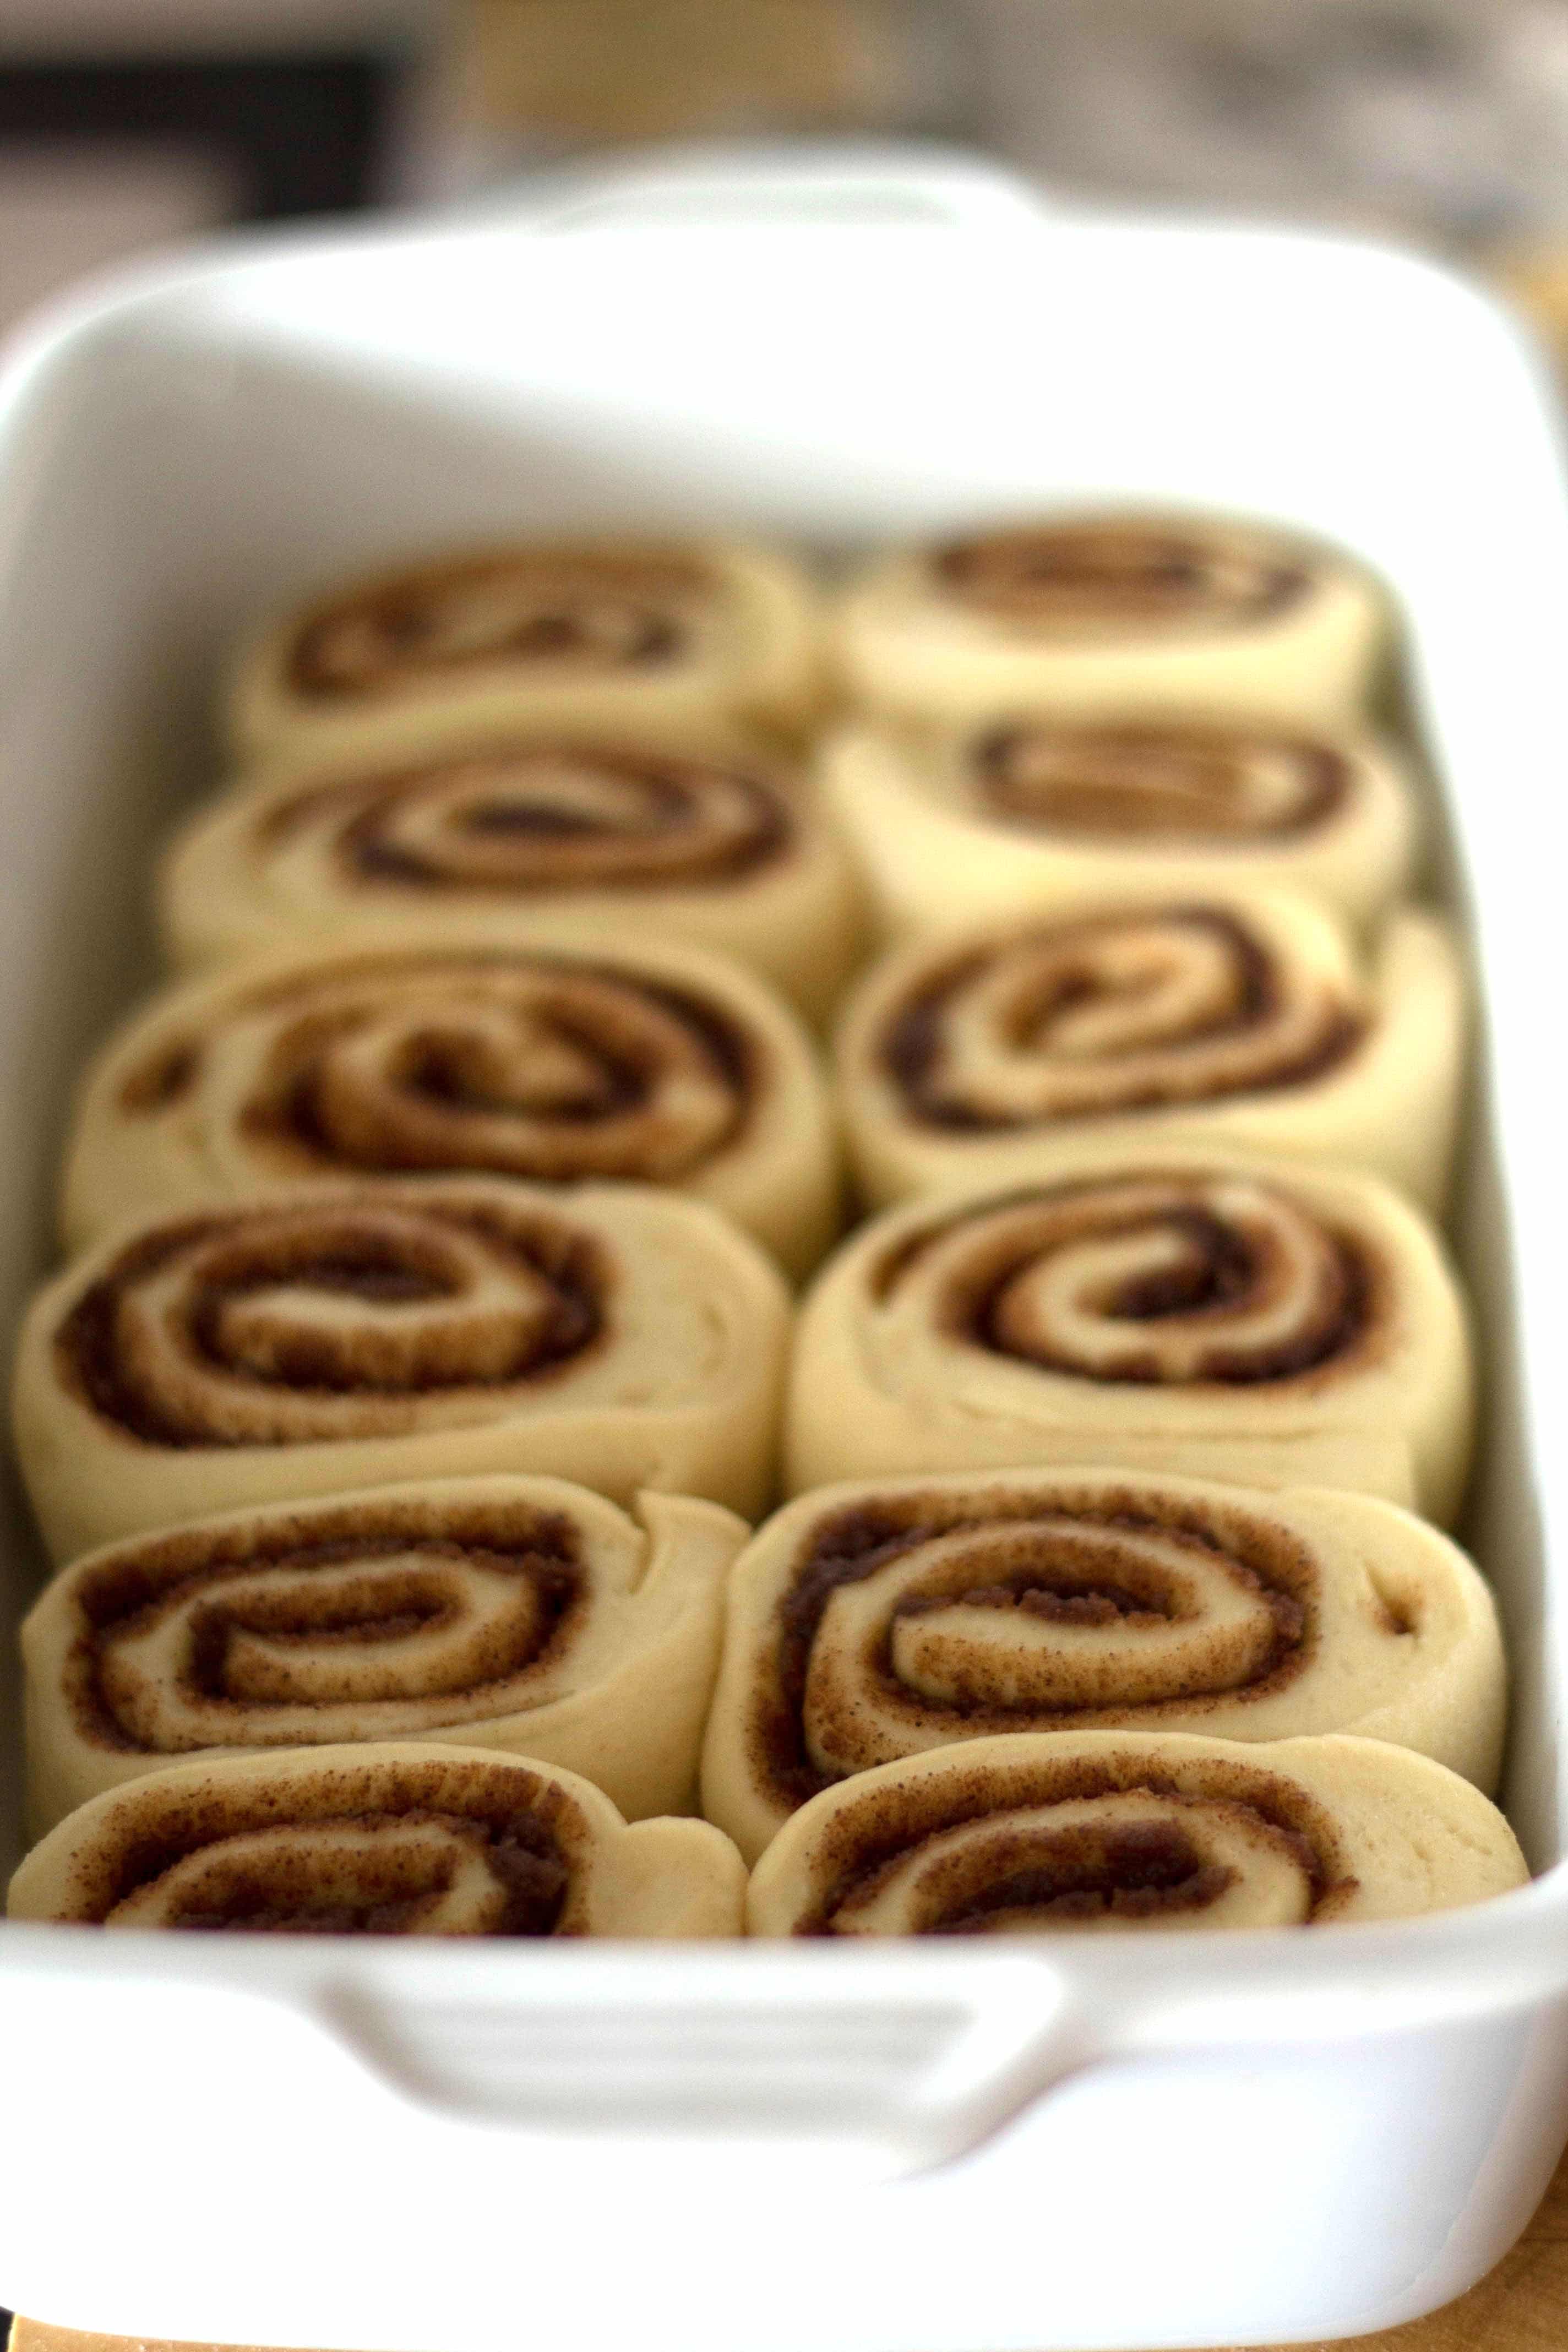
Bake in the oven for 20 to 30 minutes until golden.
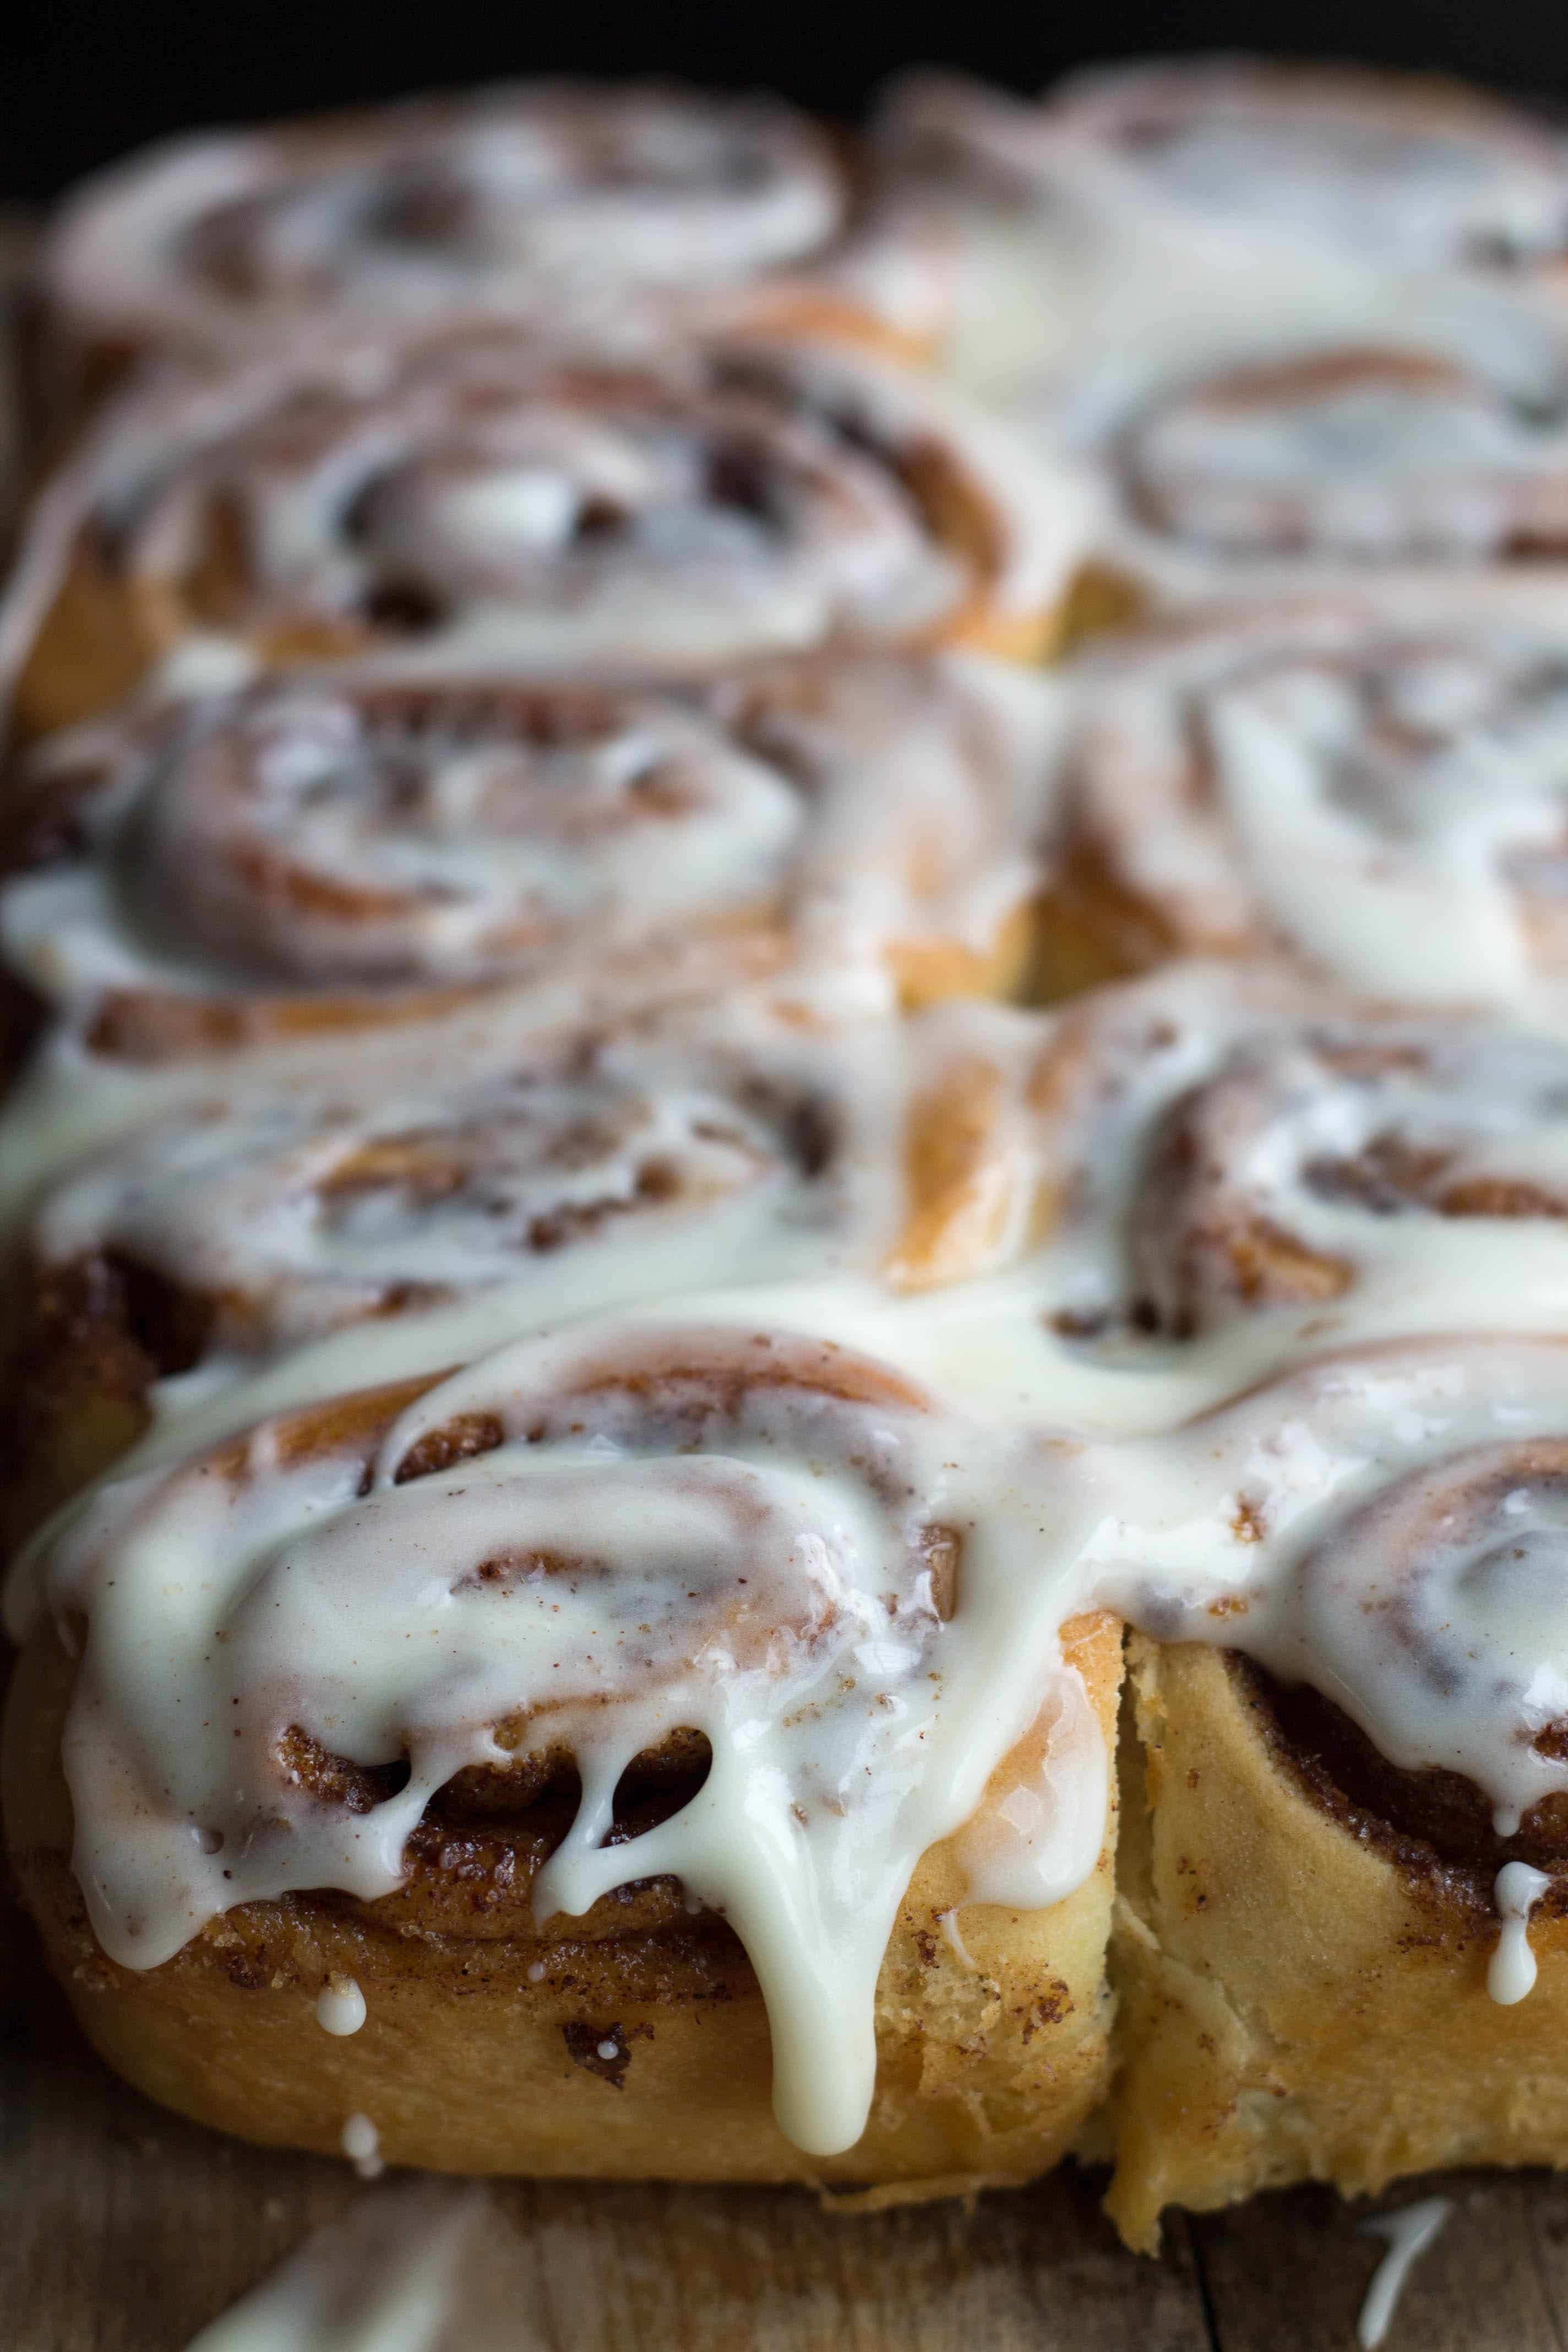
Let them cool for 10 minutes, then drizzle with cream cheese icing. Ice them warm!
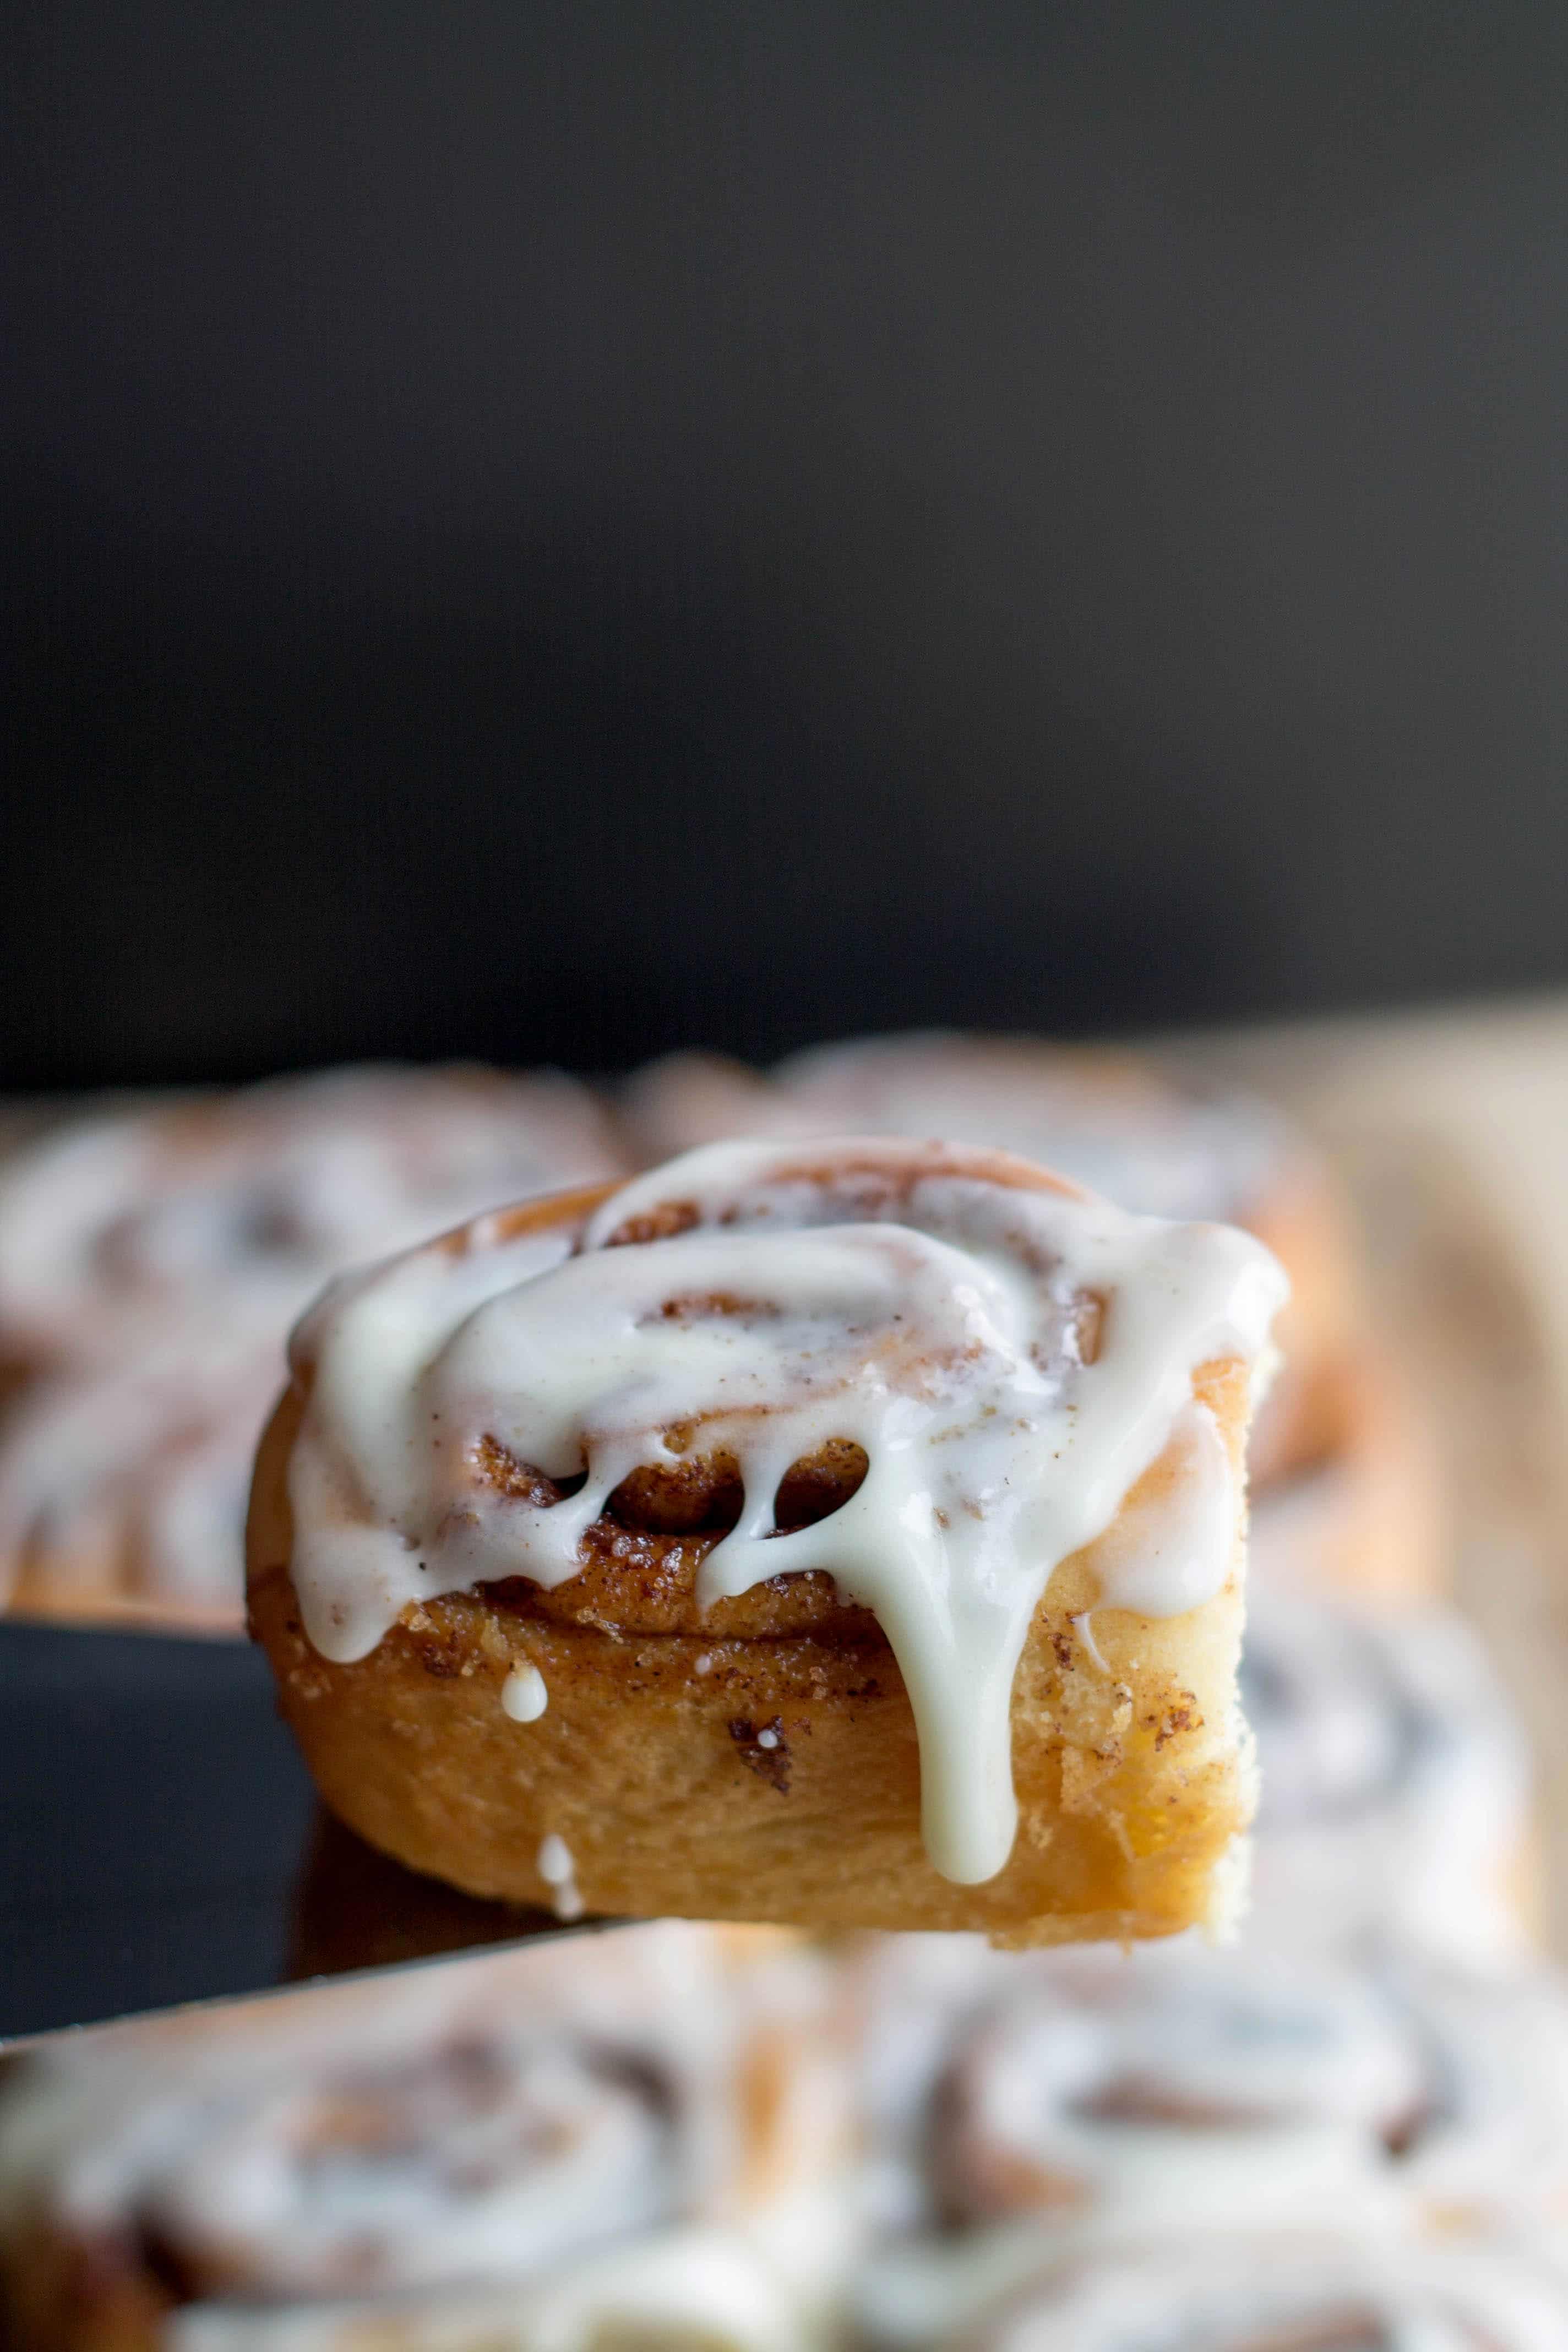
Serve and enjoy!
Erren’s Top Tips
- Be sure the milk you use is warm (it should be about 110°F/43°C). If it is too hot it will kill the yeast and if it’s too cold, the yeast won’t activate.
- Use a room temperature egg in the dough: If you use cold eggs in yeast dough it can affect the yeast activating.
- Be sure to flour your kneading and rolling surfaces as well as the rolling pin this helps to prevent the dough from sticking to the surface or the rolling pin.
FAQs
Why are my cinnamon rolls dry?
Too much flour in your dough will make your rolls dry, not enough flour will make them dense and soggy. Make sure your dough appears stretchy and pliable before baking. This recipe should ensure a perfect texture.
How thick should you cut cinnamon rolls?
The best thickness for your cinnamon rolls is around 1 to 1 and a half inches in thickness.
How do you store fresh cinnamon rolls?
These can be stored at room temperature in an airtight container for up to three days. You can keep them in the fridge for up to a week. You can freeze the rolls by wrapping the pan in at least two layers of plastic wrap or place them into a large freezer-safe bag. Defrost thoroughly the night before you want to use them.
Did you make this?

Recipe
Quick Cinnamon Rolls
Ingredients
FOR THE DOUGH:
- 1¼ cups milk hot milk (about 110F/ 43C)
- 1 packet instant dry yeast
- ¼ cup granulated sugar
- 1 large egg (at room temperature)
- ¼ cup butter (melted)
- 3-4 cups all-purpose/plain flour
- 1 teaspoon salt
FOR THE FILLING:
- 4 tablespoons melted butter (plus more for pan)
- ¼ cup light brown sugar
- ¼ cup granulated sugar
- 2 teaspoons ground cinnamon
FOR THE GLAZE:
- 4 tablespoons cream cheese
- 2 tablespoons melted butter
- 1 cup powdered sugar
- ½ teaspoon vanilla extract
Instructions
- In a small bowl, dissolve yeast in a ¼ cup of the hot milk and set aside.
- In a large bowl mix milk, sugar, melted butter, salt, and egg.
- Add 2 cups of flour and mix until smooth. Add yeast mixture. Mix in remaining flour until dough is easy to handle.
- Knead dough on lightly floured surface for 5 minutes. Place in a bowl, cover with plastic wrap and set aside.
To rise:
- Place an 8-ounce cup of hot water into the microwave and heat on high for 3 minutes to moisten the oven.
- Remove the mug and place the bowl with the dough into the microwave and heat on it’s lowest setting (10% power) for 3 minutes.
- Then let the dough rest in the microwave for a further 3 minutes.
- Heat the dough (still on it’s lowest setting) for another 3 minutes.
- then let the dough rest in the microwave for 5 minutes.
- When doubled in size, punch down dough.
- Roll out on a floured surface into a 15 by 9-inch rectangle.
- Spread melted butter all over the dough. Mix sugar and cinnamon and sprinkle over buttered dough.
- Beginning at the 15-inch side, roll up the dough and pinch edge together to seal. Cut into 10 – 12 slices.
- Coat the bottom of a nonmetal baking pan with butter. Place the cinnamon rolls on the pan with a bit of room for the second rise (about 2 inches).
- Preheat the oven to 350˚f/175˚c
- repeat the rising process in the microwave.
- Bake at 350˚f/175˚c for 20 to 30 minutes or until golden brown.
To Glaze:
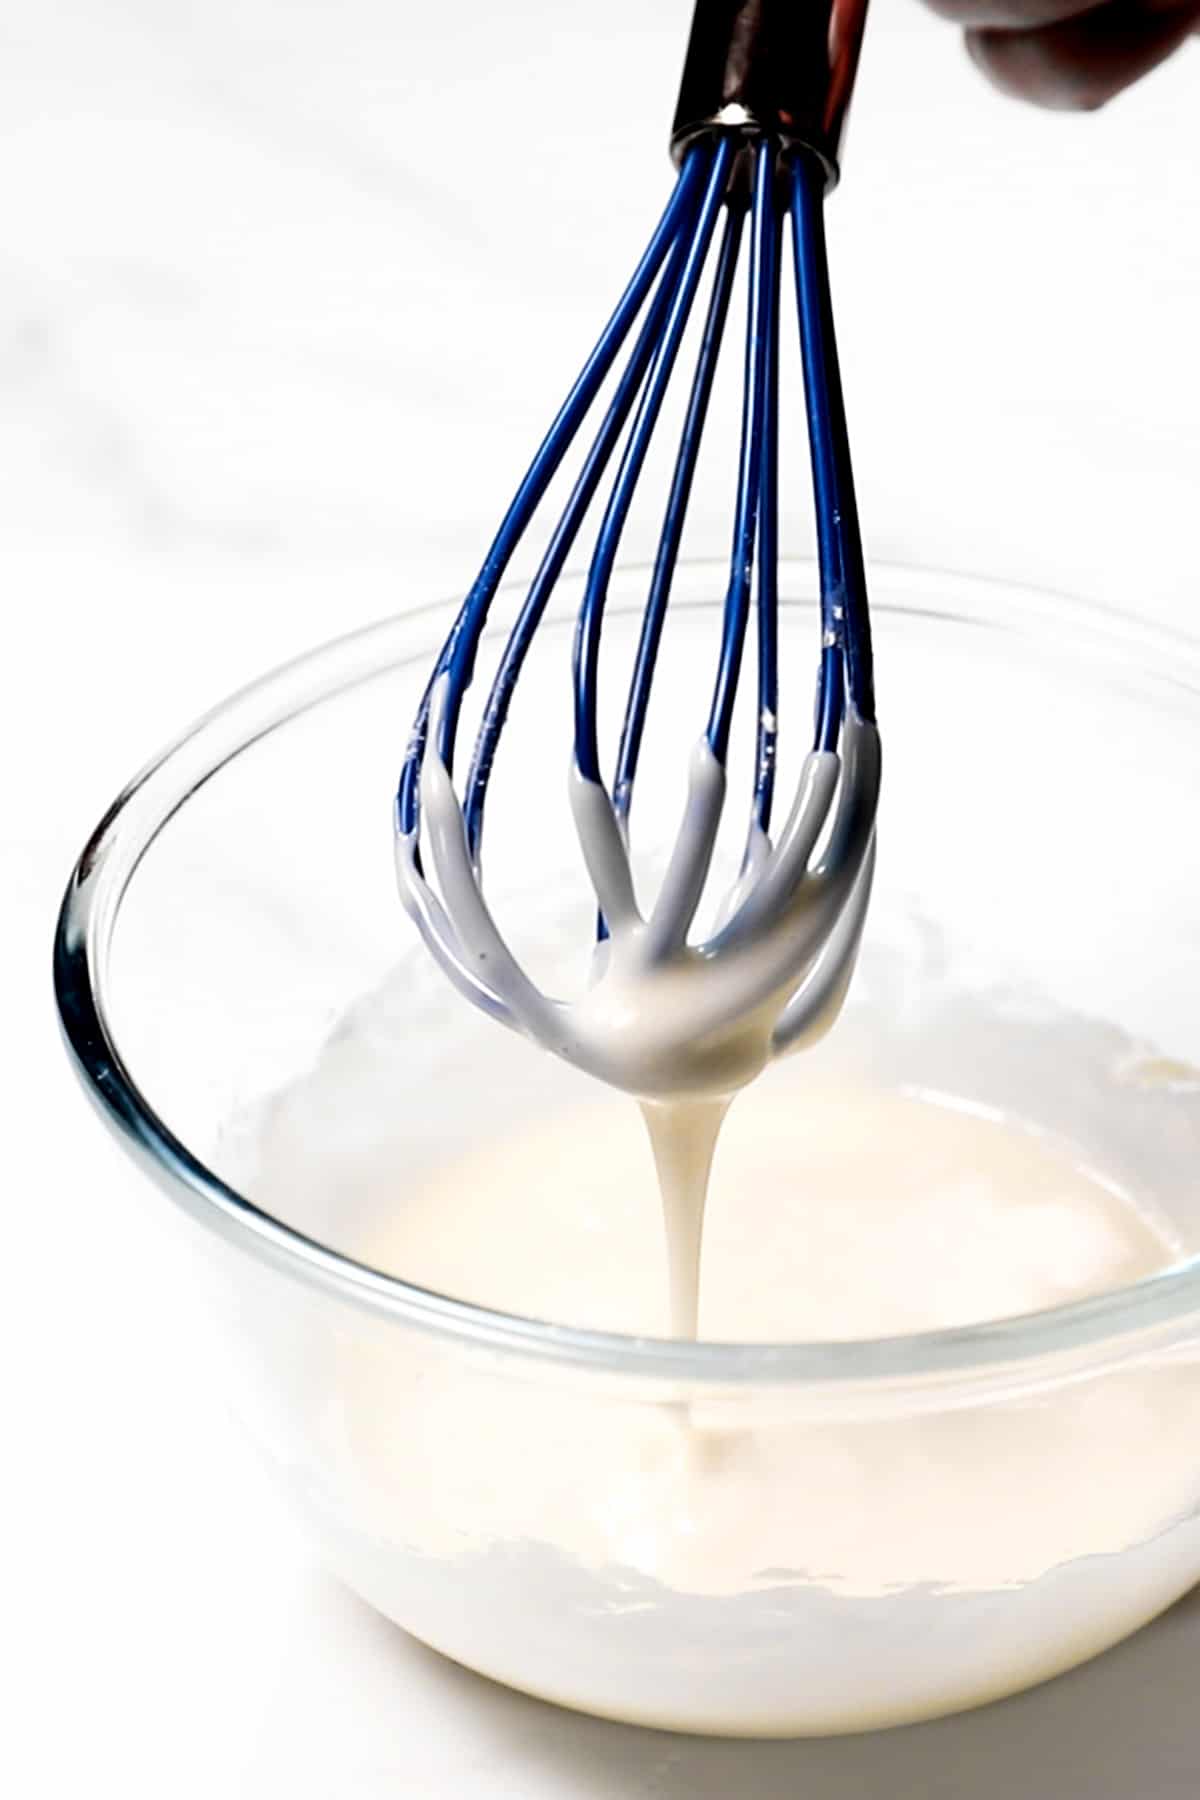
- In a mixing bowl whisk together cream cheese, the melted butter powdered sugar, and 1⁄2 tsp vanilla extract.
- Add in more milk as needed 1 teaspoon at a time until it is the desired consistency. Spread over slightly cooled rolls.
Tips
- Be sure the milk you use is warm (it should be about 110°F/43°C). If it is too hot it will kill the yeast and if it’s too cold, the yeast won’t activate.
- Use a room temperature egg in the dough: If you use cold eggs in yeast dough it can affect the yeast activating.
- Be sure to flour your kneading and rolling surfaces as well as the rolling pin this helps to prevent the dough from sticking to the surface or the rolling pin.








Leave a Reply