This site runs ads and generates income from affiliate links. Read my disclosure policy.
Learn everything you need to know with this complete guide on how to make perfect Pan Seared Brined Pork Chops every time.
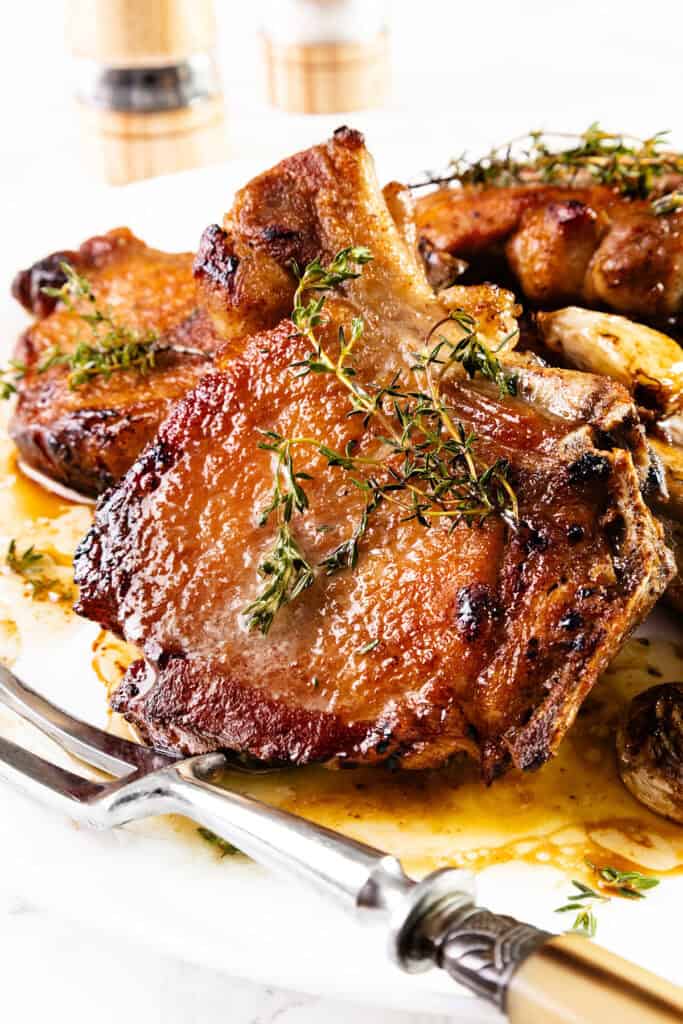
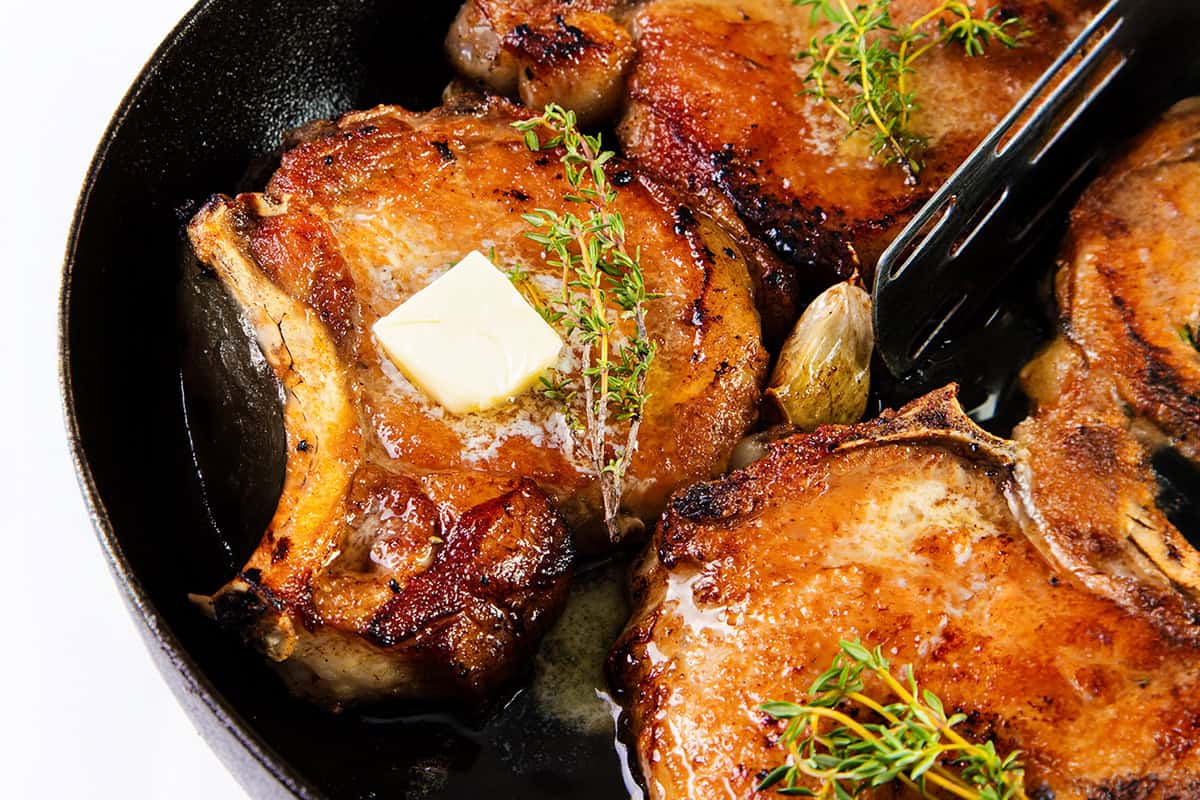
Up your weeknight dinner game with this delicious seared pork chops recipe that uses the superb flavors of garlic, thyme, and butter. It’s a simple weeknight dish the whole family will devour!
Why This Recipe Works
- Brining the pork chops not only adds flavor and seasoning to the chops, but it also breaks down meat proteins allowing it to retain more moisture when cooked.
- Baking soda in the brine tenderizes the meat and adds even more moisture to the chops.
- Scoring the fat on the chops gives you a wonderfully rendered result.
- Resting the chops in butter and thyme adds a flavor profile that is hard to beat.
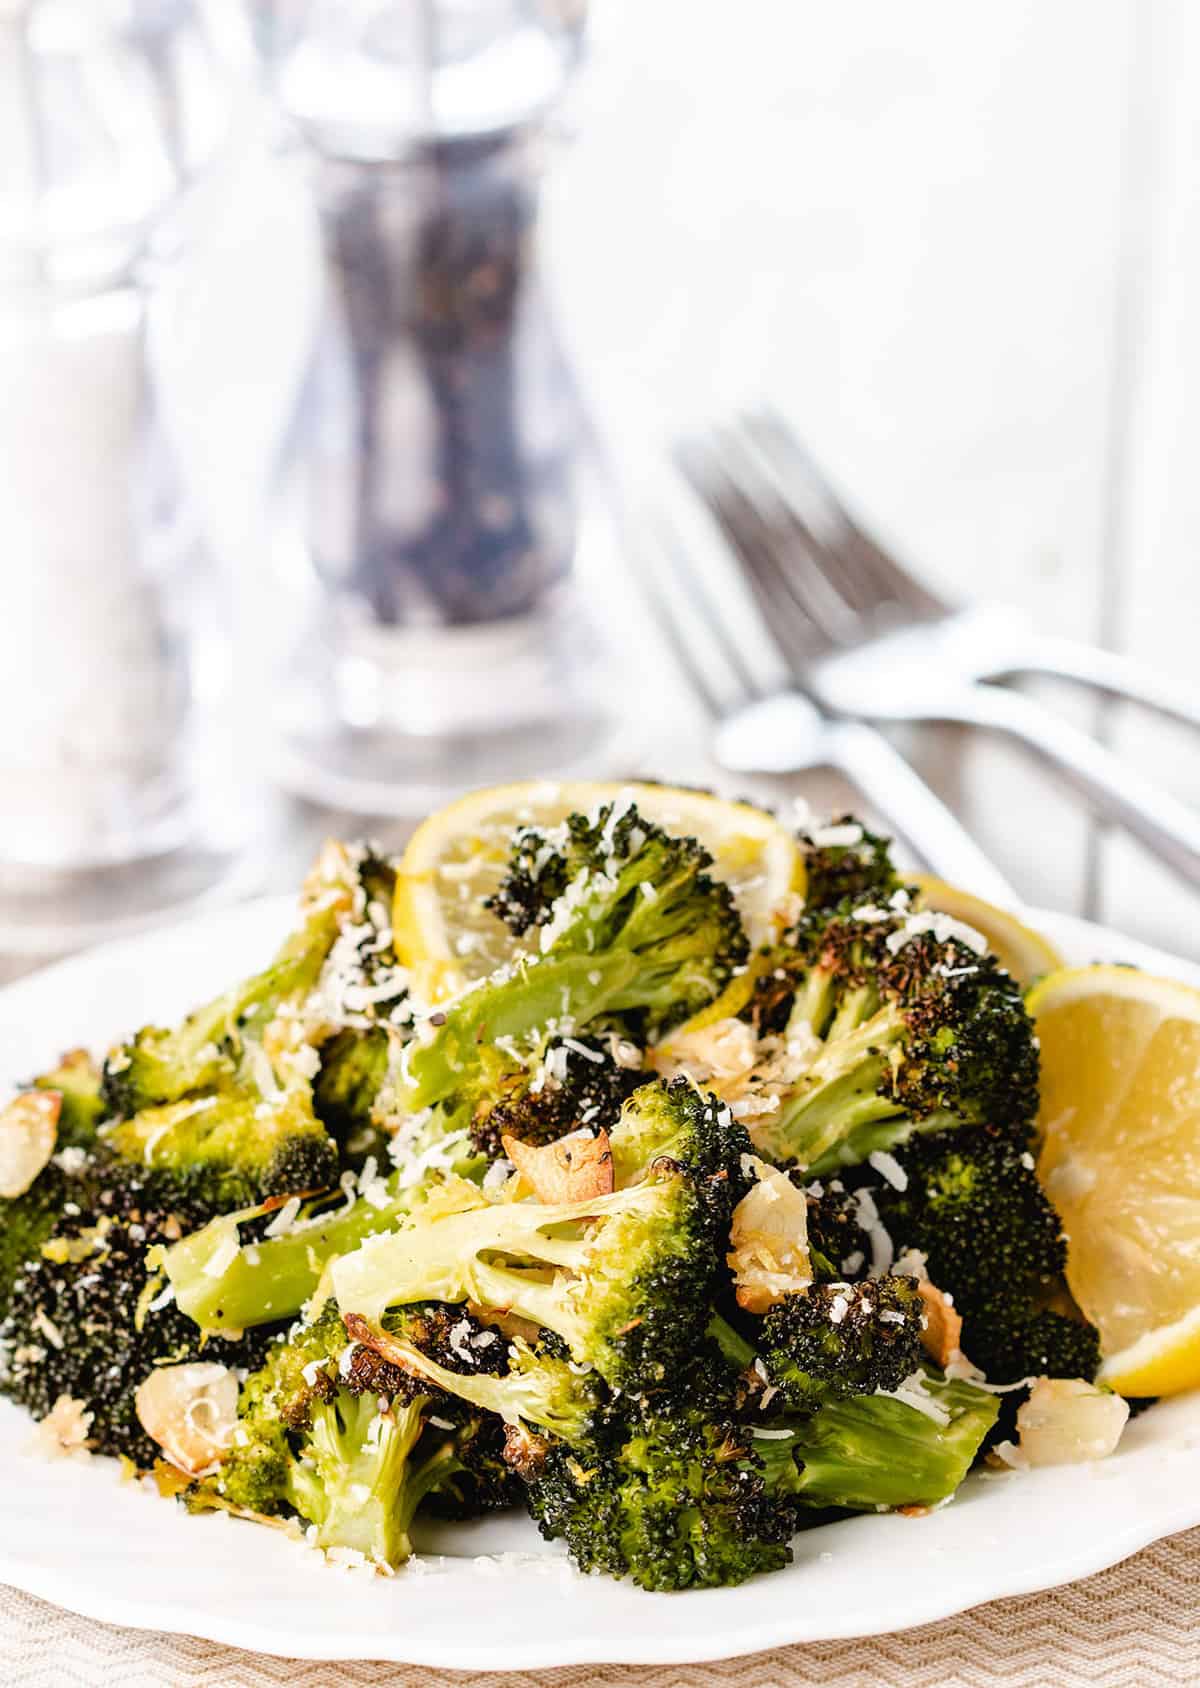
Pork chops are a favorite in our house; when they are cooked well, they are guaranteed crowd-pleasers. Serve them alongside mashed potatoes and a side of roasted green beans for a really special midweek meal.
What Pork Chops Are Best For Searing?
Pork is now bred to be leaner, making it easy to overcook. Whether you choose bone-in or boneless, thicker pork chops are best, so I recommend double-cut pork chops at least 1½ inches thick.
Bone In Chops

Rib chops or Center Cut Chops (with the bone running along the outside of the chop) are my preferred choices for pan-searing. Because the bone runs along the side of the chop, you can press the meat directly against the pan to create an excellent crust. They also have some fat, which is suitable for moisture.
Boneless Chops

Boneless Pork chops can be easily seared, but because they have less fat, they can be dry without brining. Be sure to keep an eye on them, as they cook faster than bone-in chops.
Pork Chop Cooking Guide
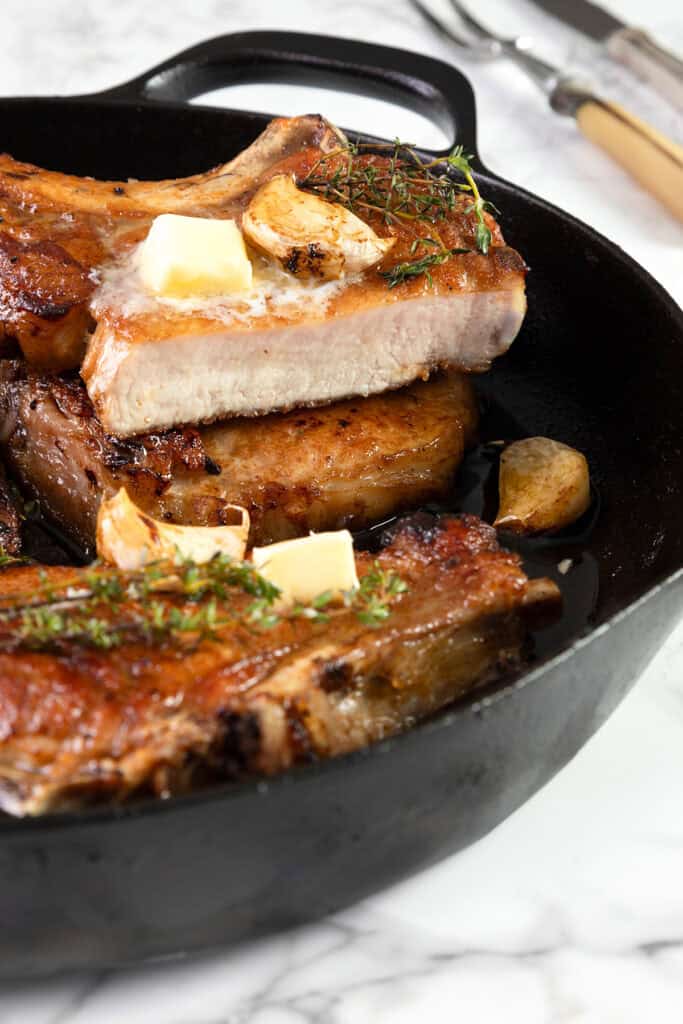
Cooking pork is a balancing act. You need to cook it long enough to kill germs but not so long that it dries out and loses flavor. Finding that sweet spot is not always easy, but don’t fear a bit of pink in the meat (see the image below).
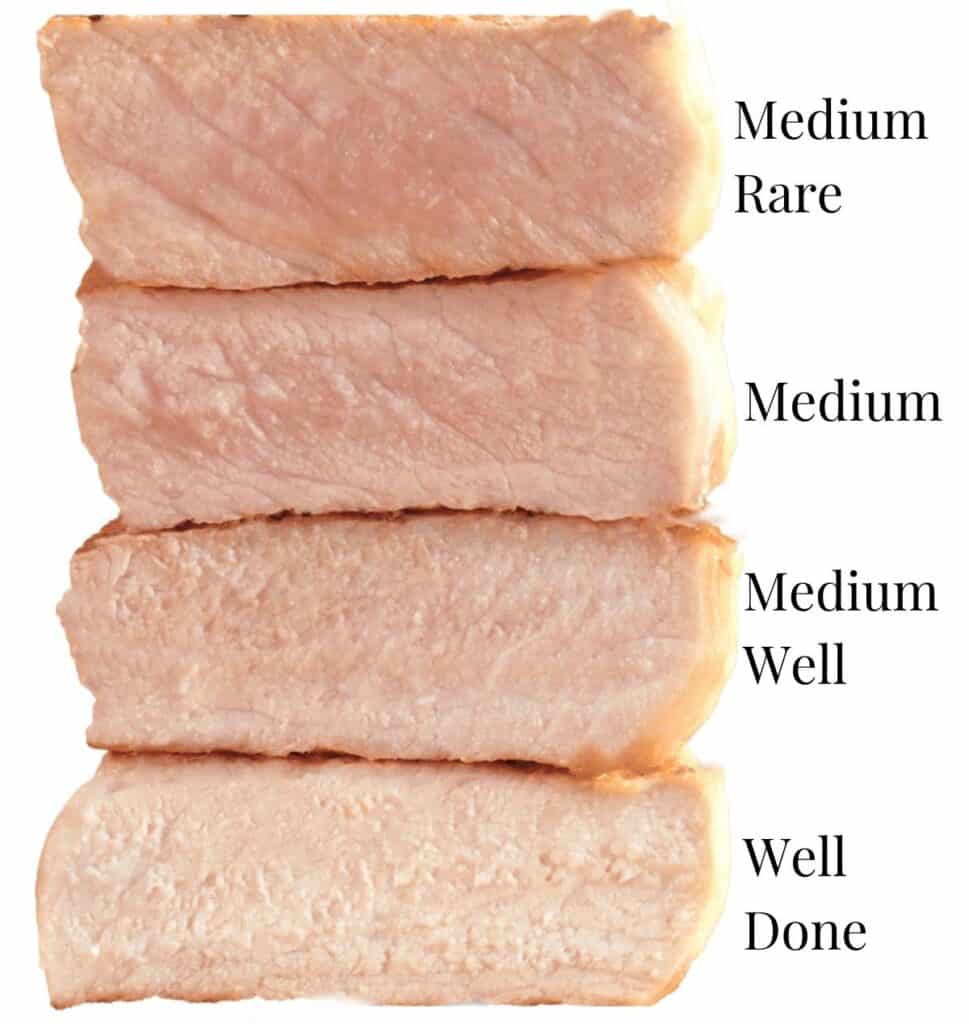
Use an instant-read thermometer to measure the internal temperature when cooking pork for the best possible result.
How to Use a Meat Thermometer
Insert the thermometer through the side of the pork chops and push it through to the midpoint. If they have a bone, avoid hitting it, as this will skew the result.
Internal Cooking Temperatures For Pork Chops
Pork chops should be removed from heat 5 to 10 degrees below the desired serving temperature. The residual heat will continue to cook the meat as it rests (this is called carryover cooking). Follow the ‘cook to’ temperatures below and rest until the meat reaches the desired doneness temperature. This will take 5-10 minutes.
If food safety is your main concern, cook the pork to well-done.
| Doneness | Cook °F | Rest °F | Cook °C | Rest °C |
| Medium Rare | 140 to 145°F | 145 to 150°F | 60 to 63°C | 63 to 66°C |
| Medium | 140 to 150°F | 145 to 150°F | 57 to 68°C | 66 to 68°C |
| Medium Well | 140 to 155°F | 155 to 159°F | 60 to 68°C | 68 to 70°C |
| Well Done | 150 to 160°F | 160°F | 63 to 66°C | 68°C |
Download the above Pork Chop Temperature Table to save for later, or print it out for your convenience.
How To Pan Sear Pork Chops
Place the water, salt, baking soda, peppercorns, and brown sugar in a large bowl and stir to dissolve the salt and sugar. Add the pork chops, cover the bowl with plastic wrap and refrigerate for 1 to 8 hours.
Soaking pork in brine with baking soda raises the pH level of the meat’s surface, keeping the proteins from bonding too much when cooked, which keeps the meat moist and tender.
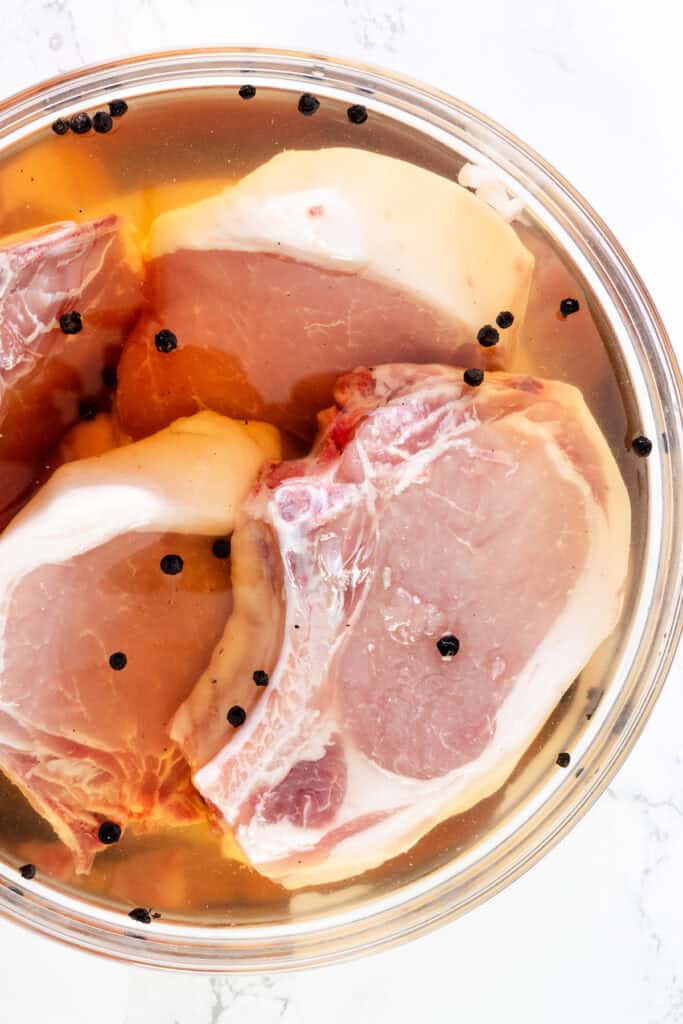
Remove the pork chops from the brine. The baking soda may cause them to feel slippery. This is completely normal. Dry them well by patting them with paper towels. This step is crucial as moisture will steam the meat instead of searing it when it hits the pan. Drying the meat well helps develop a golden crust and allows the meat to cook evenly.
Coat your pan with two tablespoons of canola or vegetable oil (as they have a higher smoke point). You only want a thin layer of oil, so swirl it around to evenly coat the bottom of the pan.
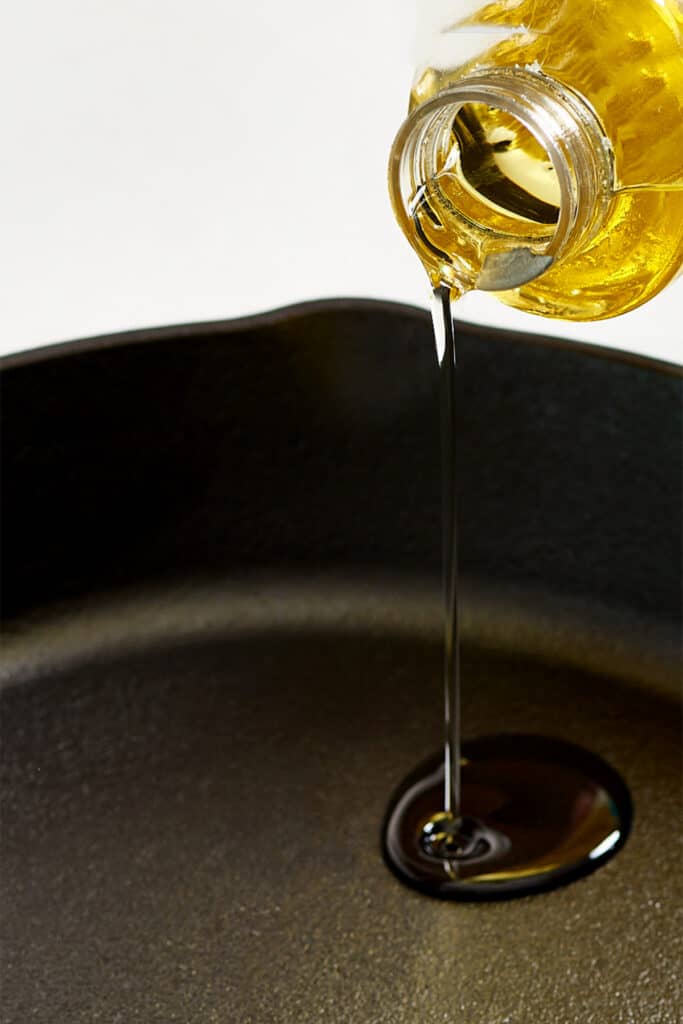
Preheat your pan well. This is important as a high temperature is needed to achieve a caramelized, deep-colored sear on the surface of the meat. I recommend using a heavy-bottomed cast iron or stainless steel pan for searing meat. A nonstick pan will now always allow the crust to form properly.
While the pan heats, if your chops have a fat layer along the outside, score the fat with a knife making the cuts about 2 inches apart.
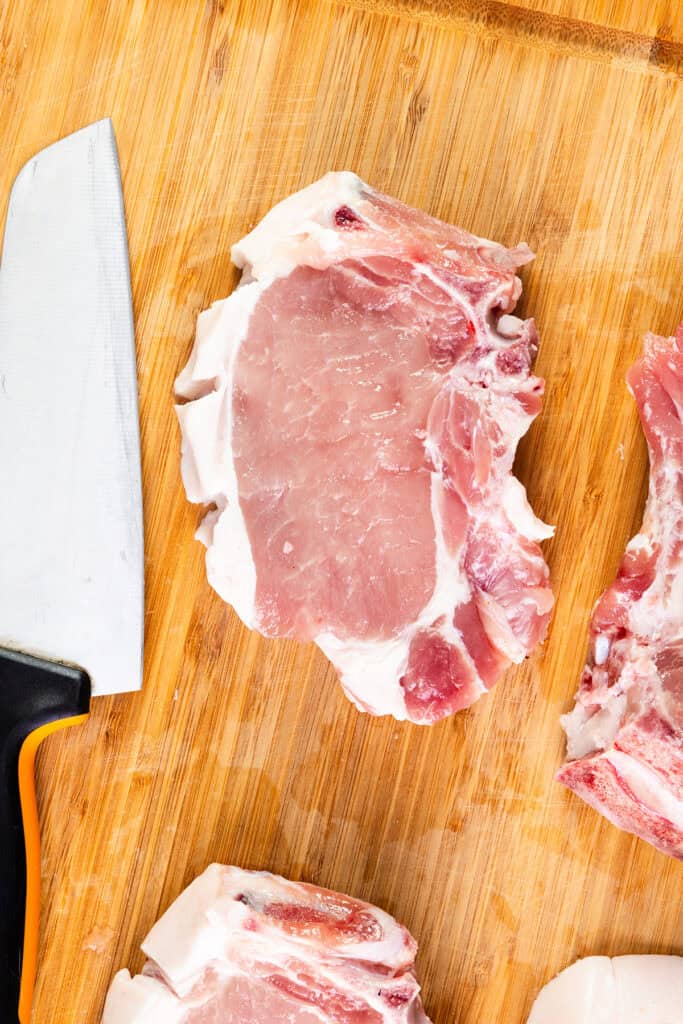
Scoring the fat allows the pork chop to relax, so when the fat cooks and renders, the meat will stay flat on the pan instead of curling like it would if the fat was left intact.
When the oil in your pan starts to shimmer and slightly smoke, add the chops. When the meat hits the pan, it should sizzle loudly (like applause). If it’s not a good loud sizzle, remove the meat and let the pan heat a little longer.
I cook the chops in batches of two as I find four in the same pan lowers the heat of the pan, causing the meat to steam, rather than brown. Take the extra few minutes to sear the chops in two batches.
Once you’ve put the meat in the pan, let it cook with uninterrupted contact with the pan for a good three minutes to properly sear (I know it’s tempting to have a little peak, but trust me – don’t move the chops). While letting the chops do their thing, add the unpeeled garlic cloves to the pan to flavor the oil.
The meat will stick to the pan at first and then release naturally when properly seared. After a few minutes, shake the pan to see if the meat is released from the pan. Once it does, it’s ready to flip.
Flip pork chops to the uncooked side down and cook uninterrupted for another two minutes. The second side always browns quicker than the first. Once it browns, start turning the chops every two minutes until both sides are golden brown and reach 145°F in the thickest part.
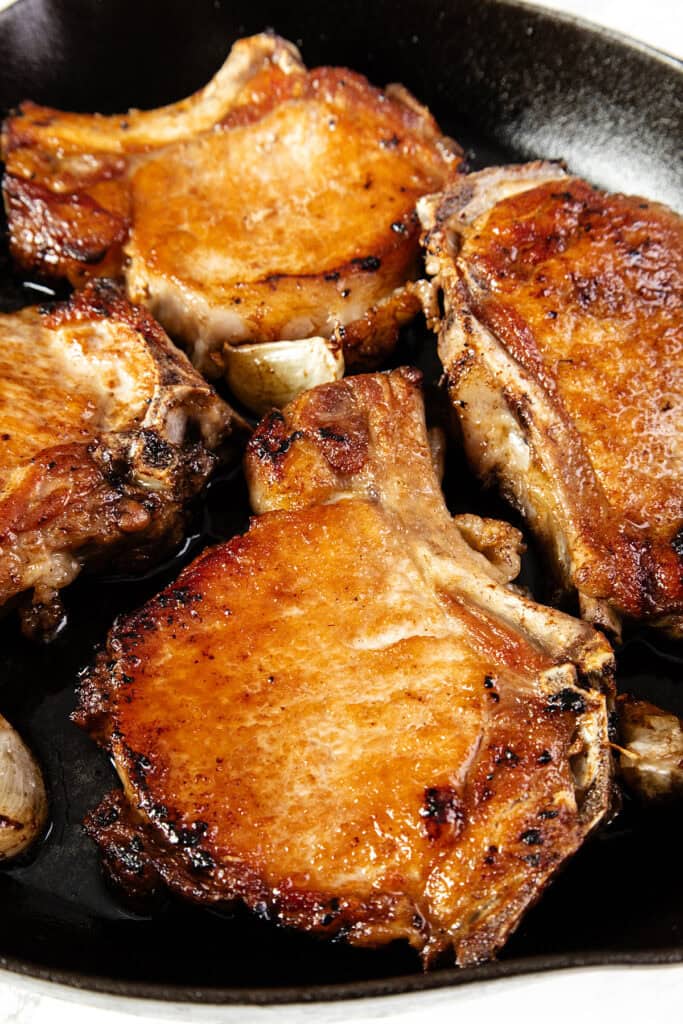
If the fat is thick and hasn’t cooked down, pick up the pork chop with tongs, and hold the pork chop upright, with the fatty edge of the pan. Cook until the fatty edge get’s crisp and brown, about 2 minutes.
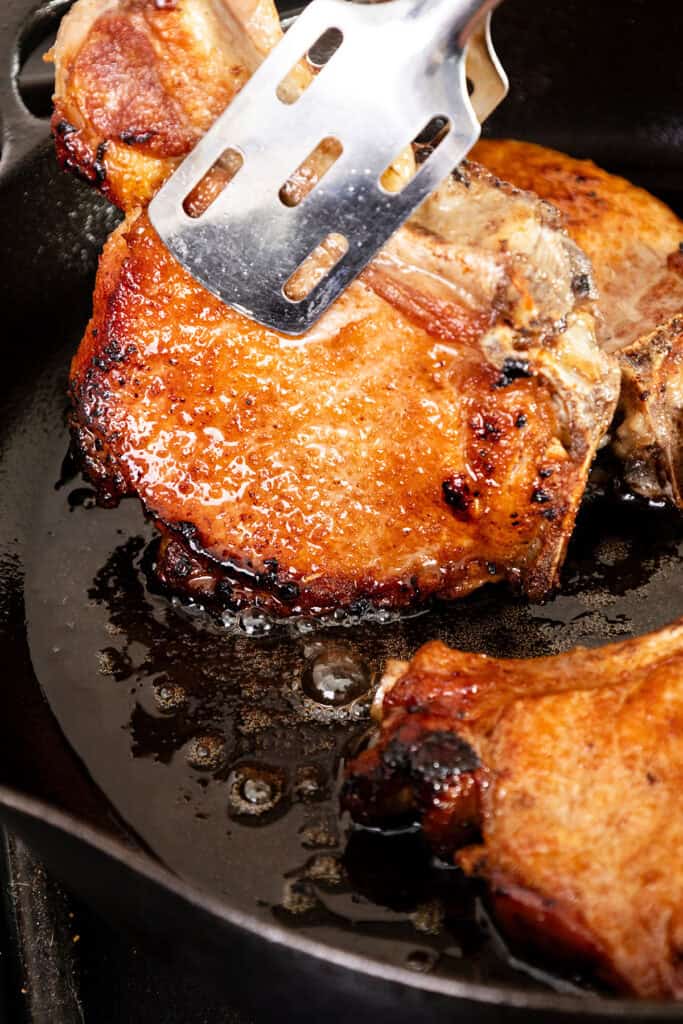
Once the pork chops reach an internal temperature of 145°F, remove from the heat top with the butter and thyme, and allow it to melt.
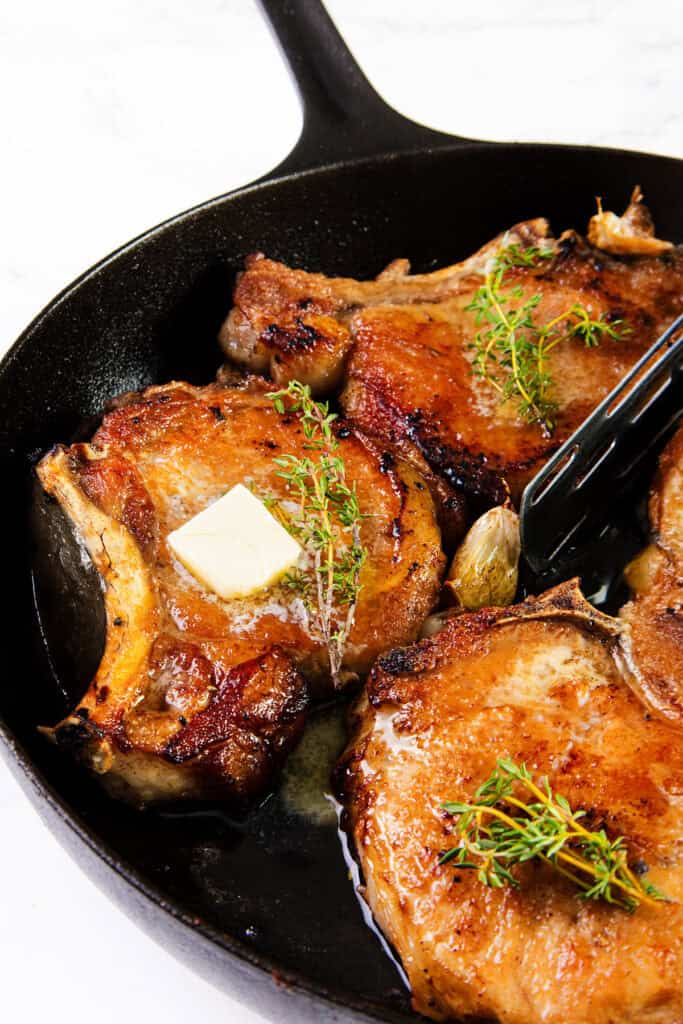
Transfer the chops to a dish, and cover loosely with foil (you don’t want to wrap the foil tightly around the meat). Allow the chops to rest until they reach an internal temperature of 145°F to 150°F (for medium doneness) before serving.
Tips & Variations
- Cook in batches – If your pan isn’t large enough to allow about two inches between the chops, don’t try to brown them in a single batch (even if you think they’ll fit). I cook the chops in batches of two as I find four in the same pan lowers the heat of the pan, causing the meat to steam rather than brown. Take the extra few minutes to sear the chops in two batches.
- Using a meat thermometer guarantees your pork chops are cooked thoroughly and help avoid overcooking them and them being tough. I highly recommend you use a meat thermometer.
- If the fat is thick and hasn’t cooked down, pick up the pork chop with tongs and hold the pork chop upright, with the fatty edge of the pan. Cook until the fatty edge get’s crisp and brown, about 2 minutes.
- Make sure the chops are well and evenly browned on both sides, and use a large enough pan to avoid crowding while browning.
- If you are not a fan of thyme, you can substitute it with rosemary, sage, or marjoram and experiment with your favorite herbs.
FAQs
Why are my pan-fried pork chops tough?
If your pork chops are tough, it may be that you have overcooked them; if you use a meat thermometer, this will help avoid this problem.
Do you Rinse pork chops after brining?
You can rinse pork chops after brining; however, patting them dry is a better option as you don’t lose any flavor.
Rate This Recipe
Recipe
Pan Seared Brined Pork Chops
Ingredients
For The Brine
- 4 cups water (at room temperature)
- 1 teaspoon baking soda
- ¼ cup kosher salt
- 1 tablespoon peppercorns
- ¼ cup packed light or dark brown sugar
- 4 pork chops (at least1½ inches/4cm thick, 8oz/227g each)
For Searing
- 2 tablespoons olive oil
- 4 garlic cloves (whole, unpeeled)
- 4 sprigs fresh thyme (whole (plus more if desired))
- 2 tablespoons butter
Instructions
For The Brine
- Place the water, baking soda, salt, peppercorns, and brown sugar in a large bowl and stir to dissolve the salt and sugar. Add the pork chops, cover the bowl with plastic wrap and refrigerate for 1 to 8 hours.
To Sear
- Remove the pork chops from the brine 20-30 minutes before you plan to cook them, and pat the chops dry with paper towels.
- If the pork chops have a layer of fat, score the fat layer with a knife making the cuts about 2 inches apart.
- Add the oil to the pan and preheat the pan over high heat until the oil shimmers and starts to smoke slightly.
- Once the oil is hot, reduce the heat to medium and add the garlic cloves and pork chops to the pan. Cook undisturbed for 3 minutes (they should be golden brown).
- Flip pork chops to the uncooked side down and cook another 2 minutes to brown. Keep turning chops every 2 minutes until both sides are deep golden brown and they reach 135 to 140°F/57 to 63°C in the thickest part.
- If the fat is thick and hasn’t cooked down, pick up the pork chop with tongs and hold the pork chop upright, with the fatty edge on the pan. Cook until the fatty edge get’s crisp and brown, about 2 minutes.
- Once the pork chops reach an internal temperature of 135 to 140°F/57 to 63°C, remove from the heat top with ½ Tablespoon of butter and a sprig of thyme, allow to melt, and spread the butter over the chops.
- Transfer the chops to a dish, cover loosely with foil, and allow to rest until they reach an internal temperature of 150 to 155°F/66 to 68°C for medium doneness before serving.
Tips
Tips
- The baking soda may cause your chops to feel slippery when you remove them from the brine. This is completely normal.
- Dry the meat thoroughly before cooking for the best possible sear.
- Cook in batches – If your pan isn’t large enough to allow about two inches between the chops, don’t try to brown them in a single batch (even if you think they’ll fit). I cook the chops in batches of two as I find four in the same pan lowers the heat of the pan, causing the meat to steam rather than brown. Take the extra few minutes to sear the chops in two batches.
- Using a meat thermometer guarantees your pork chops are cooked thoroughly and also helps avoid overcooking them and them being tough. I highly recommend you use a meat thermometer.
- If the fat is thick and hasn’t cooked down, pick up the pork chop with tongs, and hold the pork chop upright, with the fatty edge of the pan. Cook until the fatty edge get’s crisp and brown, about 2 minutes.
- Make sure the chops are well and evenly browned on both sides, and use a large enough pan, so they are not crowded while browning.




Leave a Reply