This site runs ads and generates income from affiliate links. Read my disclosure policy.
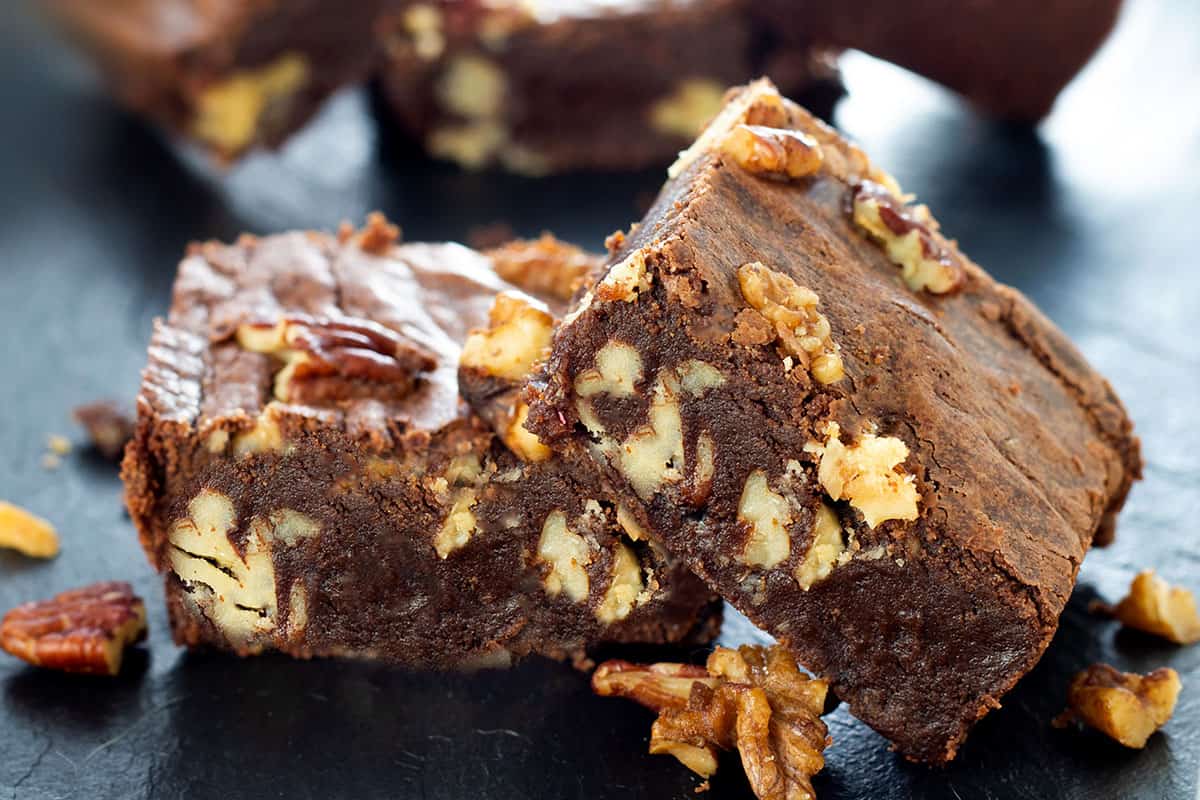
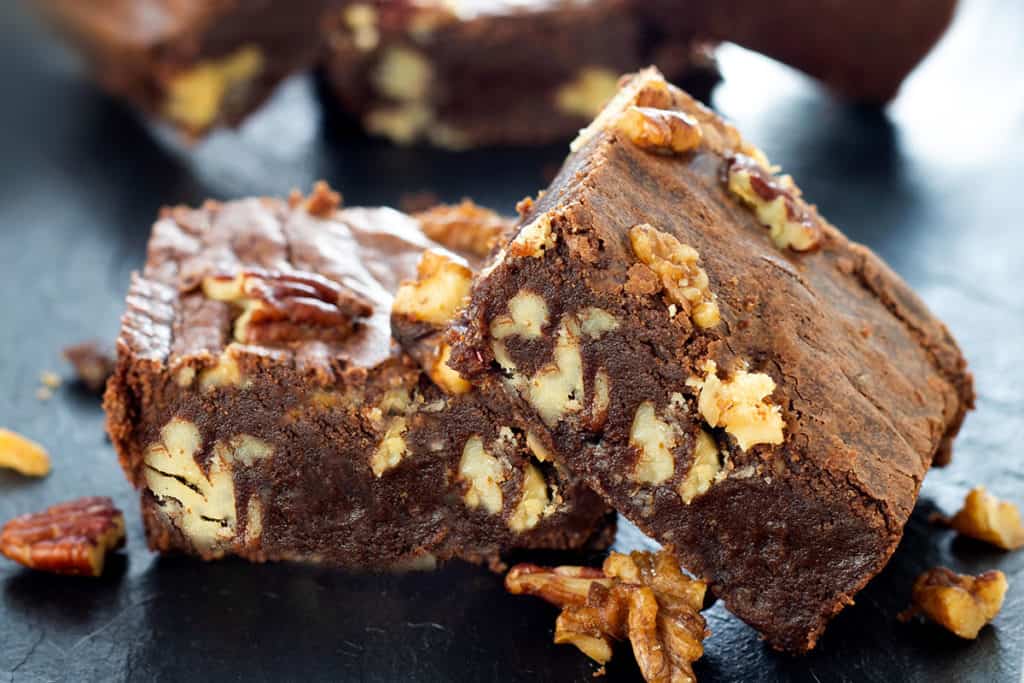
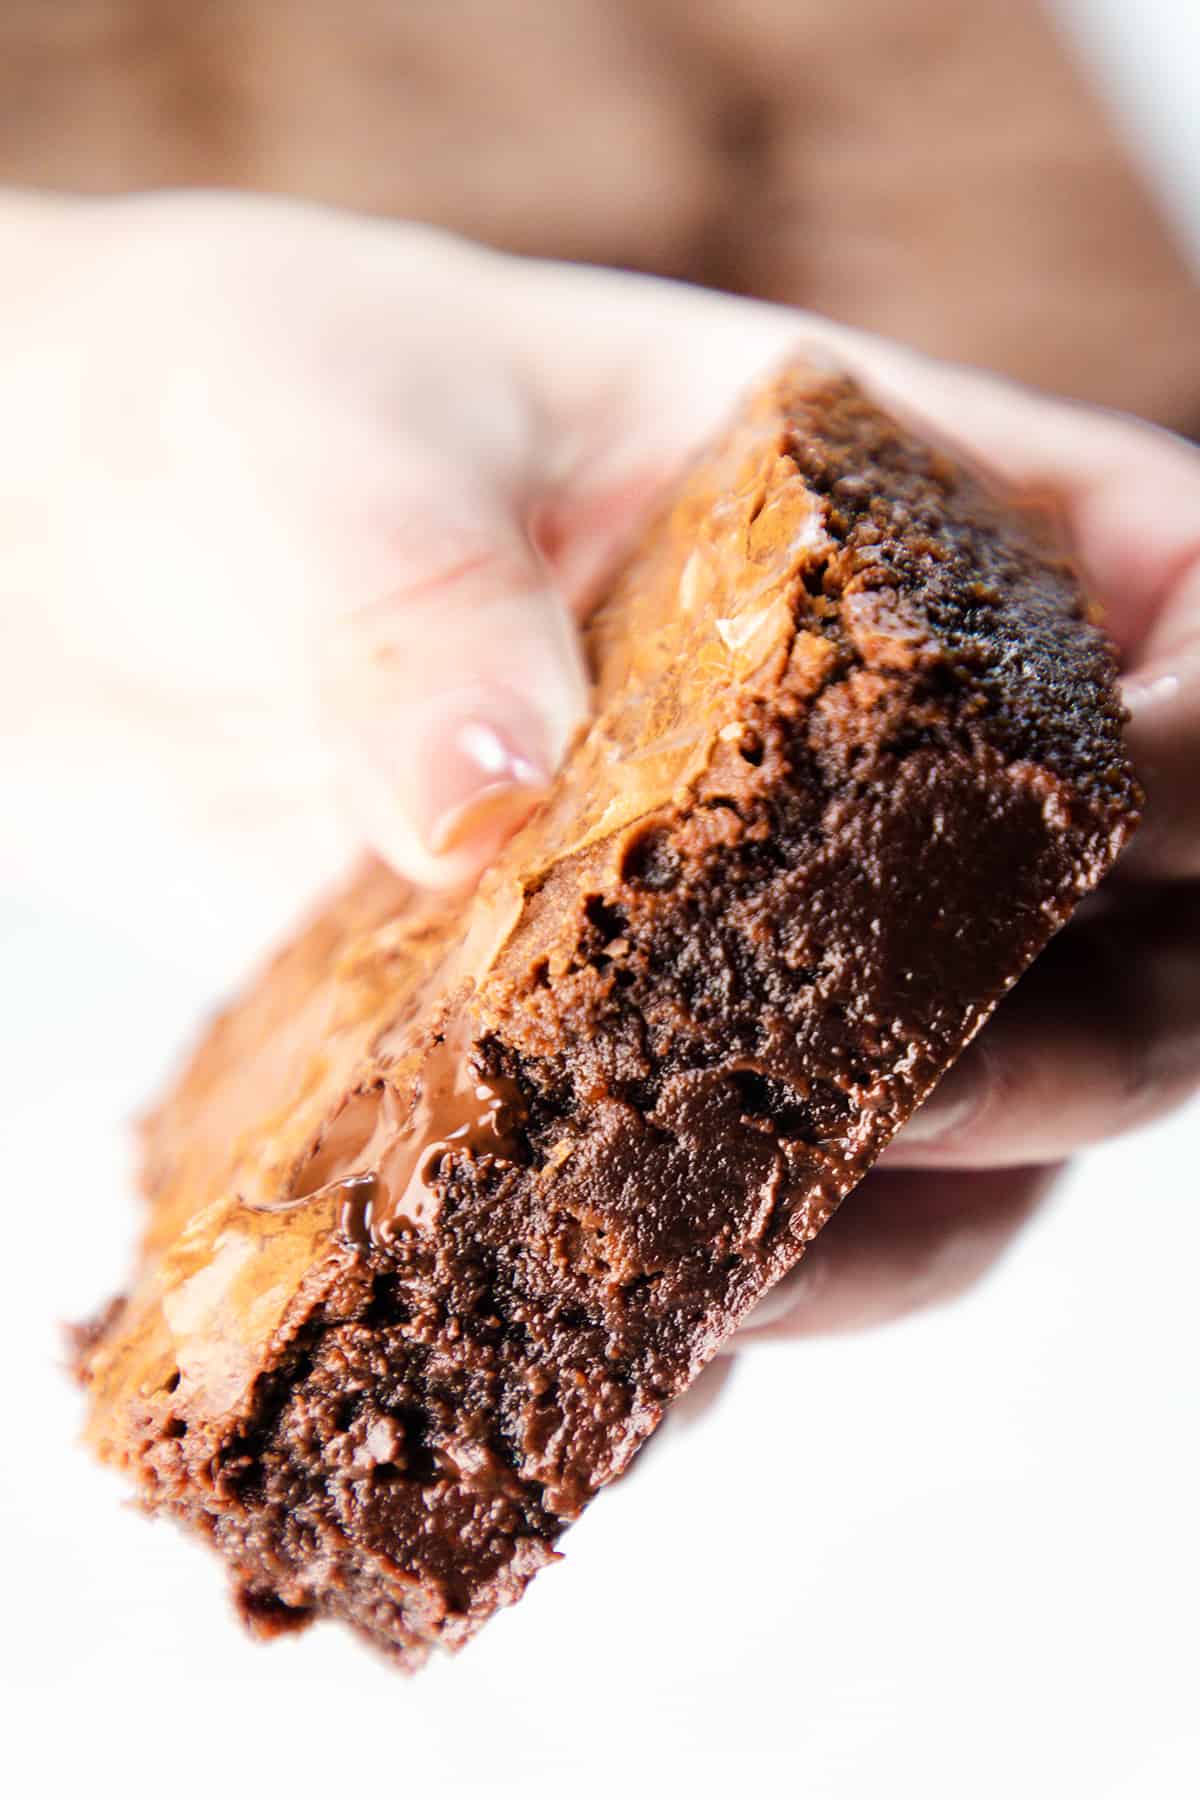
This recipe for Nutty Homemade Brownies makes the fudgiest brownies packed with nuts and a rich chocolate flavor.
Serve these decadent brownies with Vanilla Ice Cream for added indulgence!
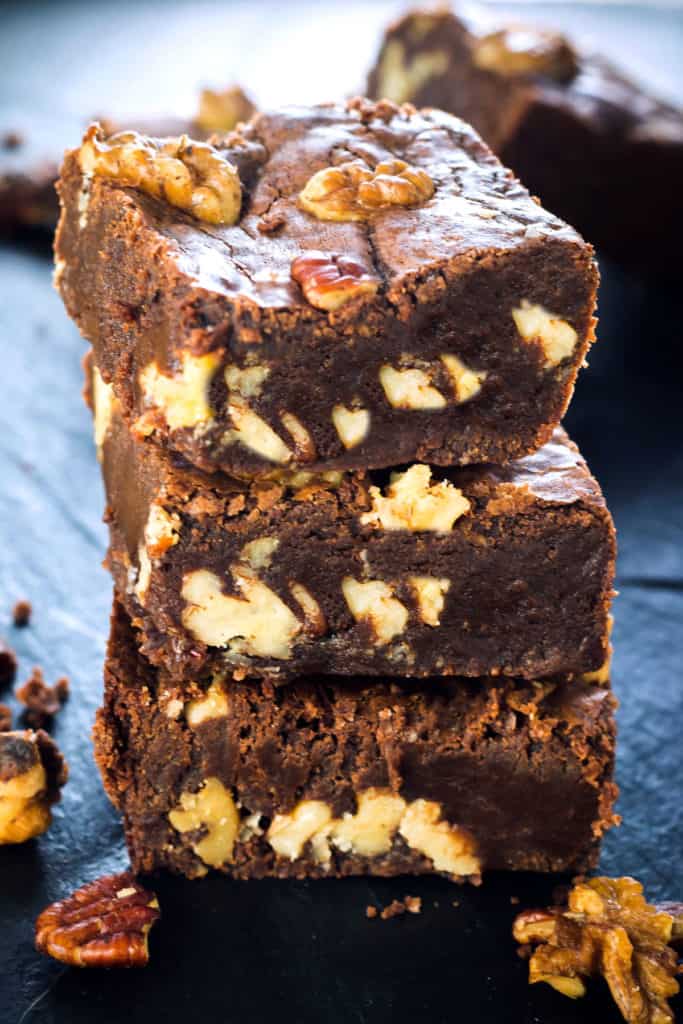
My Best Brownie Recipe
There are a couple of recipes every baker’s collection should have -An amazing chocolate chip cookie recipe and the other is a solid brownie recipe.
Not just any brownie recipe – an indulgent, dense, chocolatey, nutty recipe everyone will love! This recipe delivers on it all!
Why This Recipe Works
- Toasting the nuts in butter and salt adds indulgence and a kick of flavor.
- Using a mixture of nuts gives multiple textures.
- Using melted chocolate and cocoa powder gives these brownies a rich, deep chocolate taste.
Easy Brownies From Scratch
Aside from toasting the nuts in a separate pan (optional), this recipe only needs one large saucepan, a wooden spoon, good-quality ingredients, and about 10 minutes to make them.
You don’t even need a mixer or any special equipment It really doesn’t get much easier than that!
How To Make Homemade Brownies
Melt the butter in a sauté pan for the salt-toasted nuts over medium heat.
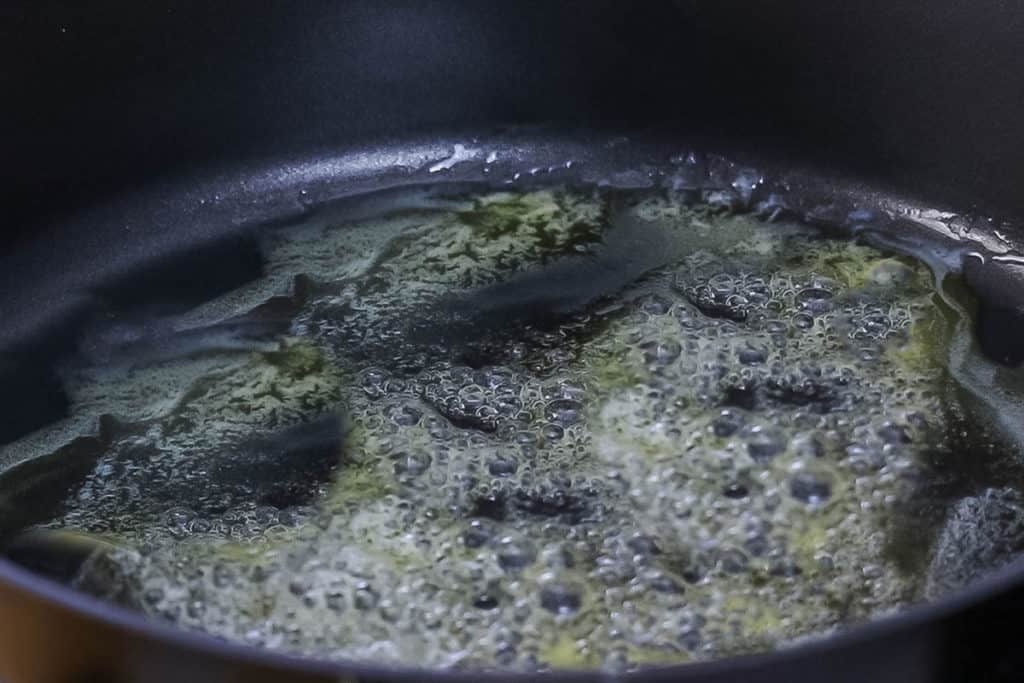
Add the nuts and sea salt.
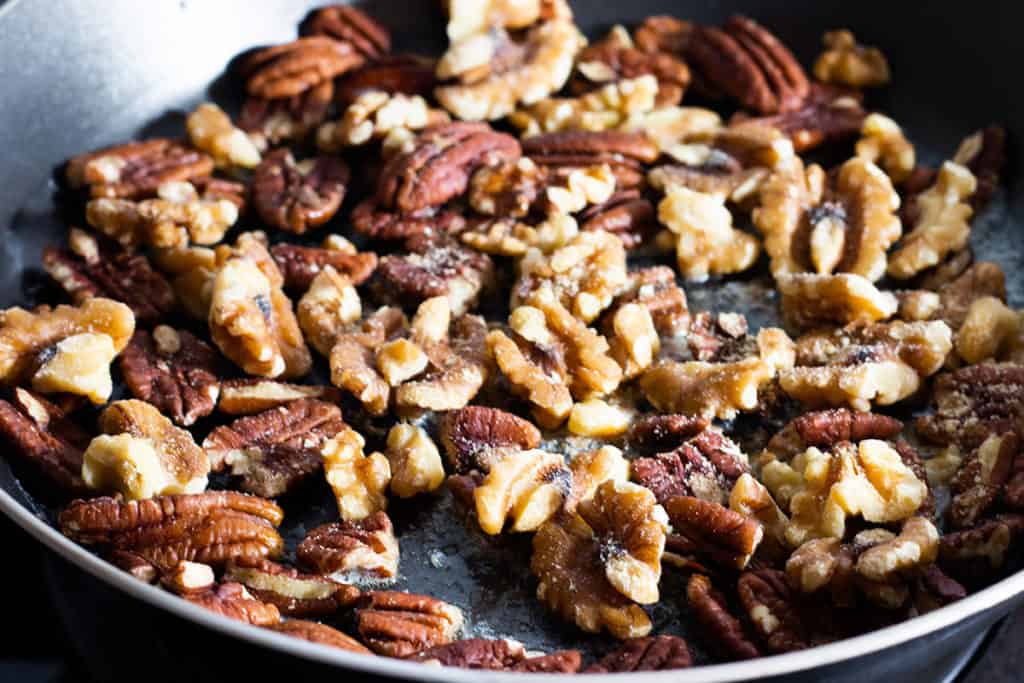
Stir and toast them until they have a nice nutty aroma (the salt will not dissolve, but it adds a nice crunch). Remove the pan from the heat and cool while preparing the brownies.
Nuts can burn easily, so watch them carefully. When the nuts are done, you’ll start to smell their nutty fragrance, and they’ll look more golden in color.
Melt the chocolate and butter in a medium saucepot over low heat, stirring until melted. Then remove it from the heat and allow it to cool.
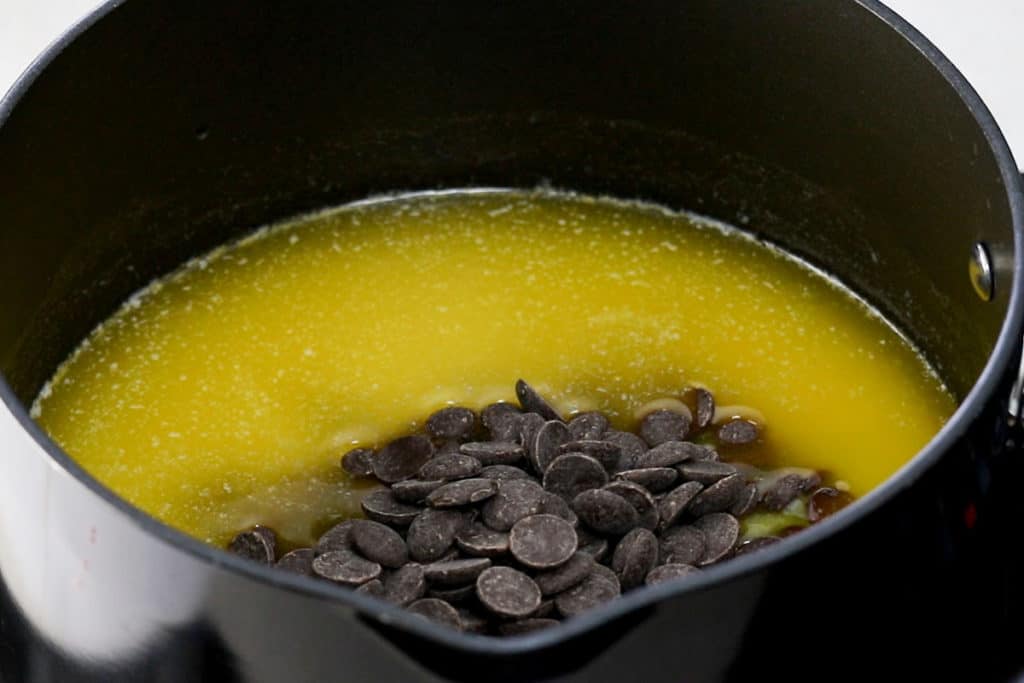
Remove the pan from the heat, whisk in the sugar right in the pot, and add brown sugar.
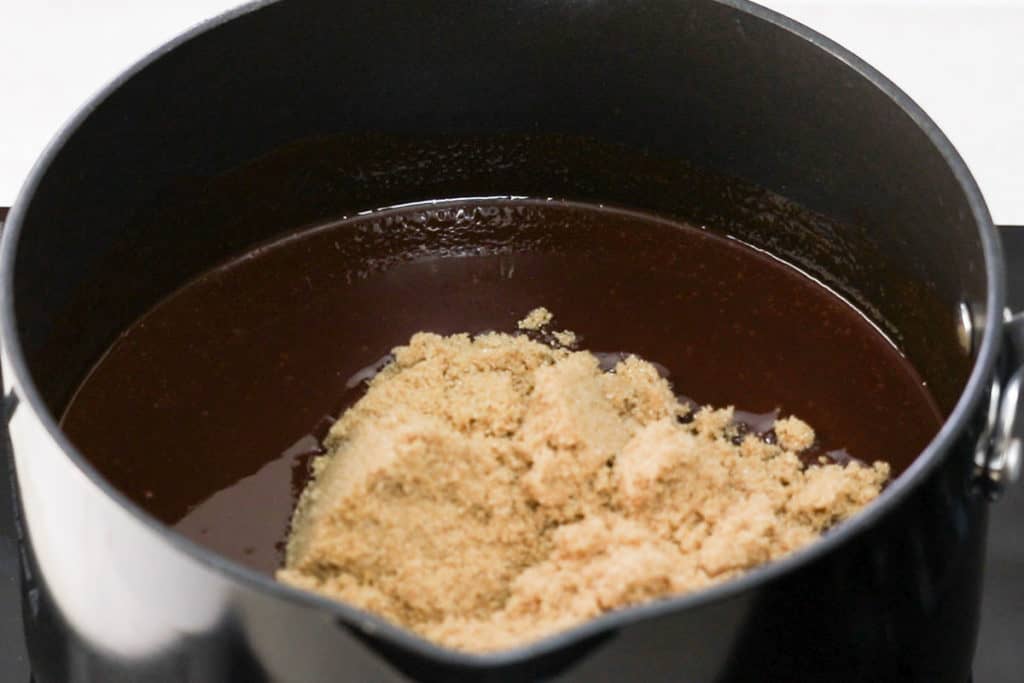
Stir to combine, then whisk in the vanilla and eggs.

Stir in the flour and cocoa powder.
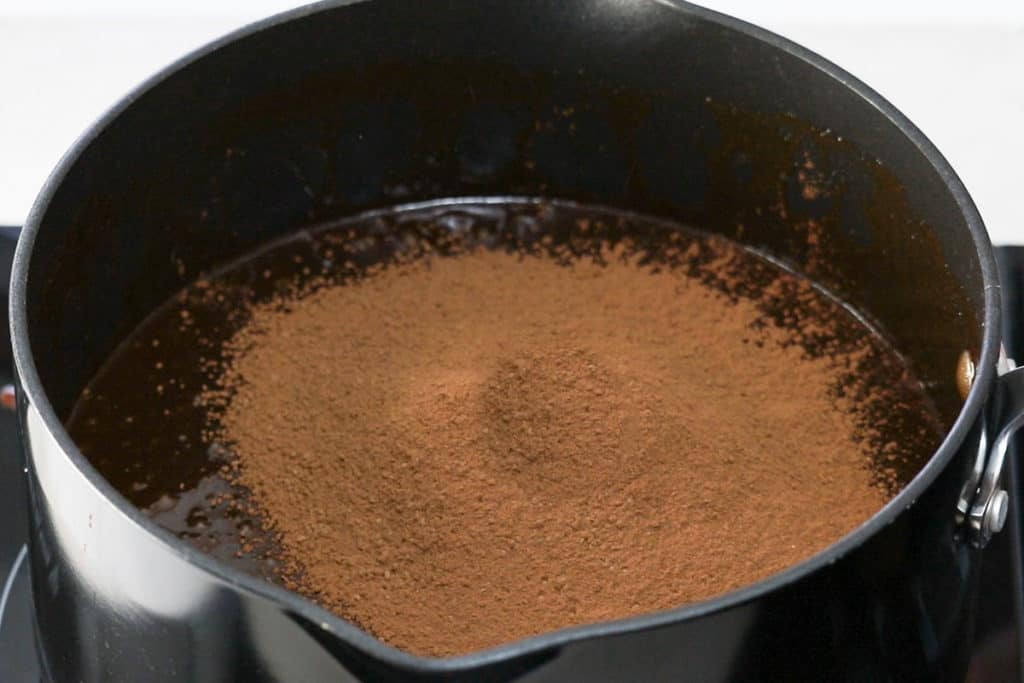
Mix until evenly combined and stir in the nut mixture (leaving some to sprinkle over the top).
Always Sift Cocoa Powder. Cocoa powder is notoriously lumpy. If you add it straight to the batter, breaking up the clumps is nearly impossible.
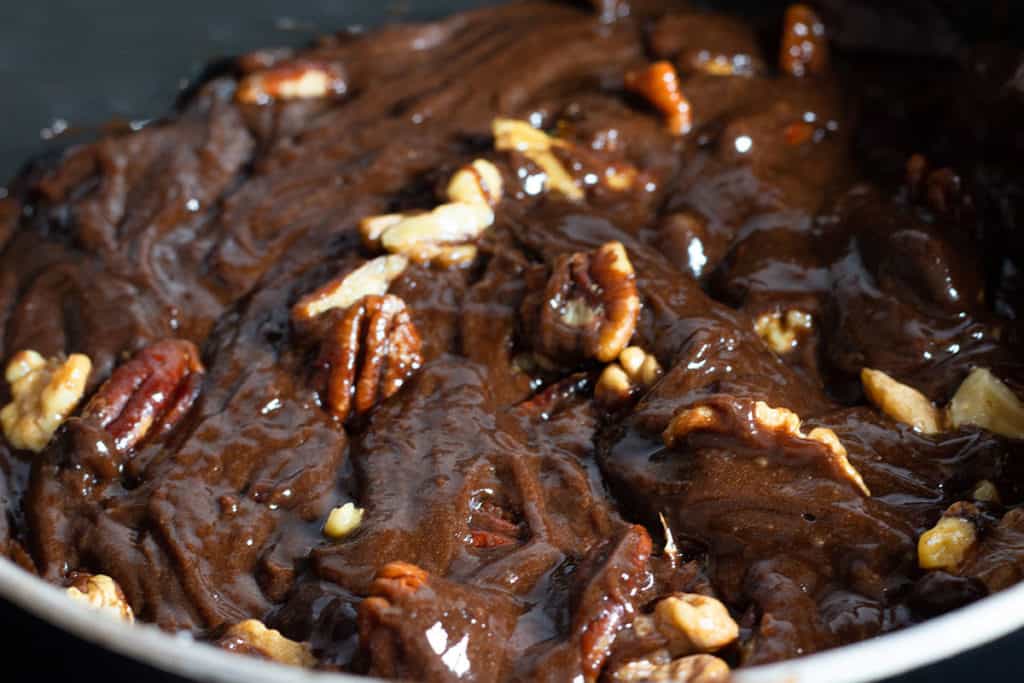
Spread evenly into the pan and bake.
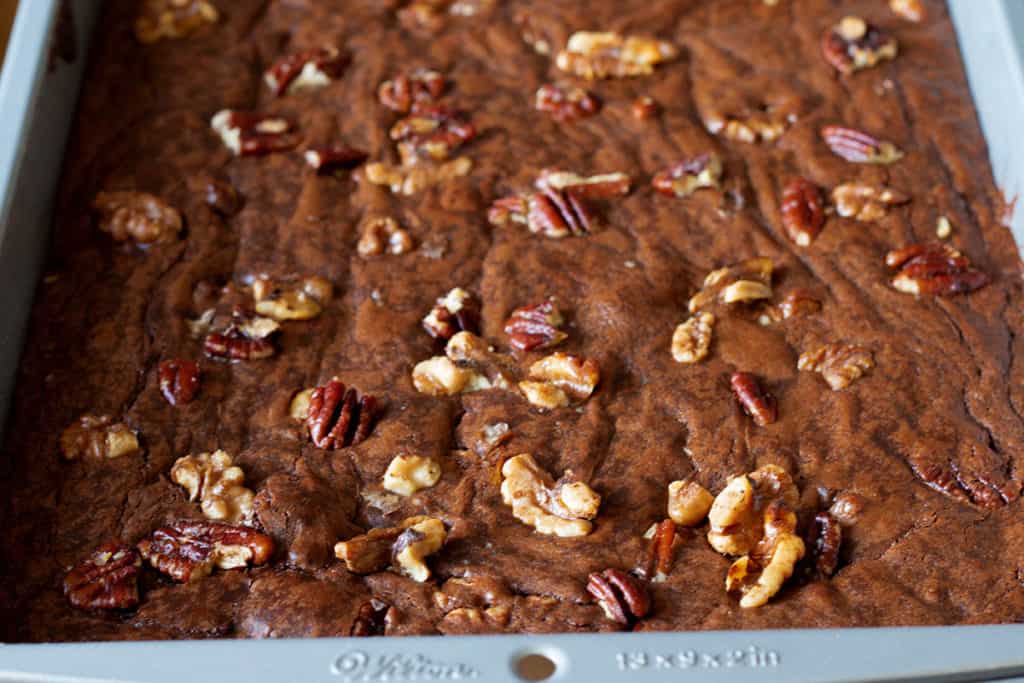
Allow the brownies to cool completely before cutting. Then cut and serve.
Testing Brownies For Doneness
Due to how fudgy brownies are, you can’t use a cake tester to check for doneness. Here’s how to test them:
- After Baking the brownies for 30 minutes, gently shake the pan. If they wobble in the middle, they’re not quite ready.
- Bake them for five more minutes, and test them again.
- Repeat until they don’t wobble, the top has a shiny crust, and the sides begin to come away from the pan.
Tips For Perfect Brownies
- Follow the instructions on mixing. Under and over-mixing at different stages can cause greasy or cake-like brownies. Follow the instructions and you’ll have perfect brownies every time!
- Using good quality ingredients. in a recipe is vital if you want great results and it makes a huge difference in flavor.
- Use eggs at room temperature. Eggs combine better into the batter when at room temperature. They also mix more evenly. Your brownies will have a lighter texture and cook more evenly.
- Mix your brownies by hand. Always mix by hand to achieve fudgy brownies. Use a whisk until you add the cocoa powder and flour and then switch to a wooden spoon.
- Don’t over mix. When mixing in the flour only mix until combined. A few lumps are fine. Over mixing creates a cake-like brownie.
Rate This Recipe
Recipe
Nutty Homemade Brownies
Ingredients
For The Toasted Nuts
- ½ cup walnuts halves
- ½ cup pecan halves
- 1 tablespoon unsalted butter
- ½ teaspoon sea salt
For The Brownies
- 2½ cups butter ((20oz or 5 sticks) cut into pieces)
- 8 ounces dark chocolate ( chopped – I use 54% Cocoa solids)
- 1 cup granulated sugar
- 2½ cups light brown sugar (packed)
- 6 large eggs (room temperature)
- 1 tablespoon vanilla extract
- ½ teaspoon salt
- 2 cups all-purpose flour* (sifted)
- ½ cup unsweetened cocoa powder (sifted)
Instructions
- Preheat the oven to 350ºF/180ºC and grease 13×9 inch baking pan
For The Toasted Nuts
- Melt the butter in a sauté pan over medium heat for about 5 minutes, until the pecans have a nutty aroma (the salt will not dissolve, but adds a nice crunch).
- Remove the pan from the heat and cool while you prepare the brownies.
For The Brownies
- Melt the butter and chocolate in a large saucepan over low heat, stirring until melted. Remove from heat and allow to cool.
- Whisk in the sugar and brown sugar right into the pot and mix well until no visual sign of melted butter is left. The mixture should be thoroughly combined.
- Whisk in the eggs & egg yolks one at a time, then the vanilla & salt. Mix well until completely incorporated.
- With a wooden spoon, stir in the sifted flour and cocoa powder just until it is incorporated. It’s important not to over-mix the batter at this point. Fold in the toasted nut mixture.
- Spread into the pan. Place the pan in the oven and set your timer for 30 minutes.
- When the timer goes off, open the oven, pull the shelf out, and gently shake the pan. If the brownie wobbles in the middle, it’s not entirely done, so slide it back in and bake for another 5 minutes until the top has a shiny, papery crust and the sides are just beginning to come away from the pan.
- Remove from the oven and cool the brownies for at least an hour before removing them from the pan and slicing them.
Tips
For Perfectly Toasted Nuts
- Nuts can burn easily, so watch them carefully.
- You’ll know the nuts are done when you start to smell their nutty fragrance, and they’ll look more golden in color.
For Perfect Brownies
- Melt the butter and chocolate over LOW heat. Overheating chocolate can cause it to seize up, which will ruin your brownies.
- Allow the butter and chocolate to cool until the pot is cool enough to touch before moving on to the next step.
- Follow the instructions on mixing. Under and over-mixing at different stages can cause greasy or cake-like brownies. Follow the instructions, and you’ll have perfect brownies every time!
- Using good quality ingredients. in a recipe is vital if you want great results, and it makes a huge difference in flavor.
- Always sift your cocoa powder, as it’s notoriously lumpy. If you add it straight to the batter, breaking up the clumps is nearly impossible.
- Use eggs at room temperature. Eggs combine better into the batter when at room temperature. They also mix more evenly. Your brownies will have a lighter texture and cook more evenly.
- Mix your brownies by hand. Always mix by hand to achieve fudgy brownies. Use a whisk until you add the cocoa powder and flour, and then switch to a wooden spoon.
- Don’t over-mix. When mixing in the flour, only mix until combined. A few lumps are fine. Over-mixing creates a cake-like brownie.








Leave a Reply