This site runs ads and generates income from affiliate links. Read my disclosure policy.
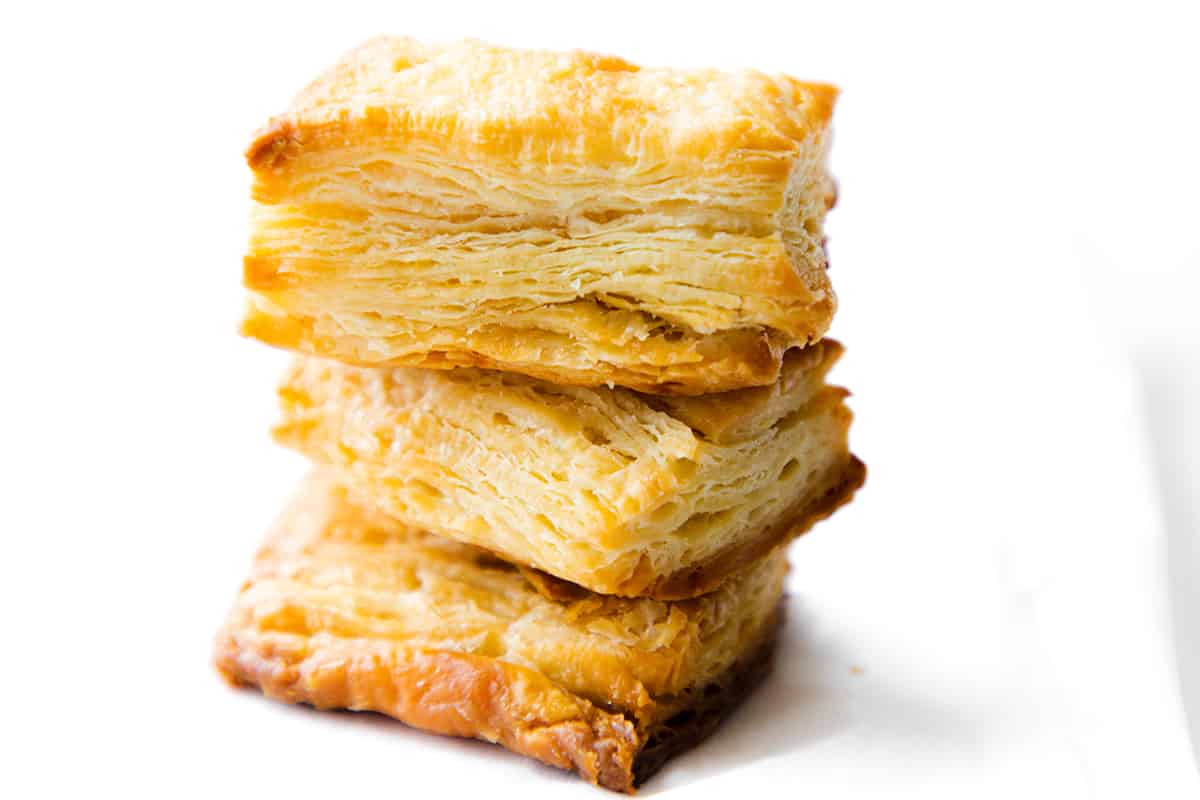
This easy puff pastry {Rough Puff} recipe is perfect for beginners – it’s quick and easy to make with flaky results every time!
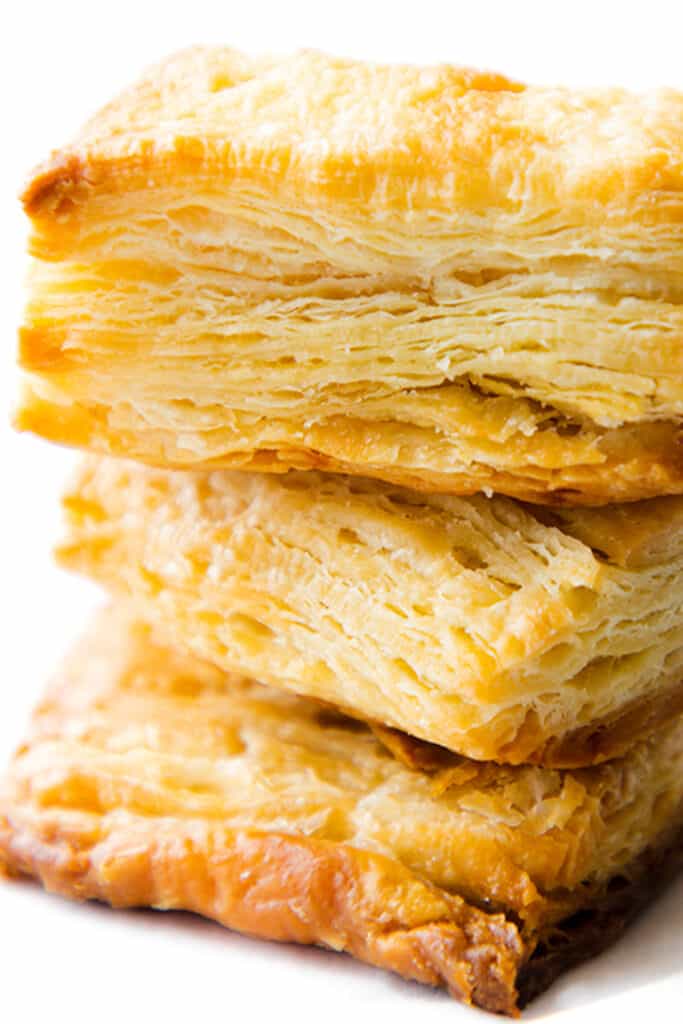
What if I told you that making your own puff pastry could be quick and easy? This technique is quick and easy – perfect for beginners. With just a few ingredients, you’ll be able to make this flaky pastry dough in no time! Use it for anything from Apple Turnovers to Savory Pie. or an endless supply of crunchy, flaky goodness!
To get the most out of this guide, I highly recommend reading it in its entirety, but you can use the table of contents below to jump to the sections you’re interested in.
Why This Recipe Works
- Thinly sliced butter mimics the lamination process that is done in traditional puff pastry, creating extra flaky layers.
- Using oil to coat the flour helps prevent oversaturating the flour when water is added, keeping the pastry tender.
- Adding lemon juice to the water helps tenderize the flour’s gluten, resulting in a more delicate pastry.
- A touch of sugar helps promote browning for a crisper result.
What Is Rough Puff Pastry
Rough puff pastry similar to puff pastry. It’s a method is simpler and quicker. The butter is worked into the flour in chunks instead of being laminated into the dough. While it doesn’t have the same ultra-flaky results, it comes pretty close!
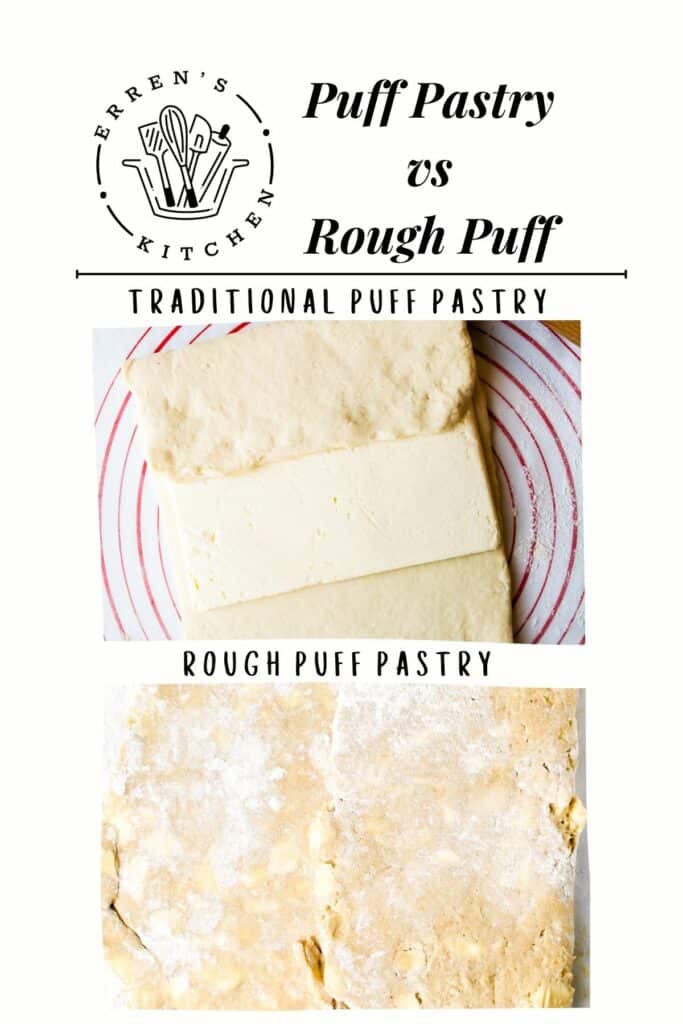
Traditional puff pastry rests 6 to 8 times. This dough needs to rest only twice, once for 2 hours (or more). The second rest time is only 15 minutes. You can easily make the dough in a few hours, or you can make it over a couple of days.
Ingredient Notes
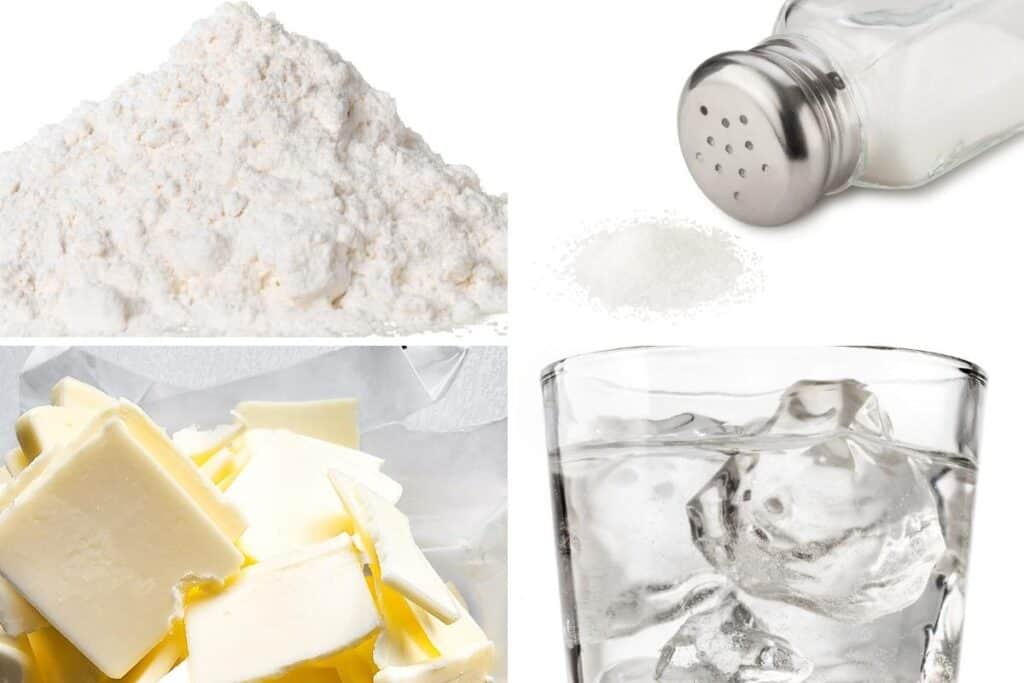
Flour: All-purpose flour is the best type of flour to use for rough puff pastry. I prefer unbleached organic flour.
Butter: I always use European butter for pastry as it has less water content than American butter. Less water content will make your dough less likely to become soggy during baking.
Salt: Regular table salt is fine for this recipe, but you can also use kosher salt.
Sugar: Use granulated or superfine sugar. It’s not added for sweetness but rather to help with the browning of the pastry.
Oil – I use a small amount of neutral-flavored oil, such as canola or vegetable oil. It’s not enough to add any greasiness. it’s only meant to help protect the flour from absorbing too much liquid.
Lemon Juice: I like to add a bit of fresh lemon juice to the water because it helps tenderize the flour’s gluten. The result is a more tender pastry. However, this is completely optional, and you can just use water if you prefer.
Water – Ice water is the key to this dough. It helps keep everything cold, which is important for creating a light and flaky pastry.
Step By Step Instructions For Rough Puff Pastry
This recipe makes a double batch of dough. You should end up with two 1lb/450g portions.
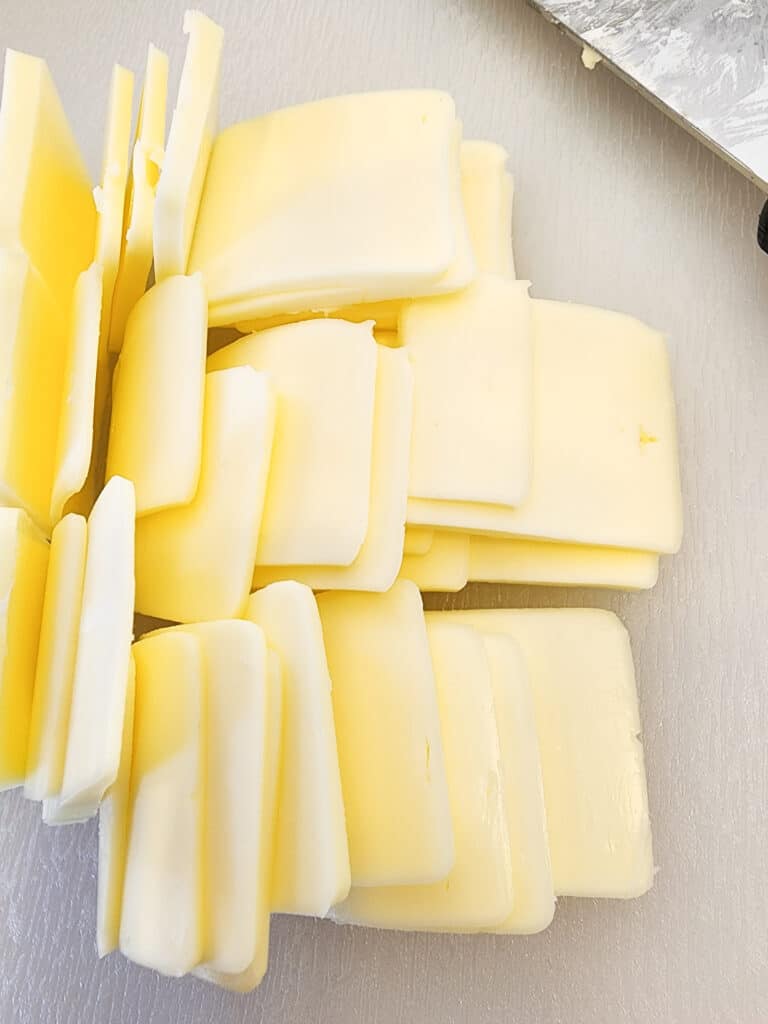
Start with cold butter. I like to put mine in the freezer for about 10 minutes before starting. Cut the cold butter into thinly sliced pieces. Set it aside in the fridge to stay cold while you prepare the rest of the ingredients.
Add the flour to a large mixing bowl and mix in the salt and sugar.
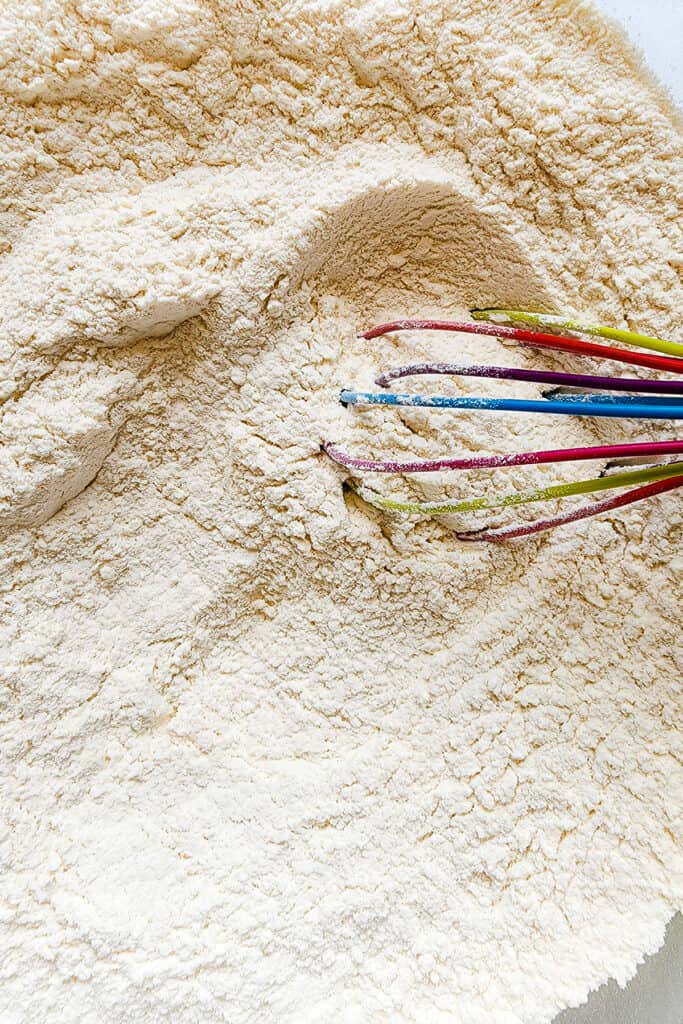
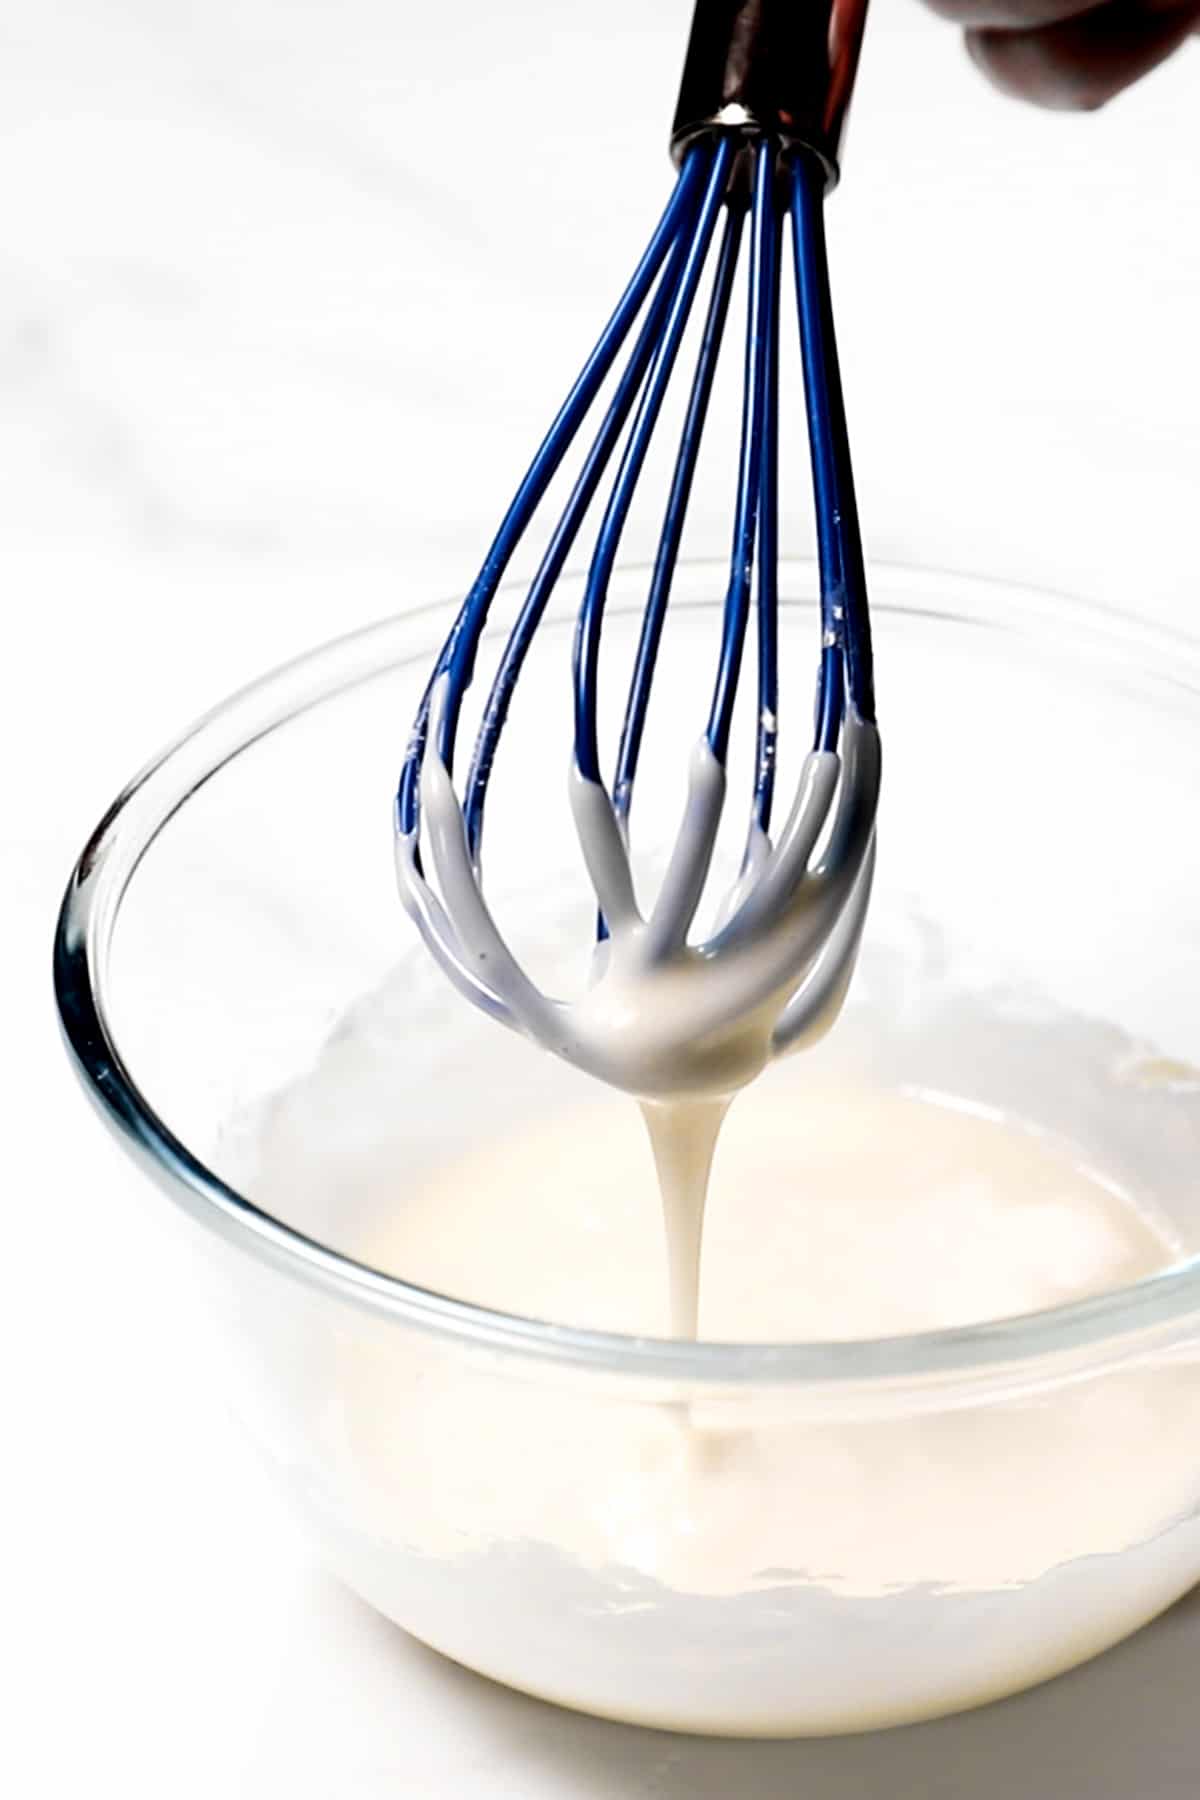
Then add the oil and whisk it into the flour.
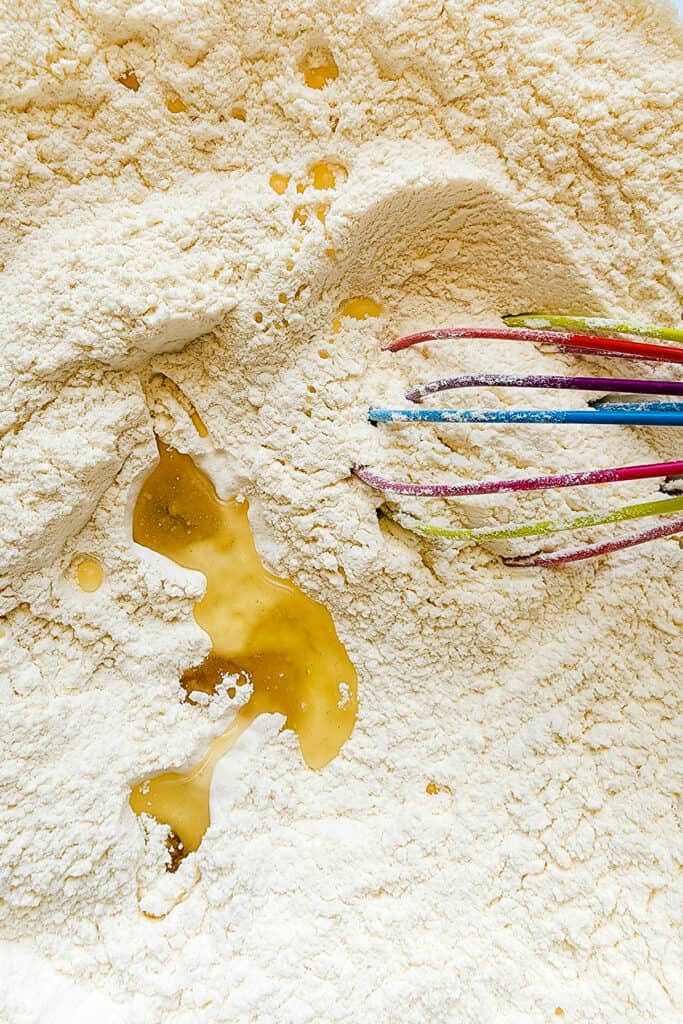
Mix the oil into the flour, and be sure not to leave any large clumps. You just want to coat the flour. There won’t be much visual difference.
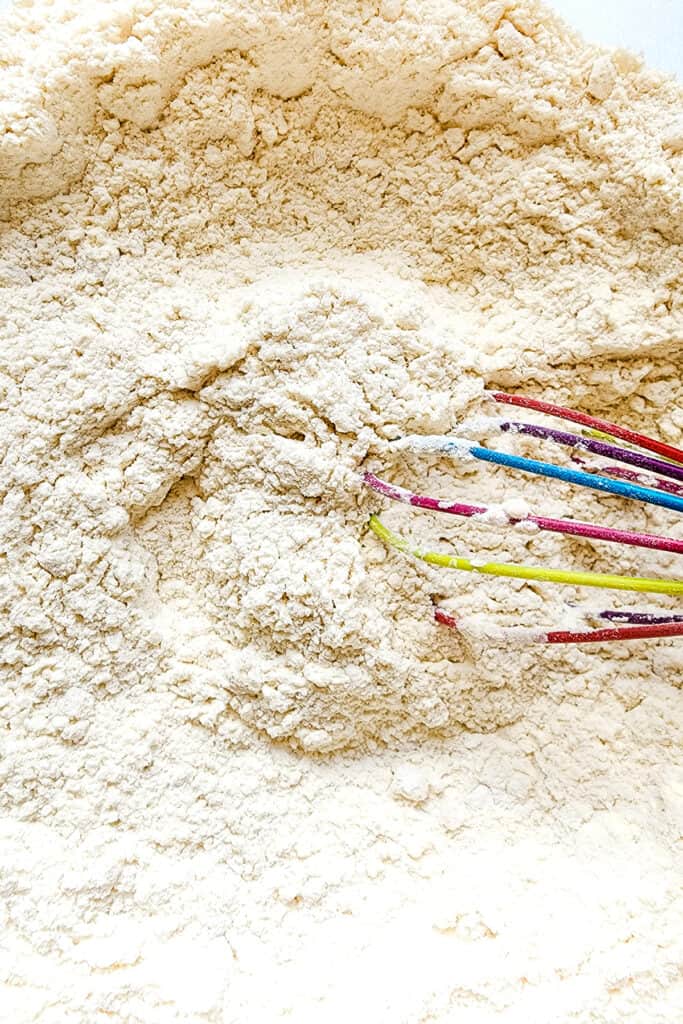
Add the cold butter and use an offset spatula or a fork to coat the butter and toss it into the flour. Try to keep too many from sticking together. There is no need to work the butter into the flour at this stage.
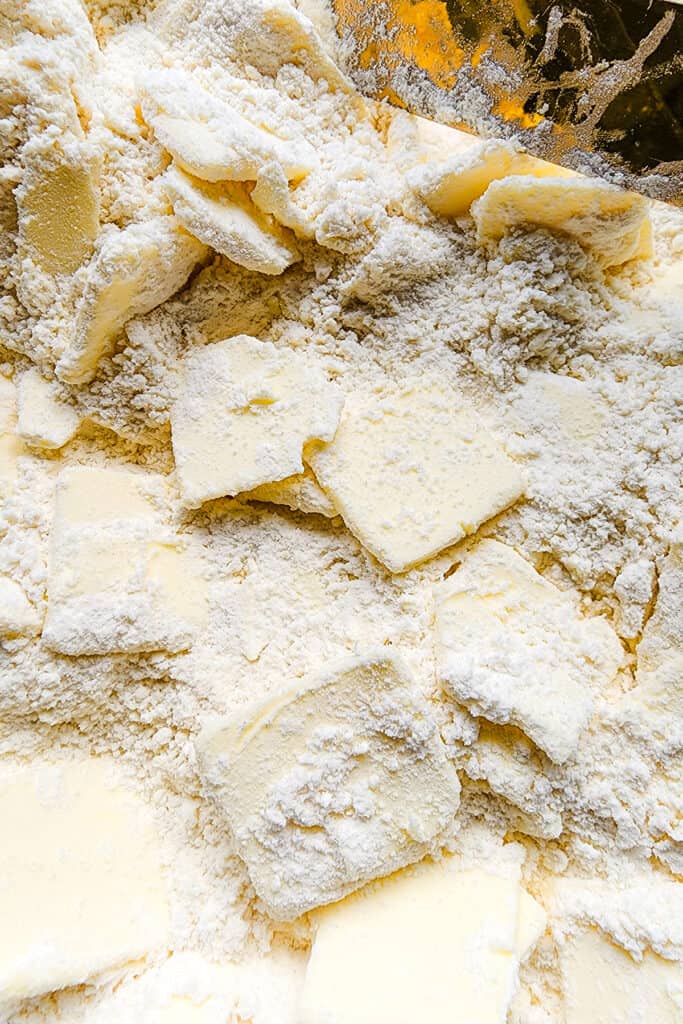
Mix the lemon juice into a quarter cup of the ice water and add it to the flour. Use a spatula to work it into the dough. This will keep the mixture from warming up too much as you mix.
Continue to add another tablespoon or two of ice water at a time until the dough comes together but remains somewhat crumbly.
At this point, it’s a good idea to switch to using your hands to mix so you can push the dough together and feel moisture levels.
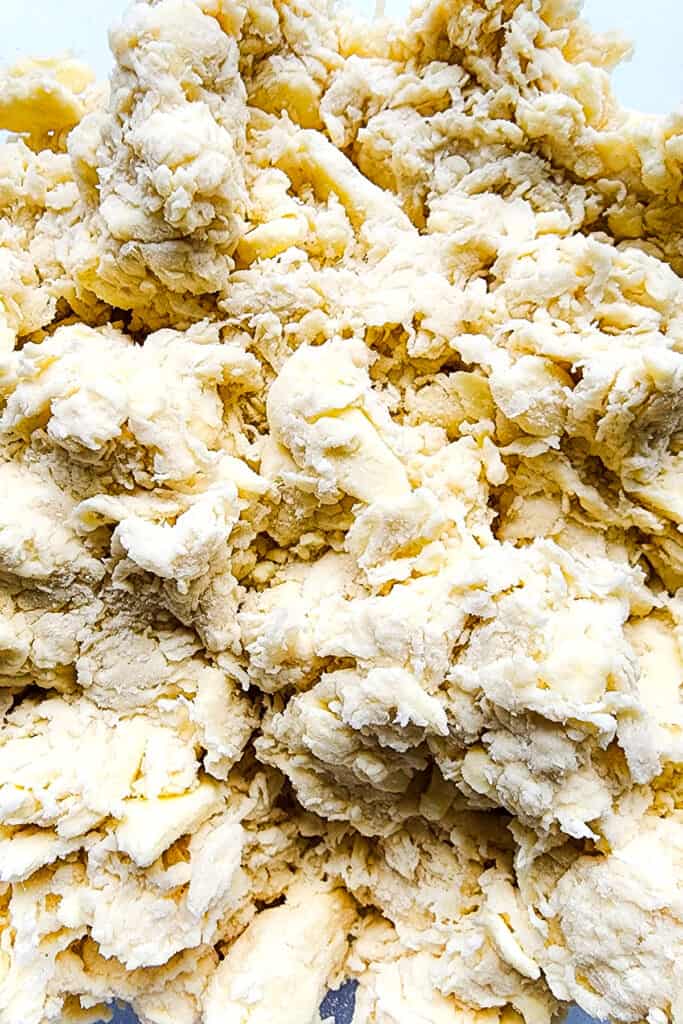
Wrap the mixture in plastic and massage the dough to work the crumbly bits into the dough and flatten it into a rectangle. At this point, clumps of butter will be quite visible.
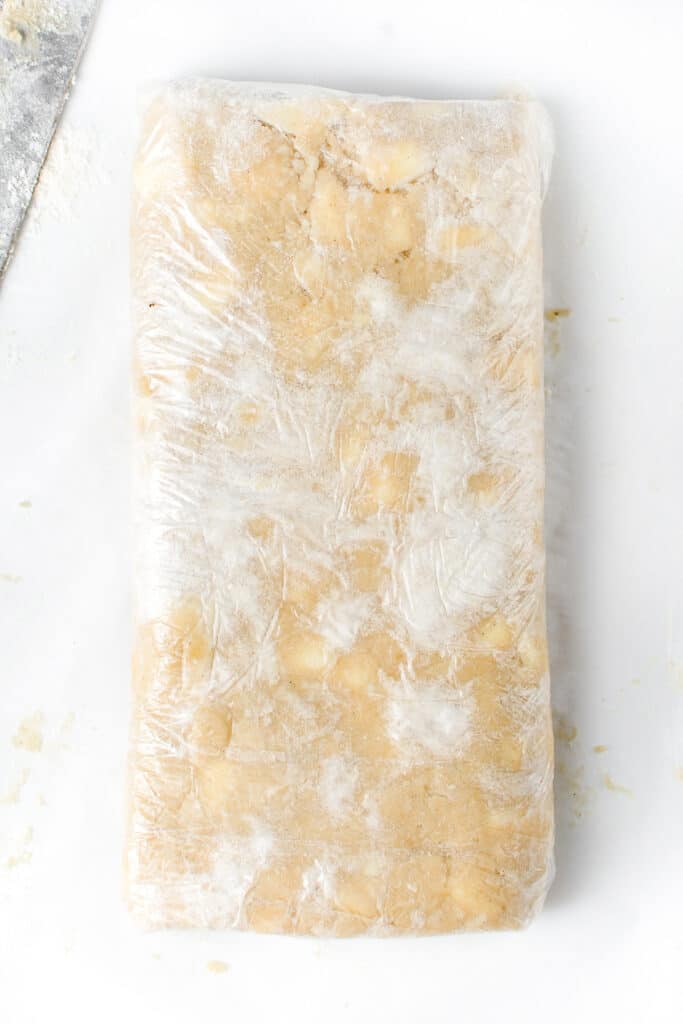
Place it in the fridge for at least 2 hours to allow it to rest and firm the butter.
Remove the dough from the fridge, unwrap it and pound it with a rolling pin a few times to soften it. Roll the dough out into a large piece, about 12×18 inches.
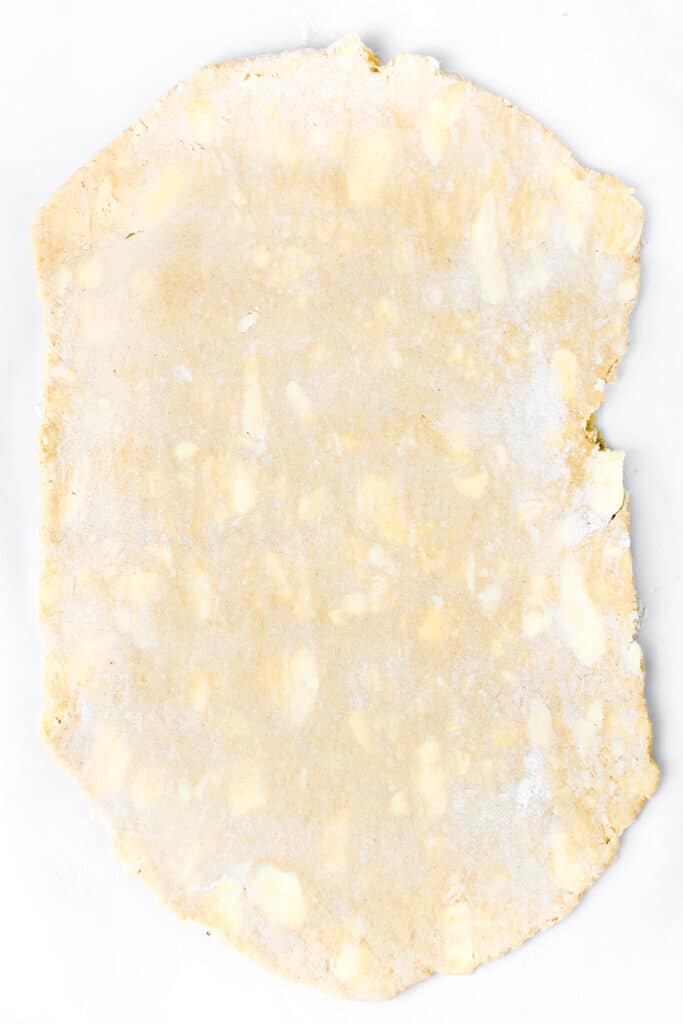
Then fold it into thirds, like you would a letter.
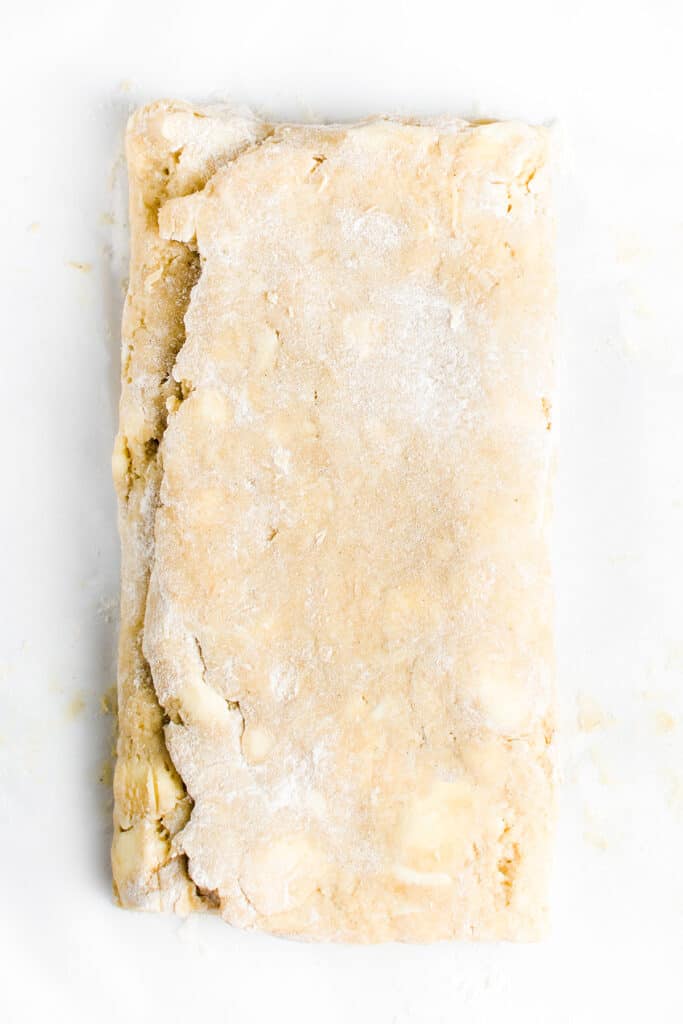
Turn it, so the folded edge faces to the left and roll it out again into a rectangle. Fold it into thirds again and repeat this process two more times.
At this point, I like to cover the dough and allow it to rest for 5 to 10 minutes before repeating the process twice more. You don’t have to let the dough rest, but stop the process if the dough starts to spring back and resist rolling after three folds.
At this stage, the dough will be smooth, and a lot less butter will be visible.
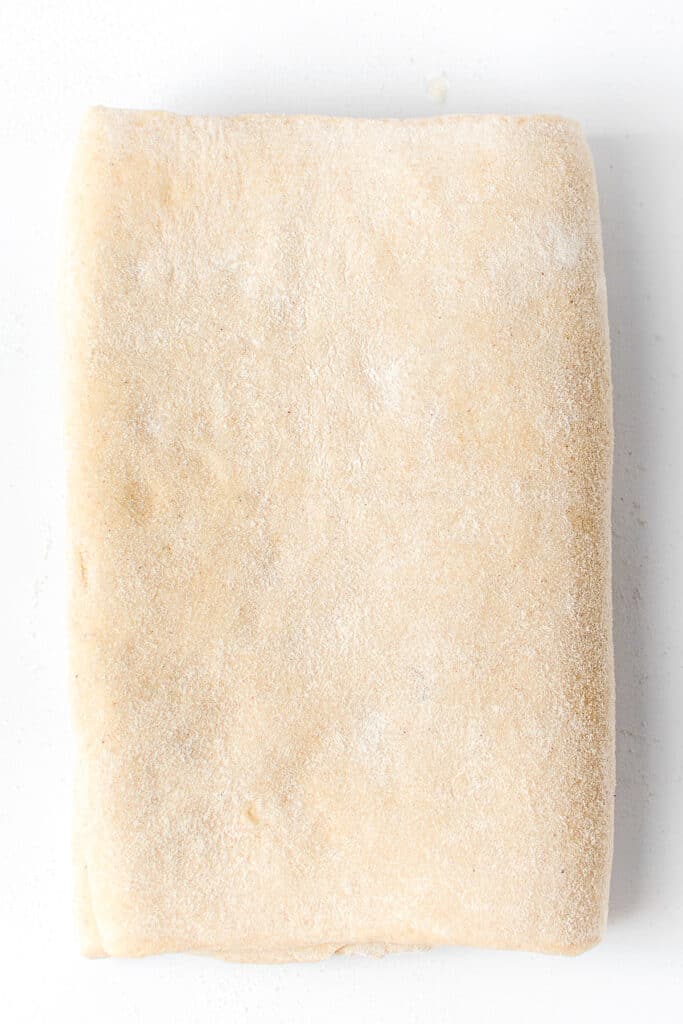
Cut the dough in half to portion it. Below is what mine looked like after six folds. It should puff up nicely, showing many layers of butter.
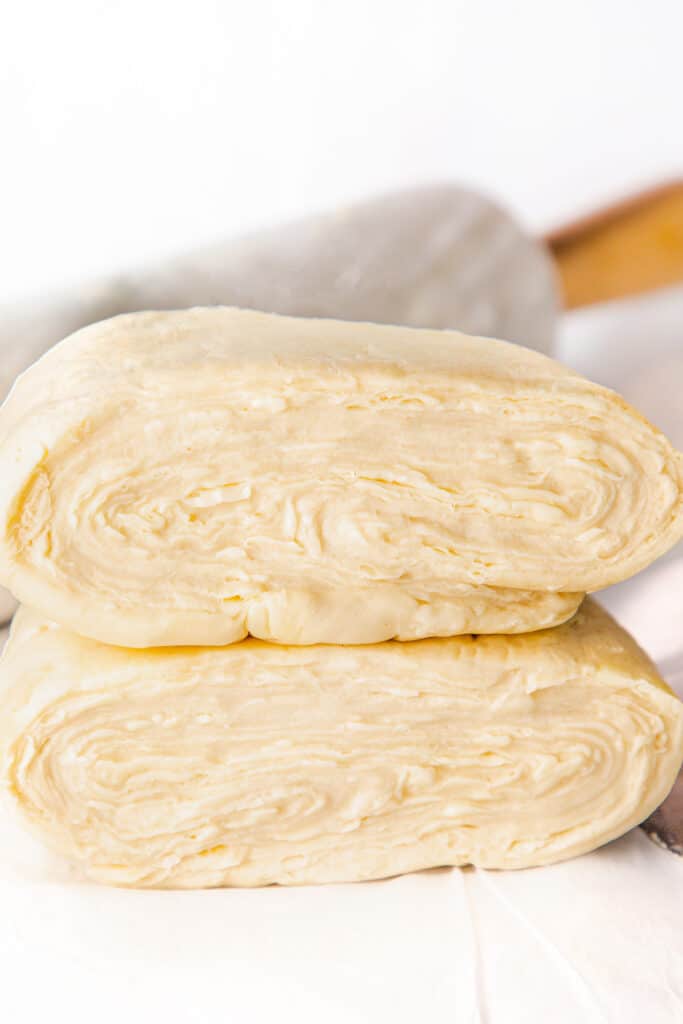
Wrap the halves in plastic and place them in the fridge for at least 30 minutes or overnight.
Alternatively, you can freeze the dough until you are ready to use it.
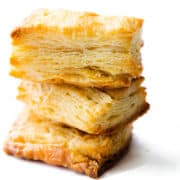
For demonstration purposes, I rolled out some of the dough to a quarter in thick and cut out some rectangles.
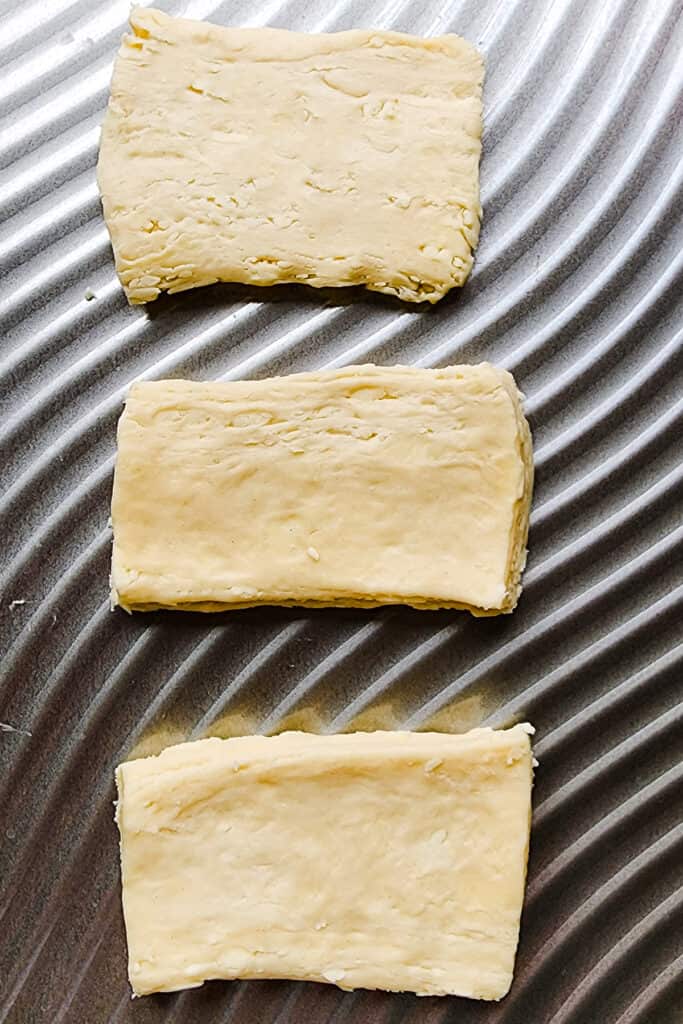
Then baked at 375°F for 30 minutes. The image below shows the puffy flaky results.

Storage & Freezing Instructions
You can store the rough puff pastry dough wrapped well with plastic wrap in the fridge for up to a week or freeze it for up to 3 months or if you have a chest freezer that doesn’t get opened all that often, you can store it for up to 6 months.
If freezing, be sure to thaw it overnight in the fridge before using it. When you are ready to use the dough, remove it from the fridge and allow it to come to room temperature. This will make it easier to roll out.
Erren’s Top Tips & Variations
- Use European butter as it has less water content than American butter, making your dough less likely to become soggy during baking.
- The butter should be very cold when you add it to the dough. This will help create a light and flaky pastry. Putting it in the freezer for 10 minutes before you begin will work well.
- If your kitchen is warm, place the dough in the fridge for 10 minutes every so often to keep it from getting too soft.
- When rolling out the dough, flour your work surface and rolling pin well. This will prevent the dough from sticking and tearing, which can cause the butter to leak from the dough and pool during baking.
- If the dough becomes too sticky, add more flour; if it’s too dry, add more water.
- If the butter becomes too soft, place the dough in the fridge for 5 minutes.
- Rest the dough after each set of folds for an extra tender dough.
- Use cold butter and ice water – This is key to keeping the dough cool and the butter from melting.
- If the dough starts to resist rolling after a couple of folds, stop and allow it to rest for 5-10 minutes.
- Allow the dough to rest in the fridge for at least 30 minutes before using it.
- Try to work quickly when handling the dough so it doesn’t get too warm.
Did you make this?
Recipe
Easy Puff Pastry {Rough Puff}
Ingredients
- 12 oz butter (3 sticks / 340g, chilled and thin sliced)
- 3½ cups all-purpose flour (plus more for rolling)
- 2 tablespoons sugar
- 2 teaspoons salt
- 3 tablespoons canola oil
- 1 teaspoon lemon juice
- ice water
Instructions
- Mix the flour, sugar, and salt in a large bowl.
- Add the oil and whisk until thoroughly combined with the flour mixture being careful not to leave any large clumps.
- Thinly slice the butter and add to bowl. Toss to coat butter and separate any pieces that have stuck together.
- Add the lemon juice to a quarter cup of the ice water and add it to the flour, then using a butter knife or spatula, work it into the flour mixture.
- Drizzle in a couple more tablespoons of the ice water, constantly tossing to distribute.
- Then switch to using your hands to mix. Drizzle in a tablespoon of ice water. Knead the dough several times to bring it together in large clumps. You want it to be dry and a bit crumbly but hold together.
- Move moistened clumps to the side of the bowl, leaving behind any dry bits. Drizzle in more ice water by the tablespoon as needed with the dry bits in the bowl and toss until they are dry and a bit crumbly, but hold together when squeezed. Then bring the clumps together in the bowl.
- Wrap the mixture in plastic and massage the dough to work the crumbly bits into the dough and flatten it into a rectangle. Chill for 2 hours (or up to 24 hours).
- Remove the dough from the fridge, unwrap it and pound it with a rolling pin a few times to soften it. Roll out on a lightly floured surface into a long rectangle about 12×18″ long and ¼” thick. Then fold it into thirds, like you would a letter.
- Rotate the dough 90° and repeat the rolling and folding process twice, dusting with more flour as needed. If the dough seems to be resting, cover and rest for 10 minutes, then repeat the process one to two more times dusting with more flour as needed.
- Cut the dough in half to portion it. Rewrap and chill for at least 30 minutes before using.
Tips
- Use European butter as it has less water content than American butter, making your dough less likely to become soggy during baking.
- The butter should be very cold when you add it to the dough. This will help create a light and flaky pastry. Putting it in the freezer for 10 minutes before you begin will work well.
- If your kitchen is warm, place the dough in the fridge for 10 minutes every so often to keep it from getting too soft.
- When rolling out the dough, flour your work surface and rolling pin well. This will prevent the dough from sticking and tearing, which can cause the butter to leak from the dough and pool during baking.
- If the dough becomes too sticky, add more flour; if it’s too dry, add more water.
- If the butter becomes too soft, place the dough in the fridge for 5 minutes.
- Rest the dough after each set of folds for an extra tender dough.
- Use cold butter and ice water – This is key to keeping the dough cool and the butter from melting.
- If the dough starts to resist rolling after a couple of folds, stop and allow it to rest for 5-10 minutes.
- Allow the dough to rest in the fridge for at least 30 minutes before using it.
- Try to work quickly when handling the dough so it doesn’t get too warm.







Leave a Reply