This site runs ads and generates income from affiliate links. Read my disclosure policy.
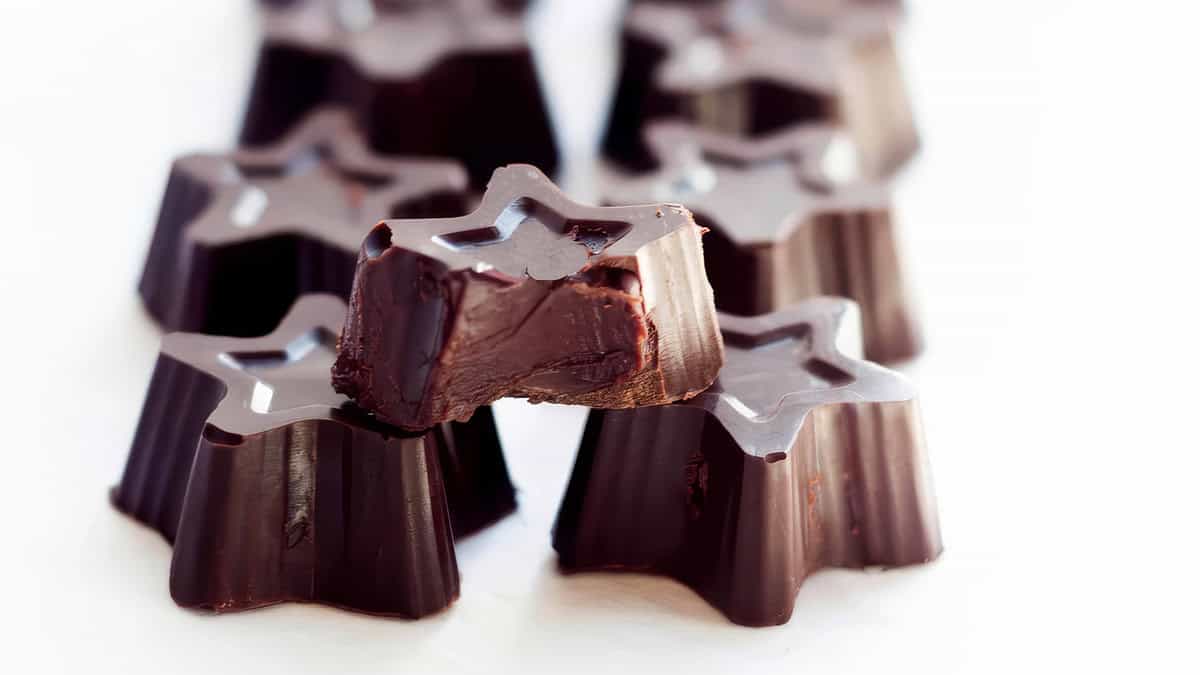
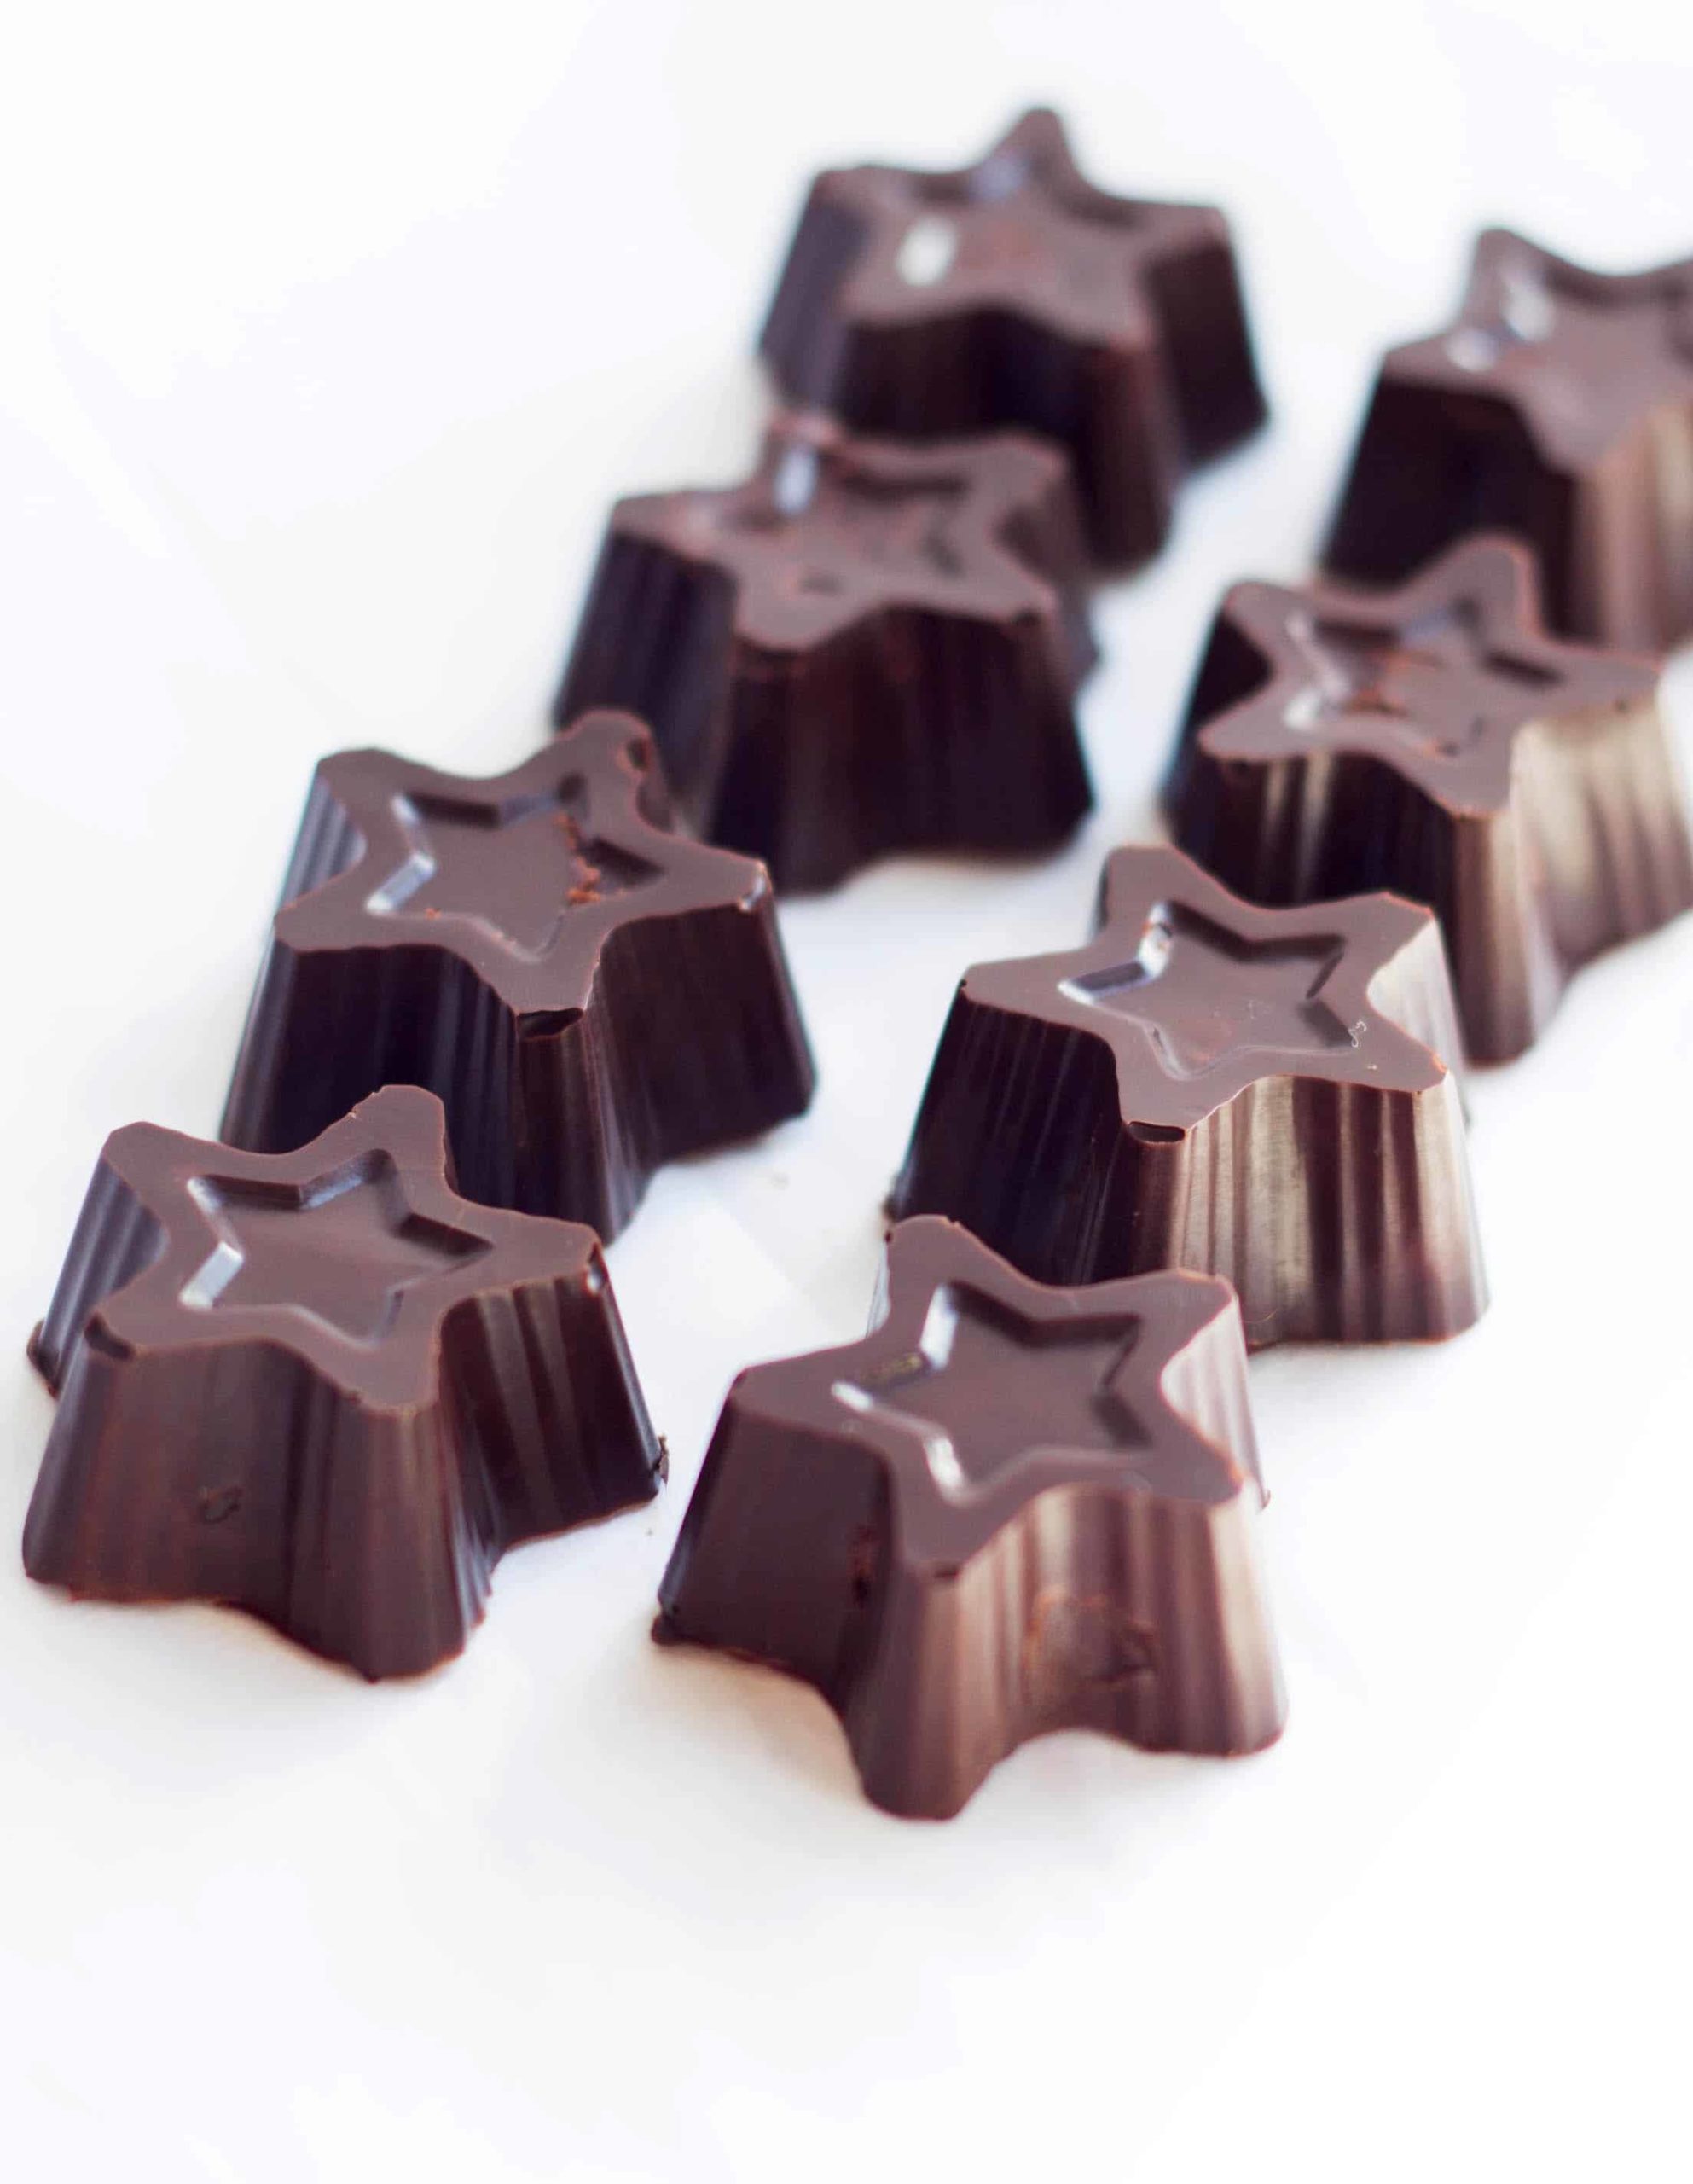
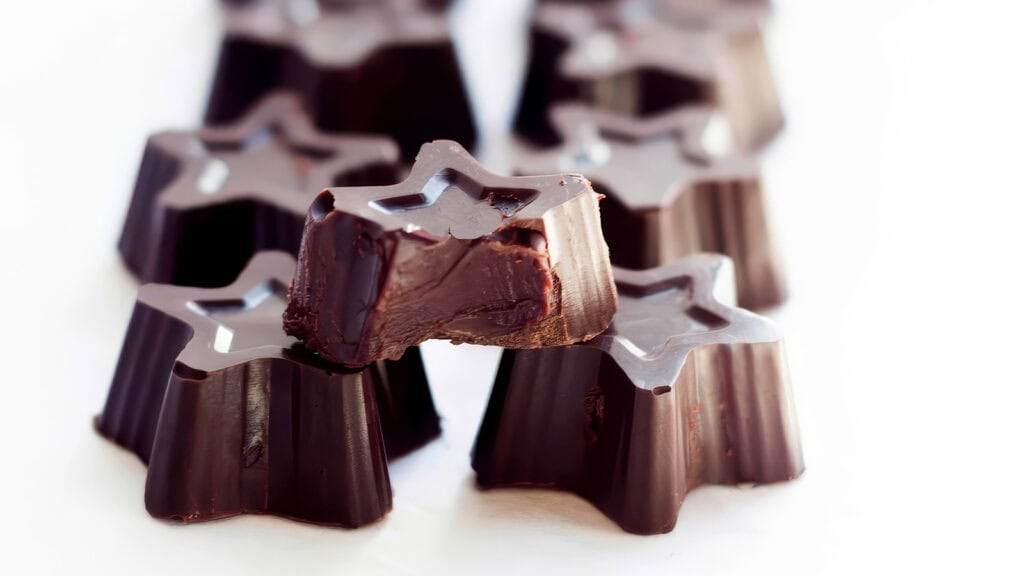
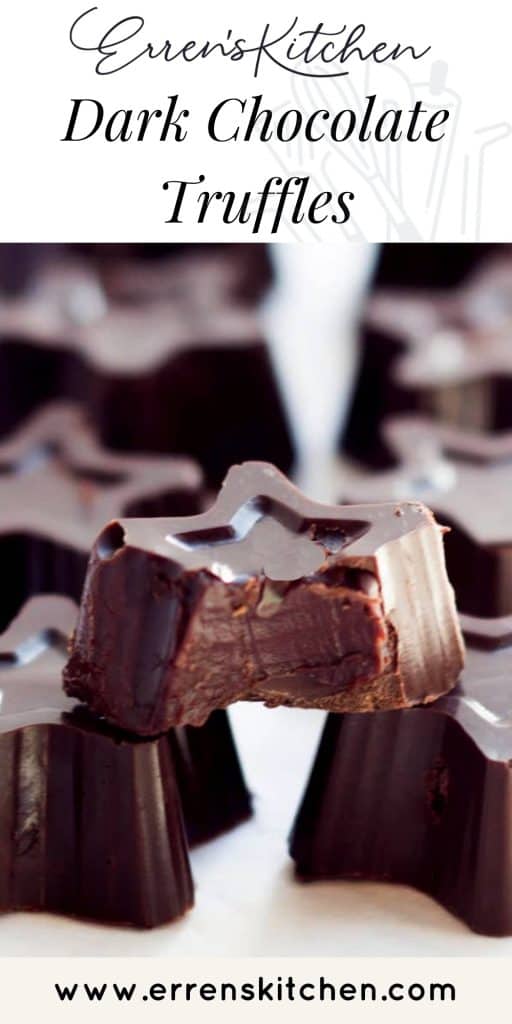
This recipe for Dark Chocolate Truffles is an indulgent, easy, and versatile recipe that can easily be adapted to your favorite flavors.
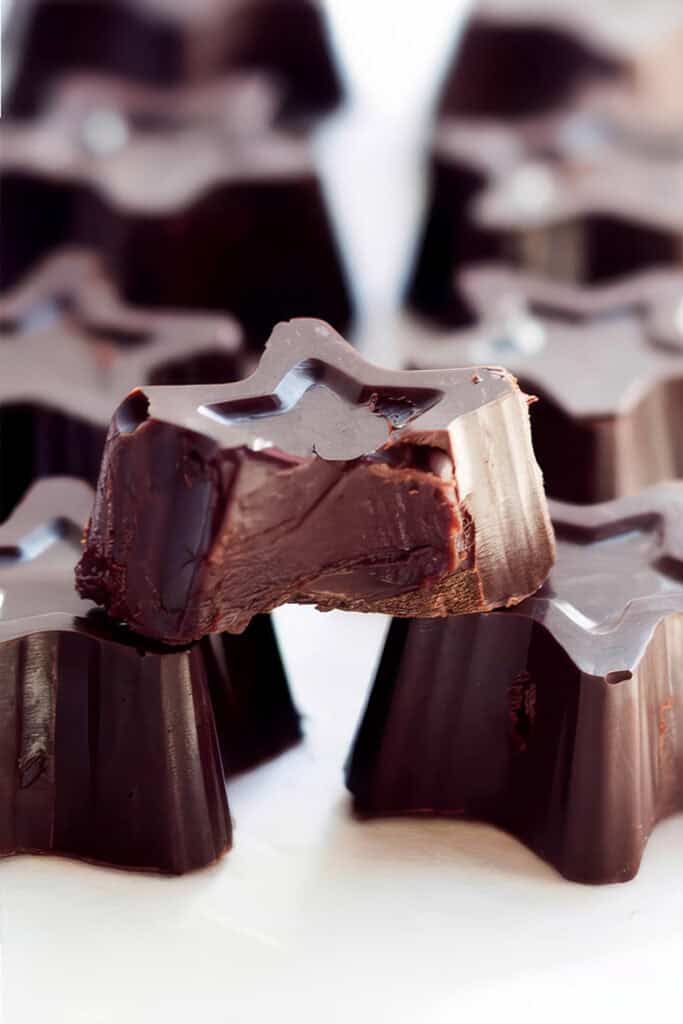
You can never have enough chocolate, right? Especially the creamy, rich, and, utterly enticing kind that has you savoring each and every bite, which is exactly what you’ll get with these dark chocolate truffles!
Last week was my son’s sixth birthday and I made these for him as a special treat (hence the child-friendly star shape). These can easily be made the traditional way by rolling them and dipping them into chocolate. I have provided instructions for that as well as, instructions for using a chocolate mold as I did (you can buy them here – Paid Link).
Either way, this is an indulgent treat that will put a smile on anyone’s face – young or old.
Why This Recipe Works
- Using good quality dark chocolate makes these truffles truly indulgent.
- Simple ingredients and methods make this quick, easy and tasty.
- You can adapt these truffles by adding your favorite flavorings.
How to Make Dark Chocolate Truffles
- Heat the cream.
- Pour the cream over the chocolate and mix.
- Cool the filling.
- Roll into truffles or pour into molds.
- Serve and enjoy!
Which Chocolate Is Best
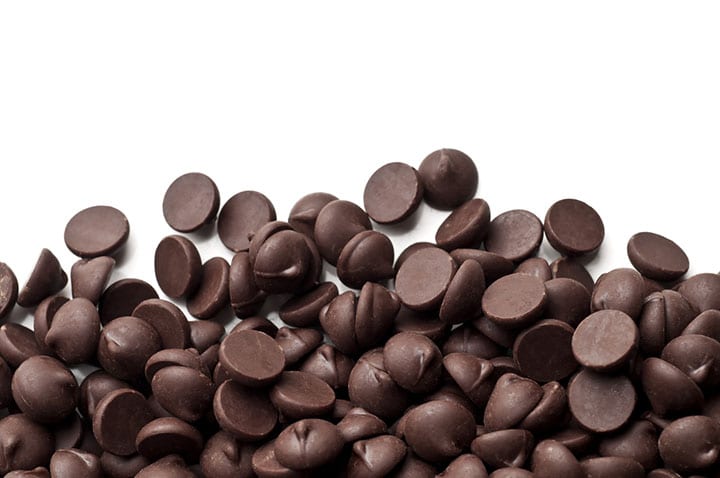
I recommend Dark Chocolate that’s around 54.5% Cacao as it tastes great without being too sweet and also melts easily.
That said, you can use semi-sweet, bitter-sweet, dark, or milk chocolate chips too to make the filling. Just keep in mind that milk chocolate will make a much sweeter filling.
I could sit here and rave about these irresistible chocolate dessert cups all day but really you just need to try them for yourself. They are actually really easy to make, there isn’t anything challenging about this recipe. If you love this easy recipe, you will equally love making Homemade Coconut Mound Cups or Chocolate Hazelnut Truffle Cups.
Other Great Chocolate Recipes
Rate This Recipe

Recipe
Dark Chocolate Truffles
Ingredients
For the Filling:
- 2 cups whipping cream
- 16 ounces bittersweet/dark chocolate (chopped)
For Coating:
- 16 ounces bittersweet/dark chocolate (chopped)
Instructions
For the filling:
- Place the chopped chocolate into a medium-sized, heat-proof bowl.
- In a small saucepan, heat the cream until it just begins to simmer and then pour it over the chopped chocolate. Let it sit a minute, then gently stir with a wooden spoon until the chocolate has fully melted and the ganache is smooth. Then cover and chill completely to set.
- Once the filling is ready to use, melt the remaining chocolate in a microwaveable bowl for 30 seconds at a time (stirring in between) until the chocolate is smooth and fluid.
- If you plan to roll the truffles, roll them into small balls using the palms of your hands and then dip into the chocolate and place on parchment paper and put in the fridge to harden.
If making cups using a chocolate mold:
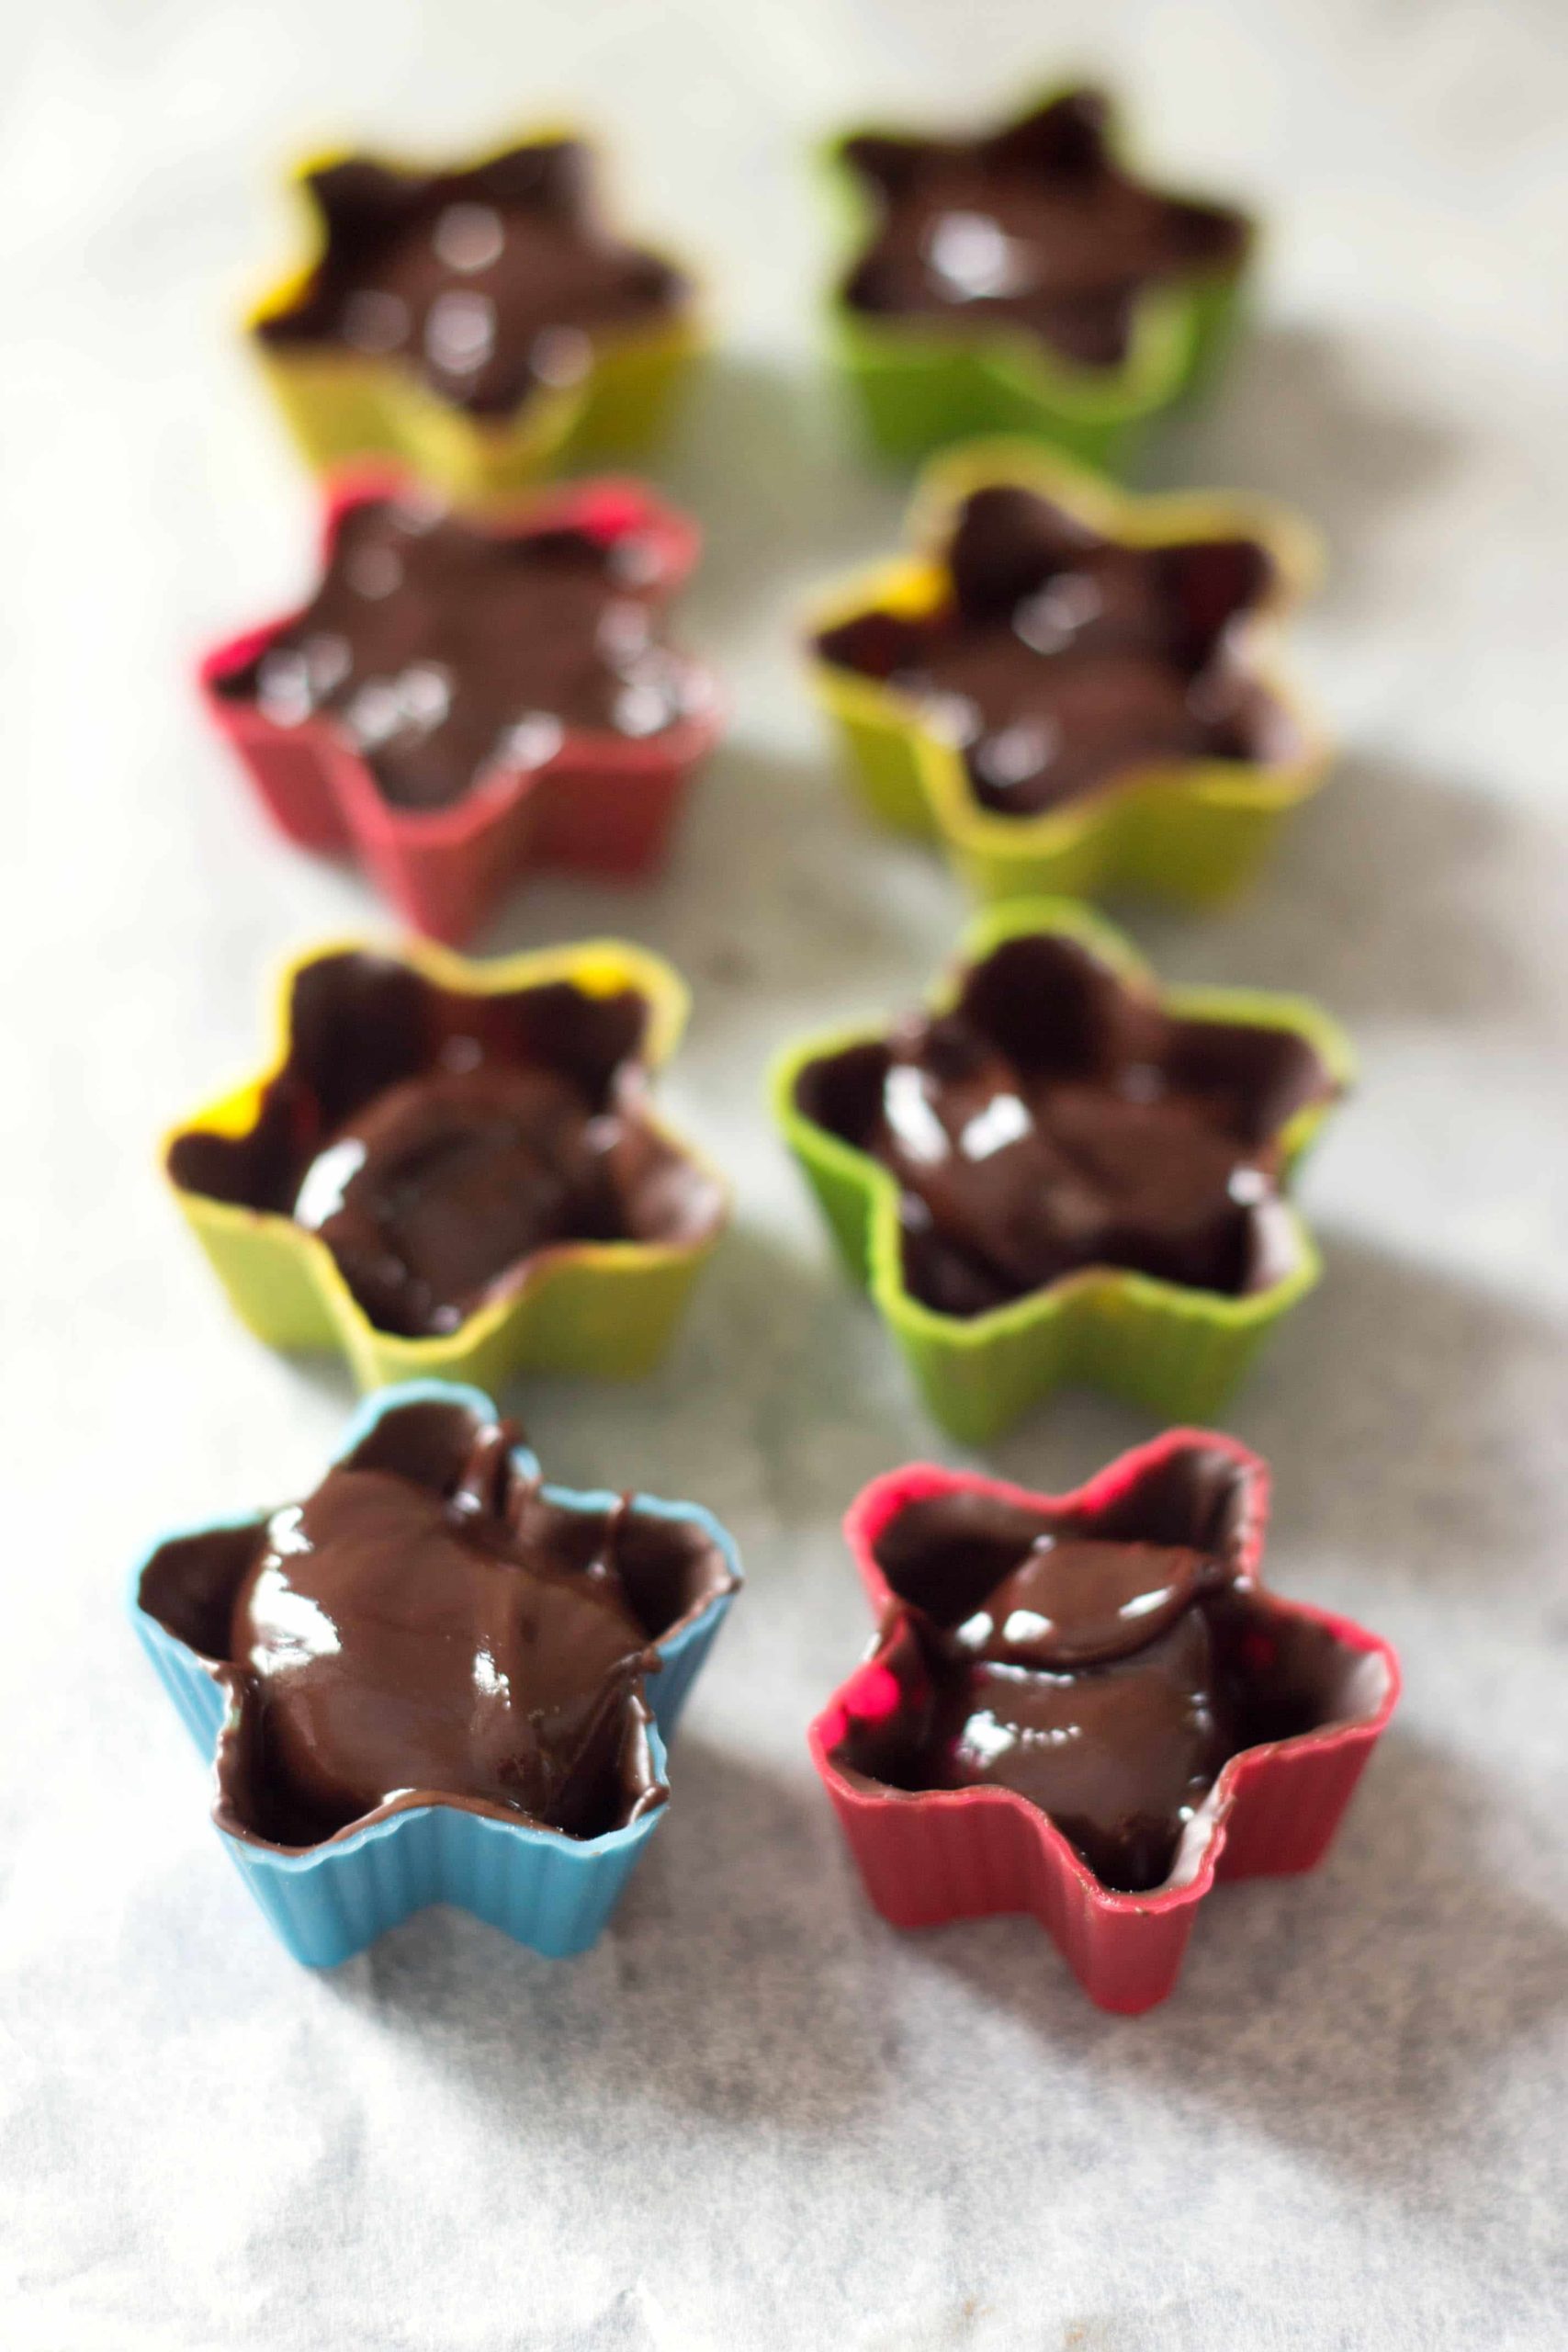
- Using a 1/2 teaspoon measuring spoon, drop it into mini paper cupcake liners spread evenly using a paintbrush.
- Allow them to harden in the refrigerator for about 10 minutes.
- Fill the chocolate covered cups with the cooled filling then brush the rest of the chocolate over the tops of the cups, sprinkle with the hazelnuts and place in the refrigerator to set again (about 15 minutes).




Leave a Reply