This site runs ads and generates income from affiliate links. Read my disclosure policy.
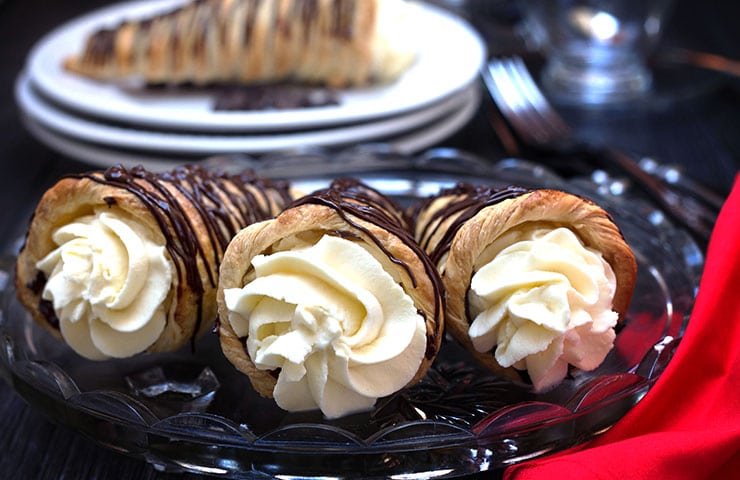
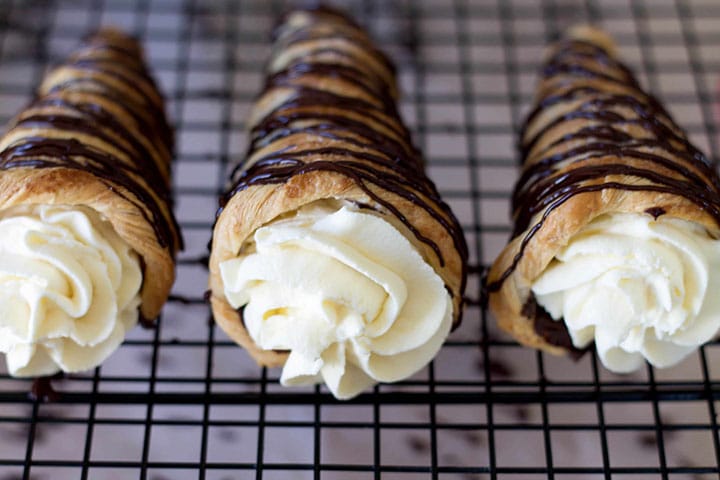
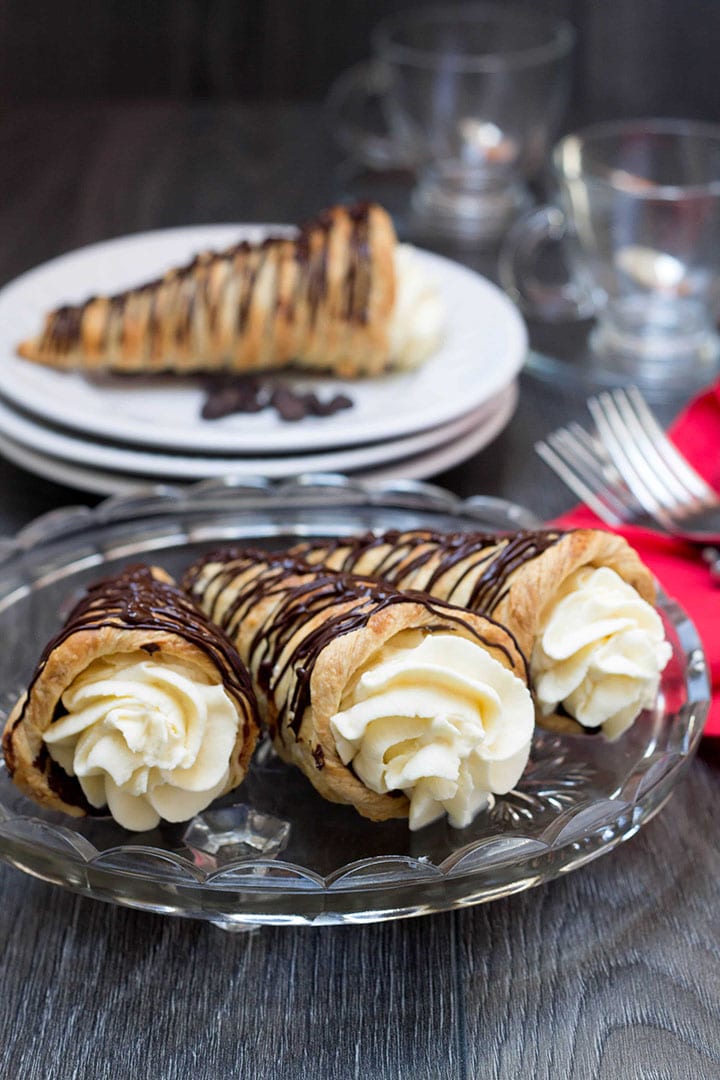
This indulgent recipe for Dark Chocolate Cream Horns makes puff pastry cornucopias filled with dark chocolate and Chantilly cream. The chocolate on top gives this recipe a double dose of chocolate, making it one amazing dessert.
If you’ve never had a cream horn, now is the time to try them!
I know they look complicated, but they really aren’t hard to make and let me tell you, these beauties are absolutely delicious! I made them after seeing them done on a cooking show.
I filled mine with vanilla whipped cream (because it’s my son’s favorite, but they can also be filled with custard. I also not only topped them with chocolate, but I coated the inside with it as well. They were a huge hit. The moment my son saw them, his eyes lit up and after trying them, he did a little happy dance. There’s no better review on a recipe than that!
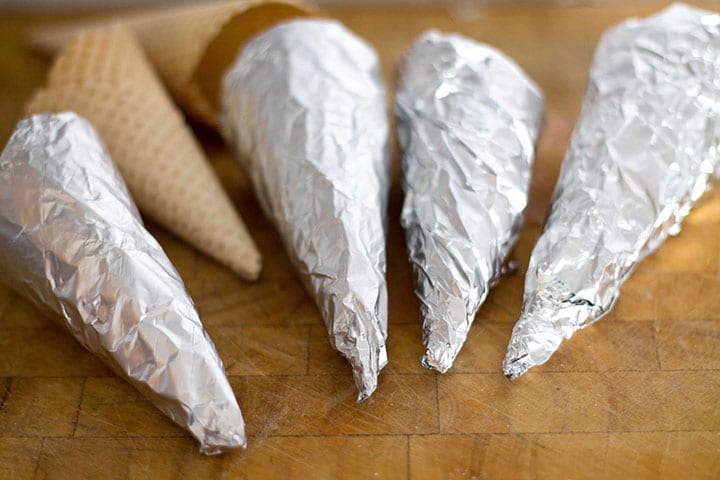
On the show they used molds, but I thought ice cream cones would work just as well. I wrapped them in non-stick foil and they worked perfectly.
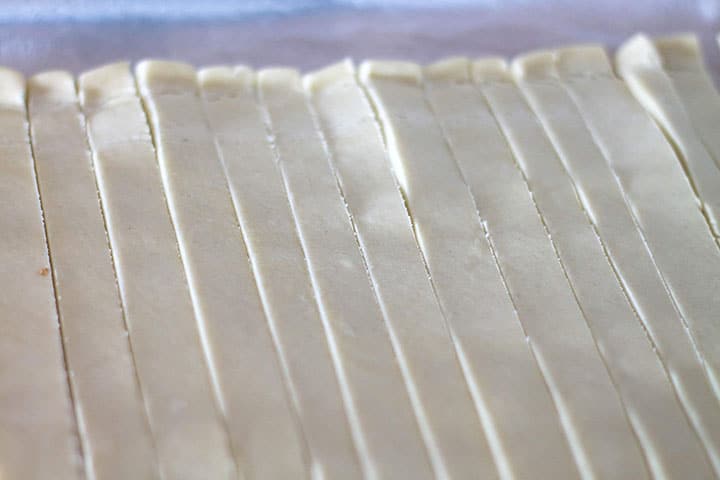
To make the cream horns start with a floured worktop and roll out the pastry to 12 x 18 inches. Trim the edges to neaten, then slice along the length into 15 equal strips of about 1 x 15 inches. Then cut 3 of the strips in half to use for the decorative edges.
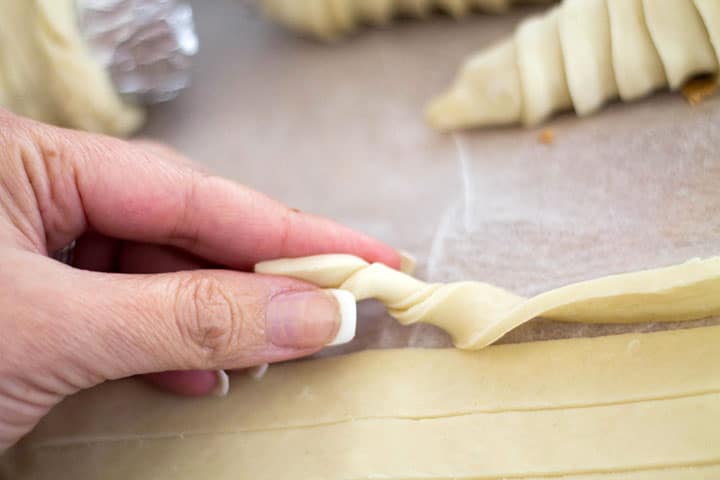
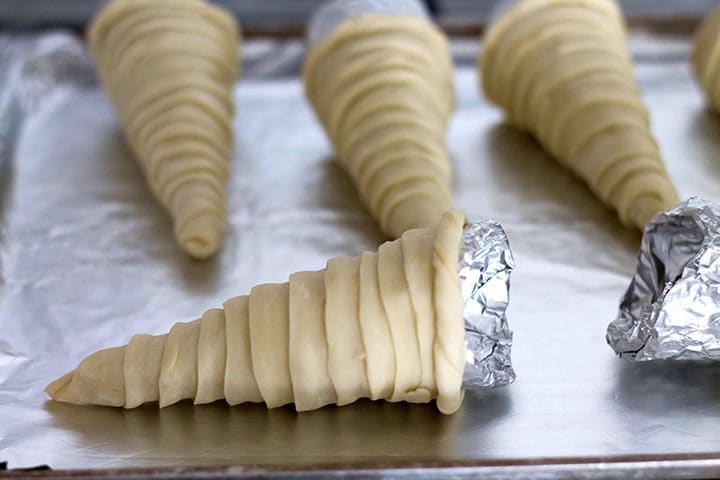
Wrap the longer strips around the cones. Start at the point of the cone and then wrap the strip of pastry around and up the cone, overlapping each twist of pastry by about a third as you go. If you have extra at the top, snip it off; don’t tuck it into the cone or it will be difficult to get the pastry off after baking.
Using the smaller strips, twist them gently and wrap the top of each pastry cone with the twisted strips. Trim any excess.
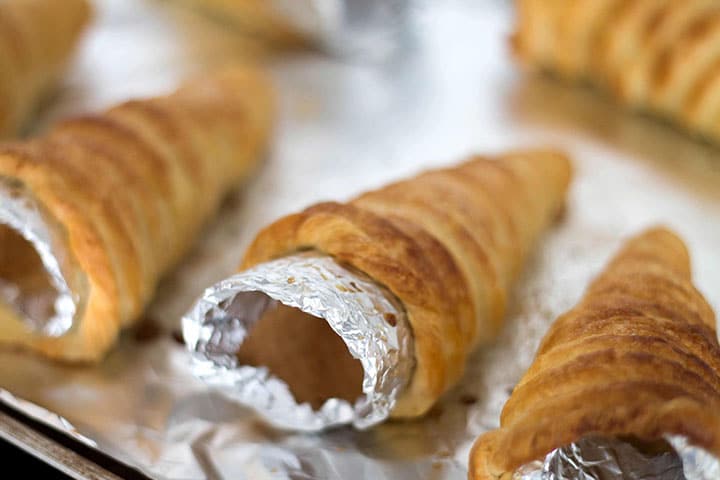
Bake 20-25 minutes.
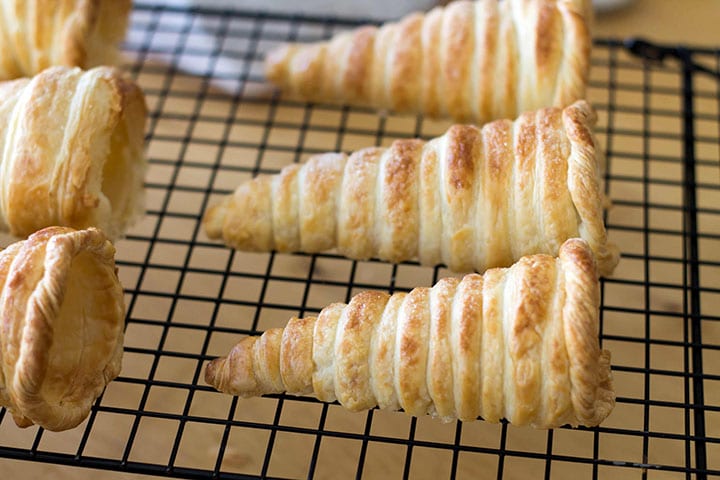
Carefully remove the cones from the pastry and place on a cooling rack.
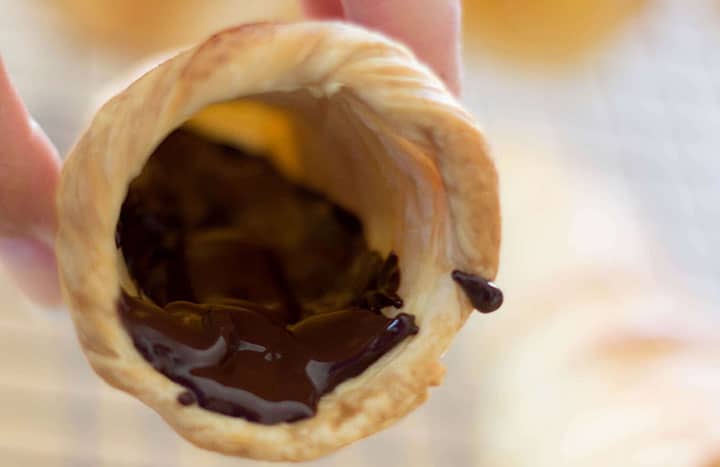
Spread a tablespoon of melted, dark chocolate into each horn and leave to set (for more information on how to properly melt chocolate, see my guide on How to Melt Chocolate).
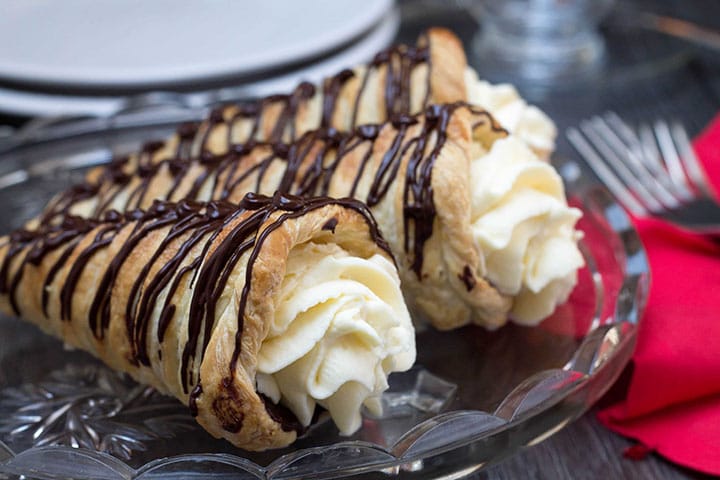
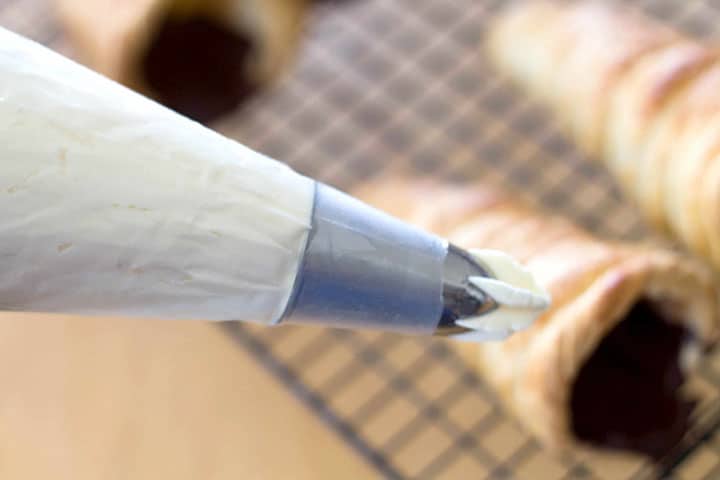
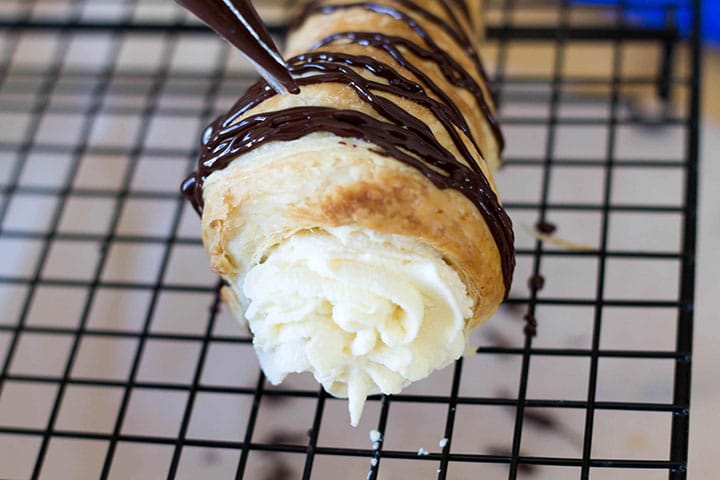
Pipe the cream into the horns and decorate with the remaining chocolate.
Using a piping bag with a small snip at the end, add the melted chocolate to the top of the filled cream horns.
Leave to set on a cooling rack.
Serve and enjoy.
Tips:
- I used an all-butter puff pastry. If you can find it, I highly recommend it as I don’t know how long a non-butter pastry will keep for without going soggy.
- My cream horns lasted three days without any change in the cream or pastry. The cream lasted so long because I add skimmed milk powder to the whipped cream (available in supermarkets, but if you can’t find it, you can buy it here on Amazon (#paidlink).. This makes it hold its shape for days.
Update Notes: This recipe was originally posted in 2016, but was updated in 2017 with slight changes to the recipe as well as including step by step photos as well as nutritional information.
? Did you make this recipe? Please give it a star rating below!
Recipe
Dark Chocolate Cream Horns
Ingredients
Tools needed:
- 6 sugar ice cream cones
- Non-stick foil wrap
For the horns:
- 1 sheet frozen puff pastry (thawed)
- 1 egg
- 2 tablespoons water
- granulated sugar
For the chocolate:
- 6 ounces dark chocolate
- 3 tablespoons butter
- 2 tablespoons golden syrup or corn syrup
For the cream:
- 1¼ cup Whipping Cream
- 6-8 tablespoons powdered sugar
- 1 teaspoons vanilla extract
- 1 tablespoon skimmed milk powder
Instructions
To make the pastry horns:
- Wrap each cone tightly in the non-stick aluminum foil, covering it completely and tucking any excess foil into the cone cavity. Set aside.
- Make an egg wash by beating the egg with 2 tablespoons of water. Set aside.
- Flour the worktop roll out the pastry to 12 x 18 inches.
- Trim the edges to neaten, then slice along the length into 15 equal strips of about 1 x 15 inches. Then cut 3 of the strips in half.
- Starting with the pointy end, wrap the longer strips around the cones overlapping each twist of pastry by about a third as you go. If you have extra at the top, snip it off; don’t tuck it into the cone or it will be difficult to get the pastry off after baking.
- Using the smaller strips, twist them gently and wrap the top of each pastry cone with the twisted strips. Trim any excess.
- Brush them sparingly with the egg wash and then sprinkle with the sugar.
- Lay the pastry cones on the baking sheet (placing any messy ends facing down, and chill for about 15 minutes.
- Preheat the oven to 400°F/200°C
- Bake for 20–25 minutes, or until a golden brown and puffy.
- Remove from the oven and gently remove them from the molds/cones– remembering to hold the hot cones with a clean oven cloth. Cool completely.
For the Chocolate:
- Make the chocolate by melting the butter and syrup together in a small saucepan. Once melted, remove from heat, add the chocolate and mix until fluid. Set aside to cool.
- Spread one tablespoon of the chocolate into each horn
For the cream:
- Add powdered sugar (to taste), skimmed milk powder (if using – This is to help give the whipped cream structure so it doesn’t flatten out too quickly), and vanilla to the cream.
- Using a food processor, whip the cream until it thickens enough to hold its shape (this doesn’t take long at all so check often).
- Pipe the cream into the horns and decorate with the remaining chocolate.
- If you use the skimmed milk powder in the cream the horns will last up to 3 days.
- If you don’t use the powder, the cream should be made and the horns should be filled just before serving.











Leave a Reply