This site runs ads and generates income from affiliate links. Read my disclosure policy.
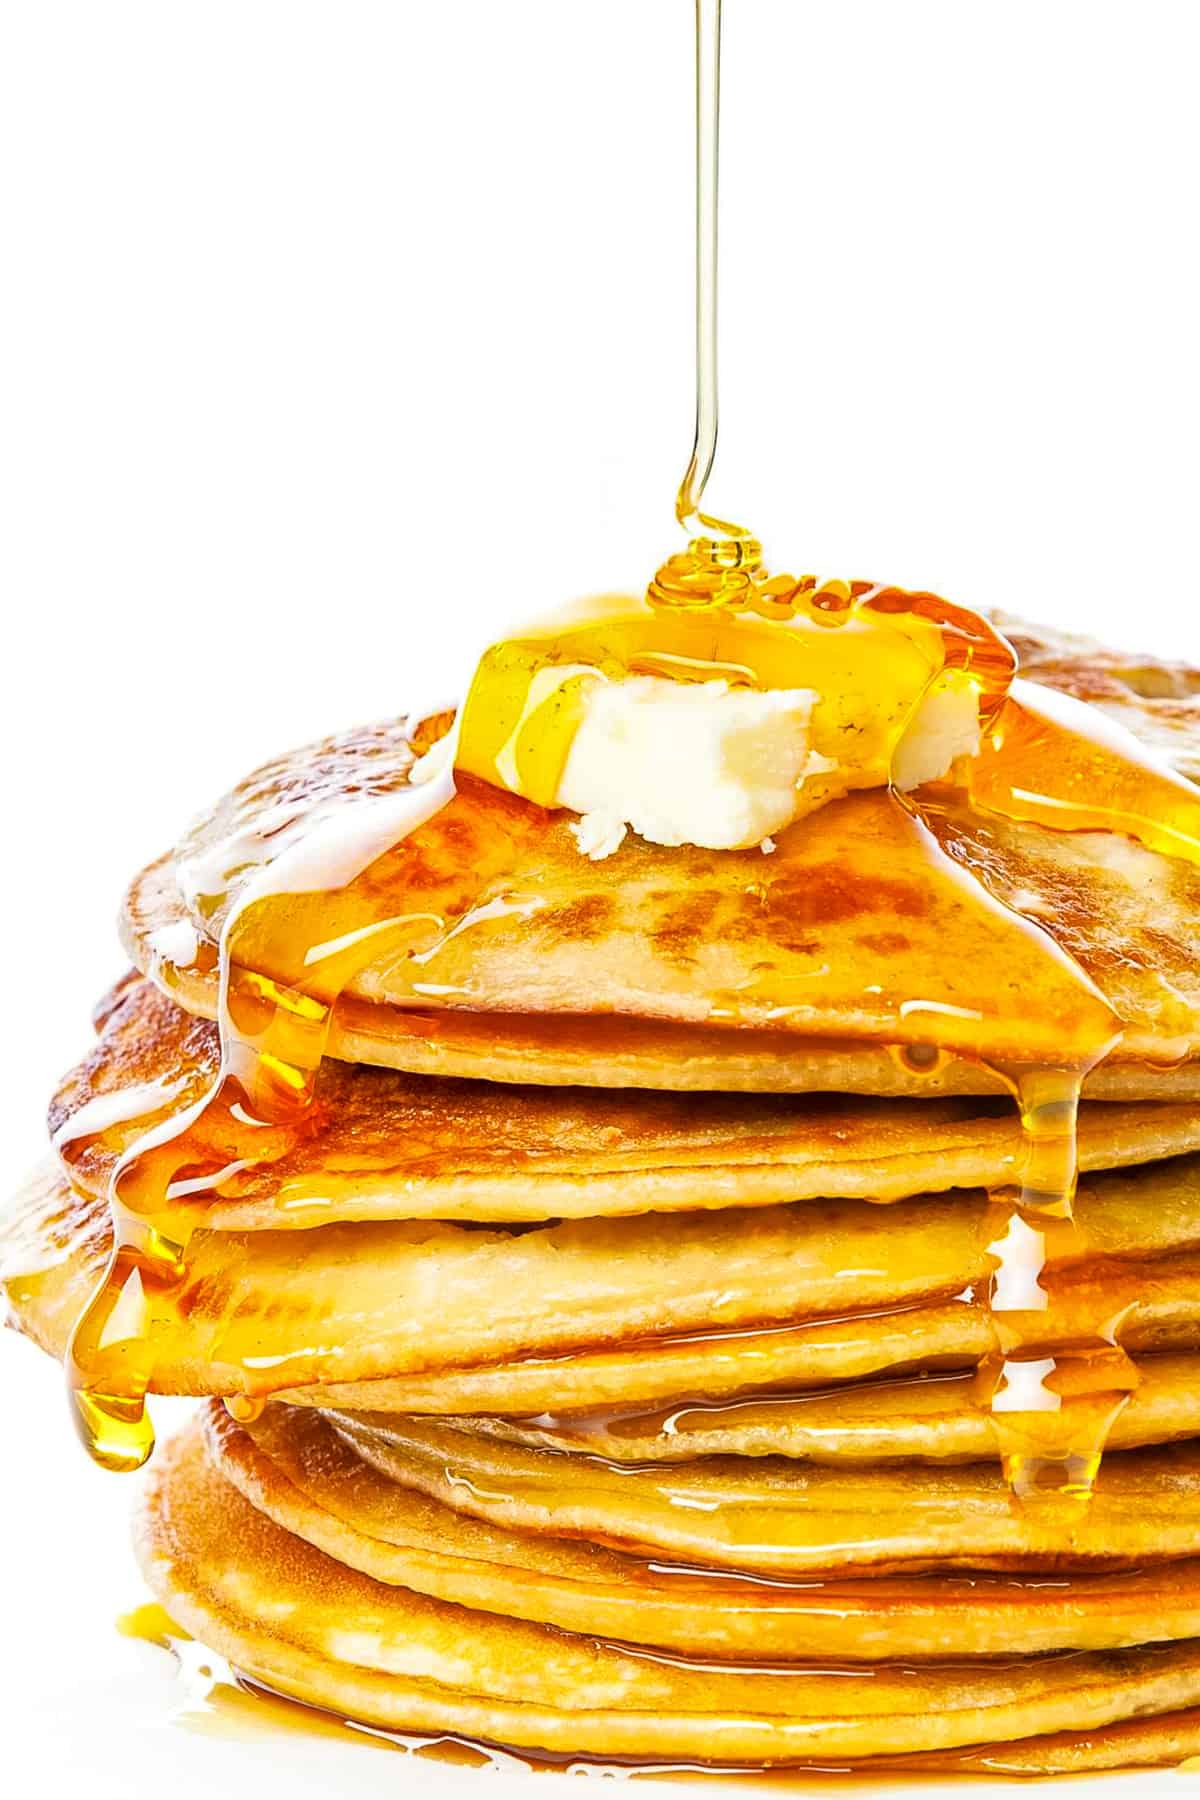
This easy recipe for Johnny Cakes {Cornbread Pancakes} makes crisp, fluffy pancakes from scratch that come out perfect every time.
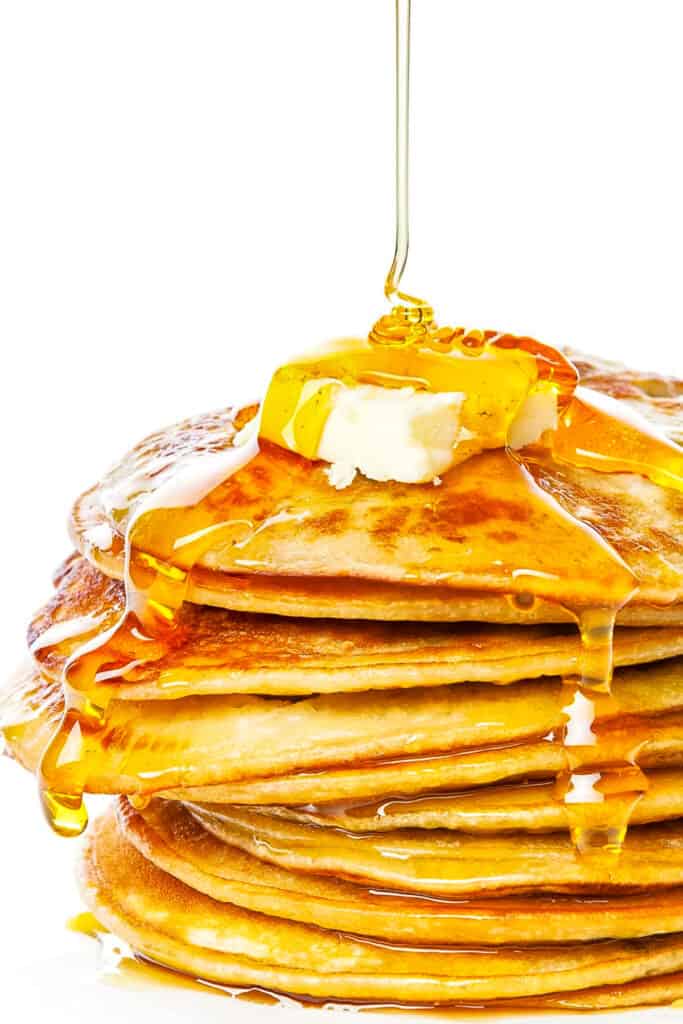
Don’t you just love cornbread? I love it so much I’ve created six different recipes based on it – From my classic corn muffins to my sweet cornbread recipe, each creation has its own delicious twist. I’ll be honest, each recipe was created because I had a craving that needed to be fulfilled and this Johnny Cake Recipe is one of my absolute favorites. 🙂
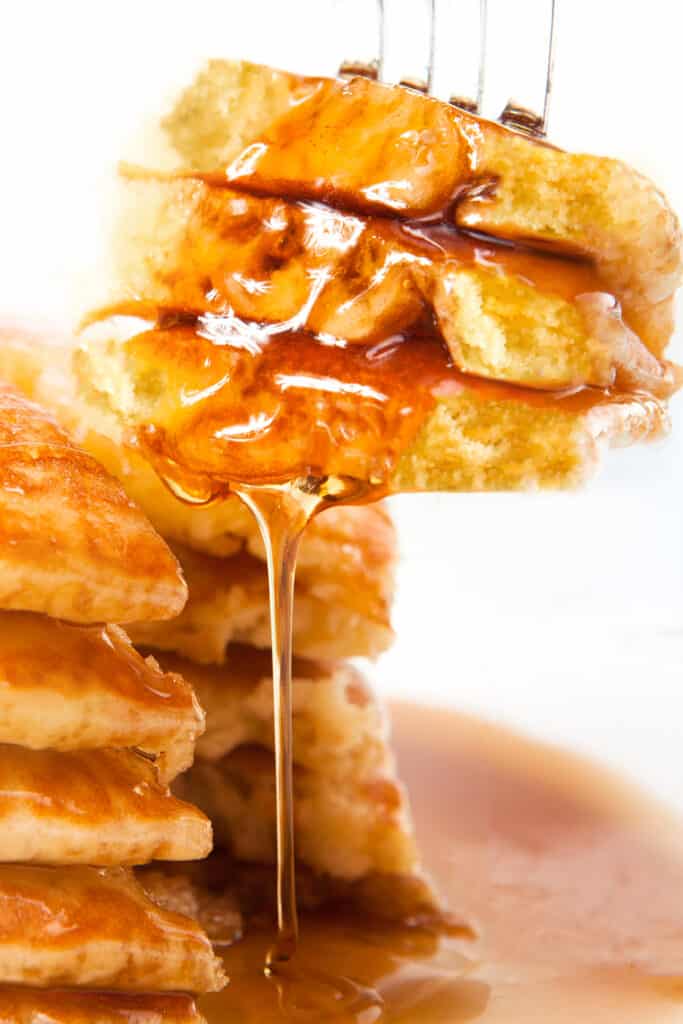
I have to say that they came out so much better than I had ever imagined! They’re deliciously crispy on the outside and light and fluffy on the inside – exactly what you want in a cornbread pancake!
Why This Recipe Works
- Fine cornmeal keeps the pancakes moist and light.
- This recipe gives you a filling, yet fluffy pancake with crisp edges, every time, guaranteed.
- Melted butter in the batter adds a rich taste element as well as moisture.
Why Is It Called a Johnny Cake?
Never heard of a Johnny Cake? They’re also known as ash cake, batter cake, cornpone and cornbread pancakes. The name changes depending on where you are eating them.
It is likely the name Johnny Cake derives from “journey cake” (because they would put them in their pockets to eat on long journeys), or “shawnee cakes” . It is thought that settlers in New England were shown how to make these cornbread pancakes by the native Americans.
How To Make Johnny Cakes {Cornbread Pancakes}
- Mix dry ingredients in a bowl and create a well in the middle.
- Whisk the eggs, milk and melted butter.
- Pour the wet ingredients into the well. Combine fully.
- Pour batter into a hot pan a 1/4 cup at a time.
- Cook for a couple of minutes until bubbles form.
- Flip the pancake and cook the other side.
- Serve and enjoy!
Ingredient Notes
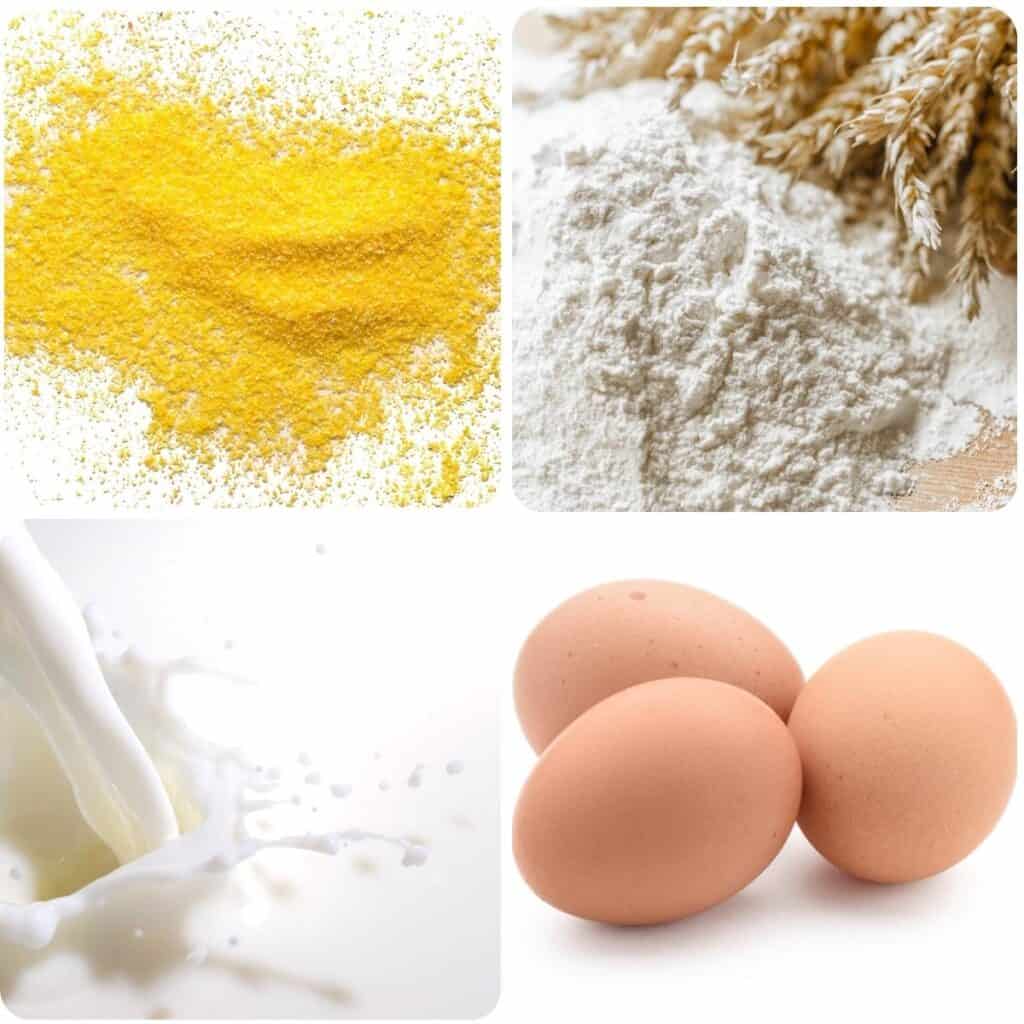
- Cornmeal: Fine cornmeal is best for this recipe as coarse may dry out your pancakes.
- Flour: All purpose flour (or plain flour in the UK) is perfect for this recipe.
- Baking Powder: Always check your baking powder is fresh and hasn’t expired, out of date baking powder won’t be as effective.
- Milk: I use whole milk in this recipe, but you can use any milk you have on hand..
- Eggs: I use large eggs. Make sure your eggs are at room temperature before starting your batter. If you use eggs from the fridge leave them out on the counter top for around an hour before use.
- Butter: I use salted butter in my baking, but unsalted will work just fine.
How to Make Breakfast Pancakes Perfect Every Time
Making pancakes isn’t always easy. I’ve made many a pancake that was cooked on the outside, but raw or chewy in the middle.
With a lot of time and practice, I’ve found the perfect way to make perfect pancakes every time. Whether you’re making cornbread pancakes or sour cream pancakes, or buttermilk pancakes, this guide will work for you.
Step By Step Instructions
Mix dry ingredients together well in a large bowl and form a well into the middle of the mixture. The well helps to allow the wet ingredients to mix into the dry more evenly.
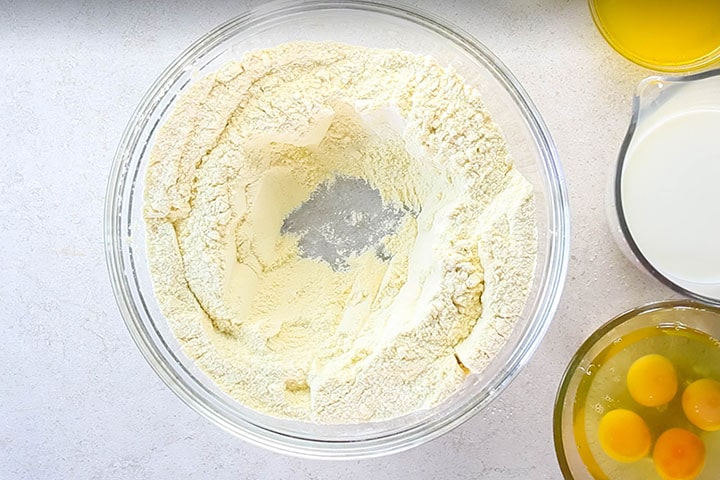
Mix eggs, milk, melted butter, and oil in a large mixing bowl until combined, then pour the mixture into the well you made in the dry ingredients.
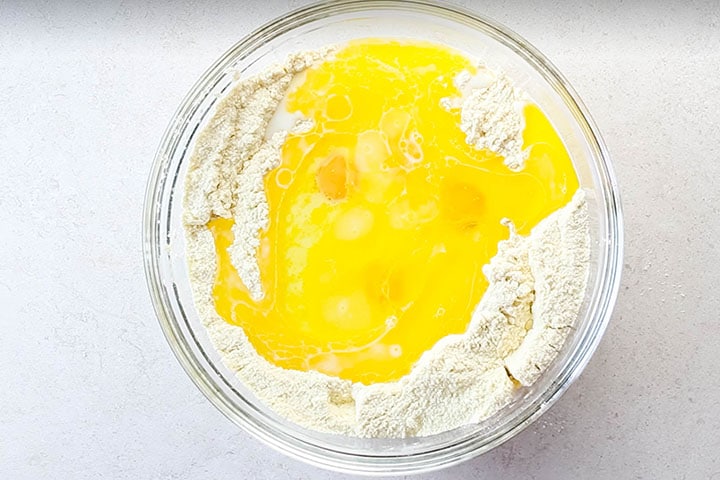
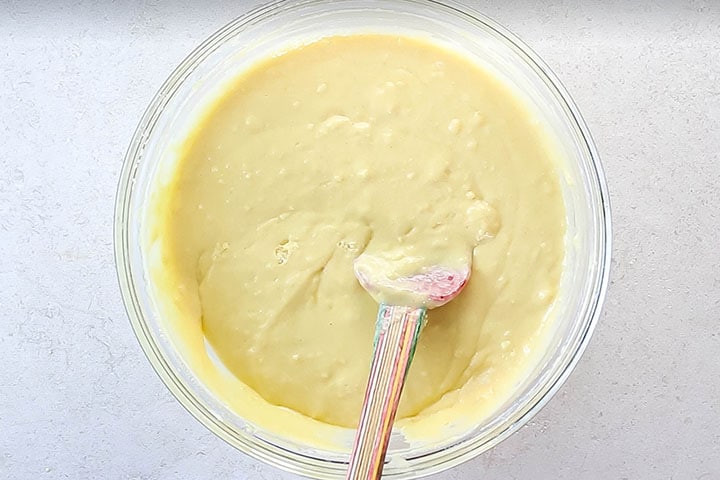
Mix until combined being careful not to over mix the batter. A few lumps are perfectly fine.
If you have time, allow your batter to rest for ten minutes before starting. This allows the baking powder to start to do its job, gives the starch some time to swell in the liquids and enables the gluten in the flour to relax so you add the batter to the pan, your pancakes are much more likely to come out light and fluffy.
Pour about a teaspoon of oil or clarified butter into the pan and wipe the oil around with a pastry brush or paper towel until the whole pan is lightly coated.
Clarified butter can cook at a higher heat without burning and not only makes the pancakes crispy but adds a buttery flavor too.
Preheat the pan over medium heat (this is an important step). If you’re using an electric frying pan, set the heat to 350°F.
Test the heat of the pan. A good test is to add a drop of water to the pan. If it dances around the pan, it’s the correct temperature. If it doesn’t move, the pan is too cold, and if it sizzles and evaporates, the pan is too hot.
Another test is to make a small test pancake with a small amount of batter. This will ensure you have the correct temperature. If they get dark, too quickly, your pan is too hot which will result in crisp or even burned pancakes that are not fully cooked in the middle. You want pancakes that are crisp on the outside and fully cooked on the inside.
For a 4 inch (or 10cm) diameter pancake, use a quarter cup (60ml) measuring cup to pour the batter into the pan about 2 inches (5 cm) apart and cook until bubbles form over the top of the pancake and begin to pop.
Be patient and wait until the bubbles pop before flipping! This is a key step!
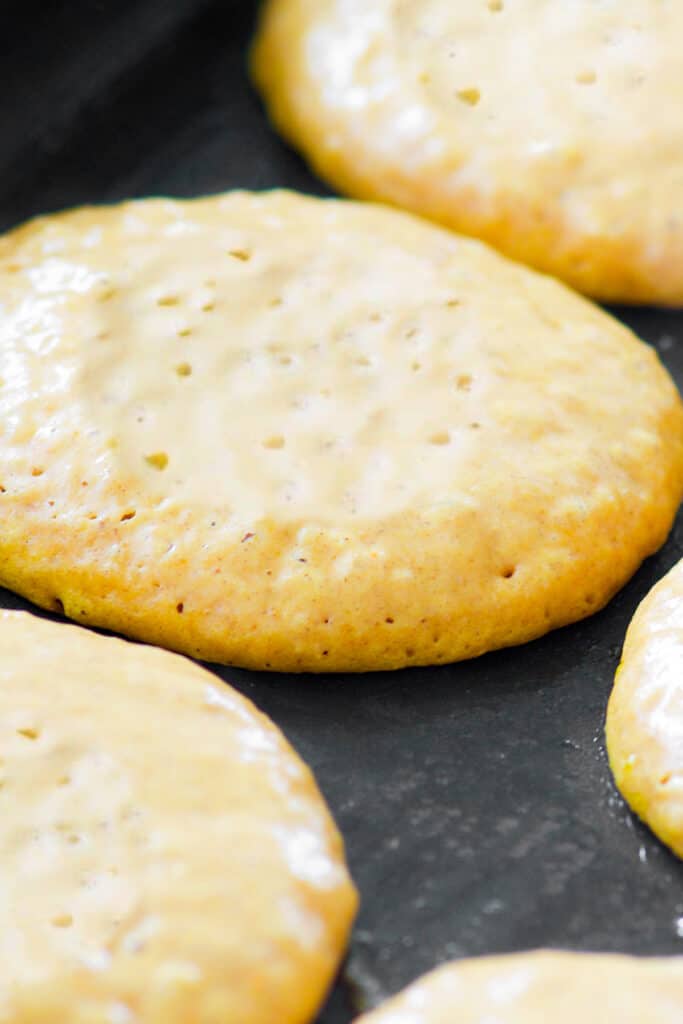
Flip and cook until browned on the other side (1-2 minutes). Continue with the remaining batter.
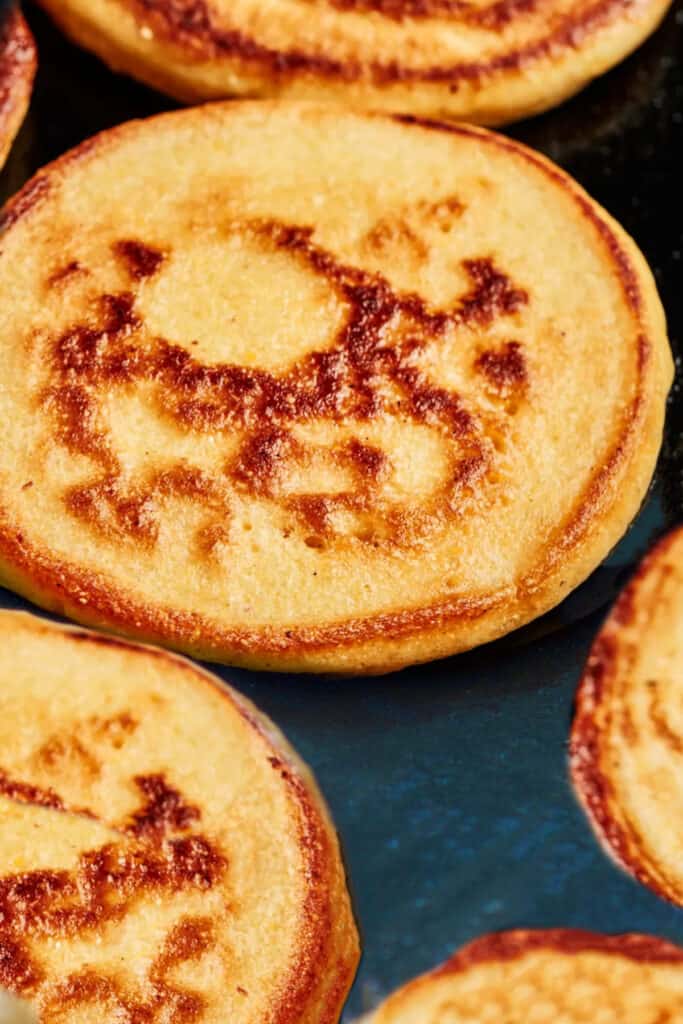
You can keep the pancakes warm in the oven while you continue cooking or serve as you go. Serve warm with butter and syrup.
Serve and Enjoy!
Storing and Freezing Instructions
- In The Fridge: You can keep the cooked pancakes in the fridge for up to 4 days. Reheat in the microwave.
- In The Freezer: To freeze cooked pancakes place a piece of wax paper between each one and wrap in plastic wrap. Place in a freezer-safe container and freeze for up to two months. Defrost thoroughly before use and reheat in a pan, oven or microwave.
Erren’s Top Tips
- For light and fluffy pancakes, allow your batter to rest for ten minutes.
- An electric griddle or frying pan makes cooking Johnny cakes super easy. If you’re new to making pancakes, I highly recommend using one as it’s easy to tell your pan is at the right temperature. Heat your pan to 350°F. Electric pans usually have some indicator that lets you know when it reaches the correct temperature.
- For stovetop pans, preheat over medium heat. A good test is to add a drop of water to the pan. If it dances around the pan, it’s the correct temperature. If it doesn’t move, the pan is too cold, and if it sizzles and evaporates, the pan is too hot.
- Use clarified butter in the pan instead of regular butter as it can cook at a higher heat without burning.
- Using a measuring cup to pour your batter keeps your pancakes a uniform size. I use a quarter cup/60ml with 2 inches/5cm between them.
- If they run into each other – don’t worry all is not lost. Just wait until they cook enough and you can separate them with your spatula before flipping.
Rate This Recipe
Recipe
Johnny Cakes {Cornbread Pancakes}
Ingredients
- 1 cup all-purpose flour
- 1 cup fine cornmeal
- 4 tablespoons granulated sugar
- 1 tablespoon baking powder
- ¼ teaspoon salt
- 2 eggs (beaten)
- 1⅓ cups milk
- ½ stick salted butter (melted)
- 2 tablespoons vegetable oil
Instructions
- Mix dry ingredients in a large bowl and form a well into the middle of the mixture.
- Mix egg, milk, melted butter, and oil in a large mixing bowl. Pour into the well of dry ingredients; mix well.
- Preheat the pan over medium heat. Pour a little oil or clarified butter to the pan (about a teaspoon). Wipe the oil around the pan with a pastry brush or paper towel until coated.
- Using a measuring cup, pour a quarter cup of batter into the pan as many times as you can without having the pancakes touch. When your pancakes form popped bubbles, and the edges look fluffy and cooked, flip and cook another 1-2 minutes.
- Continue with the remaining batter. Lower the heat for the second batch to avoid burning. You can keep the pancakes warm in the oven while you continue cooking or serve as you go.
Tips
- For light and fluffy pancakes, allow your batter to rest for ten minutes.
- Don’t skip preheating your pan. This is an important step for good results.
- An electric griddle or frying pan makes cooking Johnny cakes super easy. If you’re new to making pancakes, I highly recommend using one as it’s easy to tell your pan is at the right temperature. Heat your pan to 350°F. Electric pans usually have some indicator that lets you know when it reaches the correct temperature.
- For stovetop pans, preheat over medium heat. A good test is to add a drop of water to the pan. If it dances around the pan, it’s the correct temperature. If it doesn’t move, the pan is too cold, and if it sizzles and evaporates, the pan is too hot.
- Use clarified butter in the pan instead of regular butter as it can cook at a higher heat without burning.
- Using a measuring cup to pour your batter keeps your pancakes a uniform size. I use a quarter cup/60ml with a 2 inches/5cm between them.
- If they run into each other – don’t worry all is not lost. Just wait until they cook enough and you can separate them with your spatula before flipping.


Leave a Reply