This site runs ads and generates income from affiliate links. Read my disclosure policy.
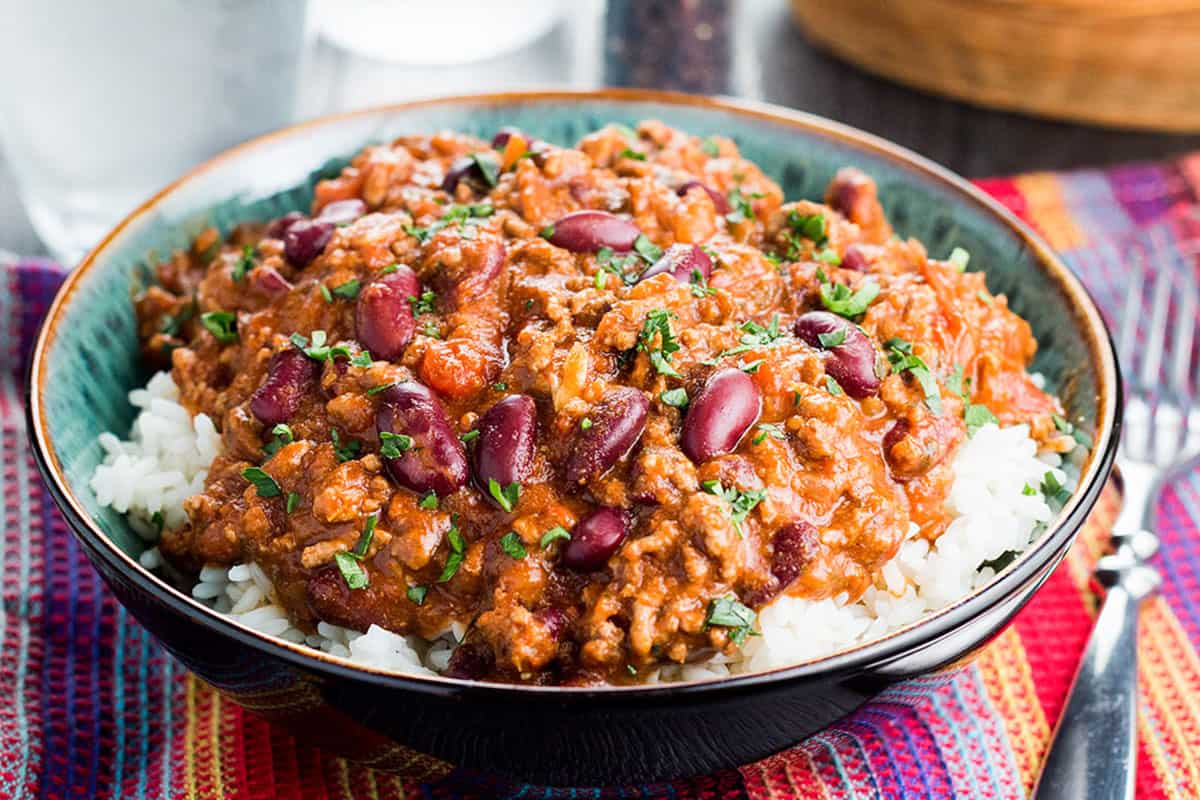
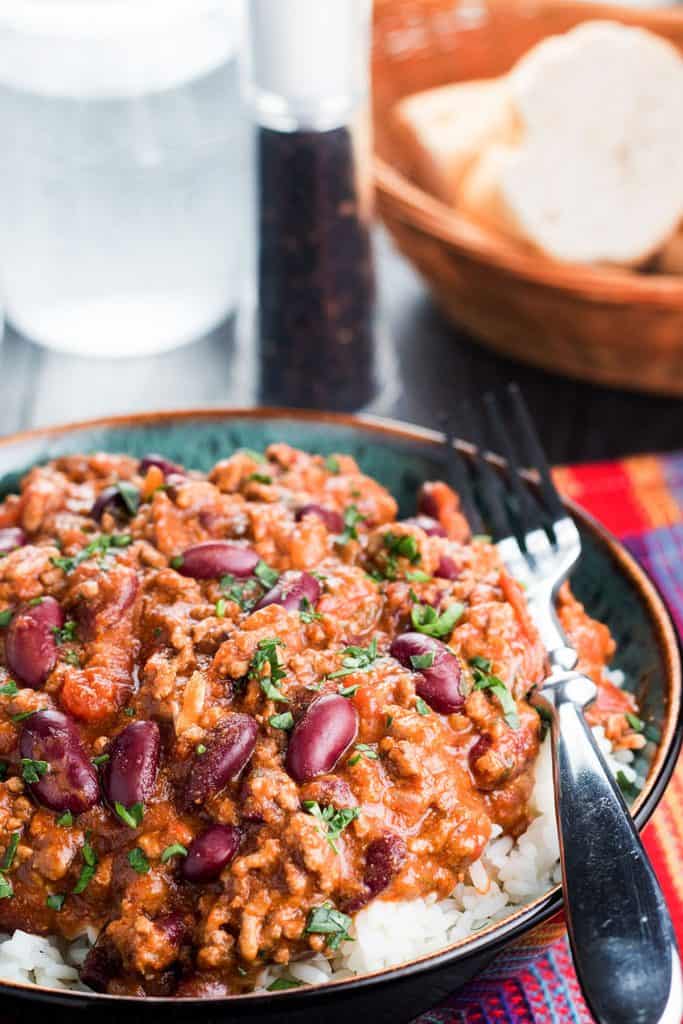
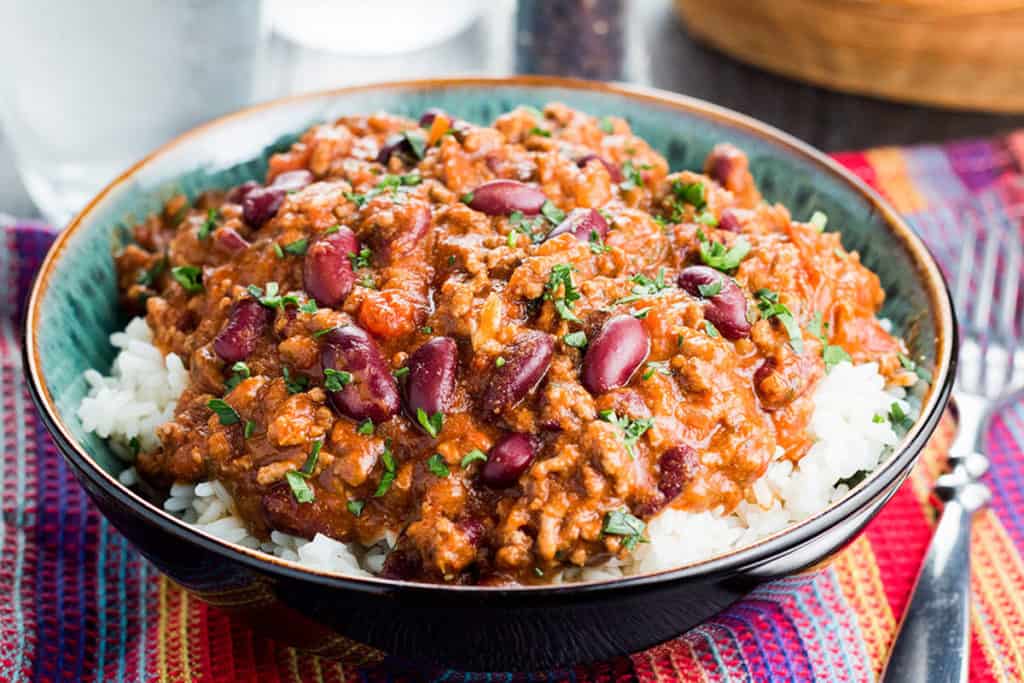
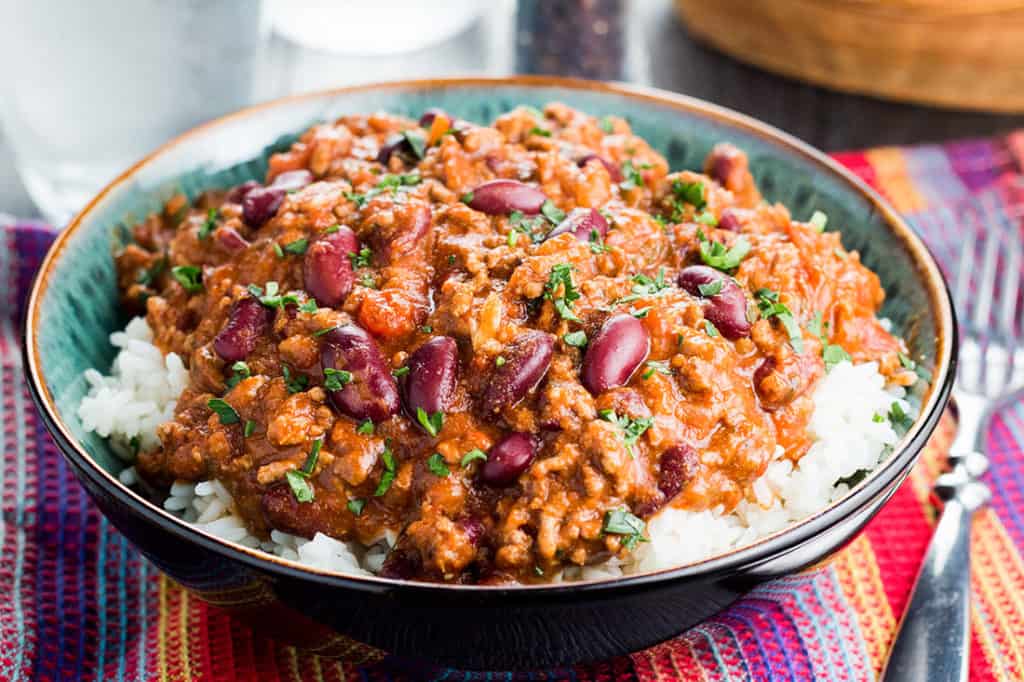
This comforting and filling recipe for Classic Chili Con Carne is a great family meal or for serving to friends for a casual dinner party.
This delicious recipe is amazing served alongside Homemade Corn Muffins to make the perfect comforting meal.
Why This Recipe Works
- It’s an easy recipe that makes a hearty meal.
- The cumin, oregano & smoky paprika work perfectly together to pack in the flavor.
- It’s easily adaptable to suit your pallet and family’s preferences.
On Chili Powder
Chili Powder in America is a spice mix commonly used in Chili and Mexican style dishes. It’s most often made up of ground chili pepper, paprika, garlic, and cumin.
Outside the US, chili powder is a pure ground chili pepper. Confusing the two ingredients could be a total disaster.
To avoid confusion for my worldwide audience, I decided to create my recipe without calling for Chili Powder in any form.
I’ve flavored my chili with all the same flavors you’d find in the American spice mix, but with individual ingredients.
Best Meat For Chili
Ground beef is the traditional meat used in Chili. It’s simple meat to work with, and there’s no need to tenderize it before cooking. That said, I’ve seen ground turkey used successfully by cooks worried about the fat content of the dish.
Keeping Moisture in Your Meat
Adding baking soda to ground beef before cooking keeps it moist by raising the PH levels and stopping the proteins from binding too quickly (which dries out the meat).
To do this mix a ½ teaspoon of baking soda with a tablespoon of water. Combine well and then mix it into the meat before cooking.
How To Make Chili con Carne From Scratch:
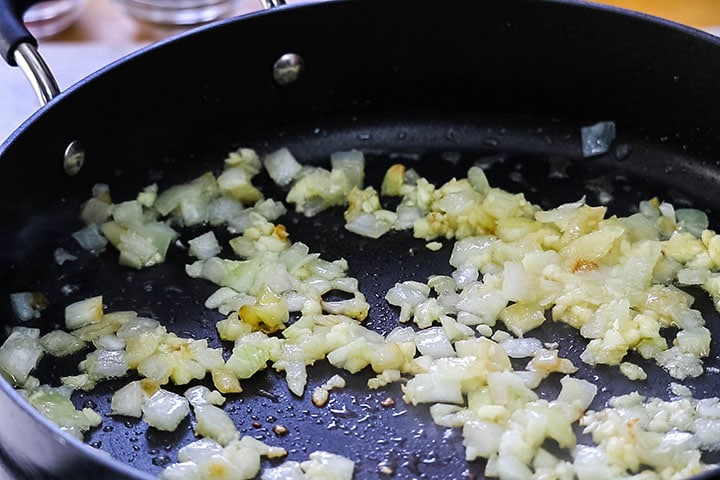
Heat 1 tablespoon of the oil a large saucepan. Add the onion and cook, stirring, until soft, about 5 minutes. Add the garlic and cook another minute.
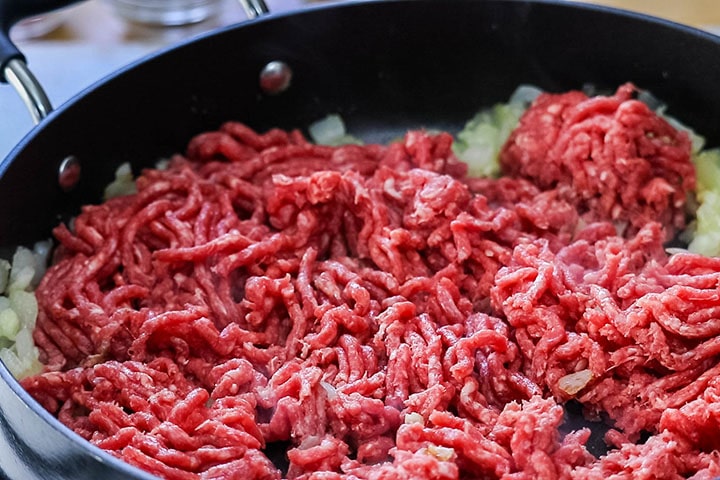
Add the beef and cook, breaking up the meat with a wooden spoon, until browned, about 8 minutes.
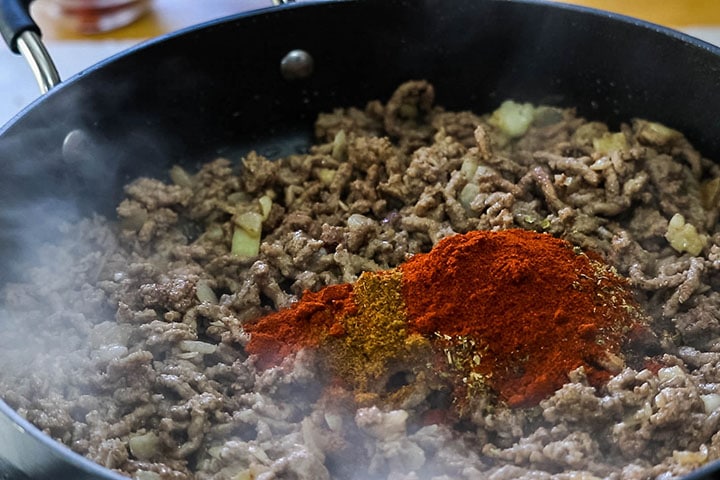
Add the cumin, oregano, paprika, cayenne pepper, and tomato paste and cook, stirring about 2 minutes.
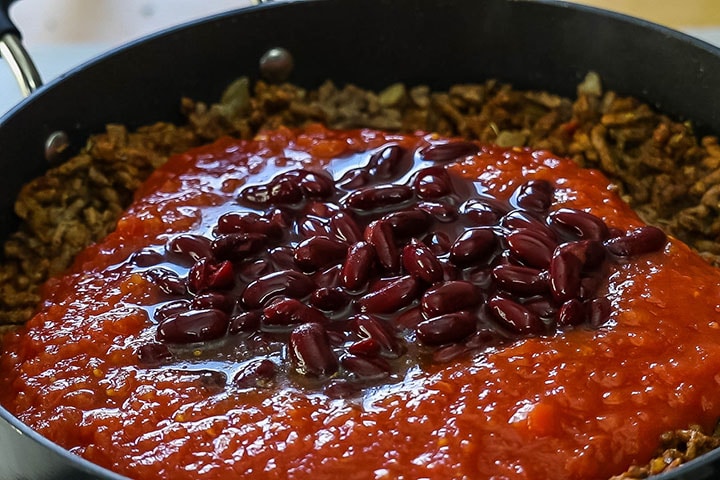
Add the tomatoes, beef stock, and beans.

Season to taste with salt and pepper. Then add the parsley.
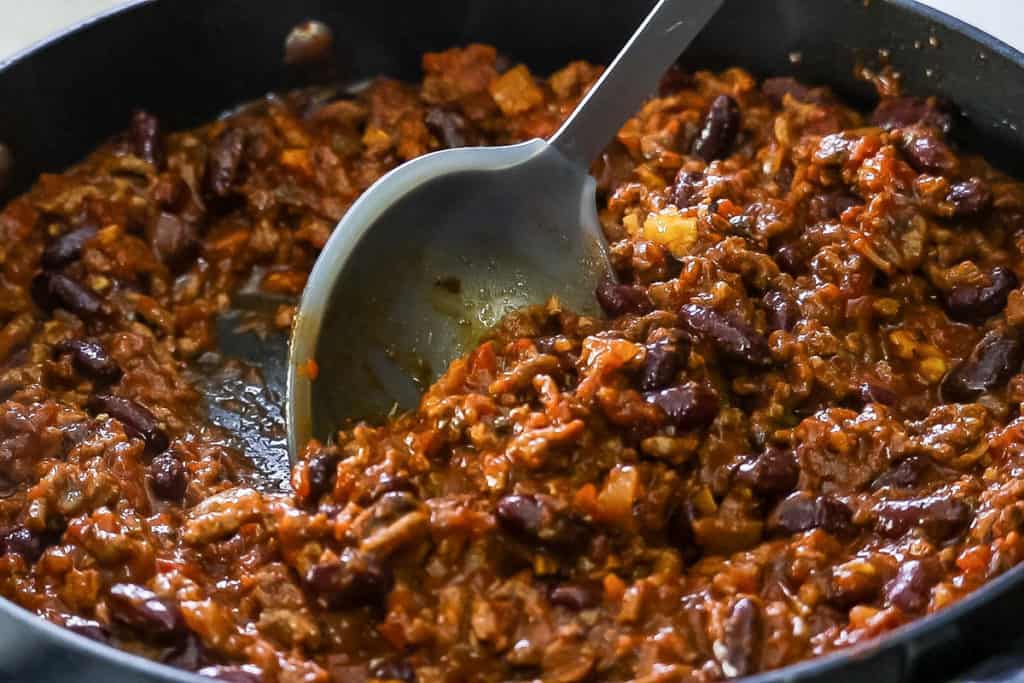
Cook, stirring occasionally, until the chili thickens slightly, about 1 – 2 hours
The longer you cook this chili, the better it tastes, so cook it low and slow. The flavor will be fantastic, and the slow cooking gives the beef such tender texture and creates the best chili ever.
For Best Results
- Don’t skip browning the meat. This is the point where you start building flavor. Try browning it on a little bacon fat for extra flavor!
- When browning the meat, don’t overcrowd the pan. Overcrowding causes the meat to steam instead of brown, and you’ll miss out on a lot of flavors.
- Season well and from the start – Adding salt from the beginning allows the flavors to develop as it cooks. Don’t forget to taste at the end and add more as needed.
- Kick up the flavor with some vinegar before serving. This may sound odd, but I always add a tablespoon of red wine vinegar before serving long cook dishes. You won’t believe the lift it gives the dish.
- Much like a stew, Chili tastes better the next day, so this is the perfect make-ahead dish that can be reheated the next day.
Serving Suggestions
- Serve with a variety of toppings like shredded cheese, sour cream, jalapeño slices or fresh cilantro.
- Ladle it over a bed of rice or with some homemade cornbread and you have yourself a fantastic meal.
- For a great party platter, add the chili to a baking dish with layers of tortilla chips, top with lots of grated cheese and stick it in the oven until the cheese is bubbly. Serve with a scoop of cool sour cream and chopped scallions.
- Spoon it over good quality hotdogs and top with grated cheese for the best chili dogs you’ve ever had!
Other Great Comfort Foods
Does chili con carne have beans?
Traditional chili con carne has red kidney beans, but they can be left out if you wish.
What is the difference between chili and chili con carne?
Chili refers to the actual fruit/pepper while chili con carne is a spicy beef stew.
How long does homemade chili last in the fridge?
Properly stored, cooked chili will last for 3 to 4 days in the refrigerator.
How long can cooked chili be left at room temperature?
Bacteria grows quickly at temperatures between 40 °F and 140 °F; be left out for no more than 2 hours at room temperature.
Can you freeze Chili?
Cooked chili freezes very well. Freeze it in covered airtight containers or freezer bags. Freeze for up to 3 months.
Rate This Recipe

Recipe
Classic Chili Con Carne
Ingredients
- 2 tablespoons olive oil
- 2 pounds ground beef
- 1 onion (large) (chopped)
- 4 cloves garlic (chopped)
- 2 tablespoons ground cumin*
- 2 tablespoon dried oregano
- 2 teaspoons smoked paprika
- ½ teaspoon cayenne pepper (plus more if you like it spicy)
- 2 tablespoons tomato paste
- 28 oz can crushed tomatoes
- ½ cup beef stock
- 14.5 oz can kidney beans (drained)
- salt and pepper (to taste)
- good handful fresh parsley (chopped)
Instructions
- Heat the olive oil in a large pan over medium heat. Add the onions and sauté until lightly golden, 2 to 3 minutes. Add the garlic and fry another minute.
- Add the ground beef; fry until fully cooked and no pink shows at all in the meat (about 8 minutes).
- Add the cumin, oregano, paprika, cayenne pepper, and tomato paste and cook, stirring about 2 minutes.
- Add the tomatoes, beef stock, and beans. Season to taste with salt and pepper, stir in the parsley, and bring to a simmer over low heat.
- Cook, stirring occasionally, until the chili thickens slightly, about 1-1⁄2 hours.
Tips
- Don’t skip browning the meat. This is the point where you start building flavor. Try browning it on a little bacon fat for extra flavor!
- When browning the meat, don’t overcrowd the pan. Overcrowding causes the meat to steam instead of brown, and you’ll miss out on a lot of flavors.
- Season well and from the start. Adding salt from the beginning allows the flavors to develop as it cooks. Don’t forget to taste at the end and add more as needed.
- Kick up the flavor with some vinegar before serving. This may sound odd, but I always add a tablespoon of red wine vinegar before serving long cook dishes. You won’t believe the lift it gives the dish.
- Much like a stew, Chili tastes better the next day, so this is the perfect make-ahead dish that can be reheated the next day.
Update Notes: This post was originally published on Feb 20, 2017, but was republished with step by step instructions, new photos, a video, tips, and FAQs in February of 2018.













Leave a Reply