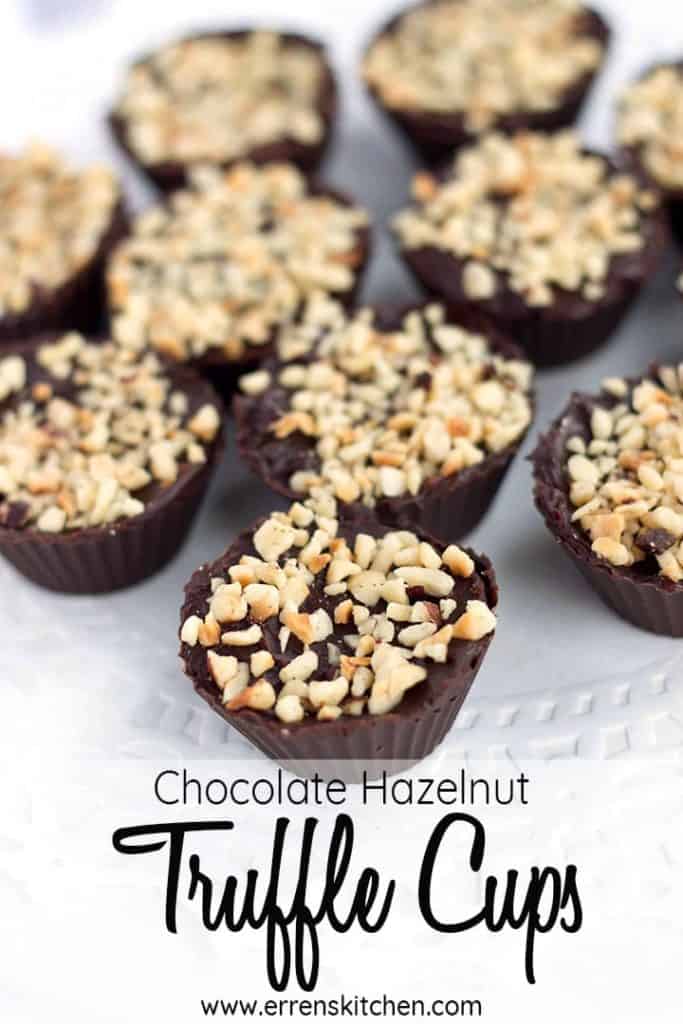
This easy to make recipe for Chocolate Hazelnut Truffle Cups will impress anyone you make them for – just watch them disappear off the plate! Why not try Homemade Coconut Mounds Cups, Homemade Snicker Cups, or Chocolate Tea Cups. Build up your chocolate cup repertoire right here and now!

This recipe starts with making the ganache filling. I usually make it the day before to make things a bit easier. It sets in the fridge and then I soften it in the microwave when I’m ready to use it to make it easier to scoop.
To make these, I used 2-inch silicone liners. If you’re in the US, you can get ones like mine from Amazon by clicking here. (#paidlink).
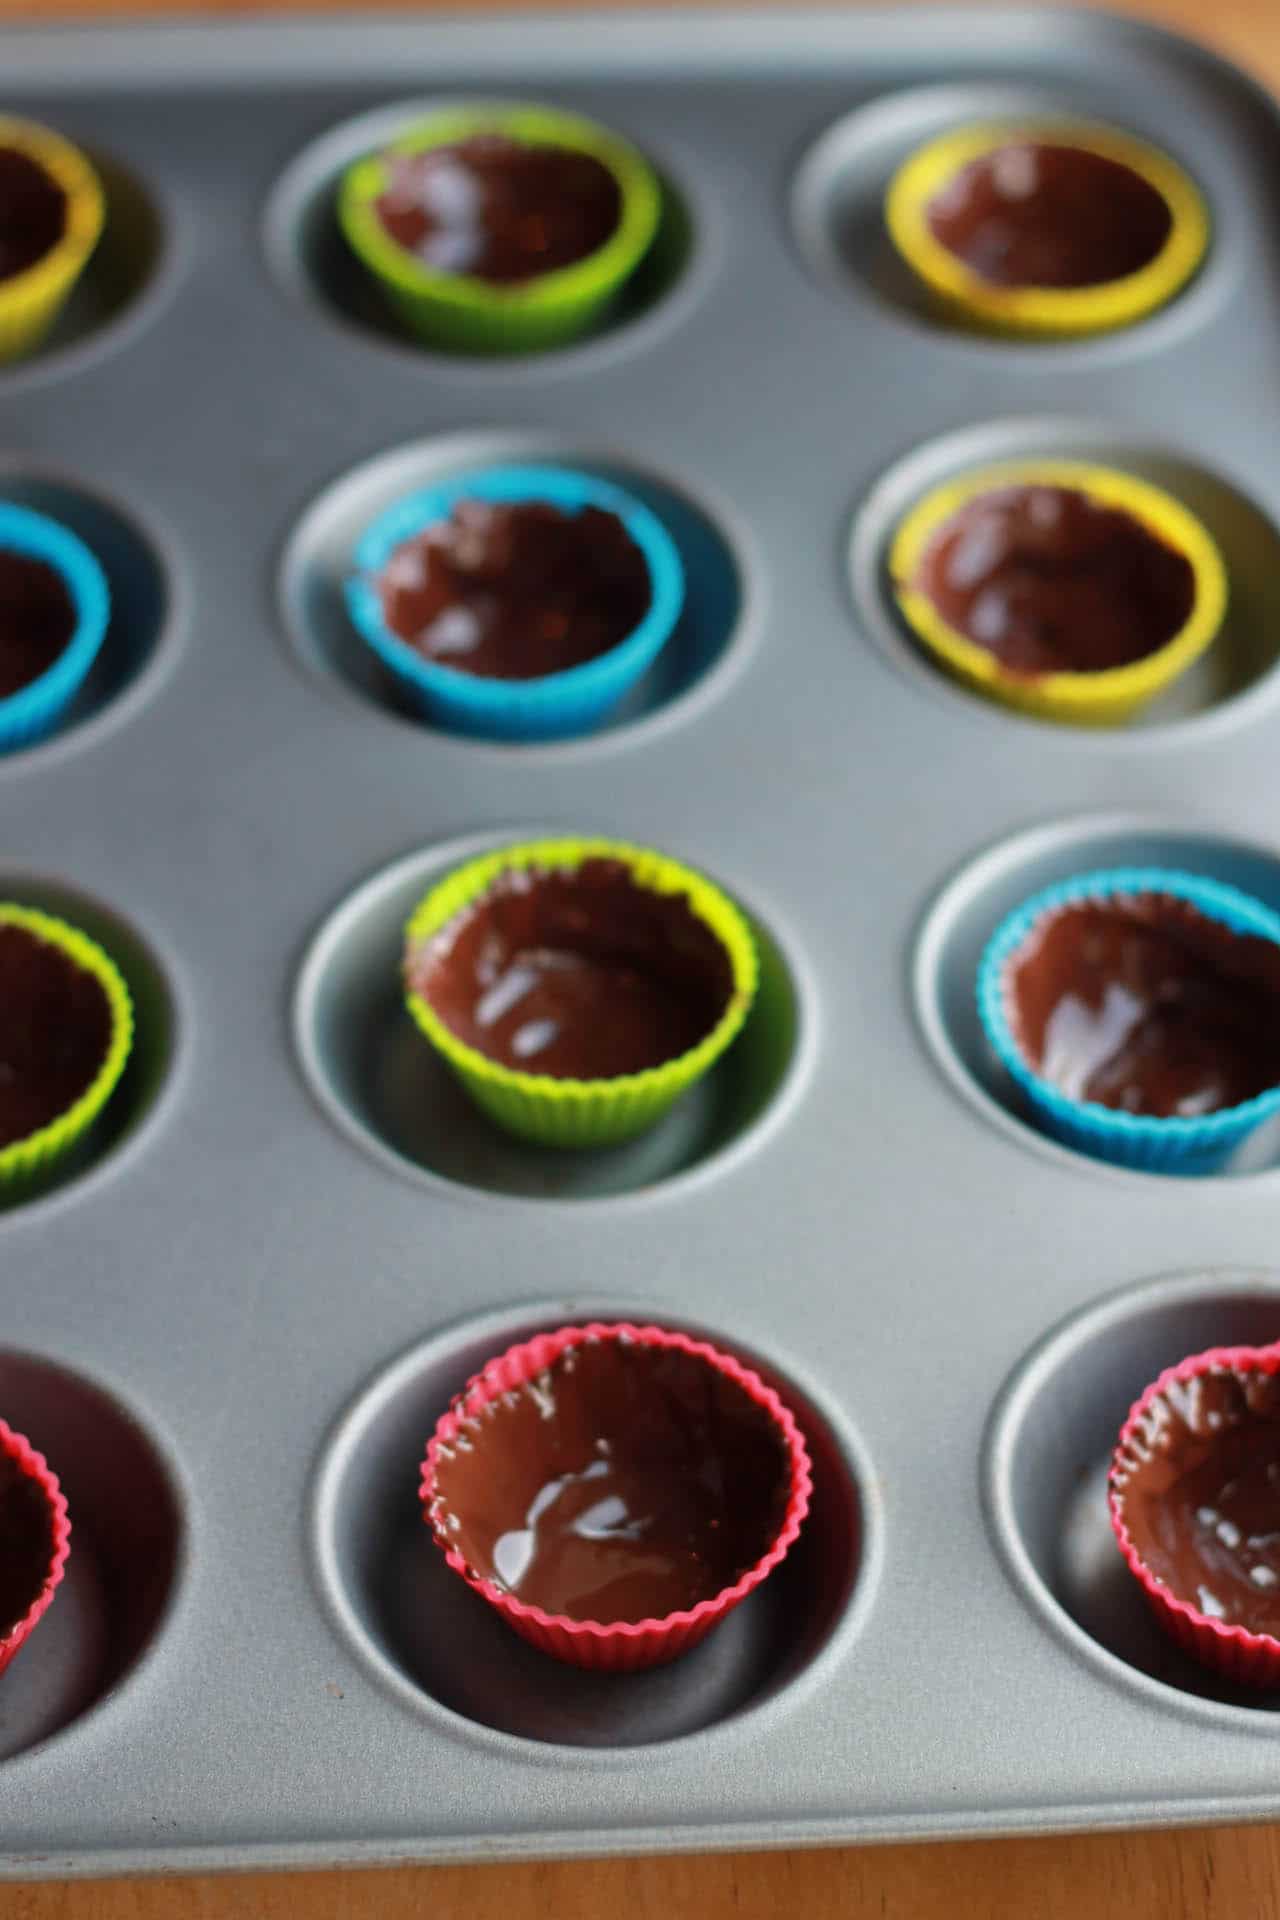
The next step is painting the cup liners with melted chocolate. I find the easiest way to do this is to take a 1/2 teaspoon of the melted chocolate, drop it into the liner. Then using a clean, small paintbrush (that’s never been used with paint), spread the chocolate over the liners.
This is a much faster process than you would imagine. It took me about an hour to make 60 truffle cups and that was including hardening the chocolate before filling them.
I warn you that these are addictive and a dream come true for any chocolate lover. You will be asked to make them again and again!
Stay Updated
Receive new recipes & dinner ideas straight to your inbox!
Let's Make Truffle Cups
Ingredients
- For the Filling:
- 2 cups whipping cream
- 16 oz bittersweet/dark chocolate chopped
- 1 cups Nutella chocolate hazelnut spread
- For the cups:
- 16 oz bittersweet/dark chocolate chopped
- 1-2 cups chopped hazelnuts
Instructions
For the filling:
- Place the chopped chocolate and Nutella into a medium-sized, heatproof bowl.
- In a small saucepan, heat the cream until it just begins to simmer and then pour it over the chopped chocolate. Let it sit a minute, then gently stir with a wooden spoon until the chocolate has fully melted and the ganache is smooth. Then cover and chill completely to set.
- Once the filling is ready to use, melt the remaining chocolate in a microwaveable bowl for 30 seconds at a time (stirring in between) until the chocolate is smooth and fluid.
- Using a 1/2 teaspoon measuring spoon, drop it into mini paper cupcake liners spread evenly using a paintbrush.
- Allow to harden in the refrigerator for about 10 minutes.
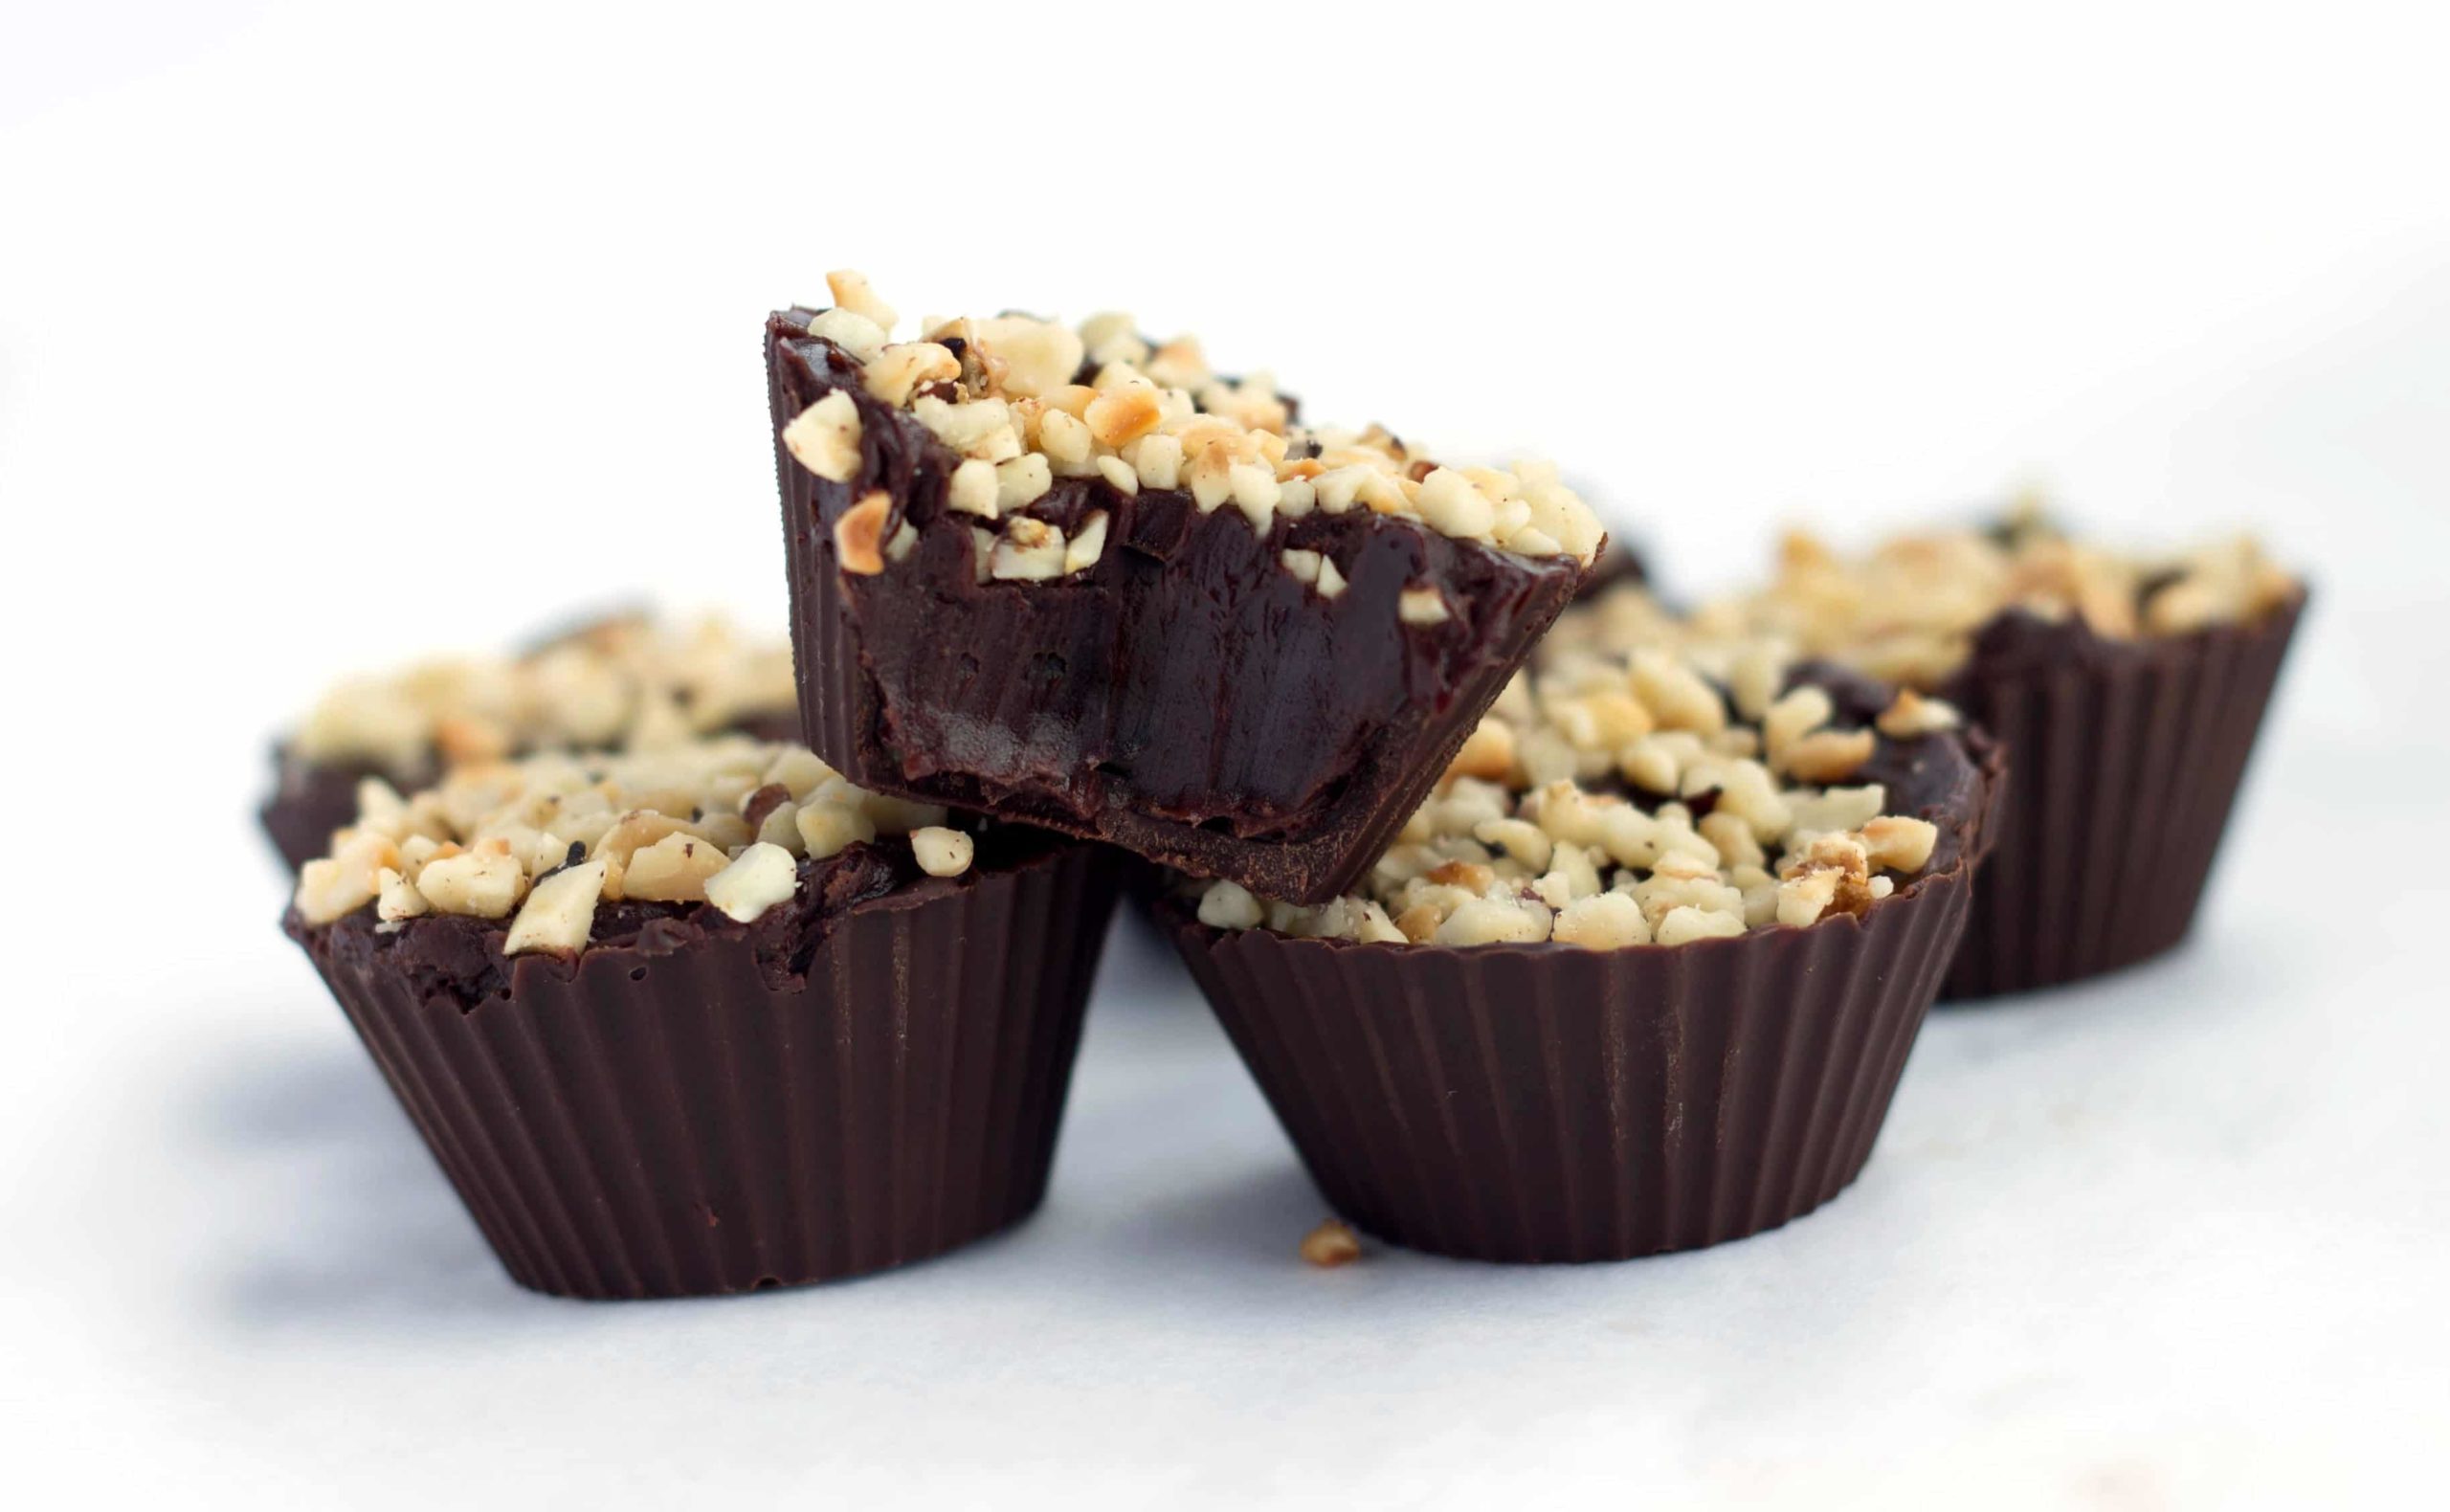
- Fill the chocolate covered cups with the filling then brush the rest of the chocolate over the tops of the cups, sprinkle with the hazelnuts and place in the refrigerator to set again (about 15 minutes).




Taylor says
Such an easy sweet treat that curbs the cravings! Love those chopped hazelnuts on top!
Erren's Kitchen says
Thank you Taylor for your feedback, they only curb them, until you’ve eaten them all, I’m going to have to double the batch!
Chrissie Baker says
I guess the “everyday I’m trufflin’” hashtag holds true to this moment. 😉 These look incredible!
Sara Welch says
Nothing quite like the combination of hazelnut and chocolate! These are exactly what I was looking for to cure my sweet tooth; delish!
Erren's Kitchen says
I’m so glad I could help Sara!
Dorothy Reinhold says
Well this is going to be a problem. I want to try ALL the chocolate cups!
Erren's Kitchen says
Me too, Dorothy!
Jessica | The Novice Chef says
We’re having overnight guests this weekend! This will be a perfect addition for their stay!
Erren's Kitchen says
What a lovely idea Jessica!
Marianne Solomon says
How long do they keep? I’m wondering how far in advance I could make them before serving..
Erren says
Hi Marianne, they should keep for 3-4 days although they never last that long in my house (my husband has a chocolate addiction) so it’s hard to say for sure.
Michelle says
If I used paper cups do you think they would come out ok?
Erren says
Hi Michelle, I’ve used them in the past. Should be fine.
Trisha says
These look wonderful! I was just curious, do you leave the candy in the little paper cups or do you take the chocolate shells out to serve? Thanks
Erren says
Hi Tricia, Thanks for the comment! You can do it either way. I tend to take them out of the cup, but that’s because I use silicone molds not paper.
Marie-Anne says
Delicious! Thank you!
Kecia says
These are incredible Erren! My Honey will flip over them!! Me, too! MMMM!
Erren says
Thank you so much, Kecia! Please let me know if you end up making them.