This site runs ads and generates income from affiliate links. Read my disclosure policy.
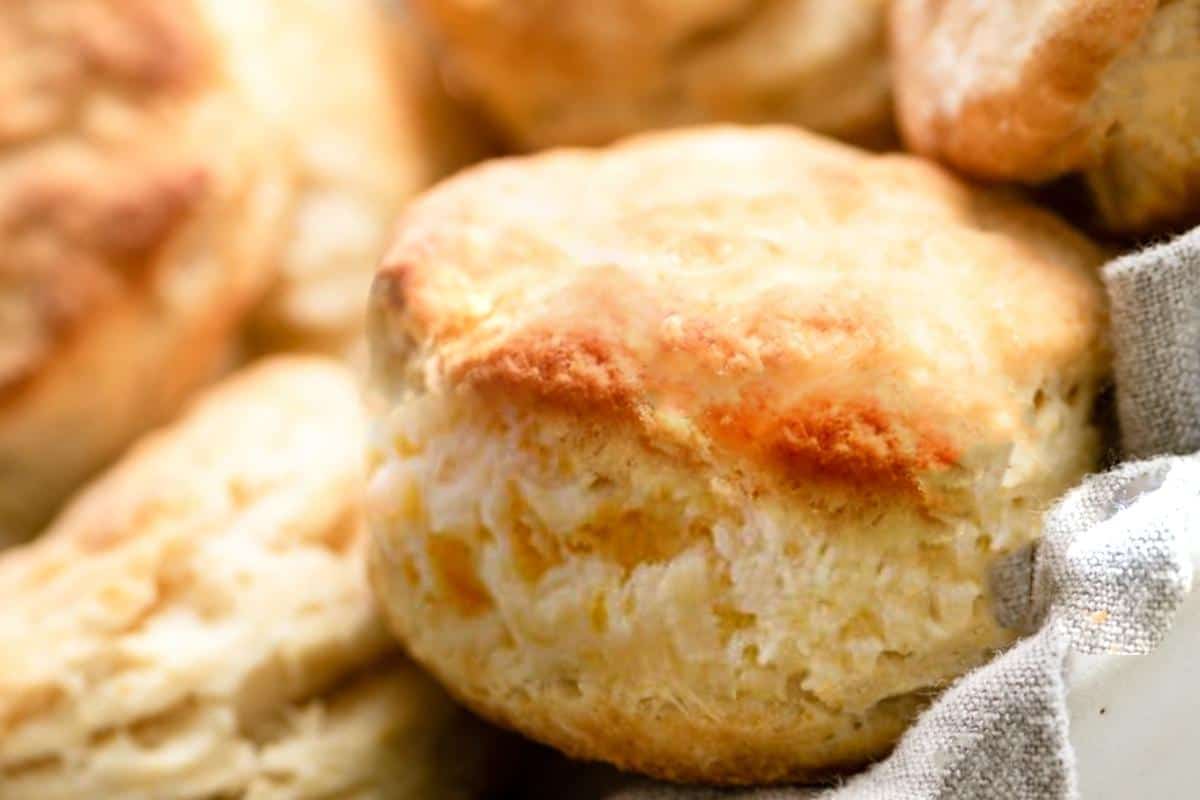
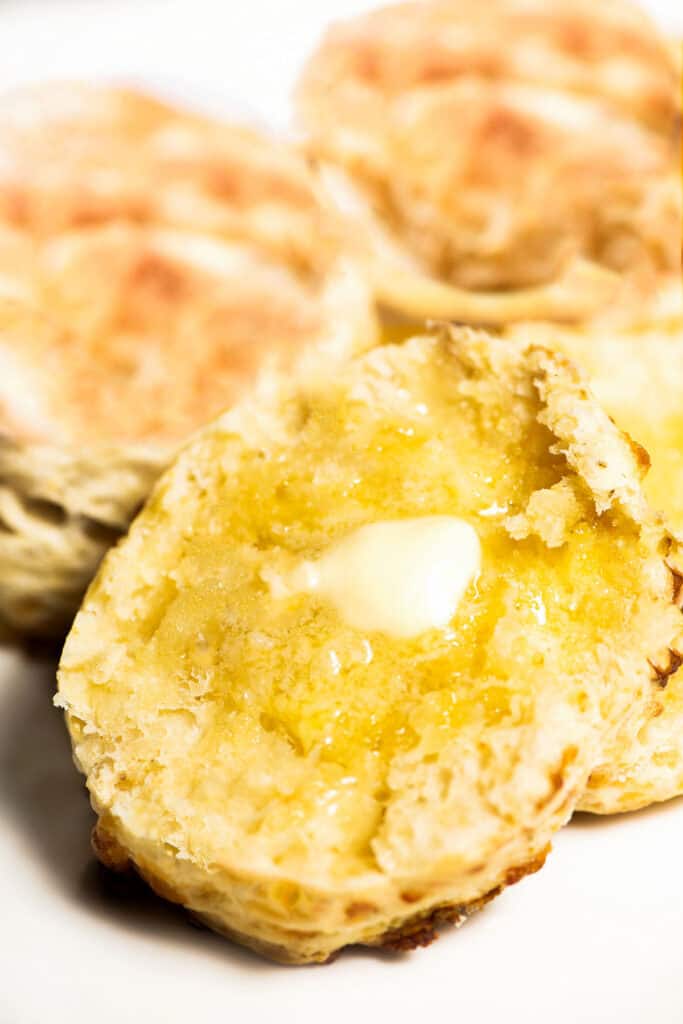
Biscuit lovers rejoice! This recipe makes flaky homemade buttermilk biscuits with a golden exterior and a fluffy interior.
Serve with cream and Raspberry Jam for a delicious treat the whole family will love!

There’s nothing better than homemade biscuits – They’re part pastry, part bread, and always delicious. These flaky biscuits are really versatile; they can be served as breakfast with butter and jam to make biscuits and gravy or as a dessert for making strawberry shortcakes – the options are endless.
Why This Recipe Works
- Buttermilk offers a delicate tang to the buttery richness.
- A touch of sugar offers a bit of sweetness and helps the biscuits to brown.
- Cold butter cut into the dough results in a flaky, delicious biscuit that will make your mouth water.
- Rolling and folding the dough to flatten the butter into thin sheets and stacking them together creates lovely, flaky layers as they bake.
Biscuits Vs. Scones
The main difference between a biscuit and a scone is the country of origin. Biscuits are North American, while scones are British. But they also have a slight difference in texture. Biscuits tend to be a little lighter in texture than scones.
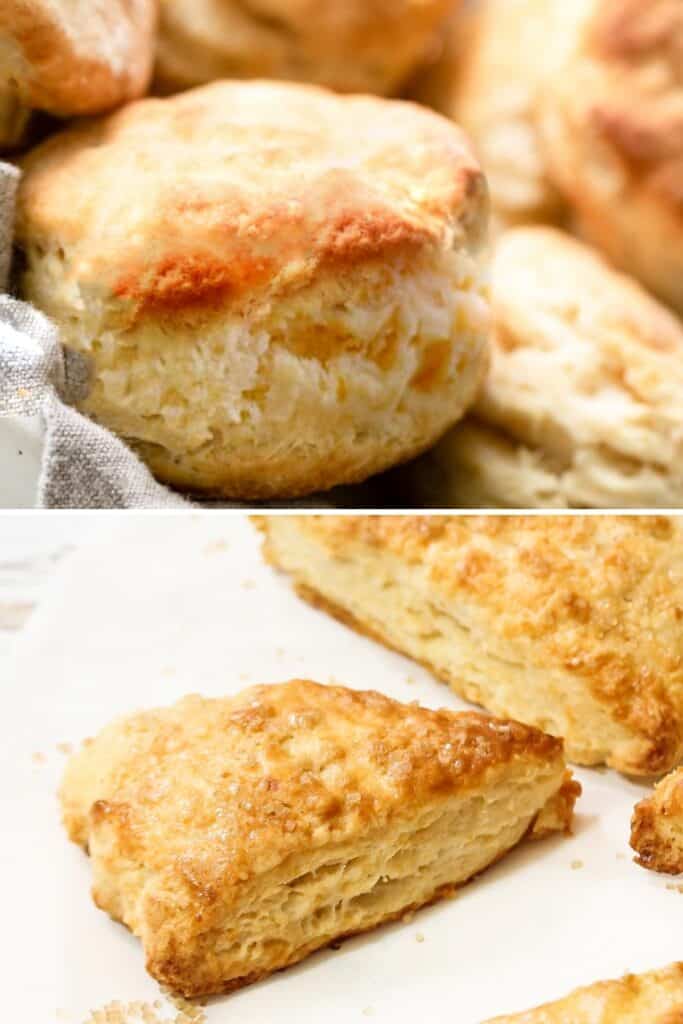
Another difference is that buttermilk is used in many biscuit recipes instead of milk or cream, which is used in scones. That’s how they get their lighter texture. The acidity in buttermilk activates the baking powder and soda, letting the biscuits bake up nice and fluffy.
Ingredient Notes
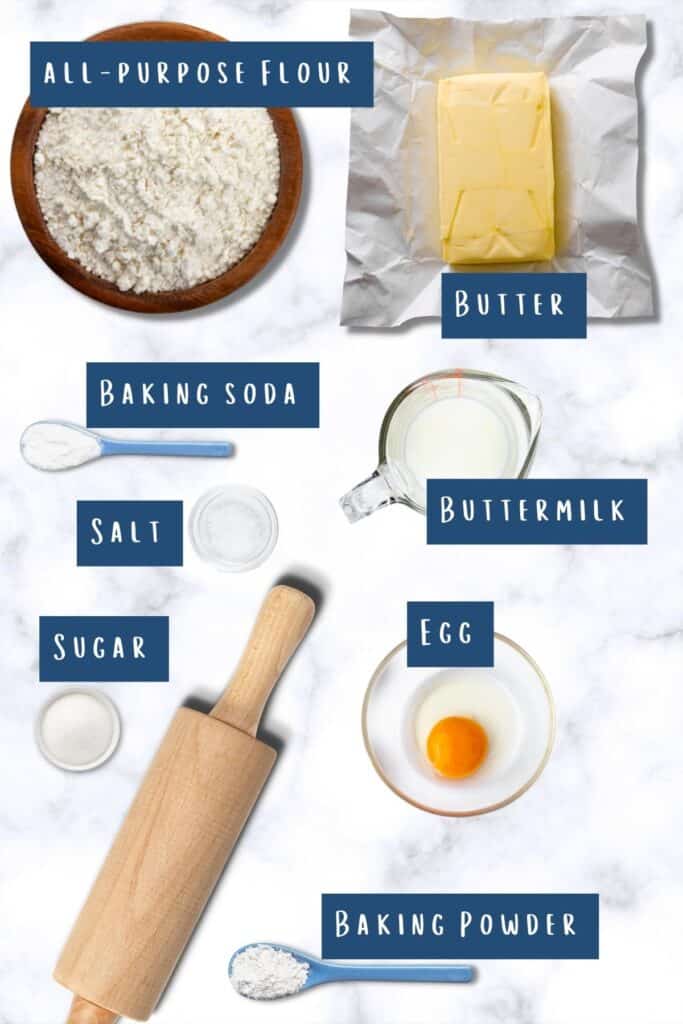
- Flour: Unbleached all-purpose or plain flour is best for Homemade Buttermilk Biscuits. It has a higher protein content than bleached flour, which helps create those flaky layers. You can substitute 2½ cups of cake flour for a more tender biscuit, but you’ll need to reduce the baking powder to 2 teaspoons and omit the baking soda.
- Butter: Use unsalted butter, and make sure it’s cold. Cold butter helps create those flaky layers by creating steam pockets as it melts in the oven. You can substitute salted butter if that’s what you have on hand, but you’ll need to reduce the salt in the recipe to ½ teaspoon.
- Buttermilk: Cultured buttermilk is the best choice for this recipe, as it provides tanginess and tenderness to the biscuits. If you don’t have buttermilk, add 1 tablespoon of white vinegar or lemon juice to 1 cup of milk. Let it sit for 5 minutes before using. You can also use whole milk or heavy cream, but the biscuits won’t be as tangy or tender.
- Egg: Use a cold large egg, as this helps keep the butter and dough cold as you work with it. The egg helps bind the dough together and gives it structure. If you don’t have an egg, you can omit it and increase the buttermilk to 1¼ cups.
- Sugar: Use granulated or caster sugar. A small amount of sugar helps balance out the flavors in the biscuits. You can omit it if you prefer a more savory biscuit, but it won’t affect the texture.
- Baking powder and baking soda: Use fresh and not expired baking powder and baking soda, as these leavening agents help the biscuits rise and become light and fluffy. Make sure to measure these accurately, as too much or too little can affect the texture and flavor of the biscuits.
- Salt: Use fine kosher or sea salt or table salt. You can adjust the amount of salt to your liking, but don’t omit it entirely, or your biscuits will be bland.
Step By Step Instructions
Mix 2½ cups of flour, 1 tablespoon of sugar, 1 teaspoon of salt, 1 tablespoon of baking powder, and ¾ teaspoon of baking soda in a large bowl.
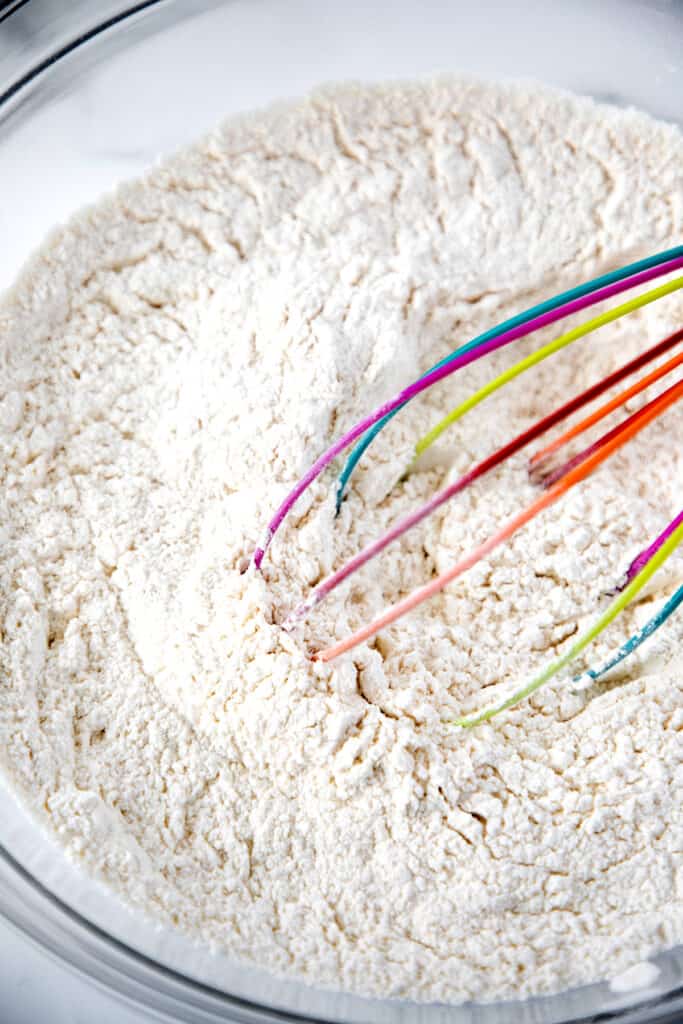
I know it may seem like a lot of leveling agents, but they work together in this recipe. The baking soda works first and fastest to fluff up and raise the biscuits, and then the baking powder kicks in to keep them nice and fluffy as they bake.
Cut the 12 tablespoons of cold butter into the flour mixture with a pastry cutter, just enough to coat it in flour and form small pieces.
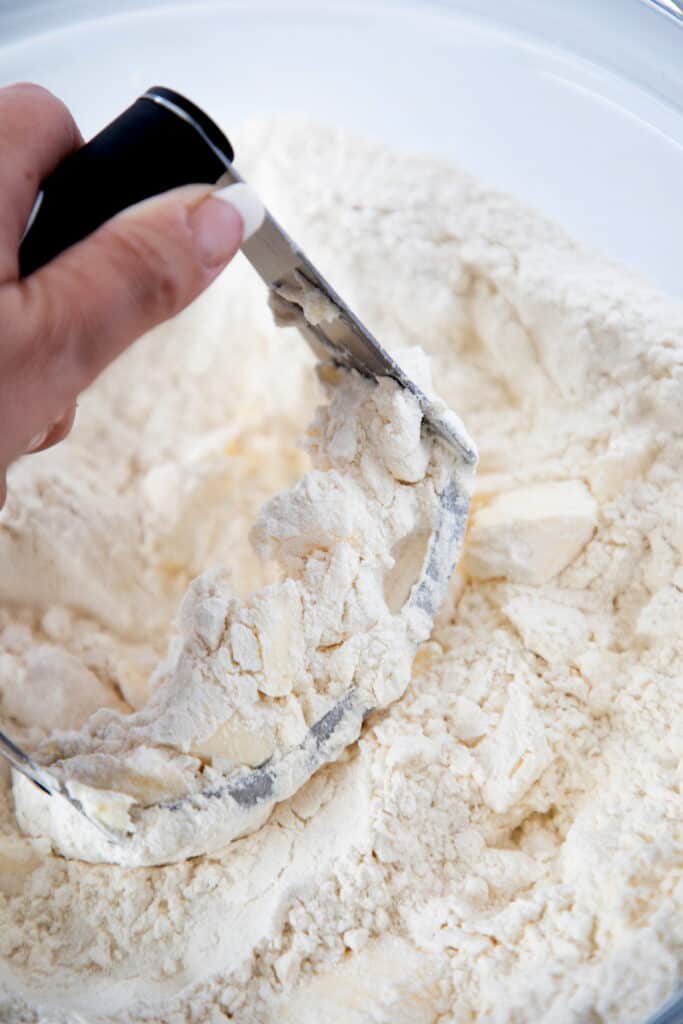
If you don’t have a pastry cutter, you can also you use your hands by coating the butter with flour and quickly pinching the butter into smaller pieces with your fingers.
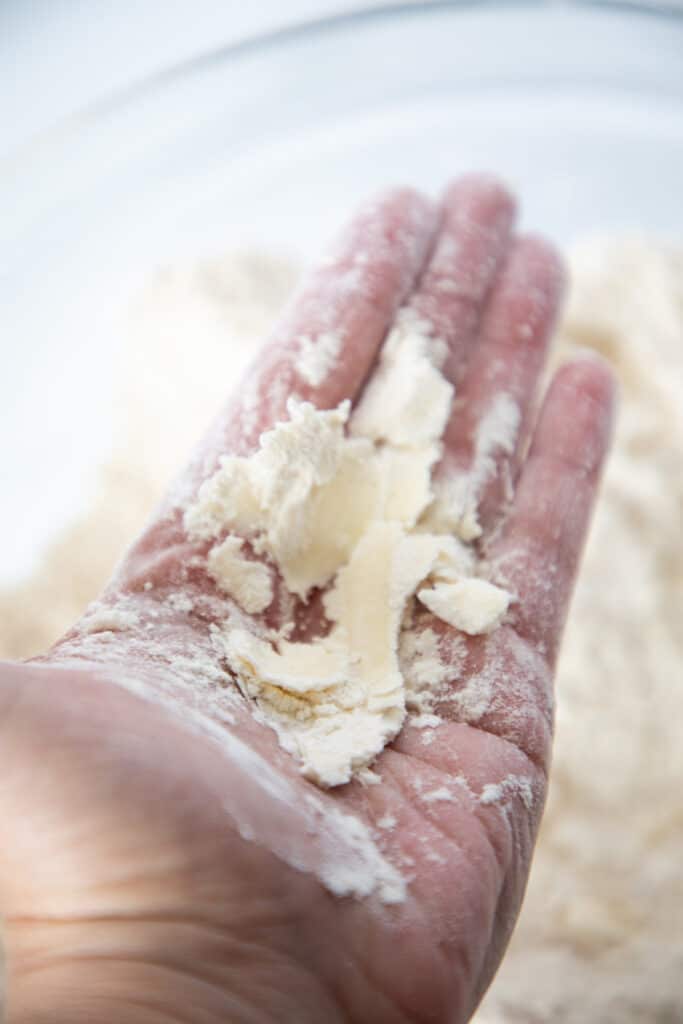
Then rub the mixture between your palms to flatten the butter into the flour mixture. This helps to create super flaky biscuits. Once you feel all the butter pieces are flattened, you can move on to your liquids.
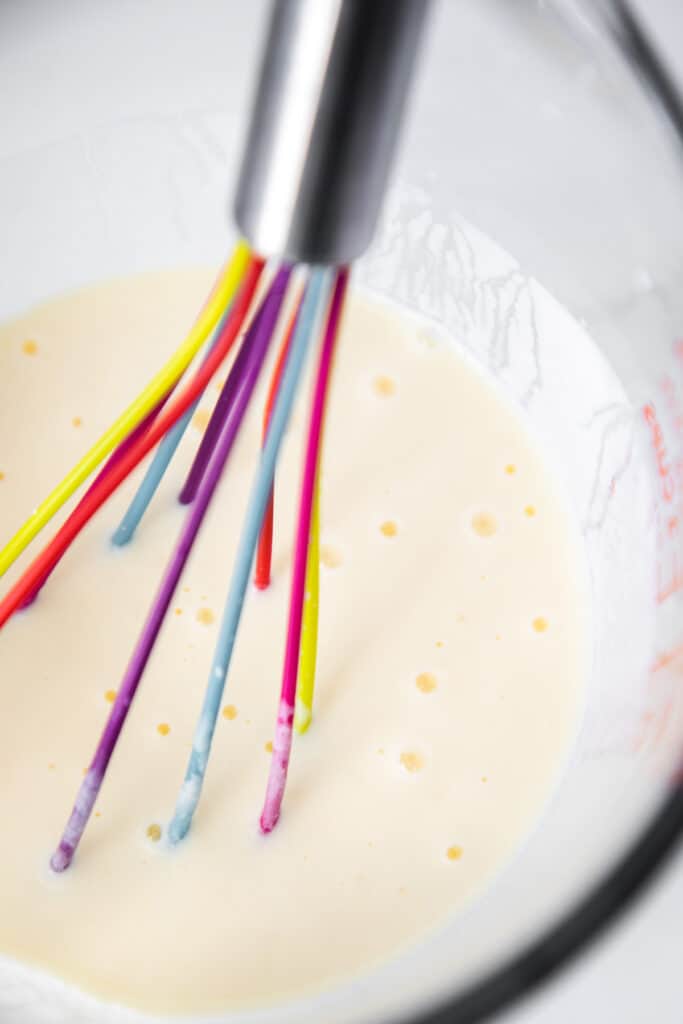
In a small bowl or measuring cup, mix 1 cup of cold buttermilk with 1 cold egg (Be sure to shake the buttermilk before adding it to the bowl).
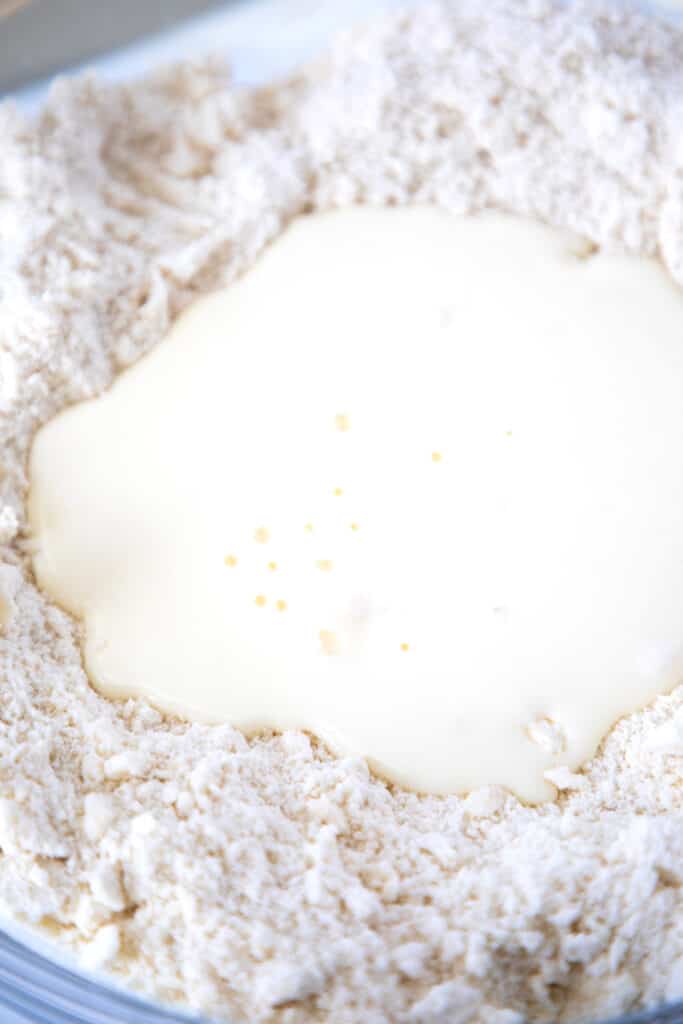
Then form a well in the flour mixture and pour the wet ingredients into the flour mixture.
Mix the ingredients until they are combined. The mixture will be very soft.
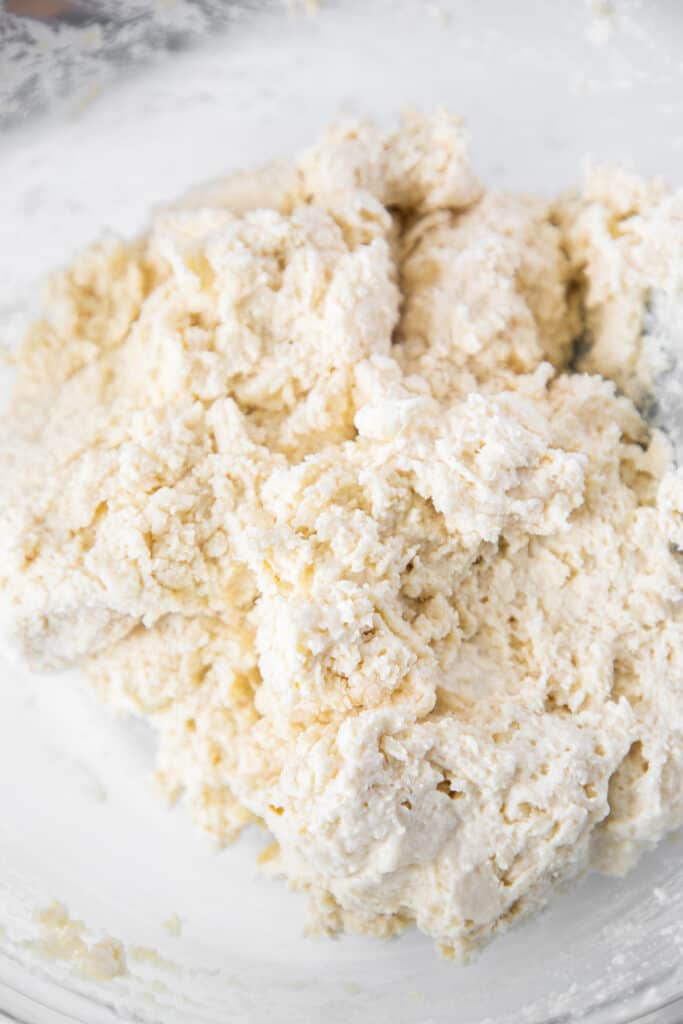
Bring it together with your hands. Then use your hands to gently form a 10-inch rectangle.
This dough should be fairly moist because it’s the moisture converting to steam that facilitates the high rise, but you should certainly be able to work it with floured hands. Have extra flour handy and use it often to flour your hands and work surface.
Lift one end and fold it into the center using a pastry scraper or your hands.
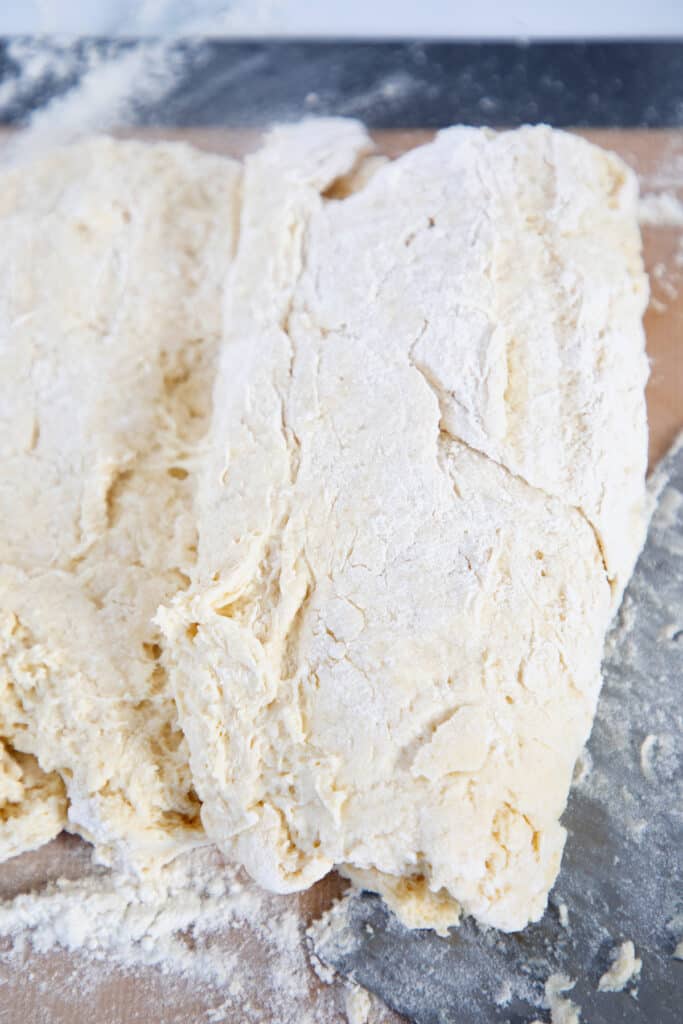
Then fold the other side over.
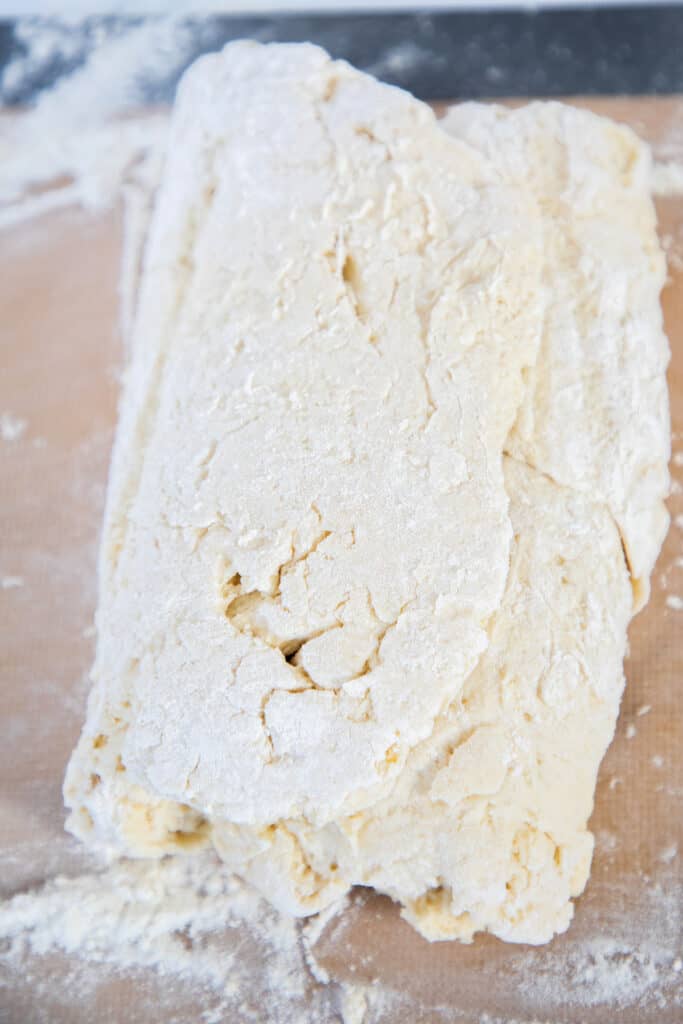
Rotate the dough horizontally and gently press it back into a 10-inch rectangle. Then repeat the same folding technique two more times. This is what creates the layers in the biscuits.
Flatten into your last and final 1-inch thick rectangle.
I find a lightweight rolling pin works best for a soft dough. I tried using my heavy marble rolling pin, which flattened the dough too much. If your rolling pin is heavy, try just using your hands to press down the dough.
Use a 2½ to 3-inch round cutter to cut out the biscuits, or use a knife to cut out 2½-inch squares. Gather the scraps, bring them together, and repeat the process until you use all the dough.
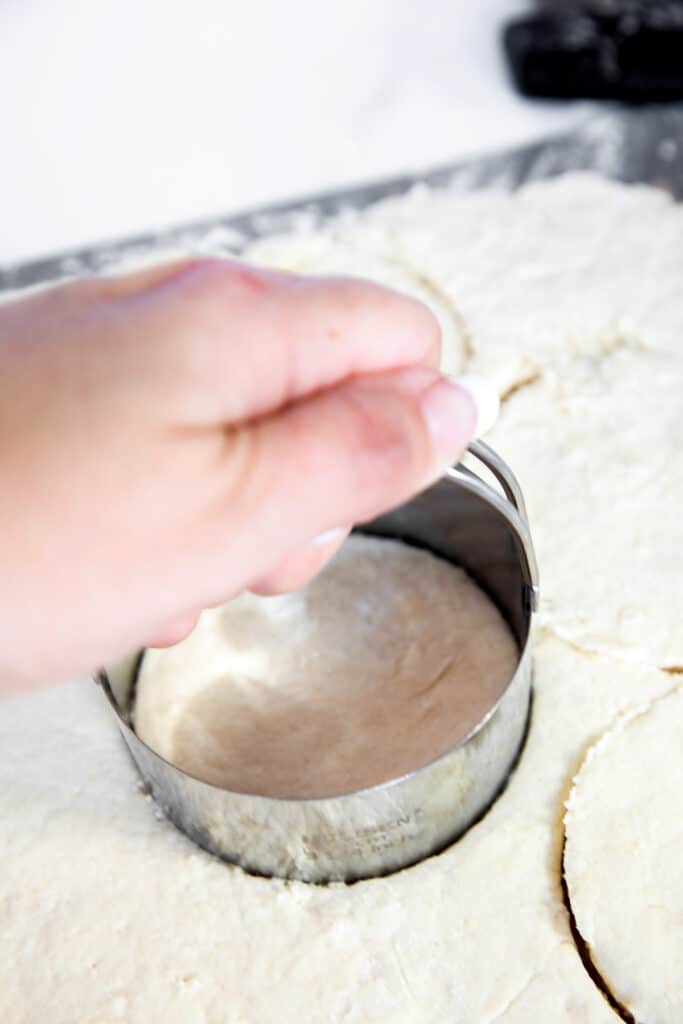
Arrange the rounds on the baking tray with the edges touching. The biscuits will cling to each other and rise up together rather than spread and flatten.
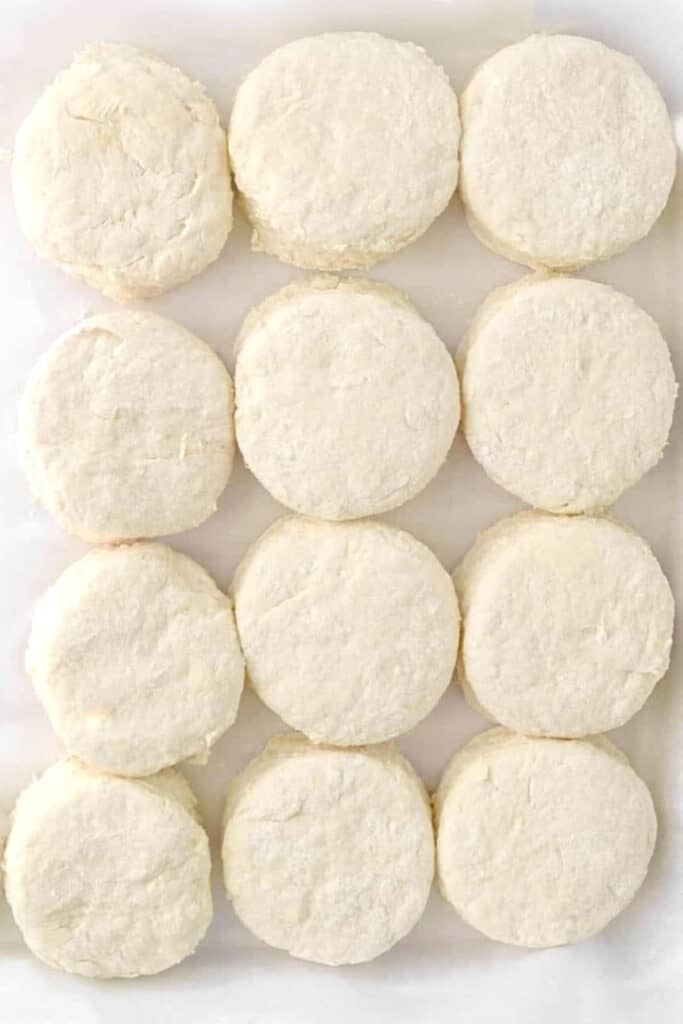
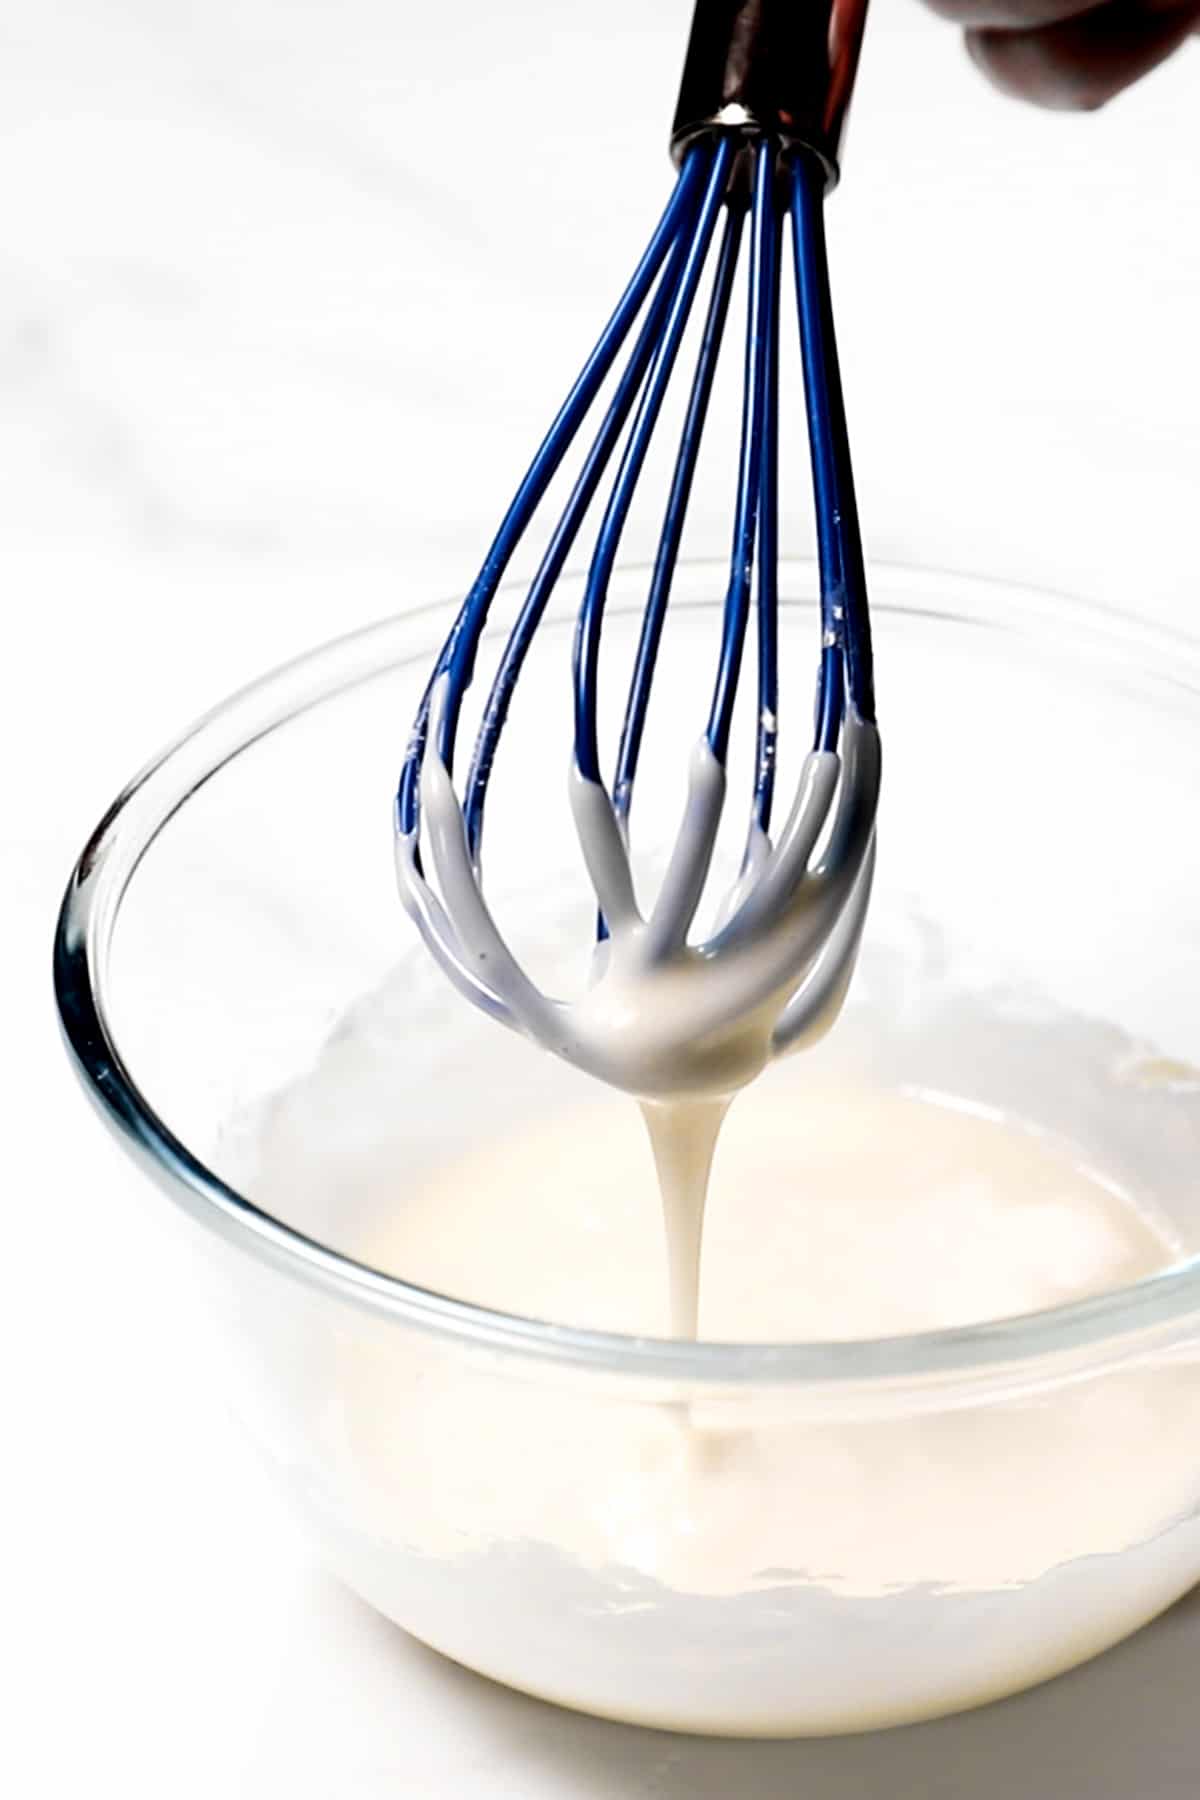
Whisk together the egg and water for the egg wash.
Brush the tops with the egg wash, and bake for 15 to 20 minutes. You want them to be golden brown on the bottom and lightly browned on top.
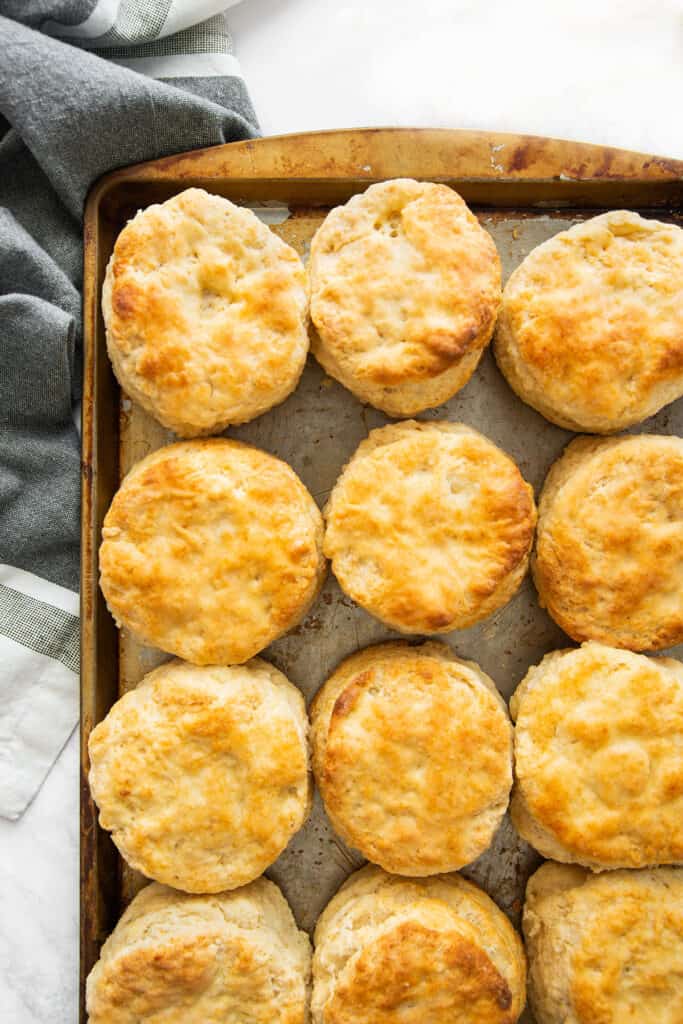
Serve warm, and enjoy.
Erren’s Top Tips
- Be sure to check the dates on your baking powder and baking soda. Expired leveling agents will not give you the rise you are looking for.
- Keep butter as cold as possible until you are ready to use it. I recommend placing the sliced butter in the freezer for 15 minutes before you start.
- Use a light touch when mixing and shaping the dough to keep those flaky layers intact.
- If the dough becomes too warm while working with it, you can chill it in the refrigerator for a few minutes before continuing.
- Try not to overmix your dough. Overmixing can cause a dense, hard biscuit.
- Use a lightweight rolling pin when rolling out your dough. Heavy rolling pins can flatten the dough too much. If your rolling pin is heavy, try using your hands to press down the dough instead.
- When baking the biscuits, arrange them close together on the baking tray. The biscuits will cling to each other and rise up together rather than spread and flatten.
- To use a cast iron skillet, use a 10-inch cast iron skillet lined with greased baking paper.
- For an added indulgence, brush your biscuits with melted butter when they come out of the oven.
- Variations: add herbs, cheese, or spices to customize the flavor of your biscuits. For a delicious twist, experiment with chopped rosemary, grated cheddar cheese, or black pepper.
Make ahead and Storage Instructions ?
To make ahead: The best way to make biscuits ahead is to freeze the unbaked dough. Prepare the dough as instructed in the recipe, but instead of putting the tray in the oven, put it in the freezer. Freeze until firm, and then transfer to a freezer bag.
When ready to bake, transfer the frozen rounds to a baking tray with the edges touching, brush with the egg wash, and bake for 20 to 25 minutes or until the tops are golden.
Freezing: Baked buttermilk biscuits freeze very well. Keep them in a freezer-safe container in the freezer for up to 3 months. Thaw at room temperature or in the refrigerator, then warm up to your liking before serving.
Storage: Homemade biscuits can be kept at room temperature (in a container or tin) for around 2 days.
FAQs
What makes a buttermilk biscuit Fluffy?
Baking soda, baking powder, and buttermilk all help to make a biscuit fluffy. The baking soda works first and fastest to fluff up and raise the biscuits, and then the baking powder kicks in to keep them nice and fluffy as they bake.
What does buttermilk do for biscuits?
The acid in the buttermilk works with the baking soda for a good rise.
Why did my buttermilk biscuits not rise?
Be sure to check the dates on your baking powder and baking soda. Expired leveling agents will not give you the rise you are looking for.
Rate This Recipe

Recipe
Homemade Buttermilk Biscuits
Ingredients
- 2½ cups unbleached all-purpose flour (plus more for work surface)
- 1 tablespoon baking powder
- ¾ teaspoon baking soda
- 1 teaspoon salt
- 1 tablespoon sugar
- 12 tablespoons butter ((1 ½ sticks) cold, cubed or sliced)
- 1 cup buttermilk (cold & shaken)
- 1 large egg (cold)
For The Egg Wash
- 1 egg
- 1 tablespoon water
Instructions
- Preheat oven to 425°F/218°C Line a baking sheet with a silicone baking mat or parchment paper.
- Place the flour, baking powder, baking soda, and salt in the bowl and mix until combined.
- Cut in the butter using your fingers, pastry cutter, or food processor until the butter is coated and forms small, pea sized pieces.
- Rub mixture between your palms to to flatten the butter into the flour mixture. This helps to create super flaky biscuits. Once you feel that all the butter pieces are flattened, you can move onto your liquids.
- In a separate small bowl, combine the buttermilk and egg and beat lightly.
- Make a well in the flour mixture, pour in the buttermilk mixture, and gently mix until the mixture is just combined.
- Dump the mixture out onto a well-floured board. This dough should be fairly moist and may be sticky, but you should certainly be able to work it with floured hands. Have extra flour handy and use it often to flour your hands and work surface.
- Bring the mixture together with well floured hands. Then gently press to form a 10-inch rectangle. Using a pastry scraper, or your hands, fold one side into the center, then the other side (See photos in the post for a visual).
- Rotate the dough horizontally and gently form it back into a 10-inch, rectangle. Repeat the same folding technique two more times.
- Roll or press the dough out to an inch thick and about 10 inches long. Using a 2½ to 3 inch round cutter to cut out biscuits into rounds or you can use a knife, cut into 2½ inch squares.
- Gather the scraps and repeat the process until you use all of the dough. You should have about 8 to10 biscuits.
- Transfer to a sheet pan lined with baking paper. Whisk the egg and water together for the egg wash. Brush the tops with the egg wash, and bake for 15 to 20 minutes or until tops are golden brown.
Tips
- Be sure to check the dates on your baking powder and baking soda. Expired leveling agents will may not give you the rise you are looking for.
- Cold ingredients are essential for fluffy biscuits, warm, fat will melt quicker when baked and make them dense and greasy.
- Keep butter as cold as possible until you are ready to use it. I recommend placing the sliced butter in the freezer for 15 minutes before you start.
- Try not to overmix your dough, overmixing can cause a dense, hard biscuit.
- Use a lightweight rolling pin when rolling out your dough. A heavy rolling can flatten the dough too much. If your rolling pin is heavy, try just using your hands to press down the dough instead.
- When baking the biscuits arrange them close together on the baking tray. The biscuits will cling to each other and rise up together rather than spread and flatten.
- To use a cast iron skillet, use a 10-inch cast iron skillet lined with greased baking paper.
- For an added indulgence, brush your biscuits with melted butter when they come out of the oven.











Leave a Reply