This site runs ads and generates income from affiliate links. Read my disclosure policy.
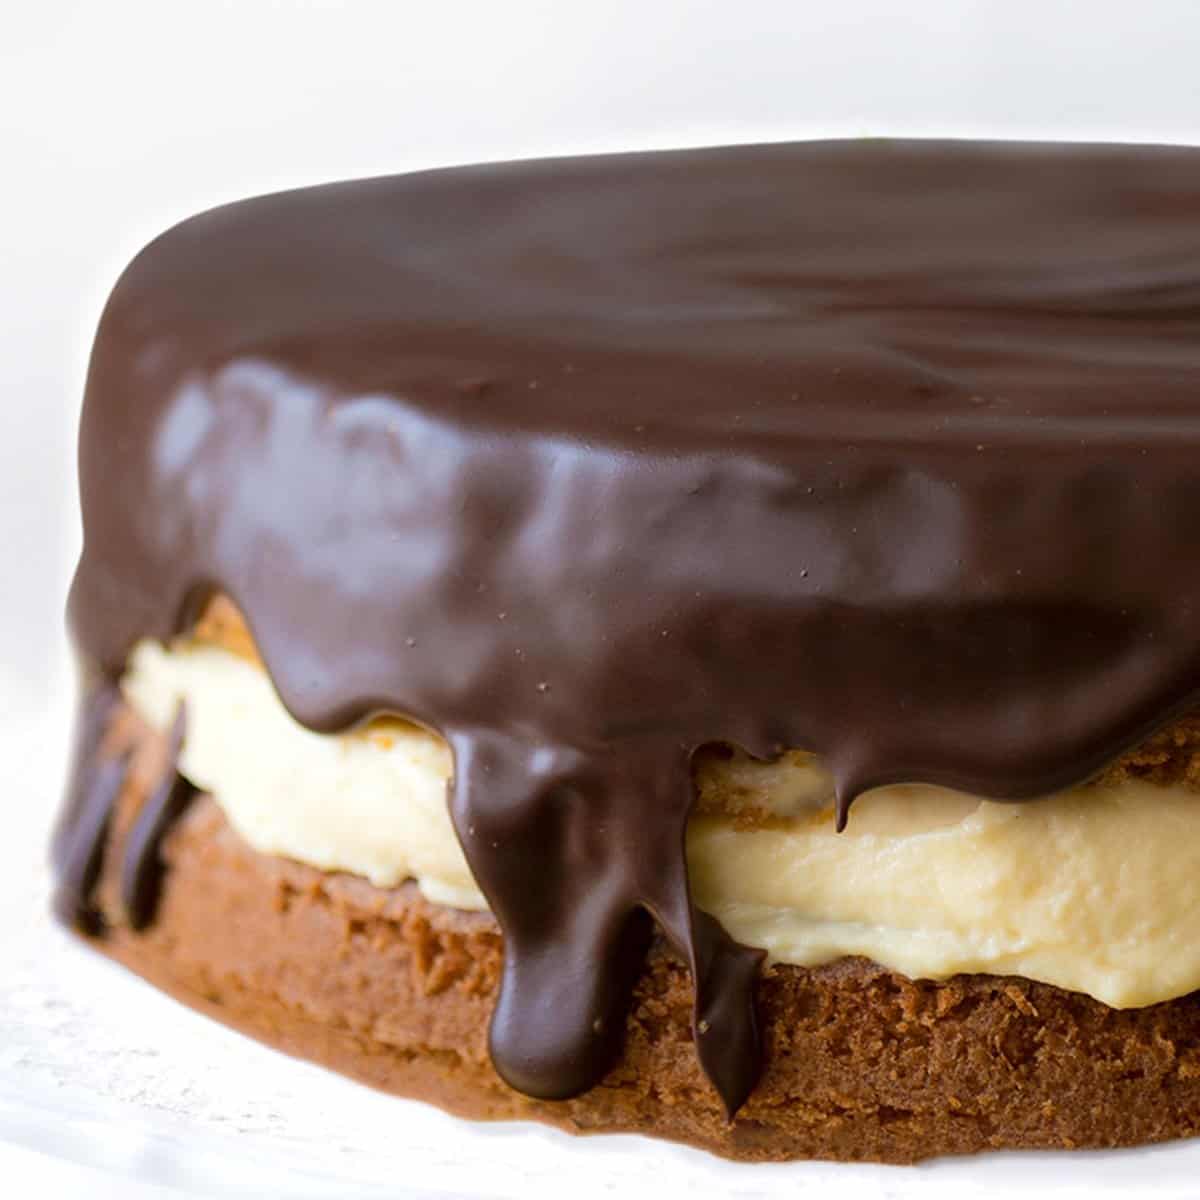
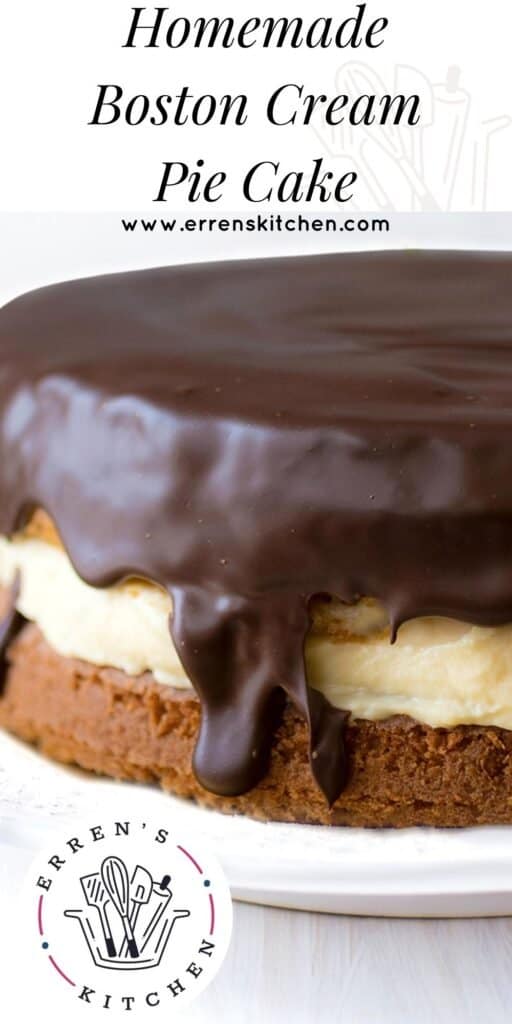
Boston Cream Pie Cake is an American favorite for a reason – Cream filled cake topped with a chocolate glaze? Yes, please!
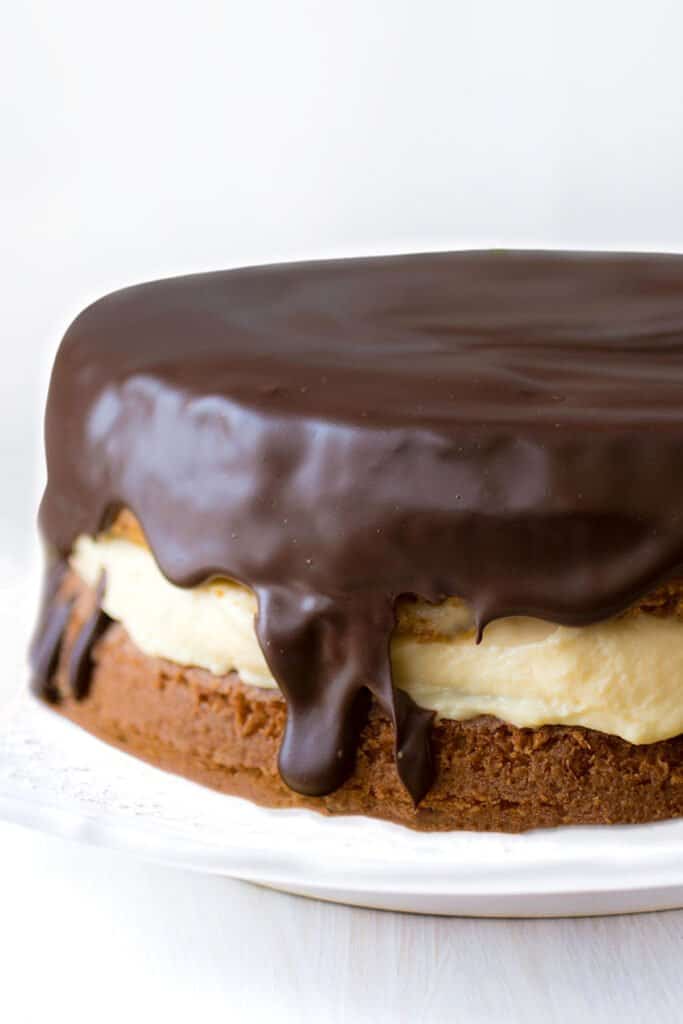
Boston Cream Donuts are one of my son’s favorite treats. When he was growing up in England, he would crave them after visiting my family in America. I would make this cake to try to fill the void and, now that we live in America where his beloved donut is readily available, he actually prefers my cake!
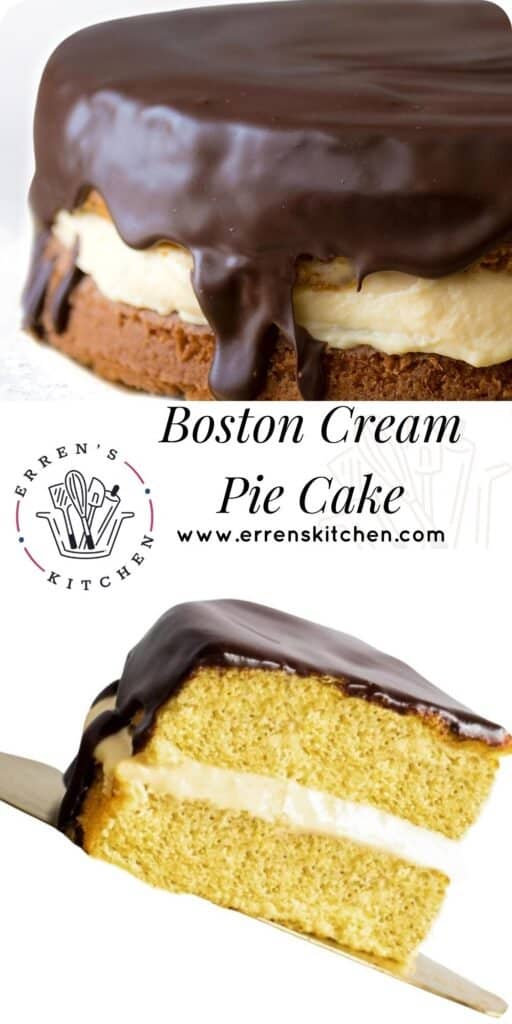
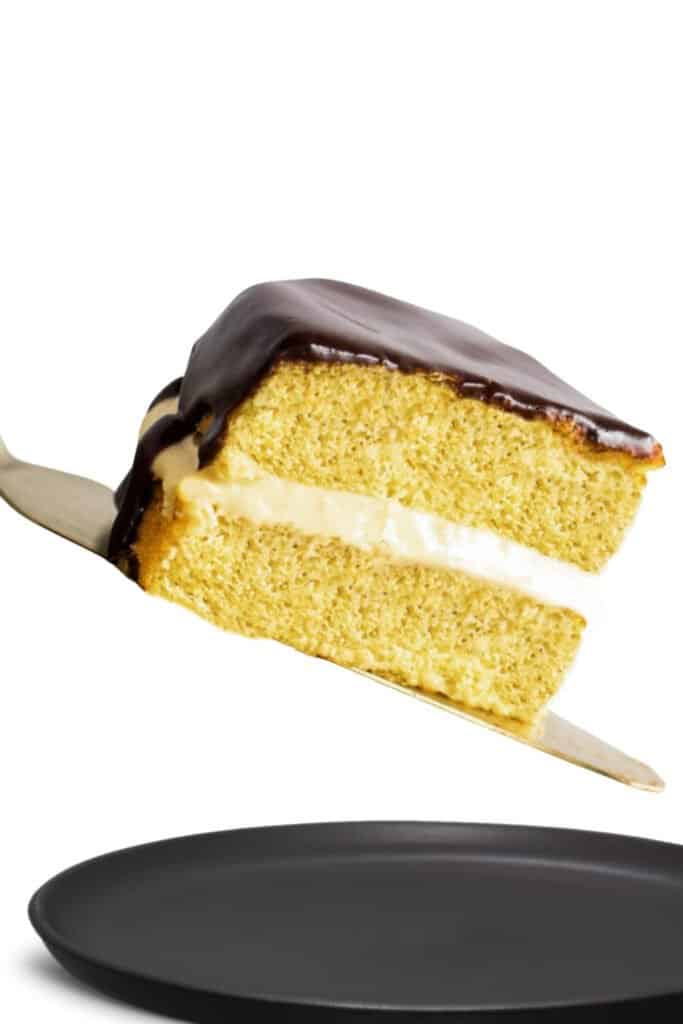
So please allow me to present my Boston cream pie cake! Light and airy sponge cake filled with rich pastry cream, and topped with a decadent chocolate ganache icing. It’s a supremely delectable and satisfying bake!
Why This Recipe Works
- The light, tender cake, offsets the richness of the pastry cream and chocolate glaze perfectly.
- Allowing the choice between making your own pastry cream or using store-bought, keeps it achievable for all skill levels.
What Is A Boston Cream Pie?
A Boston Cream Pie is a version of the early American Pudding Cake Pie, served at the Parker House Hotel in Boston (now the Omni Parker House Hotel). Originally created by a French pastry chef Sanzian for the opening of the hotel.
Why is it called a pie when it’s clearly a cake? This is because at one time all cakes were baked in a standard pie tin. Personally, I just love this cake, it has everything you could ever want in one bite!
How To Make Homemade Boston Cream Pie
- Bake the sponge cake. Allow to cool.
- Make the pastry cream and chill to set.
- Make the chocolate ganache glaze.
- Assemble the cake.
- Serve and enjoy!
Filling Suggestions
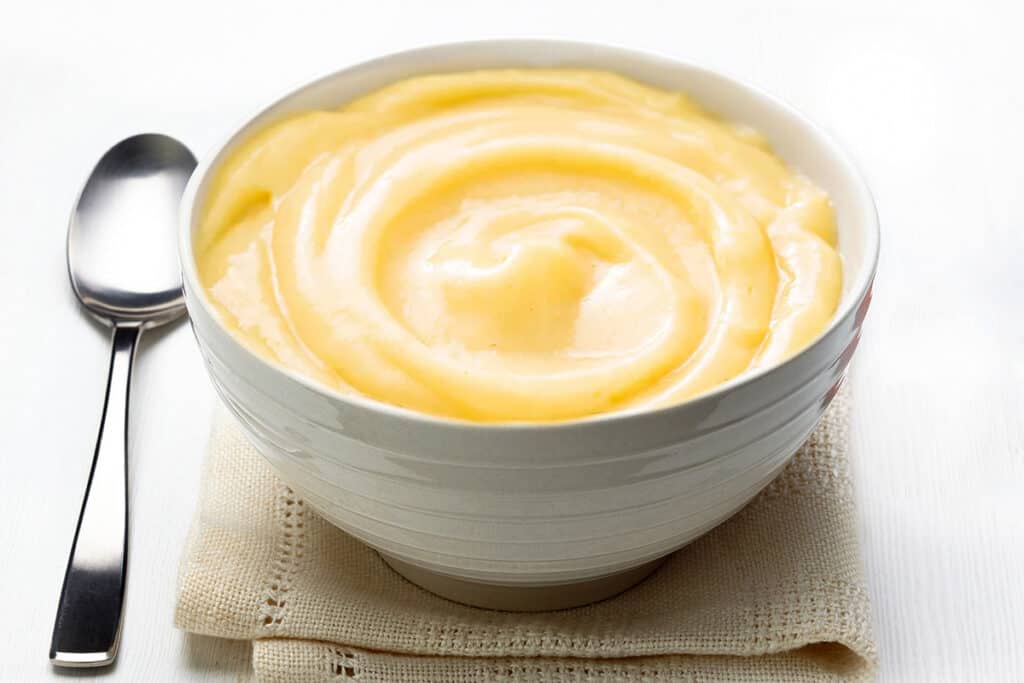
This recipe does not specify a measurement of custard or pudding because the amount depends on the thickness of the cream. Use the notes below for my recommendations.
Homemade Pastry Cream: If you use my pastry cream recipe, then the full recipe will fill the cake. Be sure to cool the custard thoroughly in the fridge before using it to fill the cake.
Pudding Mix: If you’re using a pudding or custard mix, I suggest using heavy cream or whipping cream in place of milk to make a thicker mixture that can take the weight of the cake. I recommend using a cup of the thickened, cooled mixture.
Ready-Made Pudding or Custard: If you’re using a thinner pudding or custard, I suggest starting with a ½ cup, placing it between the layers and checking to see if the weight of the cake can take more filling without causing it to overflow out the side of the cake.
Ingredient Notes
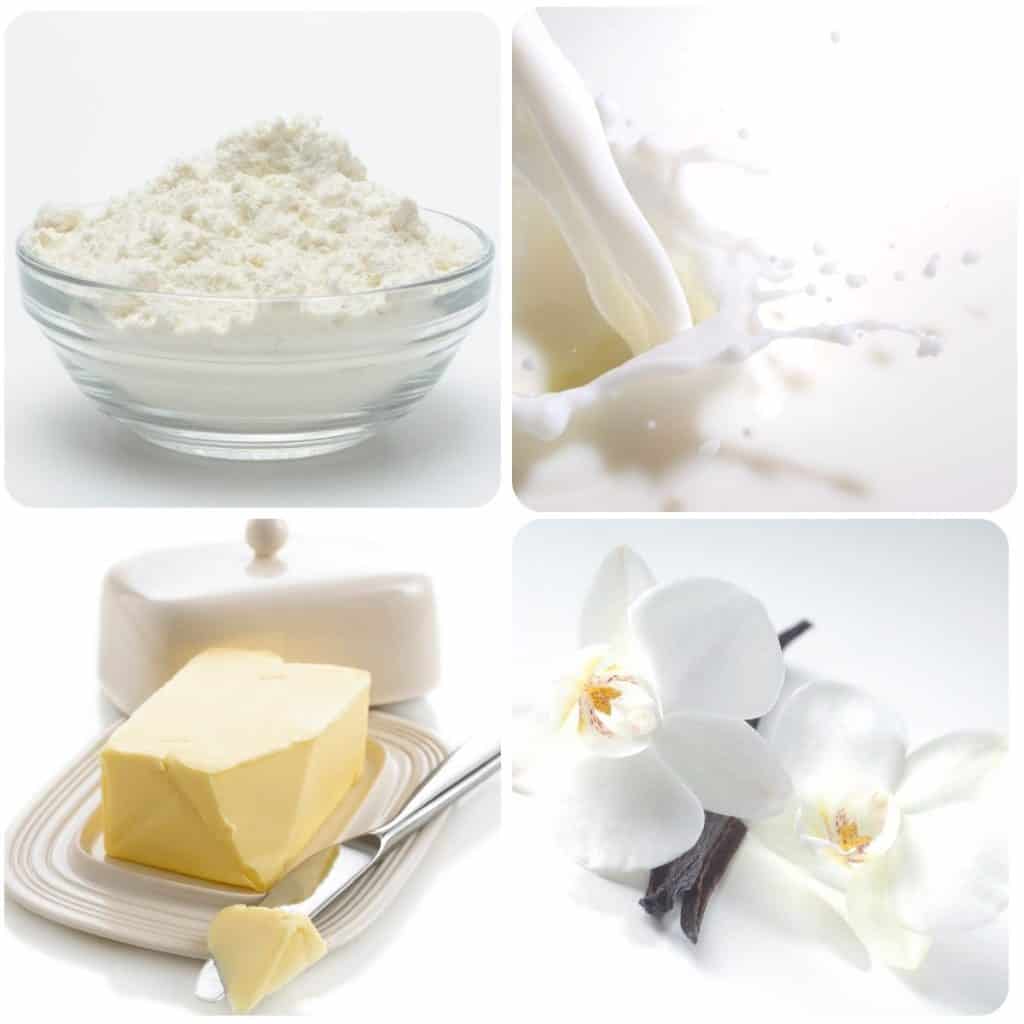
- Flour: I use all-purpose flour for this recipe, however, you can use cake or pastry flour, just omit any raising agents.
- Milk: It’s best to use whole milk in this recipe.
- Butter: I use salted butter but unsalted works just fine. Maybe add a pinch of salt to the cake batter if you wish.
- Vanilla: I use vanilla bean paste in this recipe, it is the best option for taste. If you don’t have it you can use vanilla essence in its place.
- Eggs: It’s best to bake with room temperature eggs. If you keep eggs in the fridge take them out and leave them at room temperature for around an hour before baking.
- Baking Powder: Make sure that your raising agents and flour are always fresh before baking, it can have a huge effect on the outcome of the bake.
Step By Step Instructions
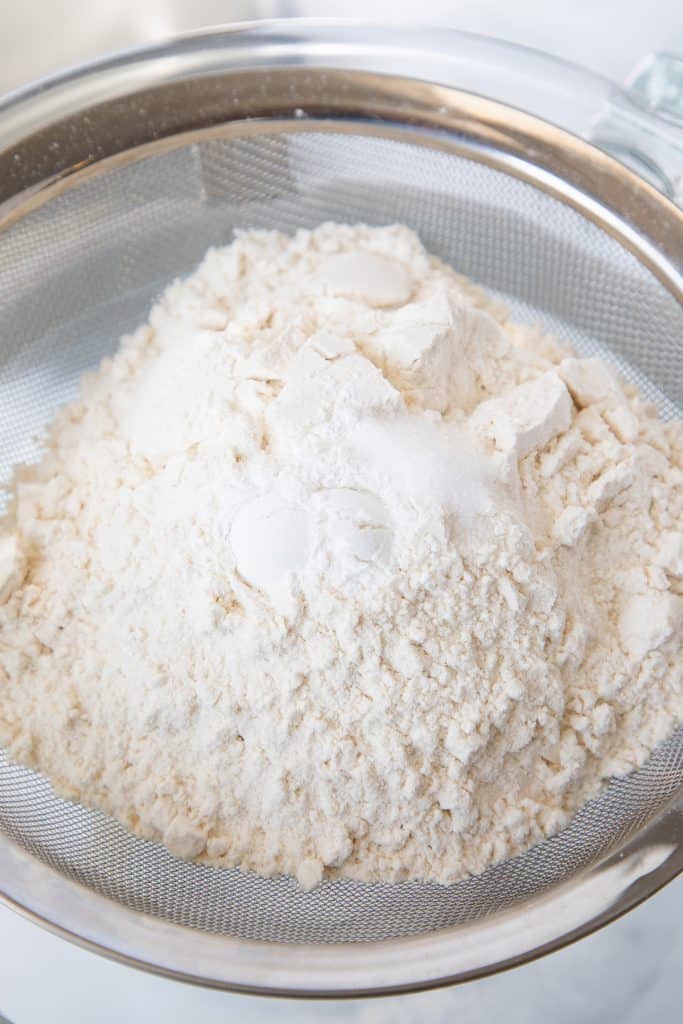
Sift together the flour, sugar, baking powder and salt. Sifting helps to create a light, tender cake.
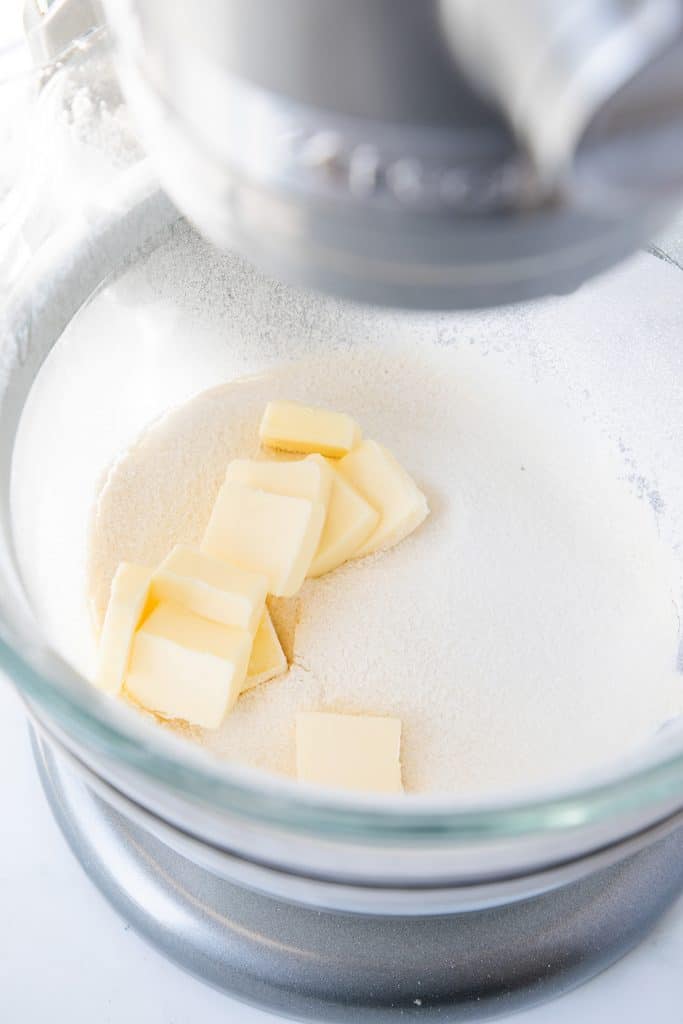
Add the cold cubed butter to the dry ingredients.
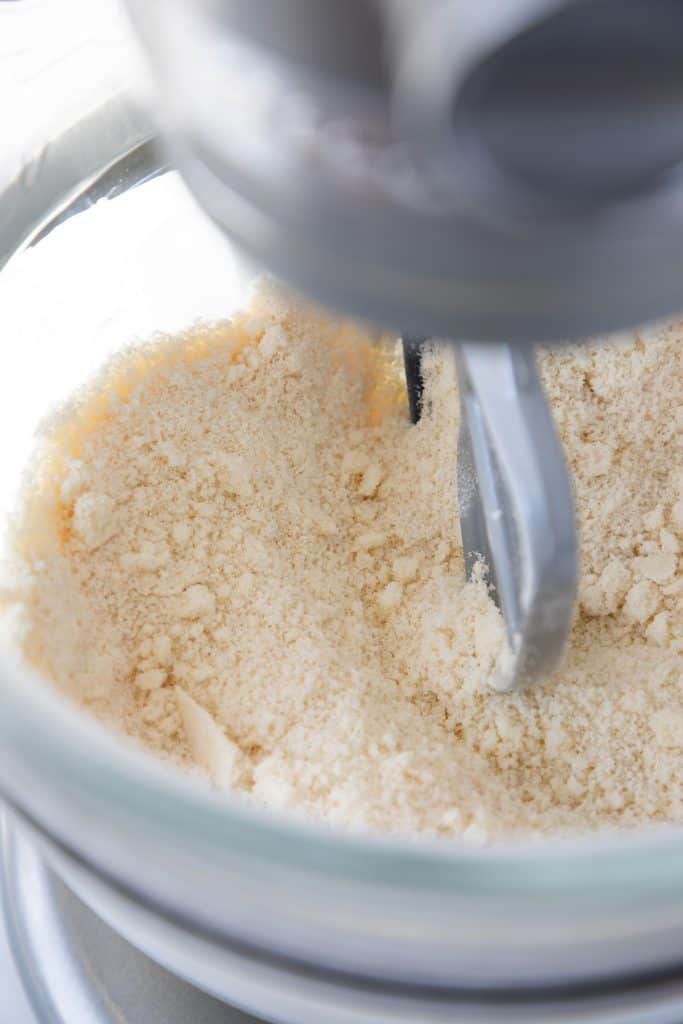
Then similar to making a pie dough or scones, work the butter into the flour mixture by mixing with a mixer fitted with the paddle attachment until it resembles breadcrumbs. You want a rough and crumbly texture, but if you still have a few larger butter pieces, that’s just fine.
If you don’t have a mixer, you can do this with a hand mixer or beater.
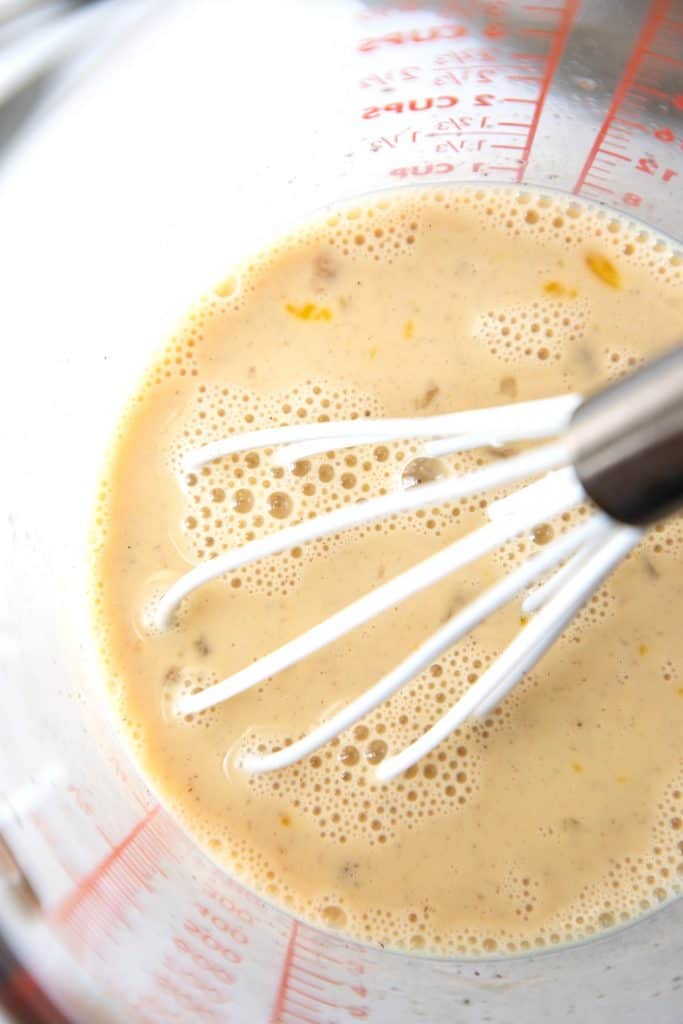
Whisk the eggs, milk and vanilla together in a small bowl or large measuring cup.
Then add the wet ingredients all at once to the flour. Since the butter is already worked into the dough, there is no need to alternate the wet and dry ingredients as you do with other types of cakes.
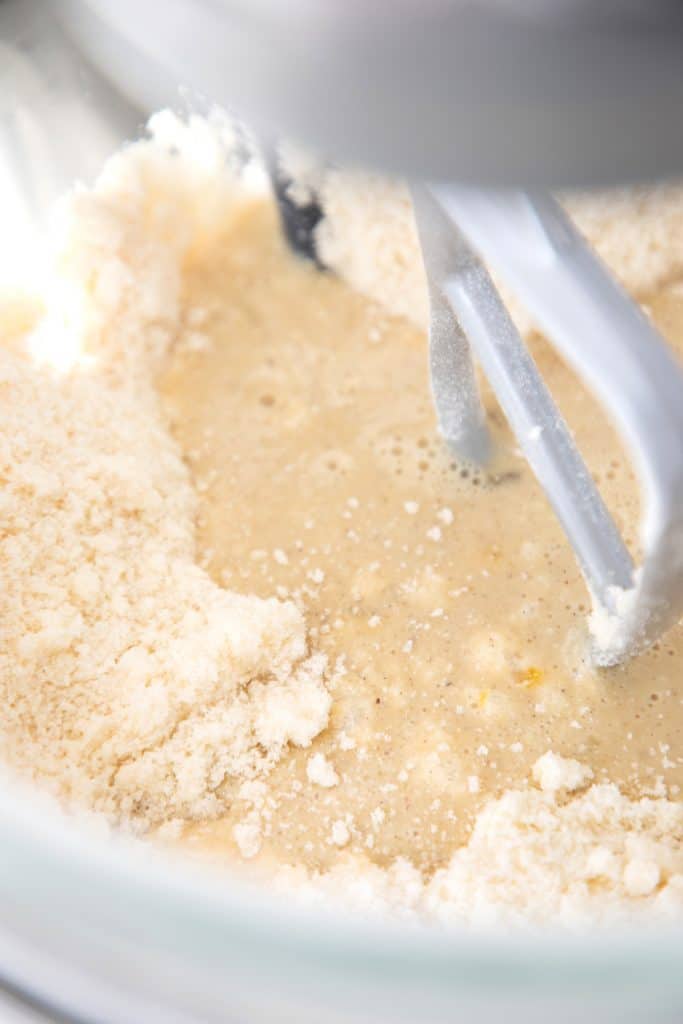
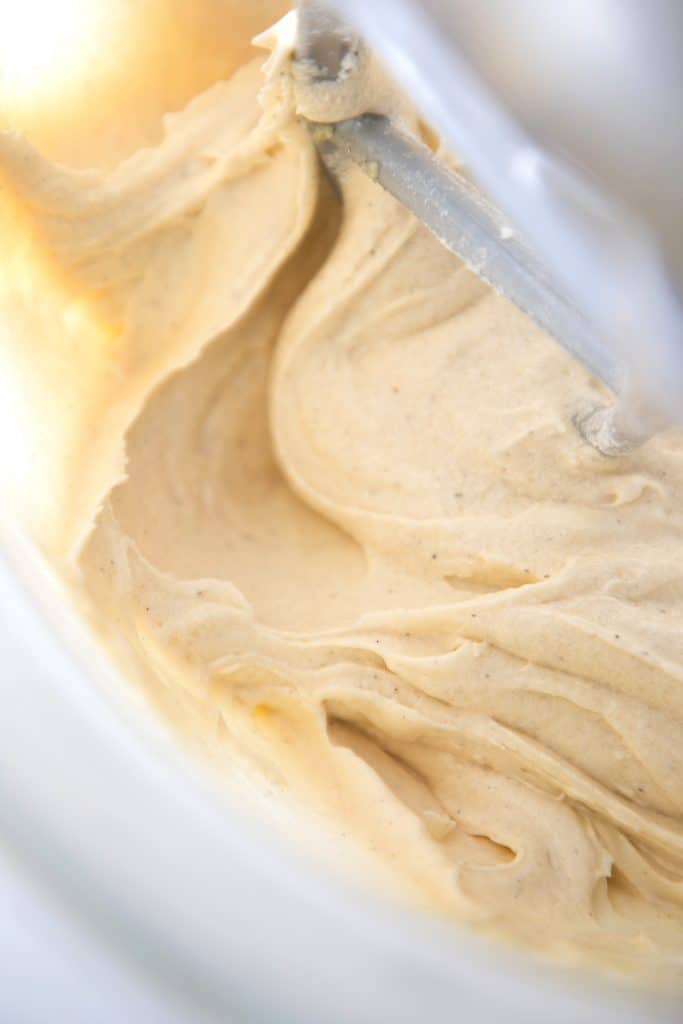
The final beating of the batter is key to a tender and airy cake. Start at a low speed for a minute, then increase the speed and beat for 3 to 5 minutes to make it light and fluffy.
Scrape down the sides and up the bottom of the bowl as needed.
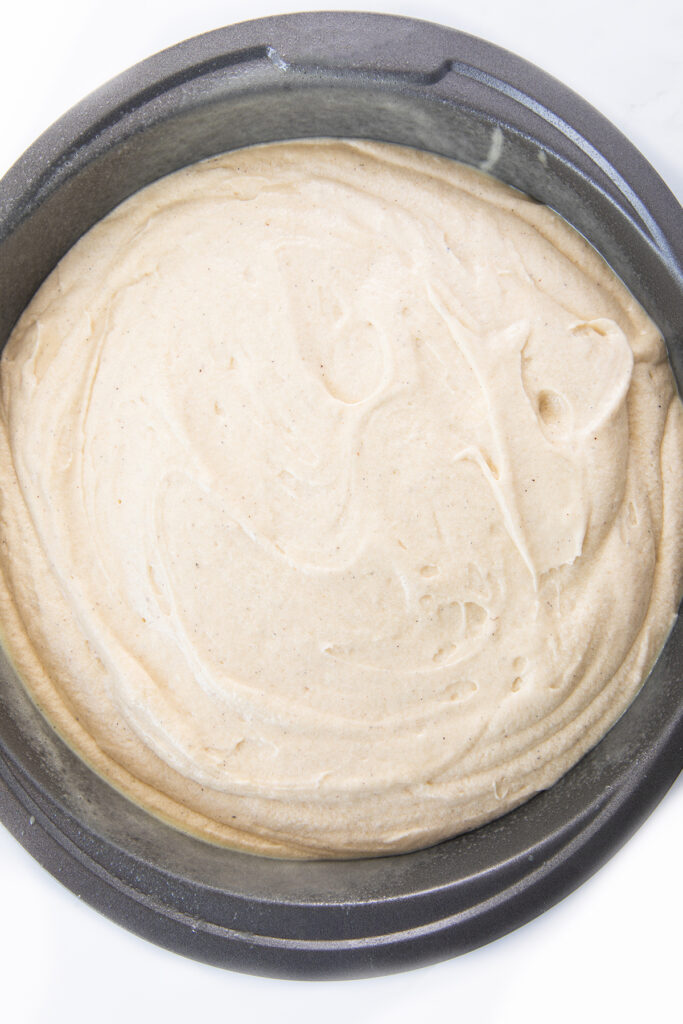
Grease two 8-inch (20cm) cake pans. Using a cooking spray that has flour in it works great for this type of cake as it gives the batter something to cling onto as it bakes.
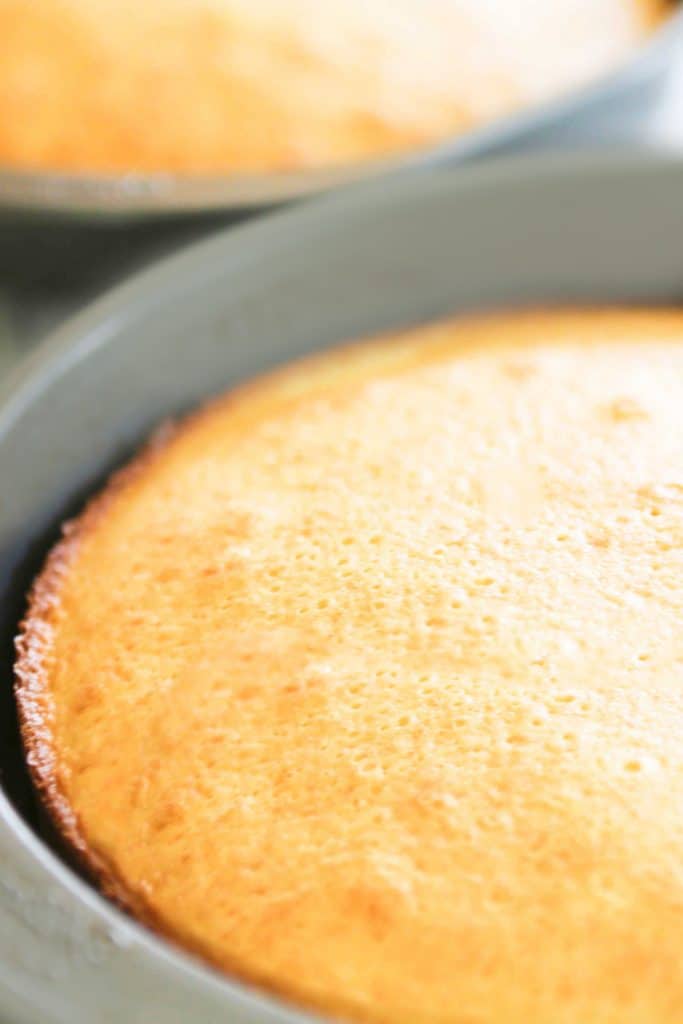
Divide the batter into the prepared pans (spread the batter so it’s nice and level), tap the pan to get rid of any air bubbles and bake in the oven at 325°F/162°C for around 30-35 minutes.
Allow cakes to cool in the pans for 15 minutes before turning out on a wire rack. The cakes must be completely cool before frosting and assembling.
Prepare the filling. For a guide on making your own, see my recipe for pastry cream. You can use packaged pastry cream or vanilla pudding.
Next, prepare the chocolate glaze. To do this, start by adding the chocolate to a heat-proof bowl with a tablespoon of butter and set aside.
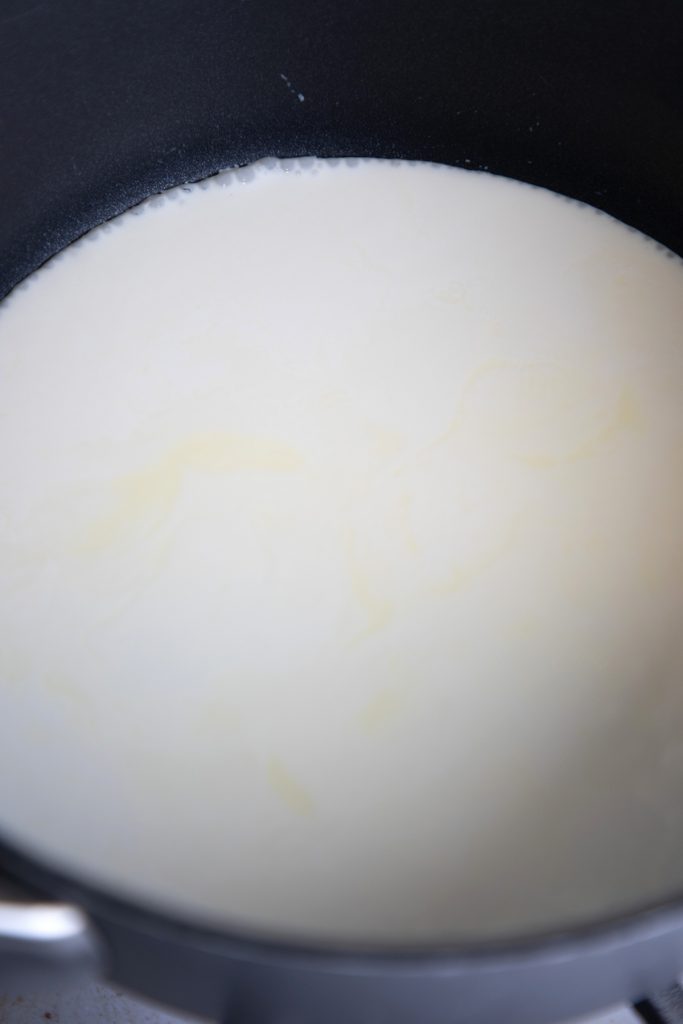
In a small saucepan, Heat the cream until it just starts to bubble around the sides. You don’t want to boil or scorch the cream. Just hot enough to gently melt the chocolate.
Pour the heated cream over the chocolate.
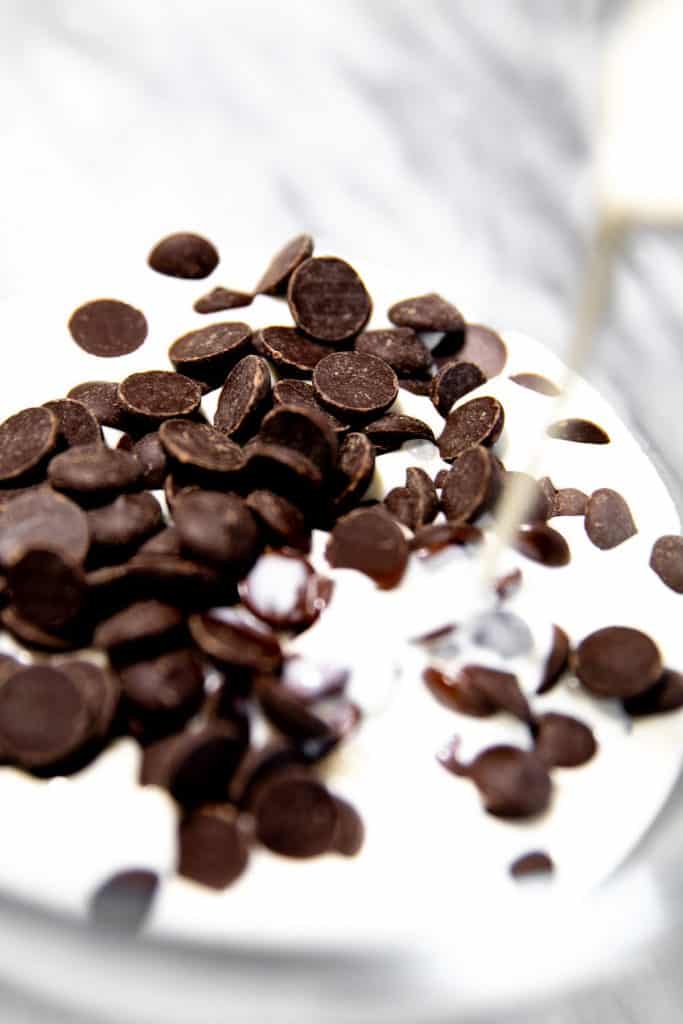
Let the hot cream and chocolate sit for a minute or so to soften the chocolate.
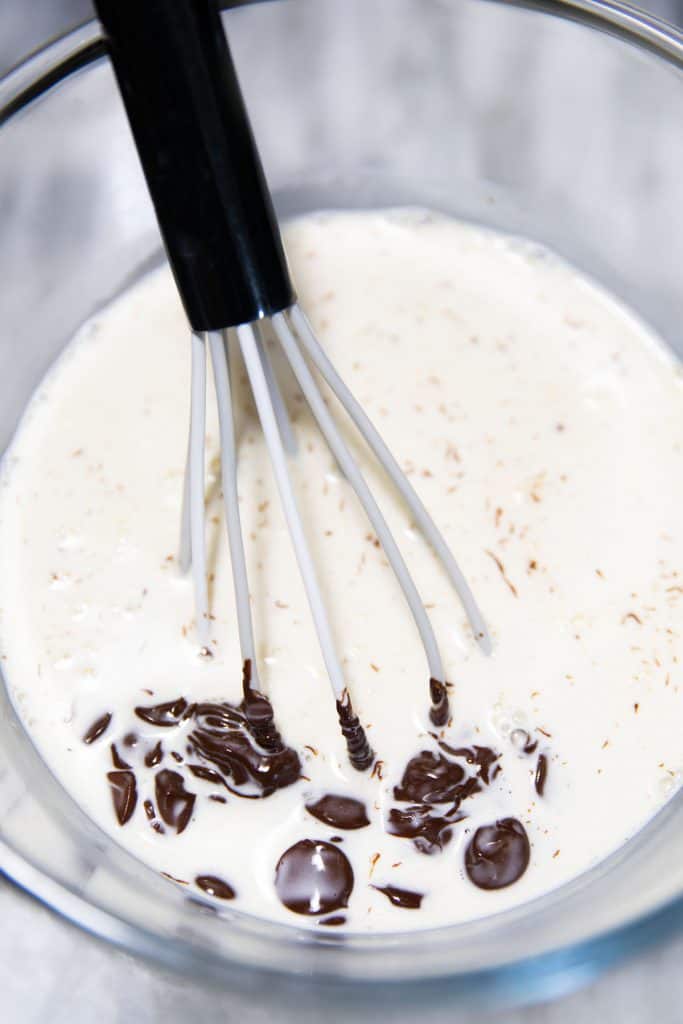
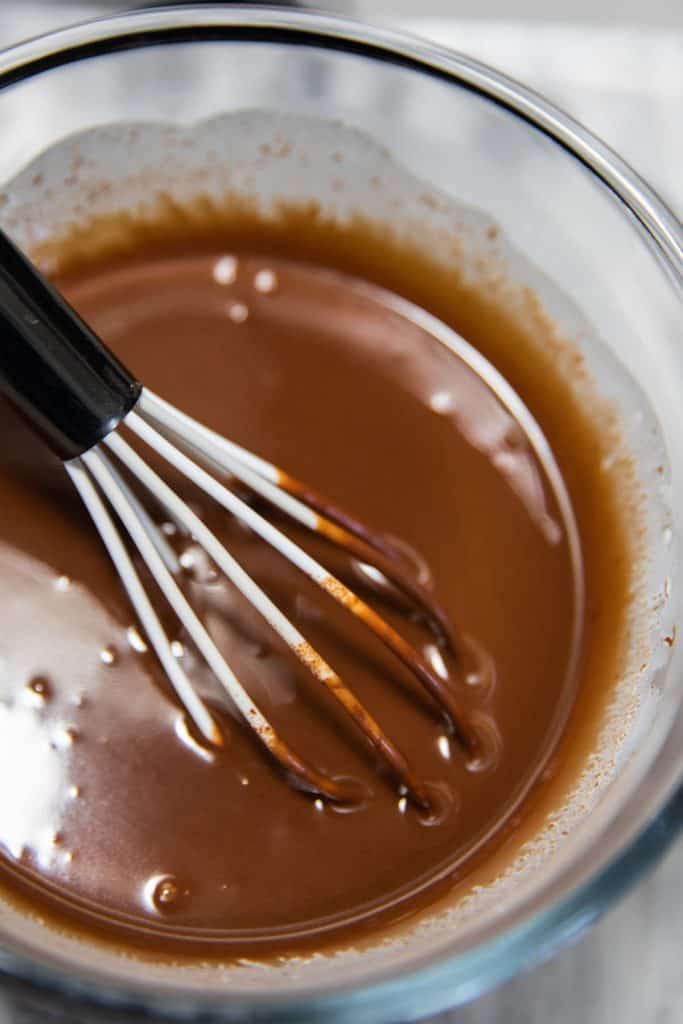
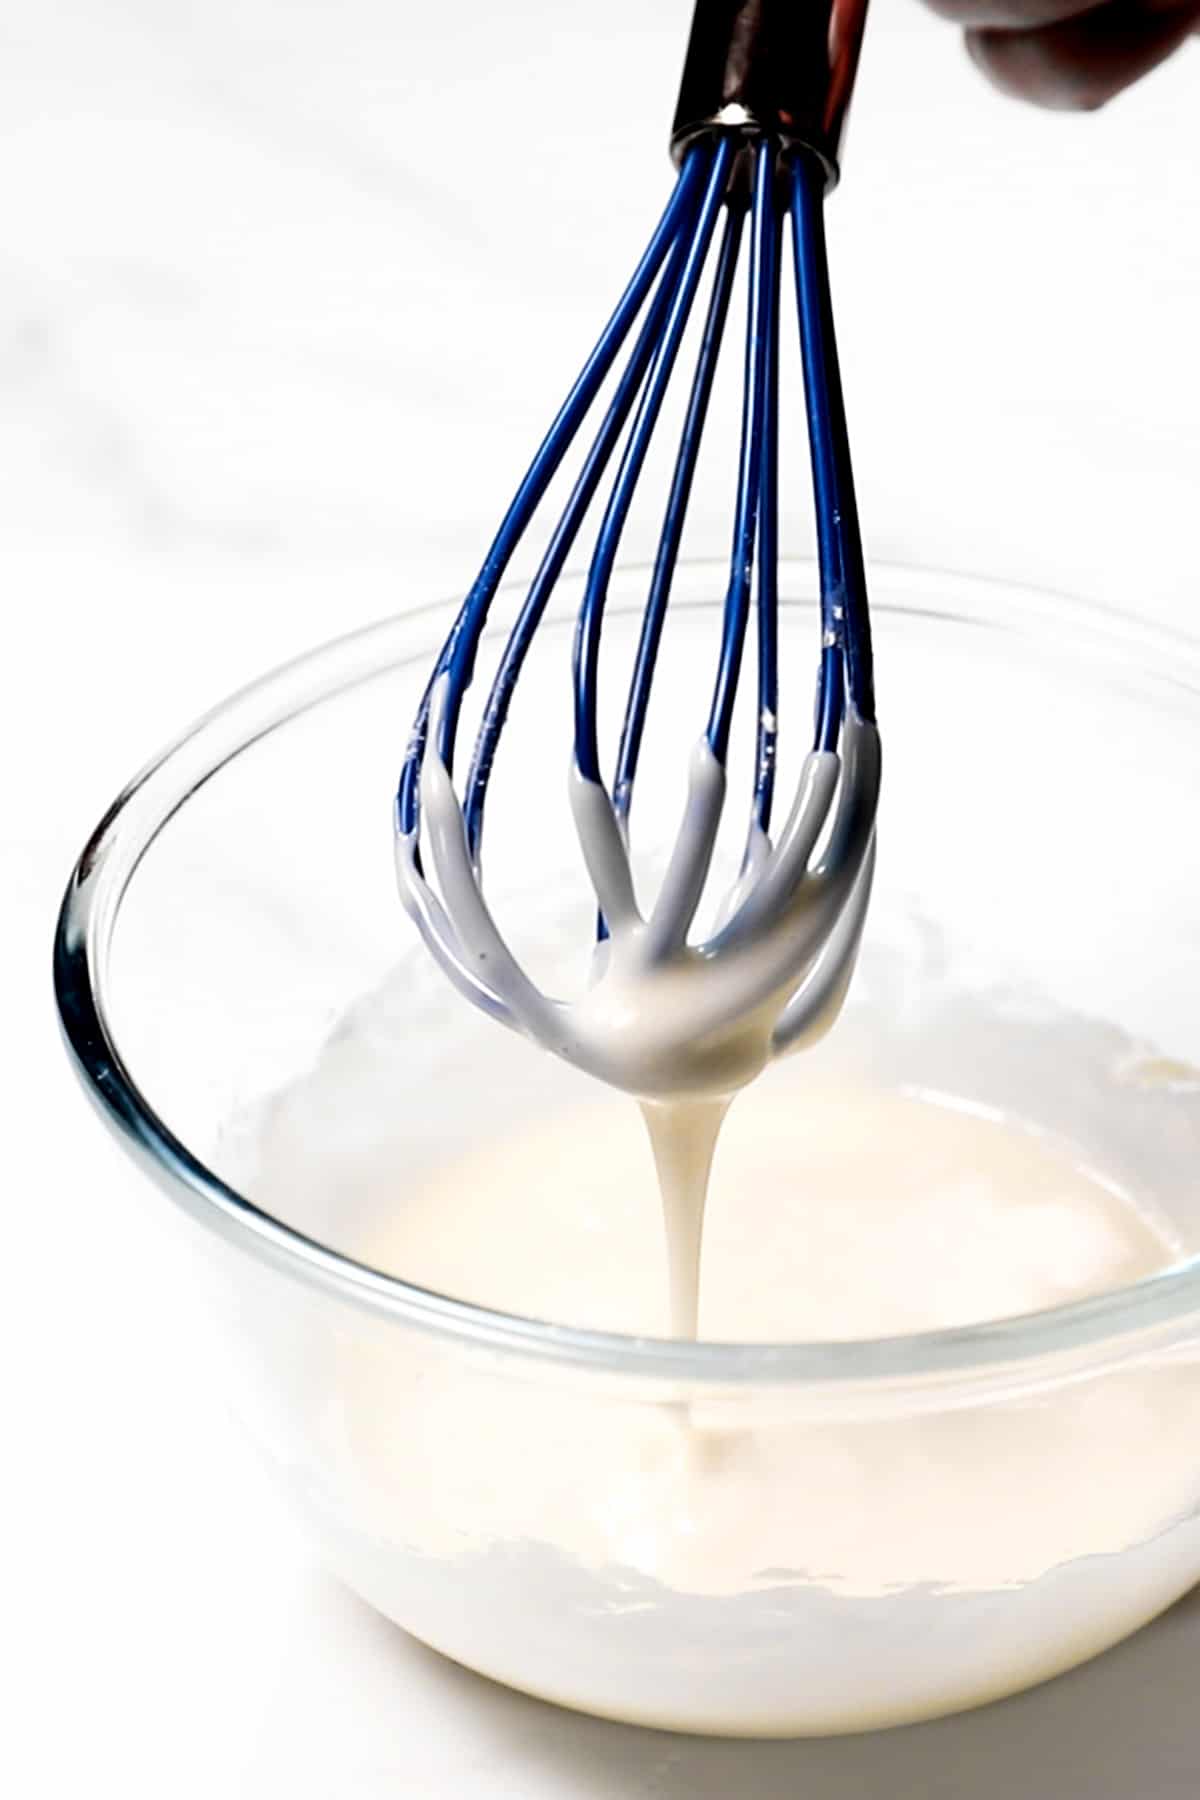
Then gently stir until the chocolate has fully melted into the cream and the mixture is smooth. Then set aside to cool just enough to thicken.
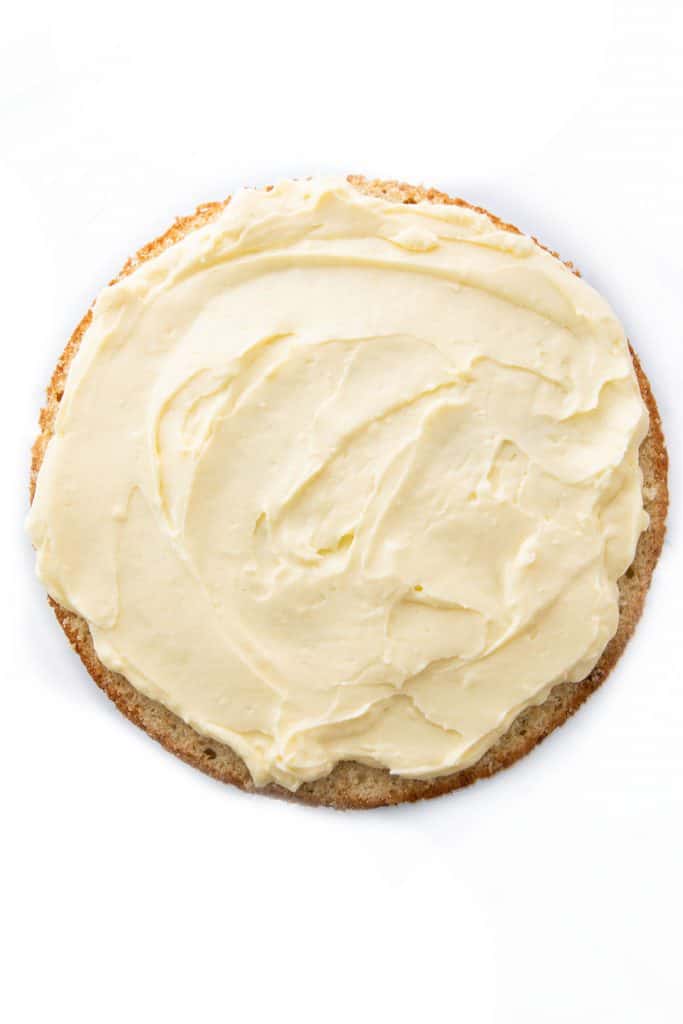
To assemble the cake, spread the pastry cream onto the middle of the first cake, leaving a little room around the edge (this is to ensure the cream doesn’t get squeezed out the side when you add the second layer).
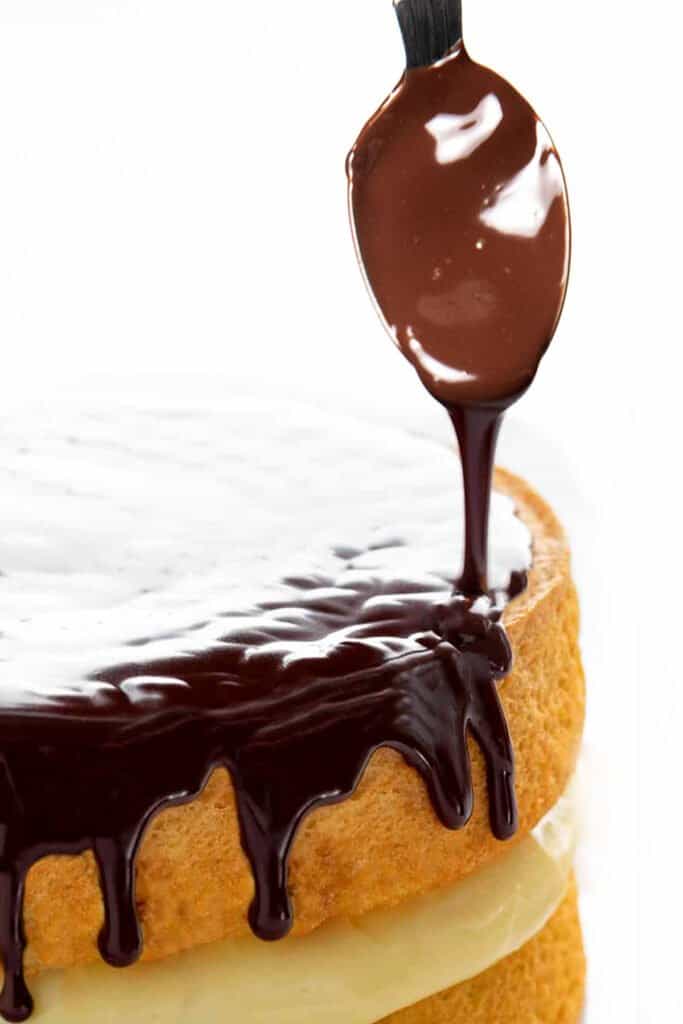
Place the second layer on top of the filling and pour the glaze over the top of the cake, spreading to edges as needed.
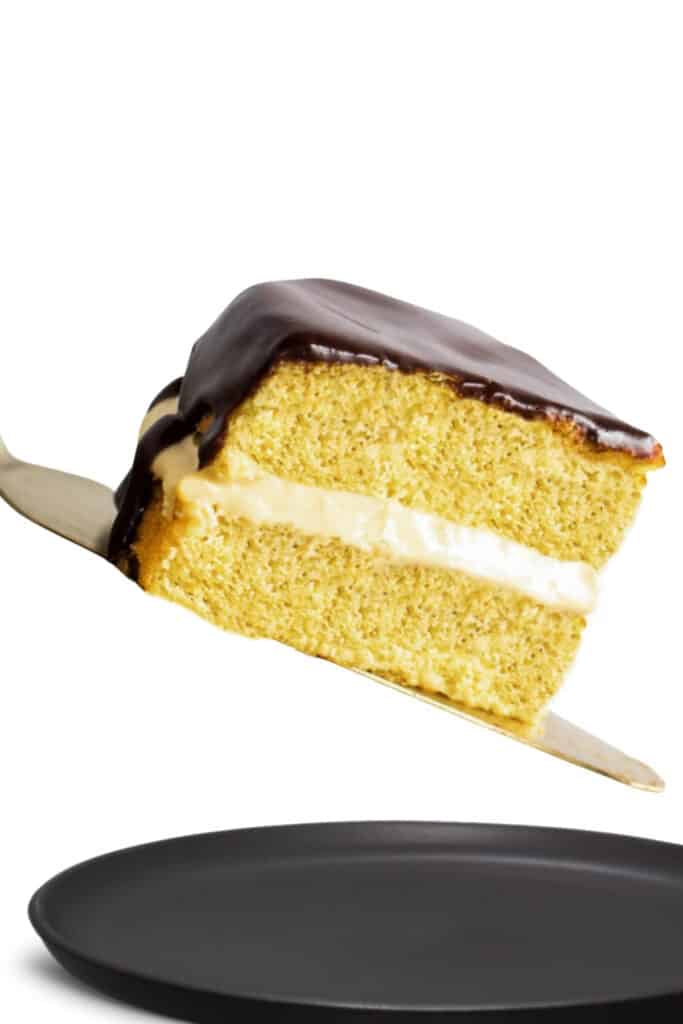
Chill in the fridge for at least half an hour. Serve and enjoy!
Erren’s Top Tips
- Don’t skip the sifting of the dry ingredients, it really will make the difference in creating a light and airy cake.
- Be sure to beat the batter for 3 to 5 minutes. This is key to getting a light and fluffy textured cake.
- Before placing your pan in the oven give it a little tap on the work surface to get rid of any air bubbles.
- To check your cake is cooked through simply poke it with a skewer or toothpick. If it comes out, clean it is ready.
- To ensure a shiny finish to your glaze, add a tablespoon of corn syrup to the ganache.
- For detailed instructions and tips on making the glaze, see my Chocolate Glaze recipe.
Make ahead, Freezing & Storing Instructions ?
- Make Ahead: The cake can be made ahead and frozen for up to three months. Then simply defrost, assemble the cake with the filling and top with the glaze.
- In The Fridge: Homemade Boston Cream Pie is best kept in the fridge as the pastry cream filling can go bad if left out at room temperature. Remove from the fridge, no more than an hour before serving. Keep in the fridge for up to 3 days.
- In the Freezer: I do not recommend freezing this cake once assembled.
Other Amazing Bakes
FAQs
What is Boston cream filling made of?
This wonderful cake is filled with pastry cream (creme patisserie in French). It is a custard-style filling made from egg yolks, sugar and vanilla.
Rate This Recipe
Recipe
Boston Cream Pie Cake
Ingredients
For The Cake:
- 1 cup sugar (white granulated)
- 1¼ cup flour (all-purpose)
- 1¼ teaspoon baking powder
- ½ teaspoon salt
- 4 oz butter (½ cup/1 stick)
- 2 eggs
- ½ cup milk
- 1½ teaspoons vanilla bean paste (or extract)
For the filling
- pastry cream (pudding or custard (*see notes))
For The Topping:
- ½ cup cream (heavy whipping cream, double cream)
- 4 oz dark chocolate
- 1 Tablespoon butter
Instructions
For The Cake:
- Preheat the oven to 325°F/162°, grease two 8″/20cm pans and set aside.
- Sift all the dry ingredients into a large bowl.
- Add the cold cubed butter to the dry ingredients.
- Work the butter into the flour mixture with a mixer or beater until it resembles breadcrumbs (similar to when you make biscuits or scones). You want a rough and crumbly texture.
- Whisk the eggs, milk and vanilla together in a separate bowl.
- Add the wet ingredients to the flour mixture all at once.
- Mix on low speed for a minute, then increase the speed and beat for 3 to 5 minutes. This ensures you have a light and fluffy batter. Scrape down the sides and up the bottom of the bowl as needed.
- Separate the batter evenly into the prepared pans and bake in the oven for around 30-35 minutes or until a cake tester comes out clean. Once baked set aside to cool.
- If you haven’t already, while the cake bakes, prepare your filling and place it in the fridge to set.
- Allow cakes to cool in the pans for 15 minutes before turning out on a wire rack. The cakes must be completely cool before frosting and assembling.
For The Ganache:
- Add the chocolate to a heat-proof bowl with a tablespoon of butter and set aside.
- In a small saucepan, heat the cream until it just starts to bubble around the sides. Pour the heated cream over the chocolate. Stir until the chocolate has fully melted into the cream and the mixture is smooth. Then set aside to cool just enough to thicken slightly.
To Assemble
- Place the bottom layer on a serving plate. Spread the chilled filling over the cake, leaving about a 1-inch border. Top with remaining layer and gently press down to push the filling to the edge of the cake.
- Pour the glaze over the top of cake, spreading to edges.
- Place the assembled cake in the fridge and chill for at least 2 hours or overnight; cover the cake if chilling for more than two hours to keep it from drying out.
Tips
Filling the Cake
I did not specify a measurement of custard or pudding because the amount depends on the thickness of the cream. Use the notes below for my recommendations. Homemade Pastry Cream: If you use my pastry cream recipe, then the full recipe will fill the cake. Be sure to cool the custard thoroughly in the fridge before using it to fill the cake. Pudding Mix: If you’re using a pudding or custard mix, I suggest using heavy cream or whipping cream in place of milk to make a thicker mixture that can take the weight of the cake. I recommend using a cup of the thickened, cooled mixture. Ready-Made Pudding or Custard: If you’re using a thinner pudding or custard, I suggest starting with a ½ cup, placing it between the layers and checking to see if the weight of the cake can take more filling without causing it to overflow out the side of the cake. The nutritional information is based on 1 cup of store-bought pudding.Tips
- Don’t skip the sifting of the dry ingredients, it really will make the difference in creating a light and airy cake.
- Be sure to beat the batter for 3 to 5 minutes. This is key to getting a light and fluffy textured cake.
- Before placing your pan in the oven give it a little tap on the work surface to get rid of any air bubbles.
- To check your cake is cooked through simply poke it with a skewer or toothpick. If it comes out, clean it is ready.
- To ensure a shiny finish to your glaze, add a tablespoon of corn syrup to the ganache.
- For detailed instructions and tips on making the glaze, see my Chocolate Glaze recipe.




Leave a Reply