This site runs ads and generates income from affiliate links. Read my disclosure policy.
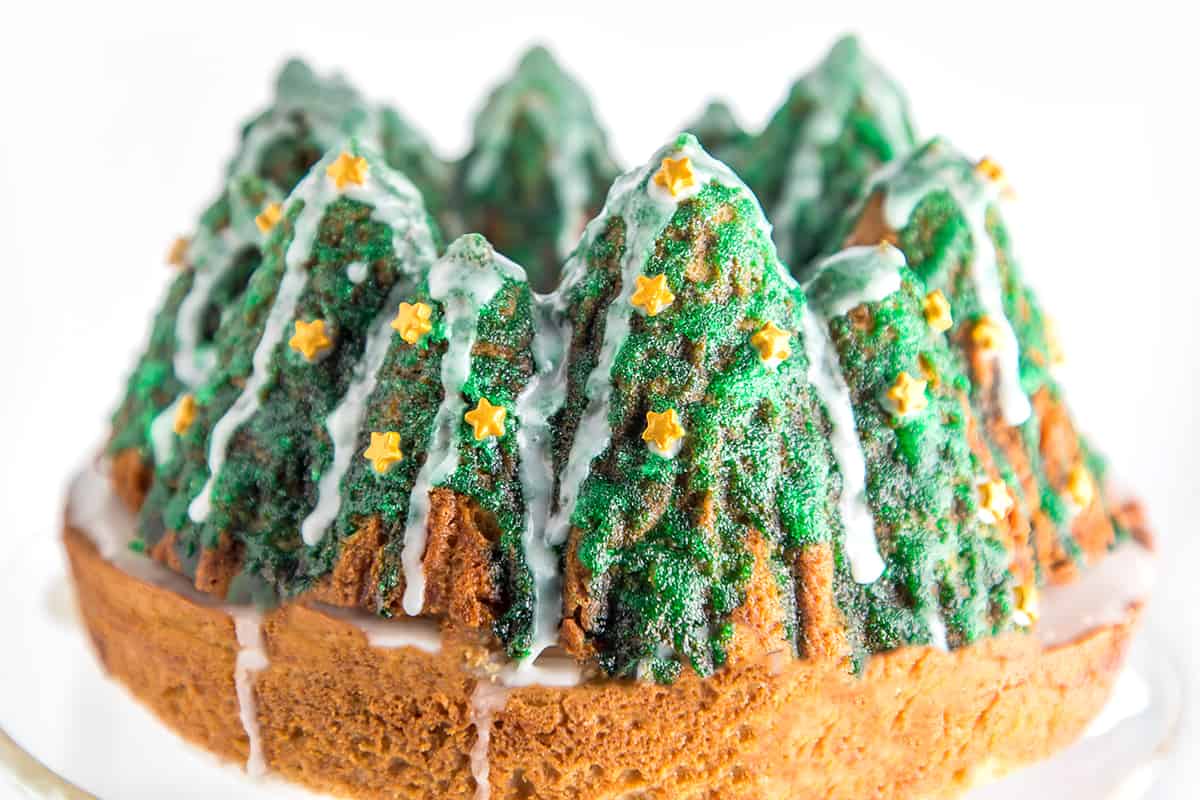
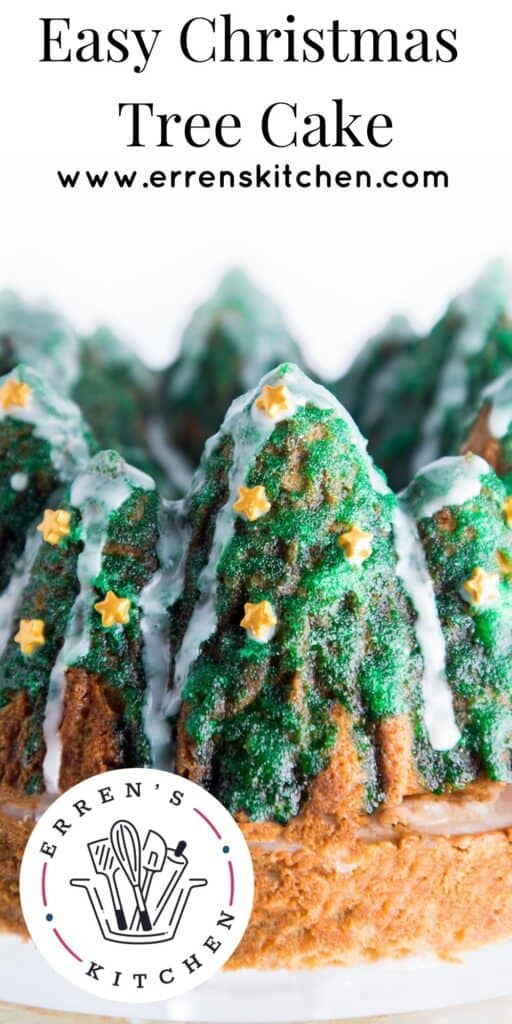
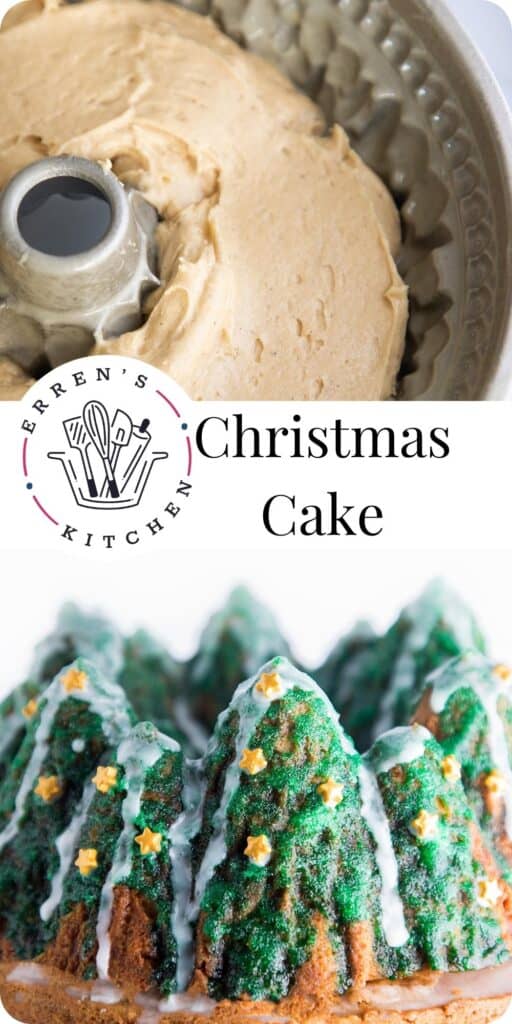
This Easy Christmas Tree Cake is the perfect show-stopping festive dessert. No fancy cake decorating skills are needed.
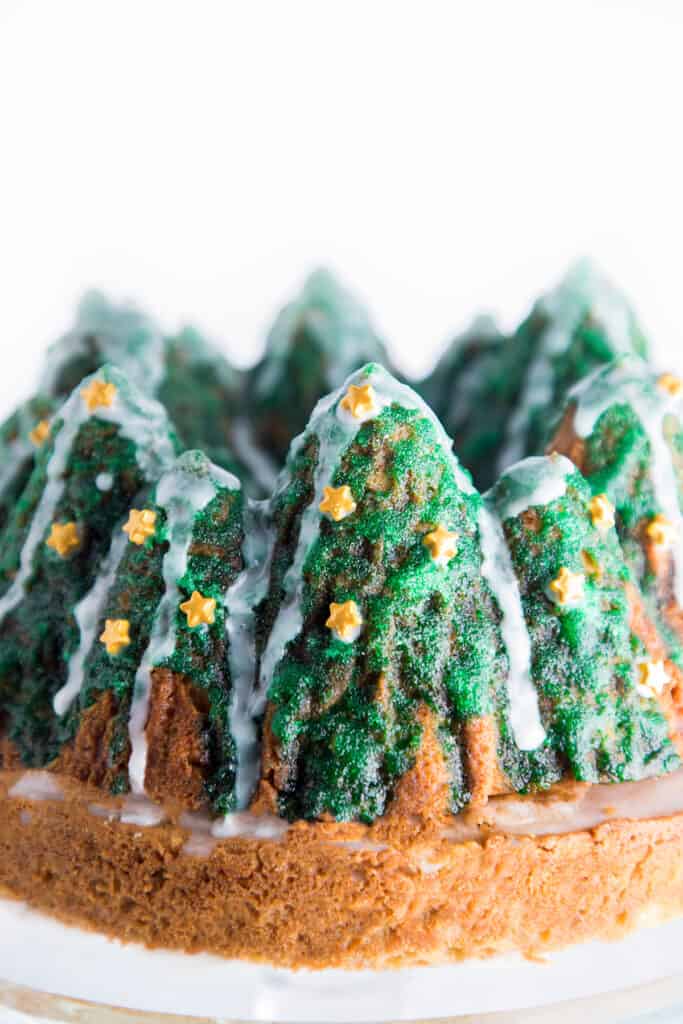
I love to bake, especially on the holidays, but I’m not an expert at cake decorating at all. If a recipe calls for any kind of fancy decoration I panic. I created this wonderfully festive Christmas tree inspired cake so it was easy for anyone to make a beautiful festive centerpiece.
Why This Recipe Works
- The use of brown sugar in the cake batter gives the cake a wonderful caramel flavor.
- Using buttermilk in the cake ensures a moist crumb and adds a slight tang that cuts the sweetness perfectly.
- The sugar glaze soaks into the cake, leaving a sugary crackle texture that looks like an icy crust.
Creating This Beautiful Christmas Tree Cake
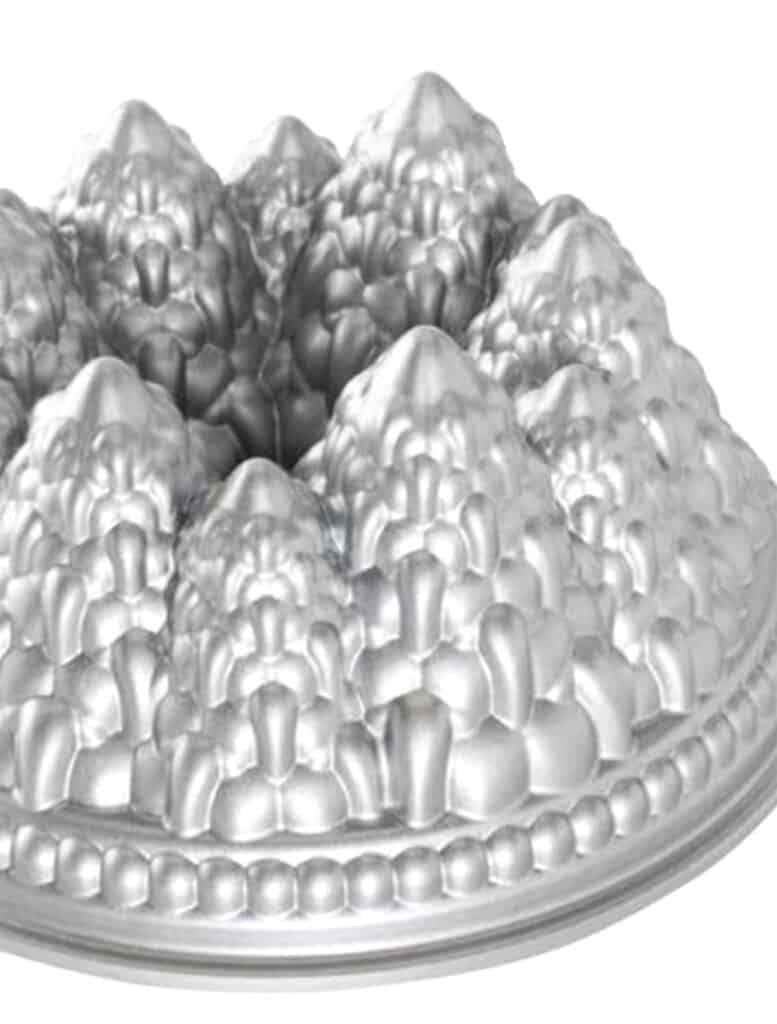
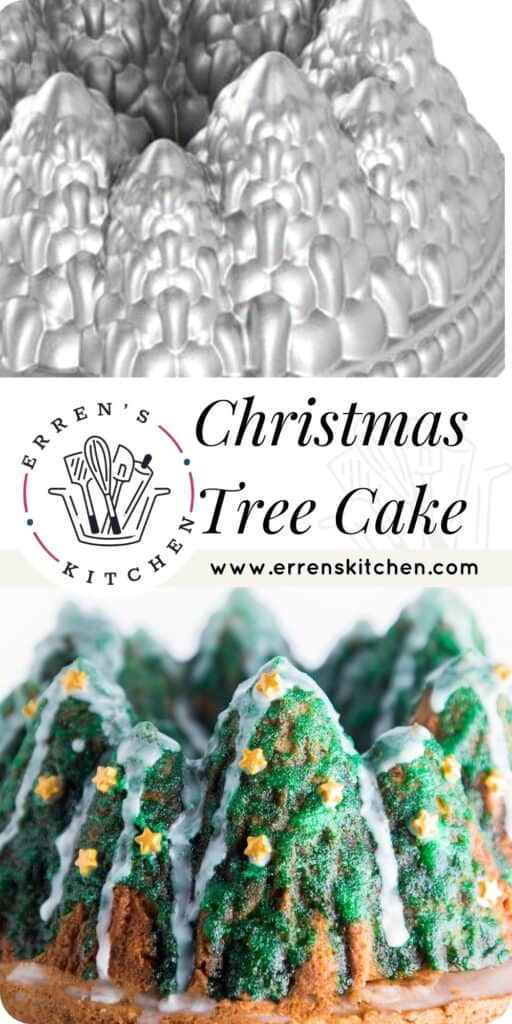
I have had this amazing Christmas Tree Bundt pan for a few years, and I’ve been desperate to use it here on the blog, but the holidays get busy and I just haven’t gotten around to it so this year I vowed to use it before things got too hectic.
I wanted to create a delicious, beautiful cake that’s easy for anyone to achieve, regardless of skill level. Not everyone can pipe icing right?
For the cake, I went with my brown sugar cake recipe because it’s delicious, flavorful, and it doesn’t need frosting to be enjoyed and the decoration is super simple to replicate.
What You’ll Need
- Christmas Tree Bundt pan – It’s a great quality pan and totally worth getting.
- 9 inch round cake pan – I wanted to give some height so I made a base layer.
- Food Coloring – I used a green with a little teal mixed in to get a deep green instead of bright.
- Festive decorations – To create the Christmas ornaments on the, I used the stars out of this set, but you can use round balls or anything you like.
How To Make Easy Christmas Tree Cake
- Make the brown sugar cake batter.
- Pour 2/3 of the batter into a decorative bundt pan and 1/3 into a 9inch round cake pan.
- Bake in the oven for around 45 to 55 minutes.
- Make the colored sugar glaze and icing glaze.
- Drizzle the colored glaze over the cake whilst warm.
- Use the icing glaze to glue the two cakes together.
- Decorate the cake with snowy white icing and add sugar decorations.
- Serve and enjoy!
Step By Step Instructions
In a bowl mix the flour, baking soda and salt. Set aside.
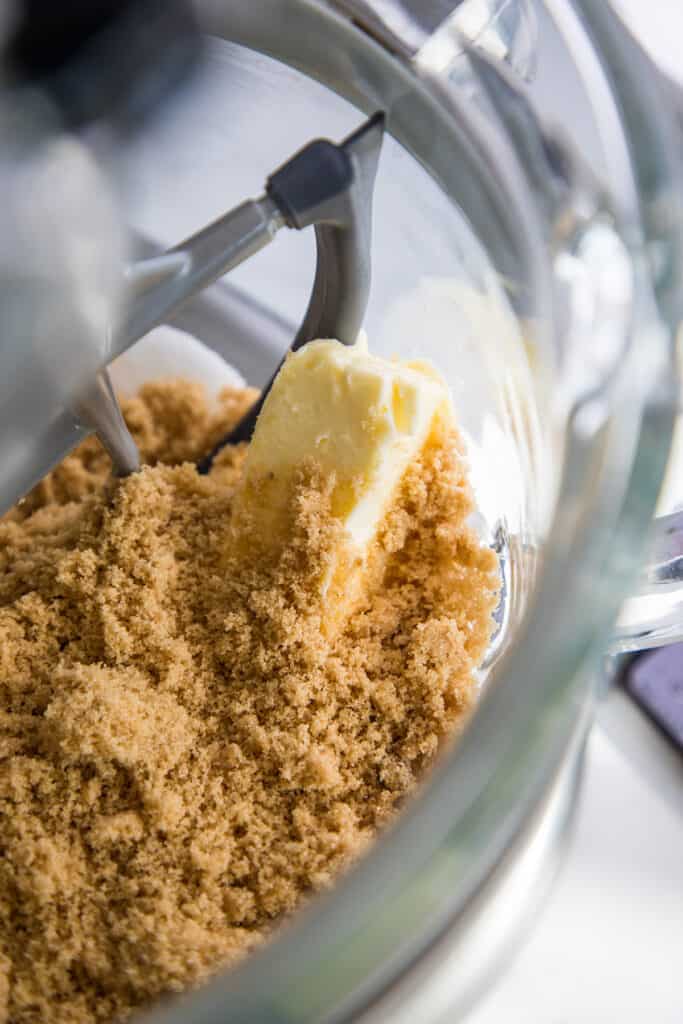
Cream the butter and sugar until light and fluffy.
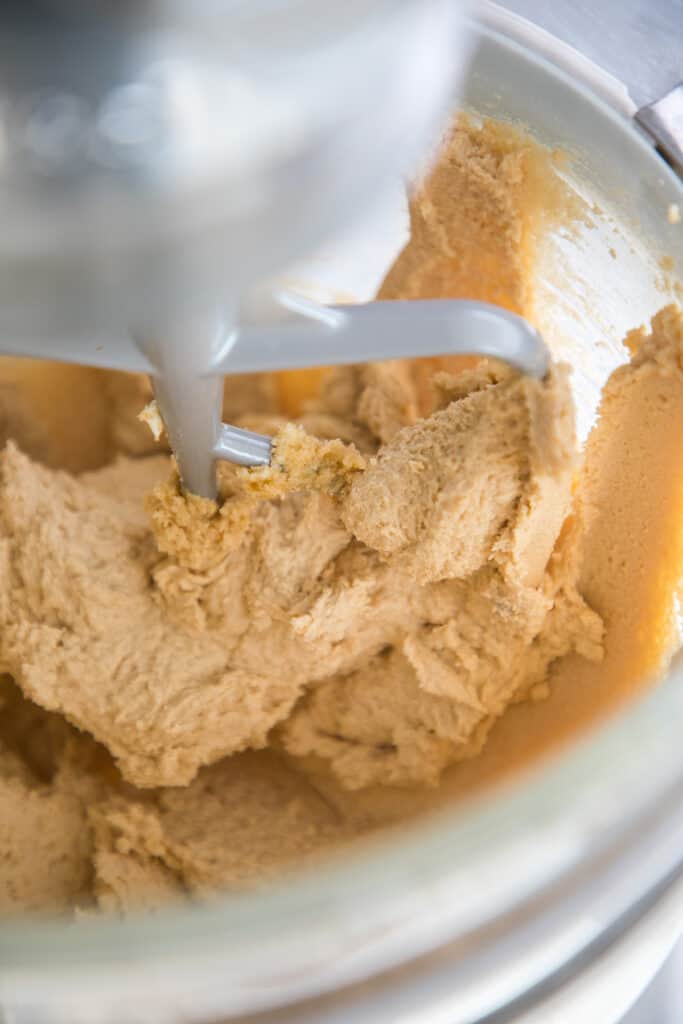
Combine the flour mixture with the butter and sugar mixture.
If you don’t have buttermilk you can make your own using this as a rule of thumb – 1 cup milk to 1 tablespoon of white vinegar or lemon juice.
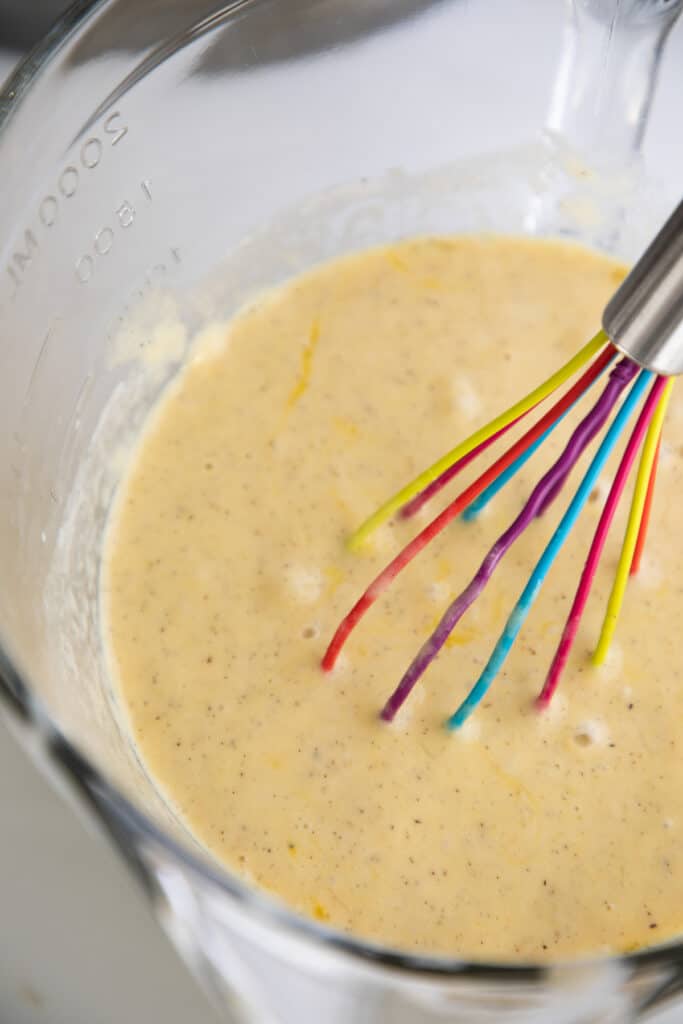
Whisk the buttermilk, eggs and vanilla until fully combined.
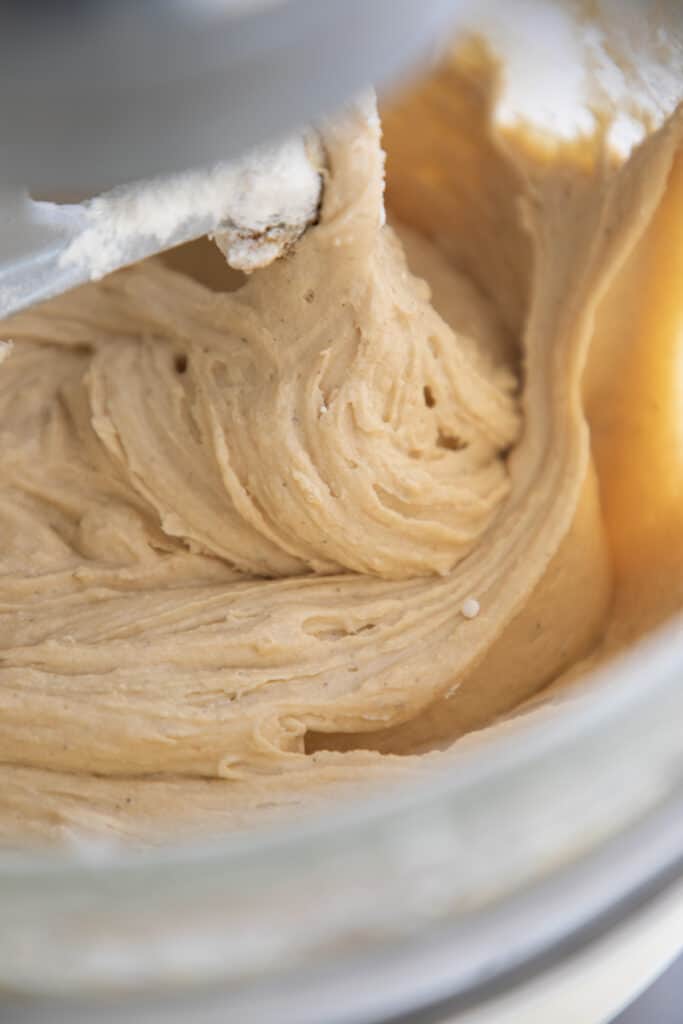
Gradually introduce the buttermilk mixture into the batter. The batter will be quite thick.
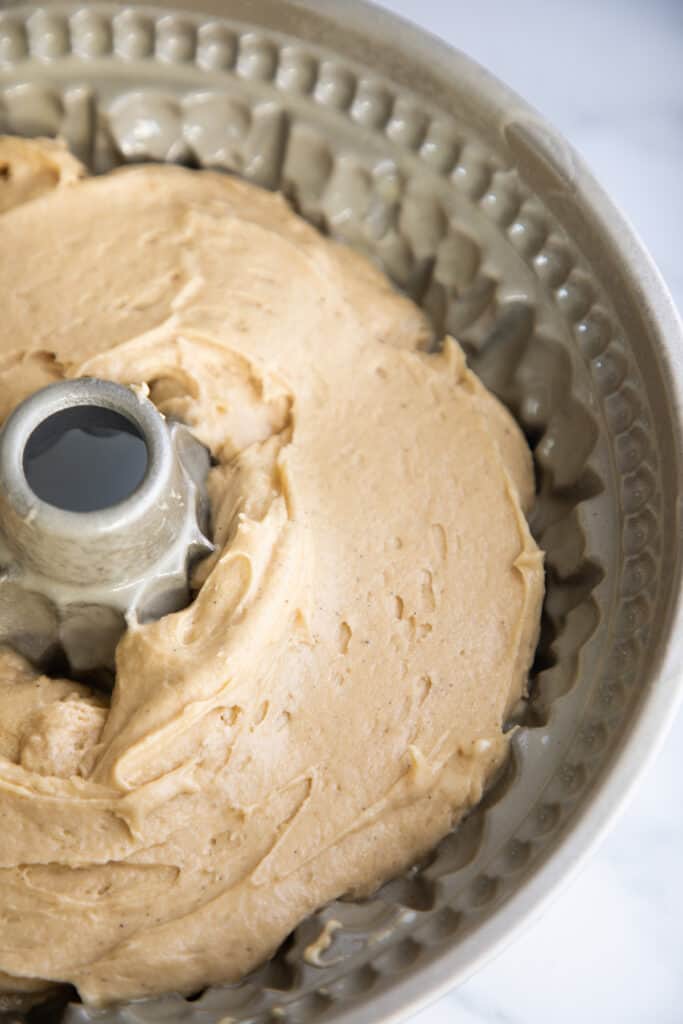
Pour 2/3 of the mixture into a shaped bundt pan. Pour the remaining batter into a 9-inch cake pan.
Bake in the oven for 45 to 55 minutes, or until a cake tester comes out clean. Check at around 25 minutes and rotate the pans for even cooking.
Mix together the ingredients for the sugar glaze. I added the food coloring in small drops until I got the desired color.
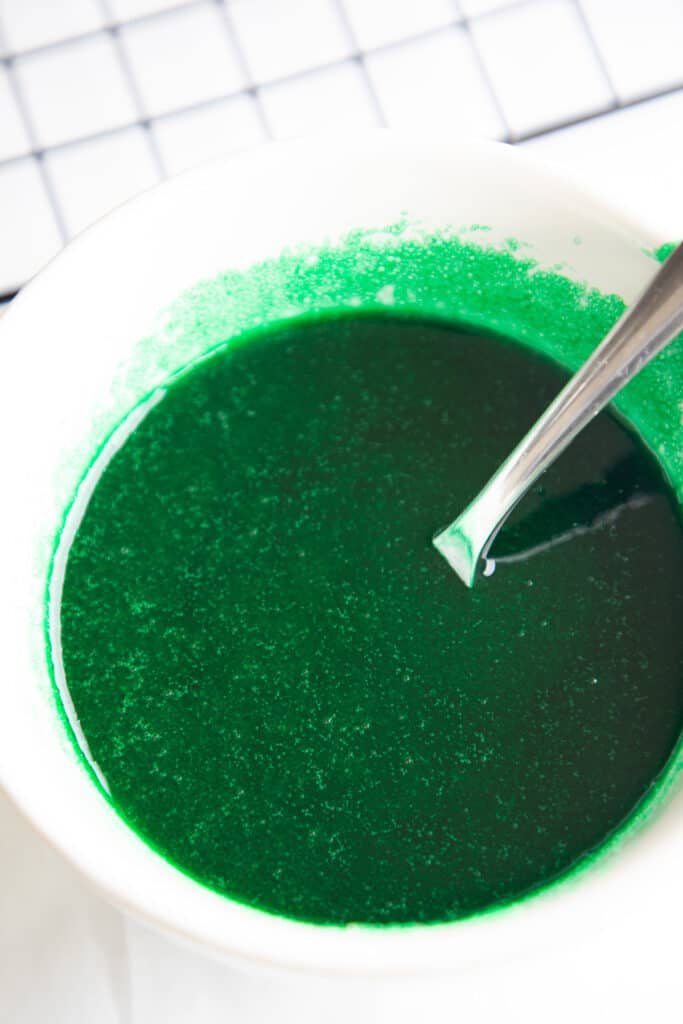
Glaze the bundt cake whilst it is still warm with the colored glaze. , this is essential as it soaks in and creates a wonderful crunchy textured glaze.
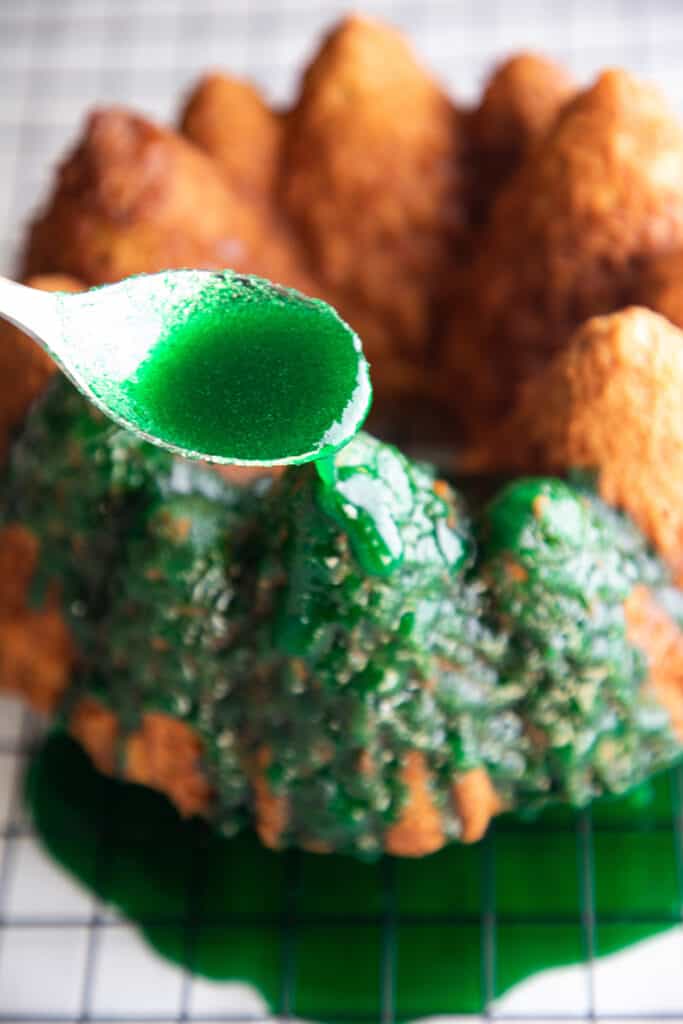
I originally planned to color the cake batter, but I forgot to add the food coloring. My son came to the rescue with the idea of coloring the glaze. Sugar glaze made with granulated sugar works by the liquid in the glaze soaking into the cake, leaving behind a wonderful crunchy textured sugary coating which ended up giving the cake an icy look once it dried.
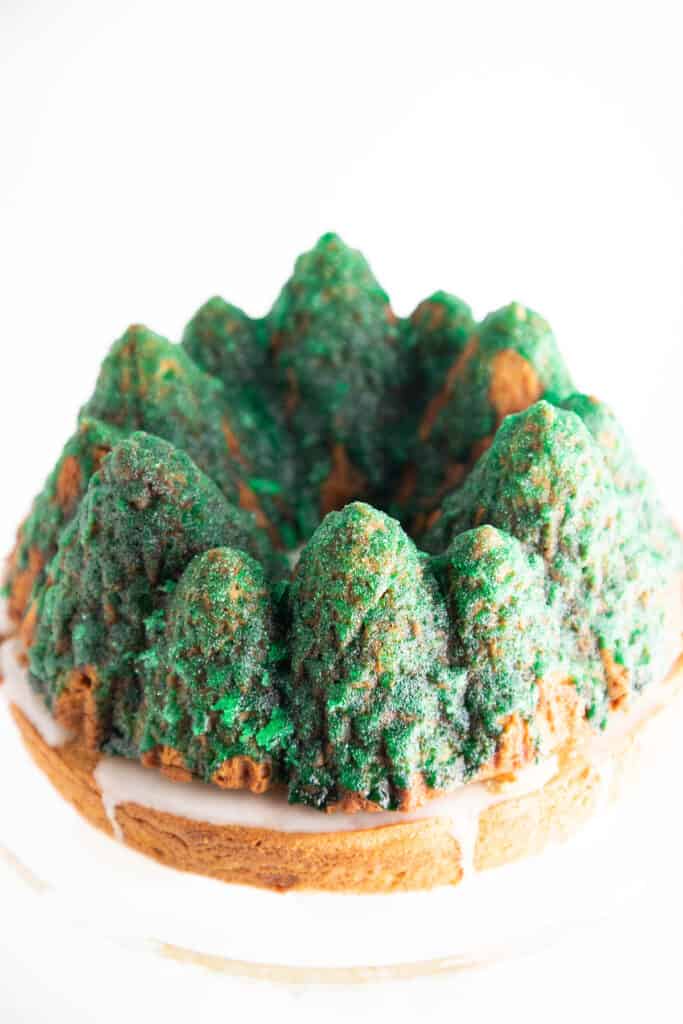
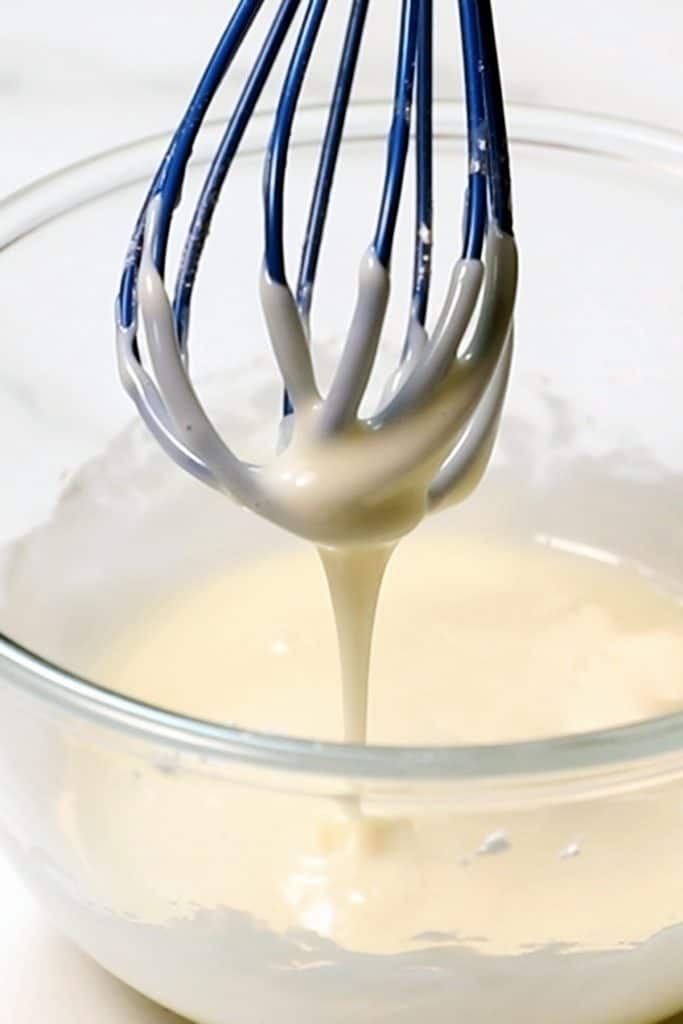
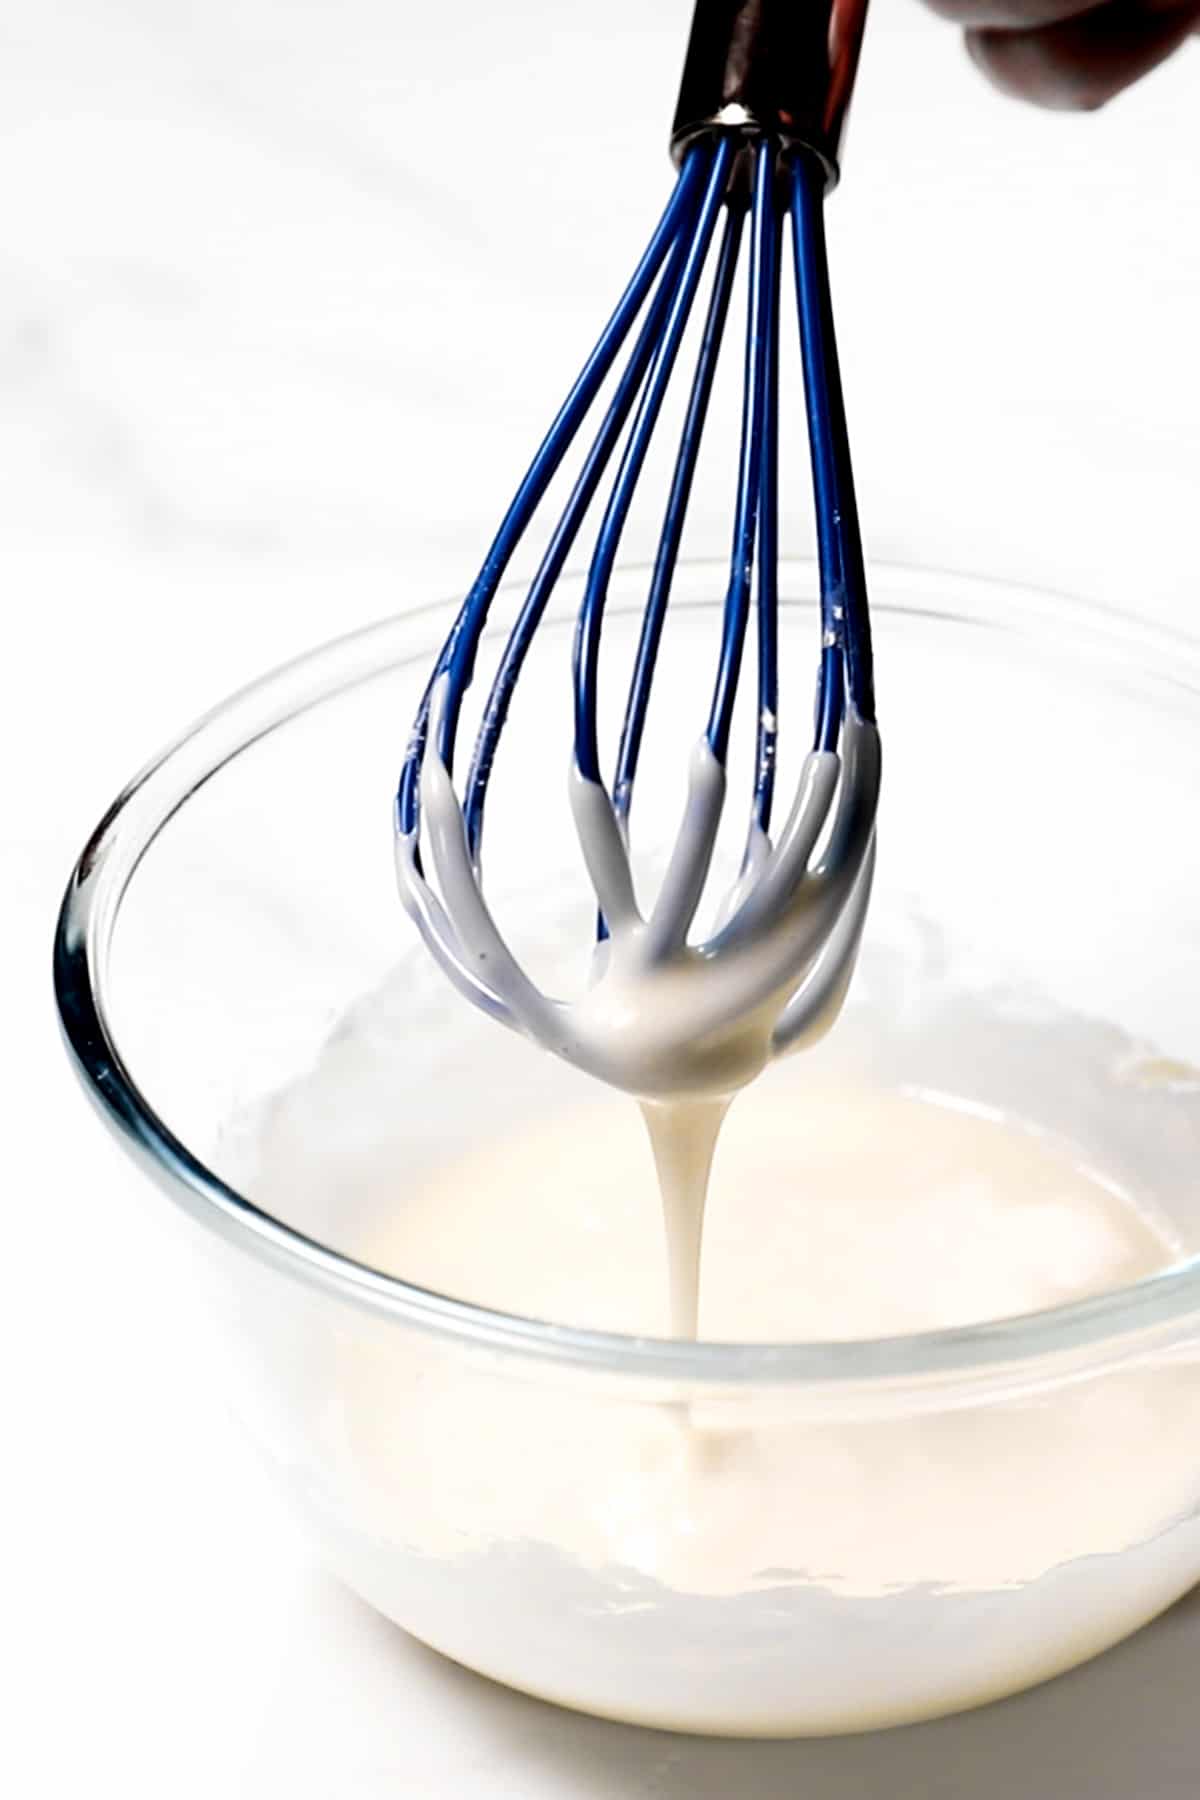
Once the 9-inch cake is cooled and the glaze sets, mix the icing glaze which will hold the lays together and create the snowy treetops. This needs to be quite thick to keep it from running down the cake (I would have liked mine to stay closer to the top of the trees) so add more confectioners sugar if you need to.
Trim the bottom of the tree cake to be flat by trimming it with a bread knife so it will rest flat on top of the round cake. If necessary, trim the round cake to flatten as well.
You may end up with a good amount of scraps, but believe me, they make a great reward for all your effort!
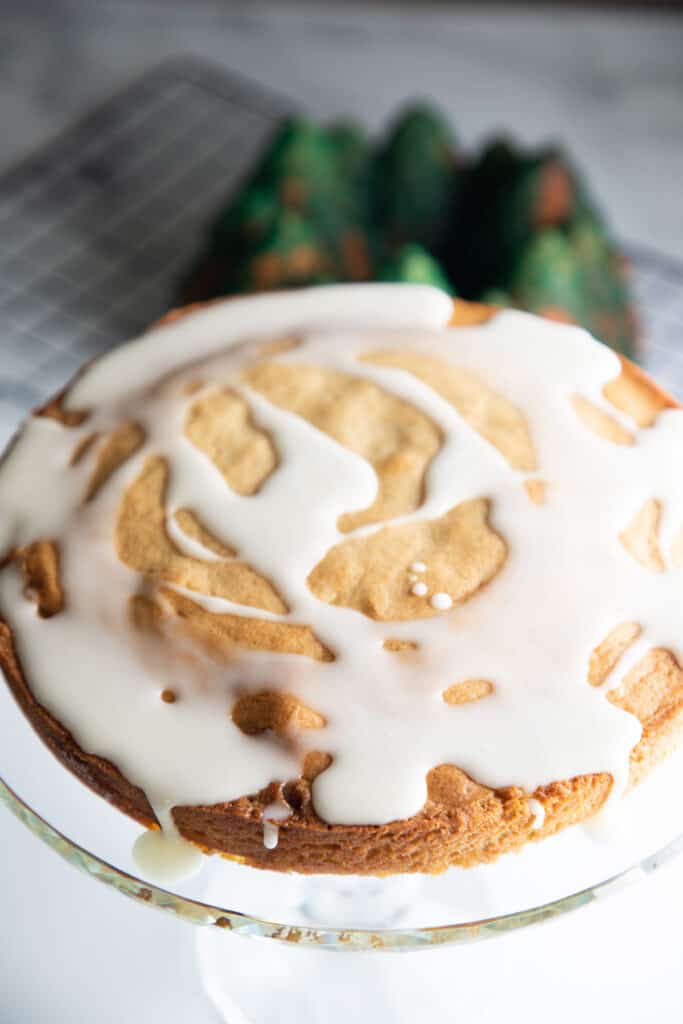
Spread the icing glaze over the round layer.
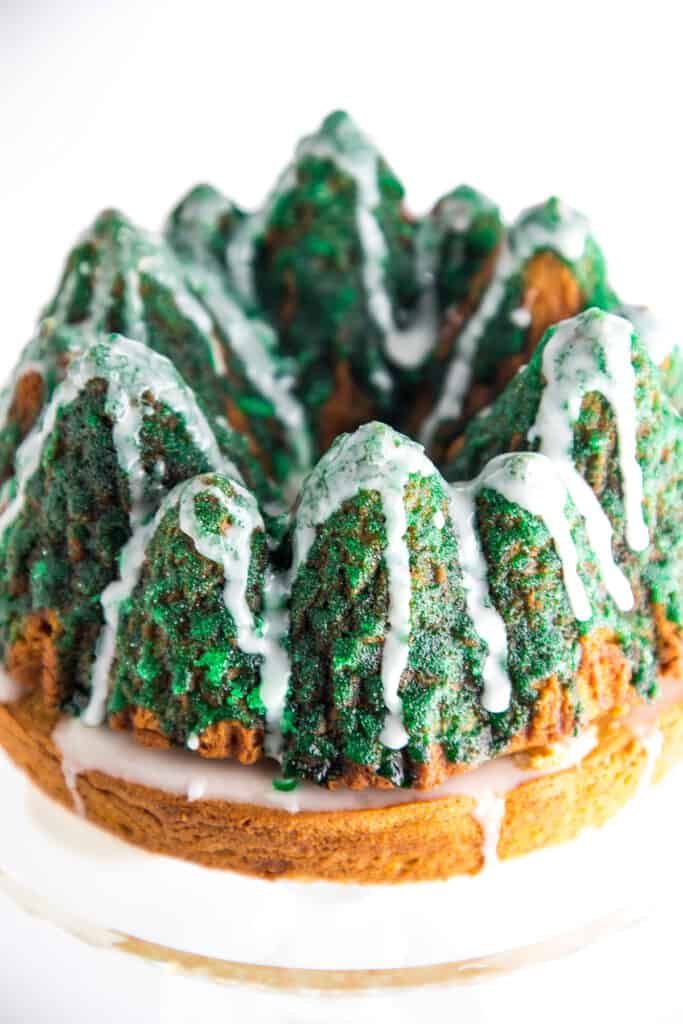
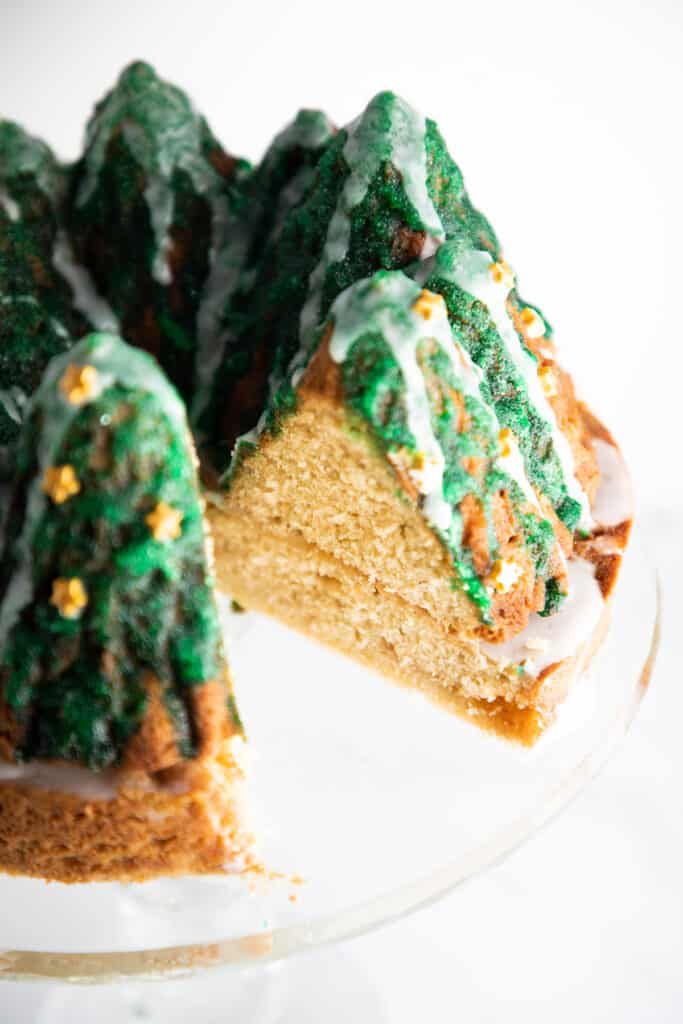
Place the tree-shaped cake on top of the round cake and drizzle the remaining icing over the cake to make it look like snow.
Save some icing to use to glue on your sugar decorations.
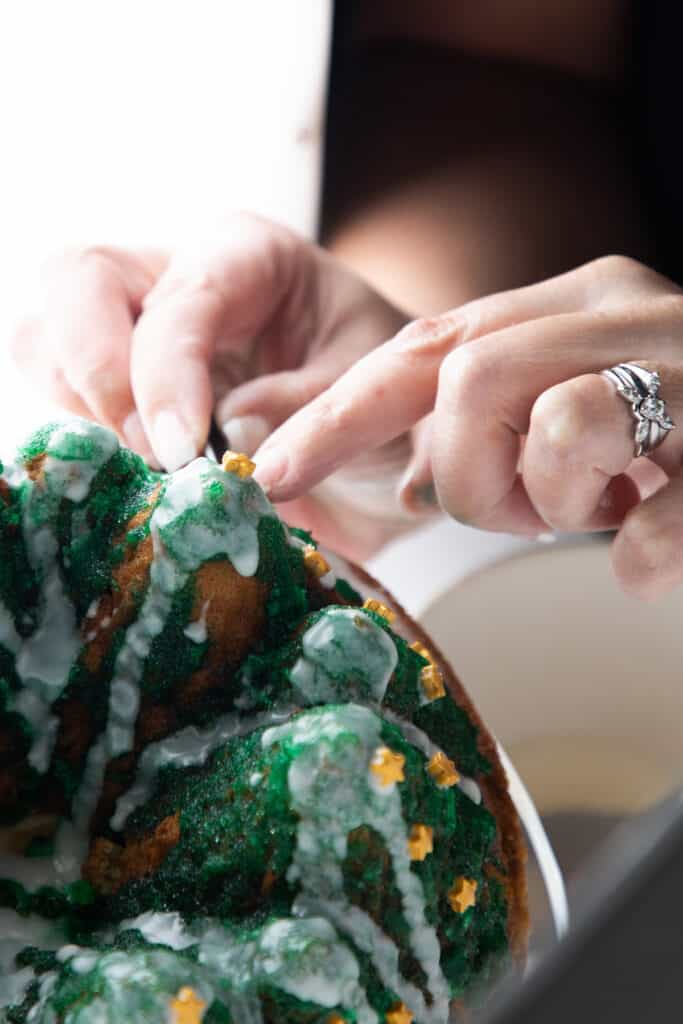
I used a set of tweezers to make it a little easier to place the stars, then pressed them into the icing until they were securely in position.
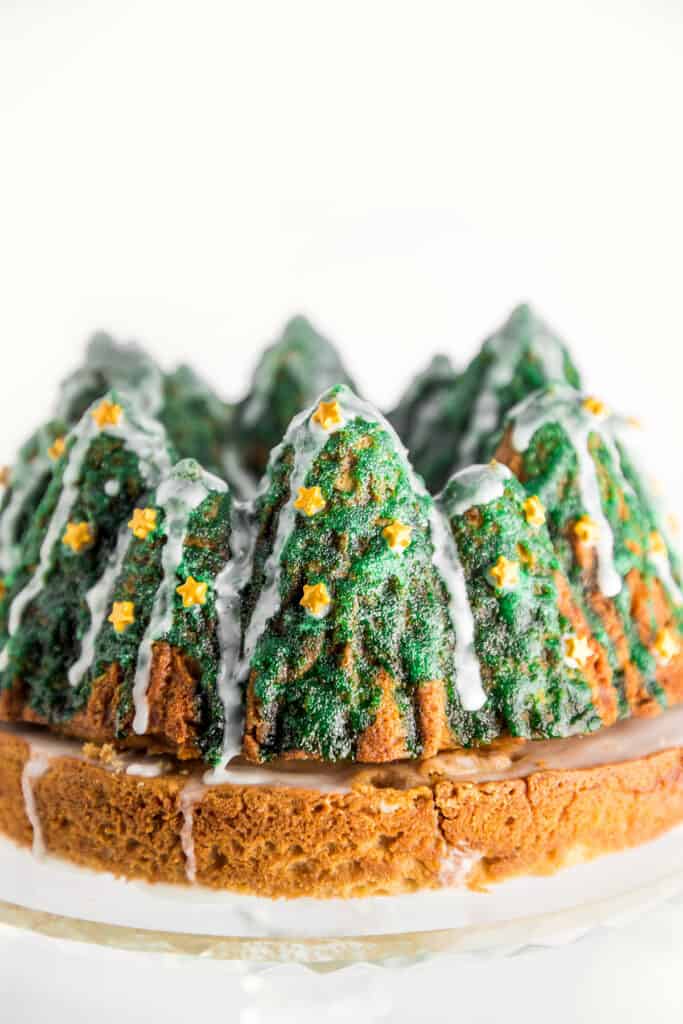
Serve and enjoy your beautiful creation.
Make ahead and Storing Instructions ?
- The fully decorated cake will keep well for up to 2 days before serving.
- To Freeze: Wrap the cake in plastic wrap and place in a freezer safe container, freeze for up to three months.
Erren’s Top Tips
- Always begin your baking with room temperature ingredients, at room temperature the ingredients form an emulsion which traps air, creating a light fluffy cake.
- Make sure you cream the butter and sugar until light and fluffy (and pale in color – I set my timer for 3 minutes), It is essential to the texture of the finished cake.
- You must sugar glaze the Christmas tree cake while it is still warm, this helps it soak in and creates a wonderful crackly glaze.
- The icing glaze should be quite thick, if your mixture appears thin, simply add more confectioners sugar until you achieve the desired consistency.
- If you can’t find sugar star shapes, any sugar pearls or Christmas themed decorations will work just as well.
- If you plan to display this cake for longer than an hour uncovered, you can keep it moister longer by replacing half of the butter with vegetable oil. Cakes made with oil won’t dry out as quickly as a cake made with butter.
Other Great Recipes
If you love fuss-free baking that looks good with little effort or skill, why not check out my other festive recipes for Christmas wreath cookies or Chocolate Chip Christmas Cookies? You will have great fun baking this holiday season, guaranteed! They make fantastic tasty gifts for friends and family too..
Rate This Recipe
Recipe
Easy Christmas Tree Cake
Ingredients
For the cake:
- 3 cups all-purpose flour
- ½ teaspoon Baking Soda
- 1 teaspoon salt
- 2½ cups Brown Sugar packed
- ½ cup Granulated Sugar
- 1 cup butter (softened)
- 5 Eggs (at room temperature)
- 1 tablespoon Vanilla Extract
- 1 cup buttermilk (at room temperature)
For the sugar glaze:
- 5 tbsp water
- 1 cup granulated sugar
- green food coloring
- 1 tsp vanilla extract
For the icing glaze:
- 1½ cups confectioners sugar (icing sugar/powdered sugar)
- 3 to 5 tbsp milk (you can replace this with water or cream)
- 1 tsp vanilla extract ((optional))
Instructions
For The Cake
- Preheat oven to 350F. Generously grease and flour the 8-cup capacity shaped Bundt Cake pan and a 9 inch round cake pan. Set aside.
- In a large bowl, mix together the flour, baking soda, and salt. Set aside.
- In a large bowl, cream together the butter, brown sugar, and Granulated sugar until light and fluffy.
- Add the flour mixture to the butter and sugar mixture until incorporated.
- Combine the buttermilk, eggs and vanilla.
- Mix the buttermilk mixture with the rest of the ingredients a bit at a time until fully combined (the batter will be quite thick).
- Spoon ⅔ of the batter into the shaped bundt pan and ⅓ of the batter into the 9 inch round pan.
- Bake the round cake for 20-25 minutes and the Christmas tree cake for 45-55 minutes, or until a cake tester comes out clean.
- Cool in the pan for about 10 minutes, then invert onto a cooling rack (you want to glaze the Christmas tree cake while it’s warm).
For The Sugar Glaze
- In a small bowl, mix together the water, sugar, vanilla and food coloring to make the glaze to make the glaze.
- Place some baking paper under the cooling rack the Christmas tree cake is on to catch any glaze that drips off the cake. The cake should still be warm. Glaze the tree section of the cake with the green glaze (you can use the glaze that drips off onto the paper beneath by scraping it onto a spoon). Leave to the cake to cool another 20-30 minutes to allow the glaze to set into a crispy coating.
For The Icing Glaze
- In a mixing bowl, whisk together the powdered sugar, half the milk and vanilla extract. Add more milk as needed until it is the desired consistency.
Assembling The Cake
- Trim the top of the round cake if necessary to flatten and the bottom of the Christmas tree cake to be flat enough to rest securely onto the round cake. Spread ¾ of the icing glaze over the cooled 9-inch round cake. Place the tree shaped cake onto iced the round cake.
- Set a little of the icing glaze aside to use to attach your decoration and then use the remaining glaze to decorate the cake to look like snow.
- Glue the stars or sugar shapes onto the finished cake using leftover icing glaze as glue. (I used tweezers to place my stars).





Leave a Reply