This site runs ads and generates income from affiliate links. Read my disclosure policy.
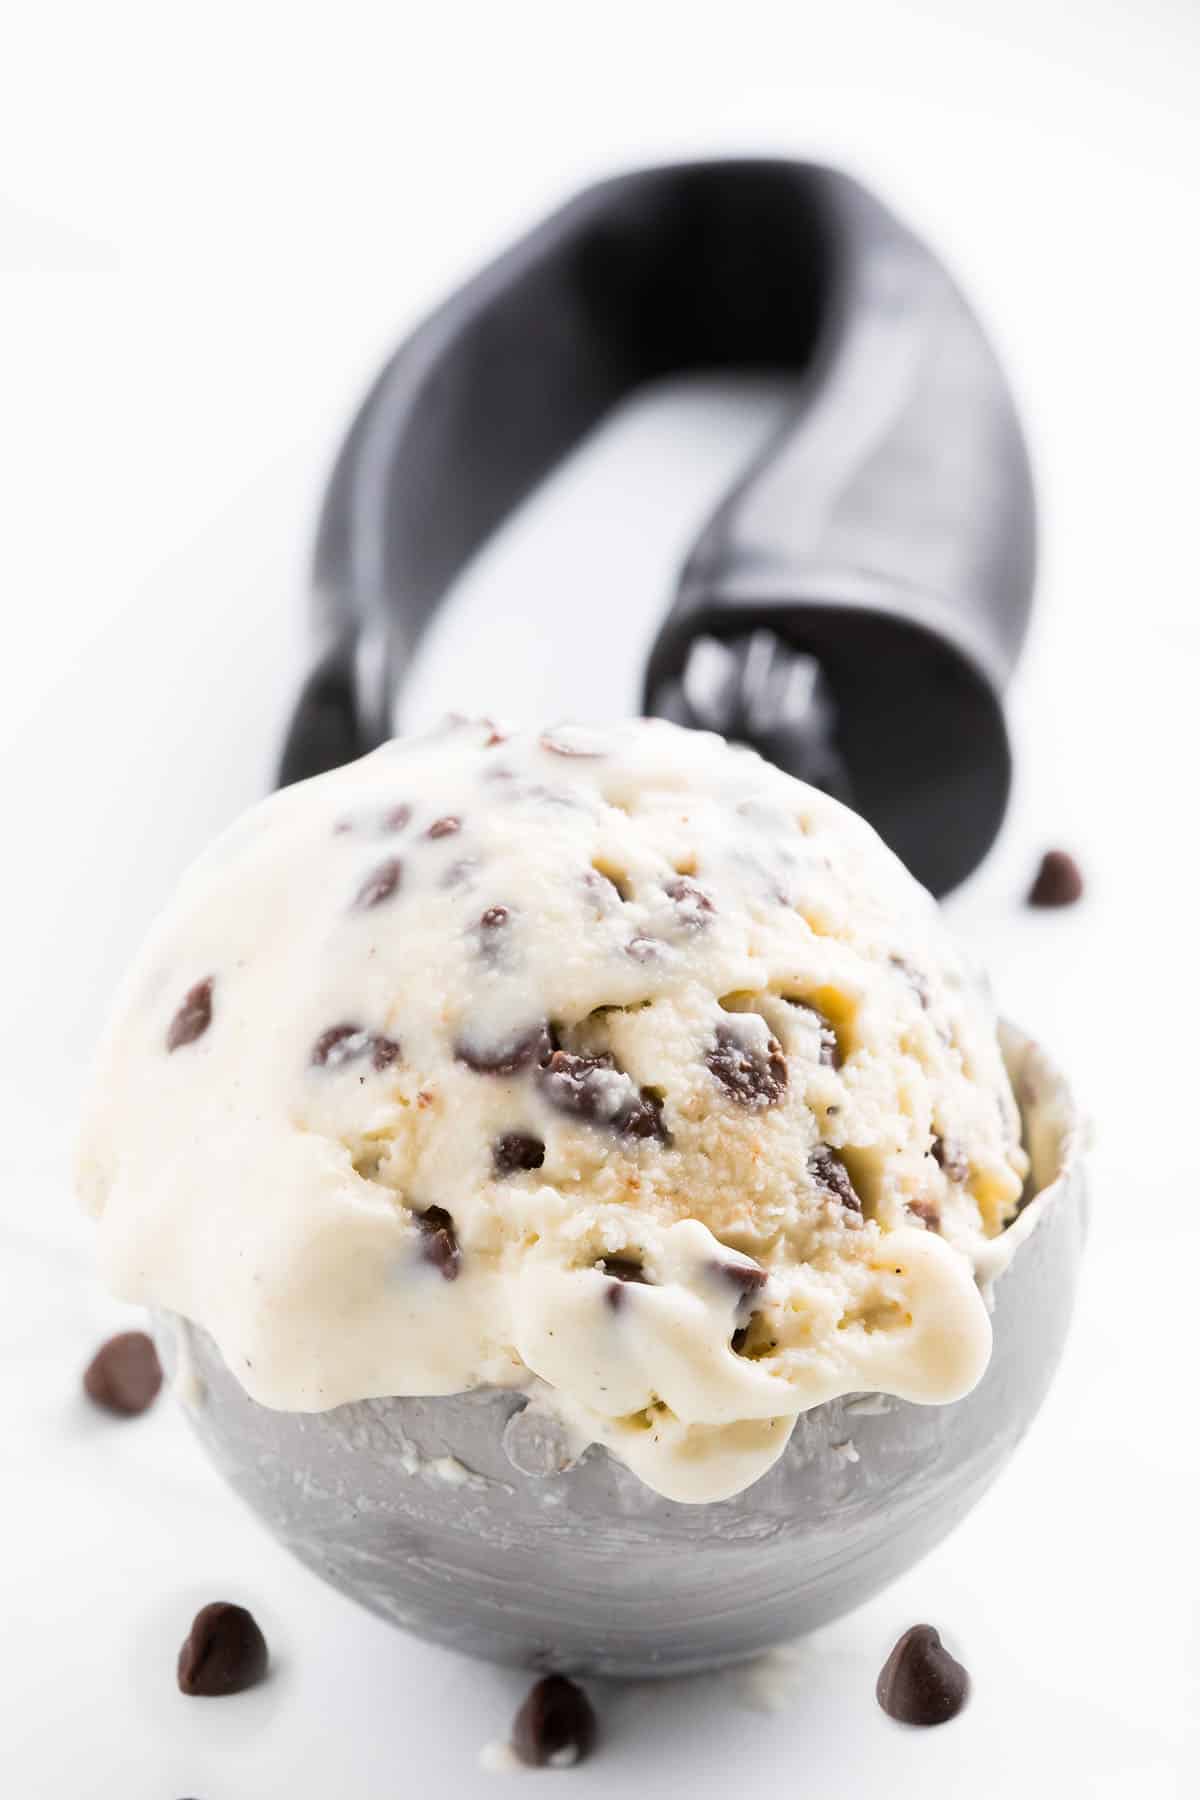
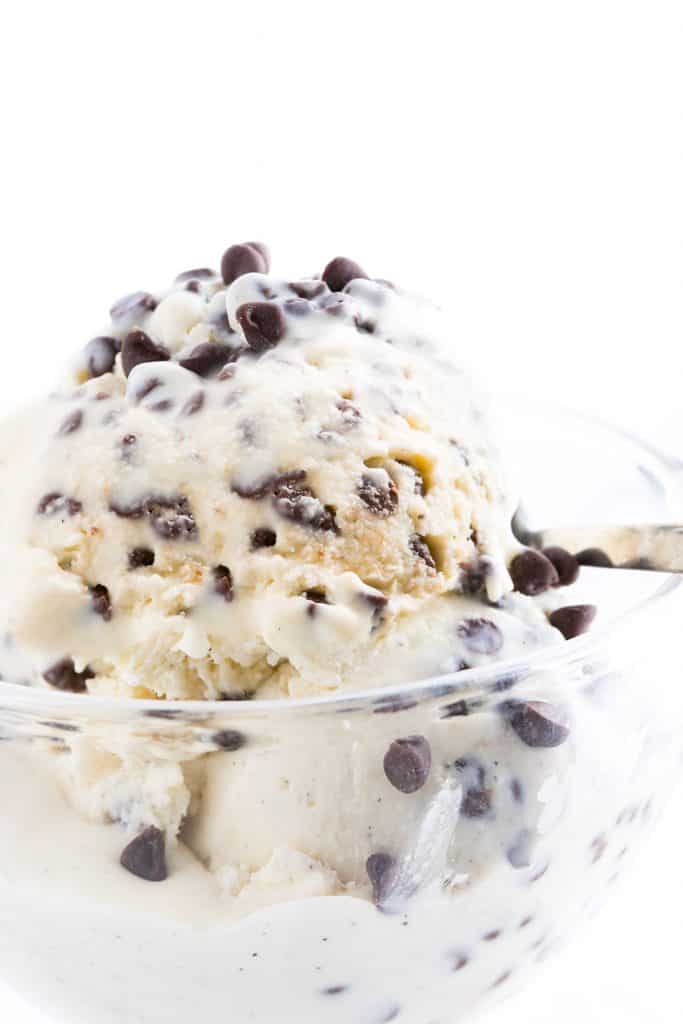
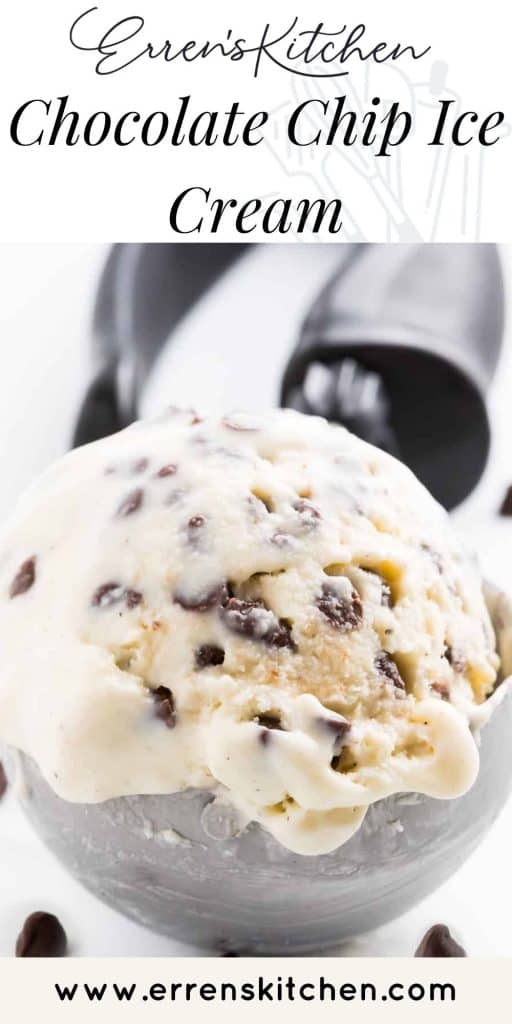
Making your own Chocolate Chip Ice Cream has never been so easy. This homemade ice cream is so simple and quick to prepare!
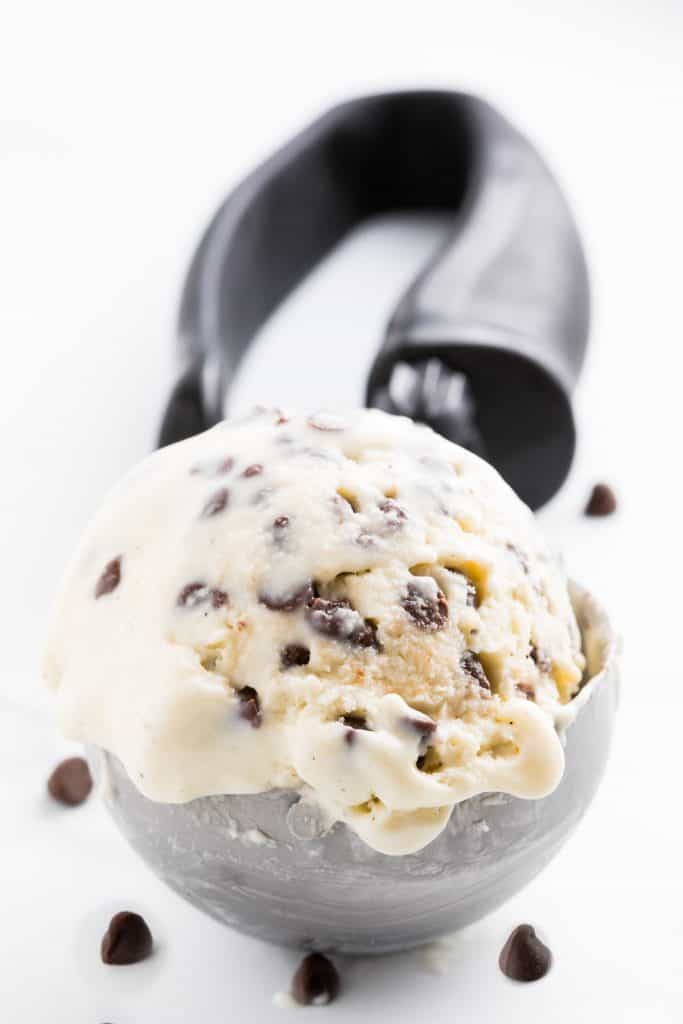
Indulge in a delightful homemade treat with this scrumptious Chocolate Chip Ice Cream recipe! Whether you have an ice cream maker or prefer the no-churn method, this recipe is designed to satisfy your sweet tooth. Creamy, rich, and studded with delightful chocolate chips, this homemade ice cream is a crowd-pleaser.
With simple ingredients and easy-to-follow steps, you’ll enjoy scoop after scoop of this delectable frozen dessert in no time. So, grab your favorite mixer or ice cream maker, gather the ingredients, and let’s embark on a journey to create a truly irresistible homemade chocolate chip ice cream!
If you enjoy this homemade chocolate chip ice cream recipe, why not check out my Cherry Ice Cream, Chocolate Marshmallow Ice Cream, or Chocolate Ice Cream?
Why This Recipe Works
- Heavy Whipping Cream adds a rich, creamy flavor.
- Sweetened Condensed milk helps to prevent crystallization and keeps the ice cream smooth even after freezing.
- A pinch of salt enhances the taste and improves flavor complexity.
- Semisweet chocolate chips add flavor and texture without making the ice cream too sweet.
No Churn Ice CreamVs Ice Cream Maker
No Churn Ice Cream and Ice Cream Maker are two ways to make ice cream. An ice cream maker stirs the mixture while it freezes, making it light and easy to scoop. No Churn Ice Cream is made without a machine by whipping the ingredients until creamy and freezing them. Both methods create tasty ice cream, but the ice cream maker needs a special machine, while the no-churn method doesn’t.
Ingredient Notes
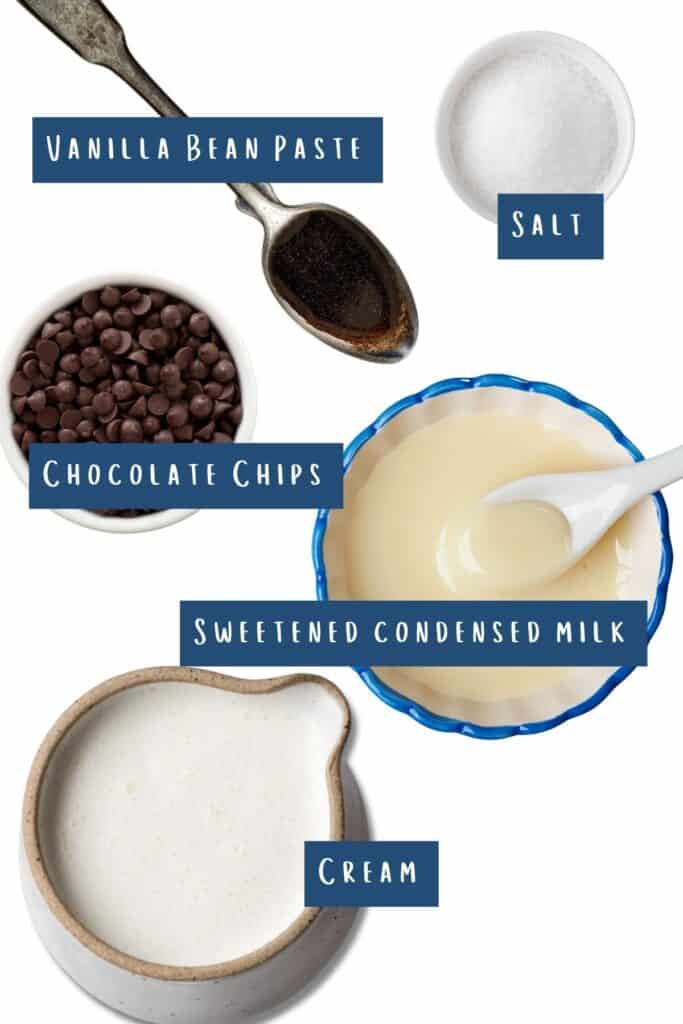
- Cream: Heavy whipping cream, double cream (in the UK), and thickened cream (in Australia) are essential to the texture and taste of homemade ice cream. Be sure to use cold cream as it will help speed things along.
- Condensed Milk: Use sweetened condensed milk. Read on to discover why it’s so useful in creamy homemade ice cream. Alternatively, you can use coconut milk if you prefer a dairy-free option. Full-fat coconut milk works best for achieving a creamy texture. Simply substitute the condensed milk with equal coconut milk in the recipe.
- Vanilla: We like to use vanilla bean paste as it adds those tiny speckles of vanilla that you see in high-end ice creams, but you can use vanilla extract if you don’t have it on hand.
- Salt: You can use any kind of salt for this. A tiny pinch is enough to improve the flavors and balance the sweetness. Even though salt tastes savory, it can actually make things taste sweeter and bring out other flavors in the recipe.
- Chocolate Chips: We prefer semi-sweet chocolate chips, but you can use whatever variety you like best.
Why Condensed Milk?
Condensed milk has a rich and creamy texture due to its high sugar content and reduced water content. This helps create a smooth and creamy base for the ice cream.
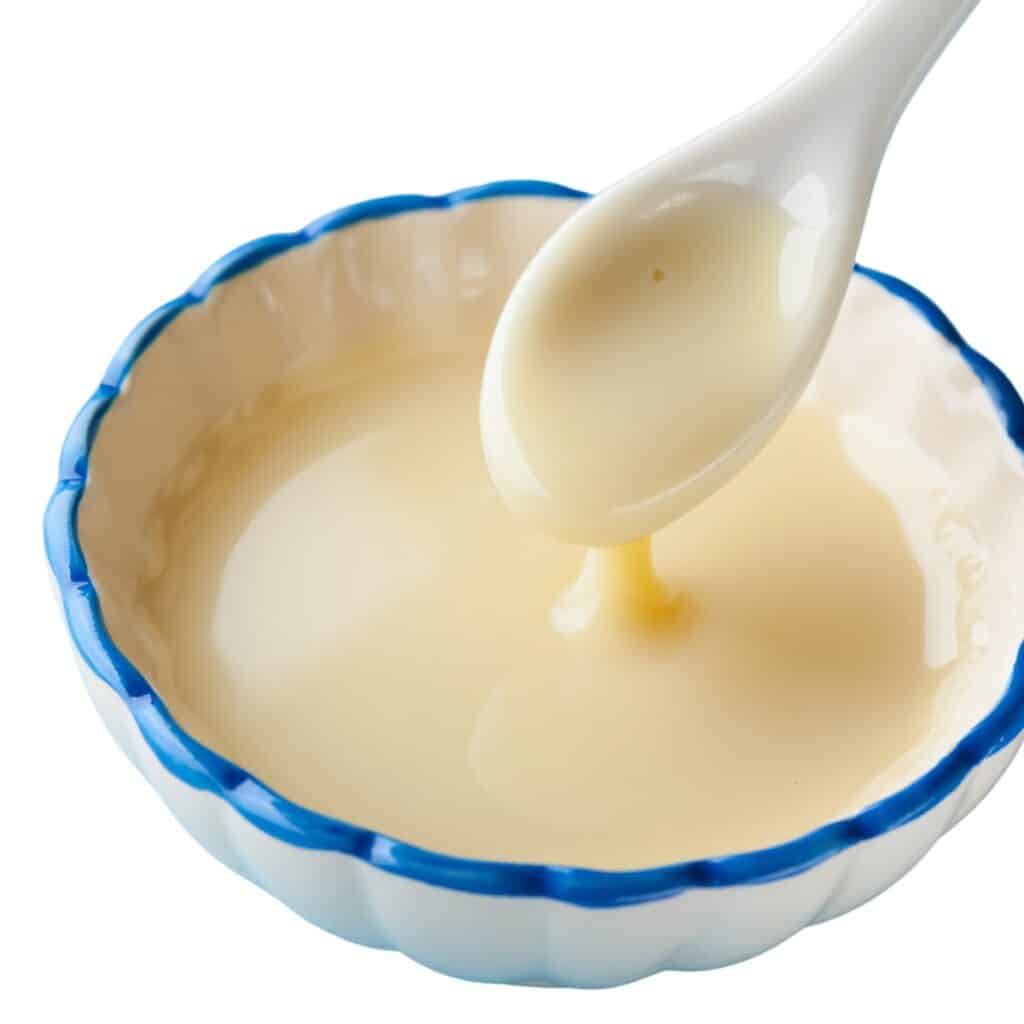
As condensed milk already contains sugar, it helps sweeten the ice cream without additional sugar. This simplifies the process and ensures that the ice cream has the right level of sweetness.
Lastly, condensed milk acts as a stabilizer in homemade ice cream. It helps prevent the formation of ice crystals and keeps the ice cream texture smooth and soft.
Overall, condensed milk is a convenient and effective ingredient for making ice cream with or without an ice cream maker. It provides richness, sweetness, and stability to the final product.
Equipment Needed
This recipe doesn’t need any fancy equipment. Not even an ice cream maker. You can use one if you’d like, but if not, you’ll only need a bowl and a whisk (as well as a little elbow grease). Although a mixer, blender, or food processor; will help easily add enough air to the mixture when whipping to produce a scoopable ice cream instead of a solid mass.
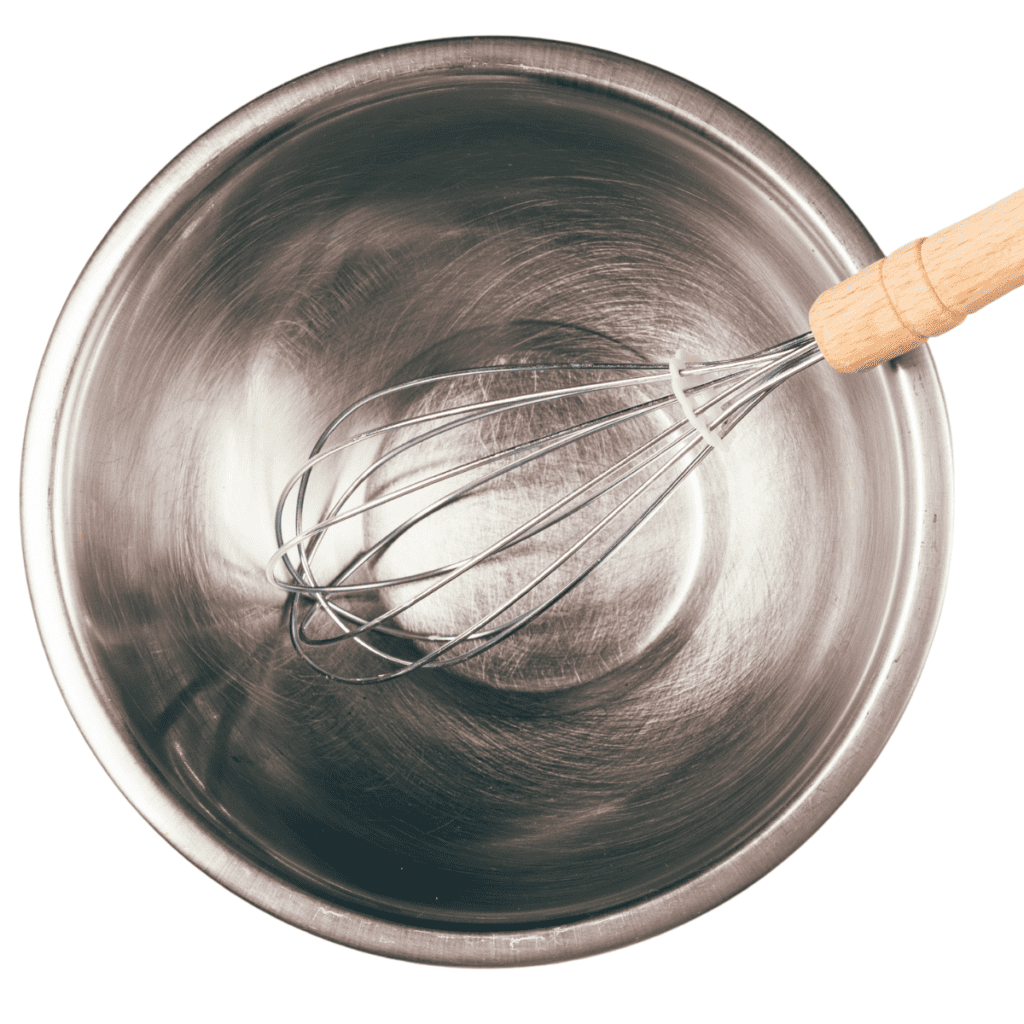
You’ll also need a freezer-safe container because standard plastic containers can crack or break when stored in the freezer for any length of time. A freezer bag or metal loaf pan covered with plastic wrap will work well when in doubt.
How To Make Chocolate Chip Ice Cream
- Add condensed milk, cream, salt, and vanilla to a bowl.
- Whip until thick, then transfer to a freezer-safe container and freeze.
- Serve and enjoy!
Step By Step Instructions
No Churn Method
In a large bowl, pour the condensed milk (14 oz can) and a pinch of salt into a food processor or mixing bowl.
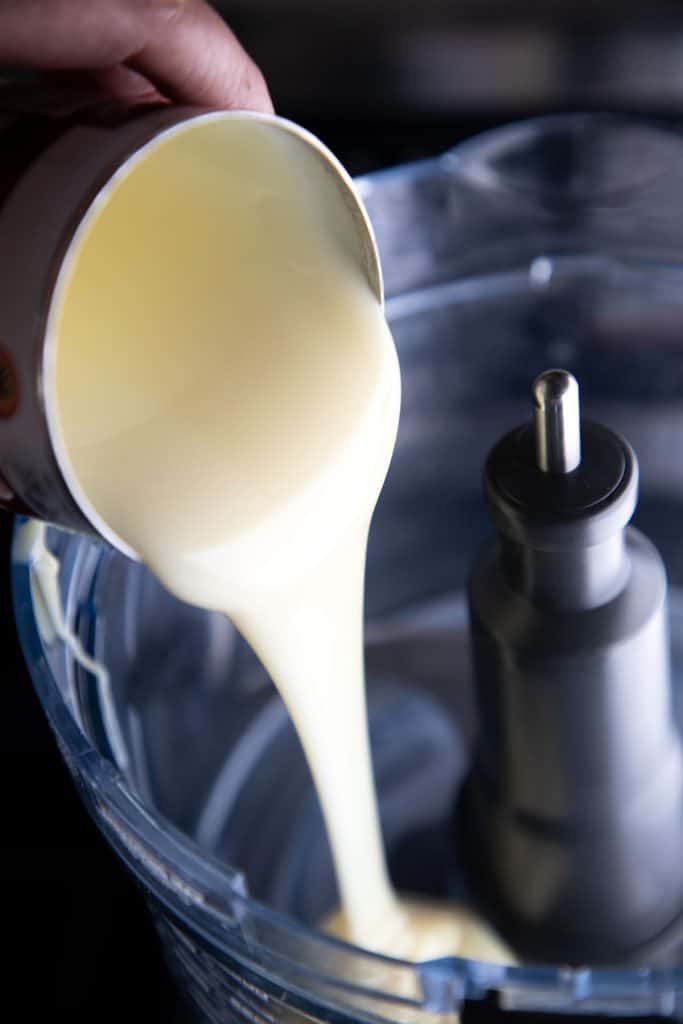
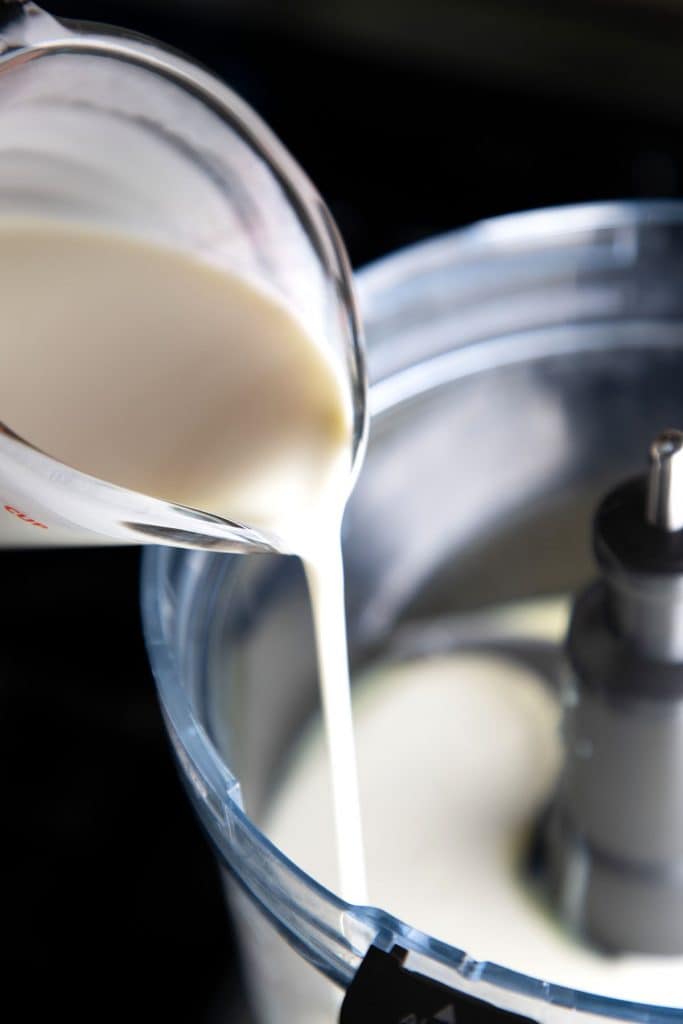
Add 1 ½ cups of cold cream.
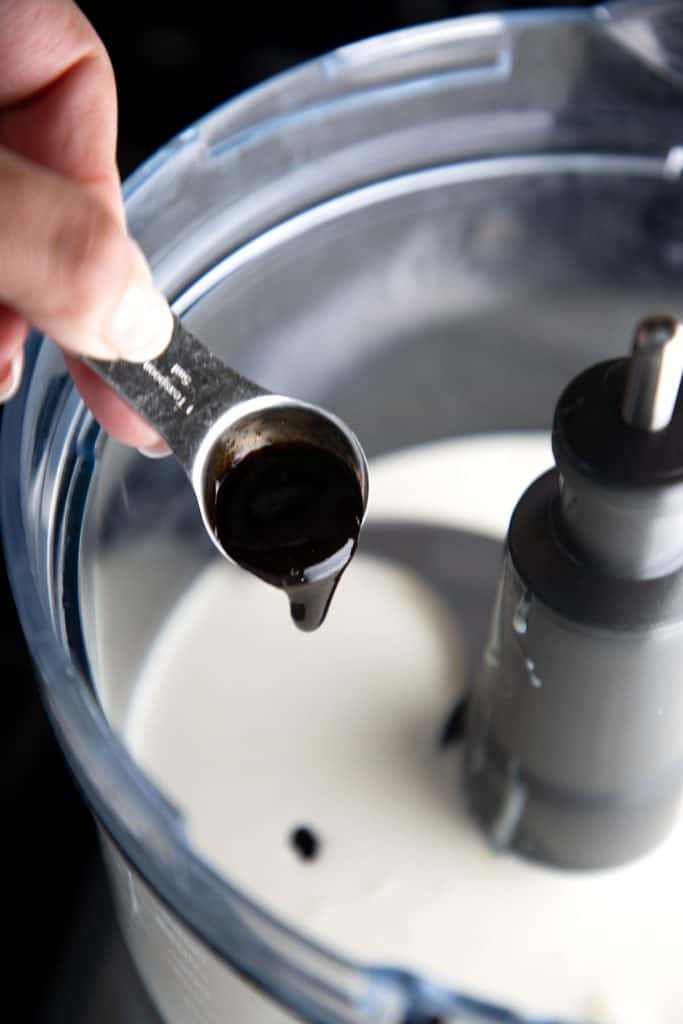
Measure and add 2 teaspoons of Vanilla bean paste or vanilla extract to the bowl.
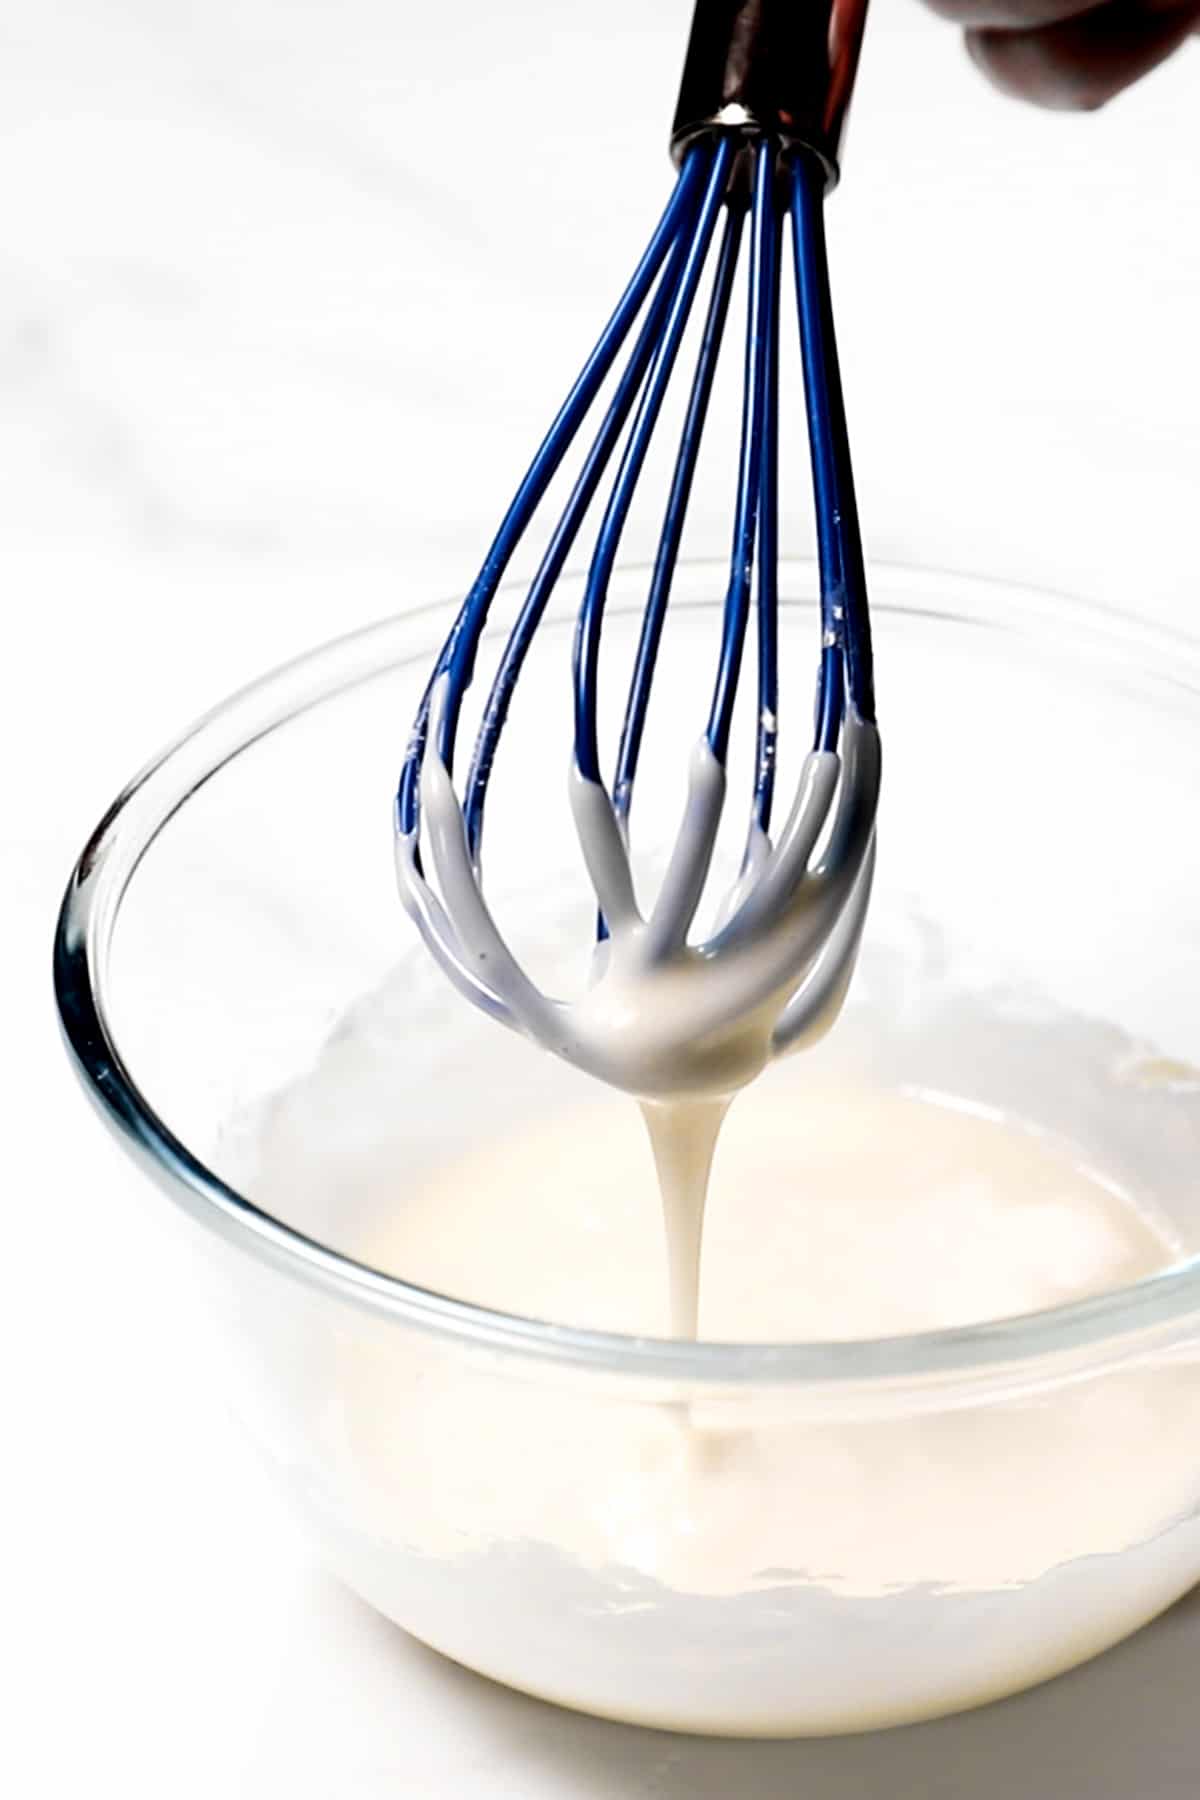
Whip the ingredients together with a whisk, handheld mixer, blender, or food processor until the mixture becomes thick and creamy.
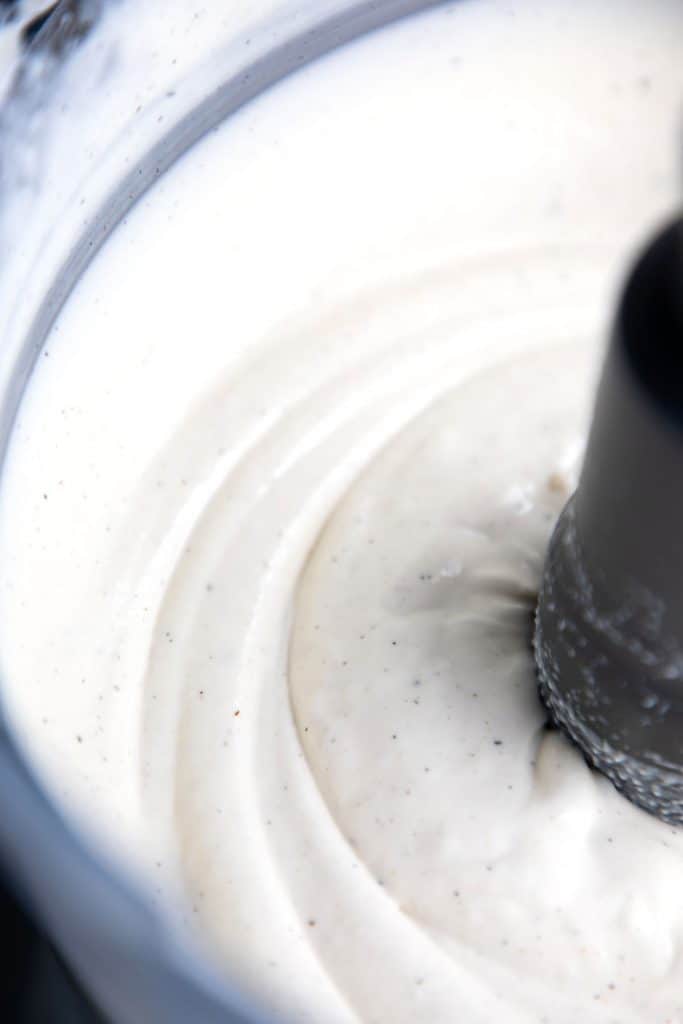
Take 1 cup of semisweet chocolate chips and gently fold them into the mixture, ensuring they are evenly distributed.
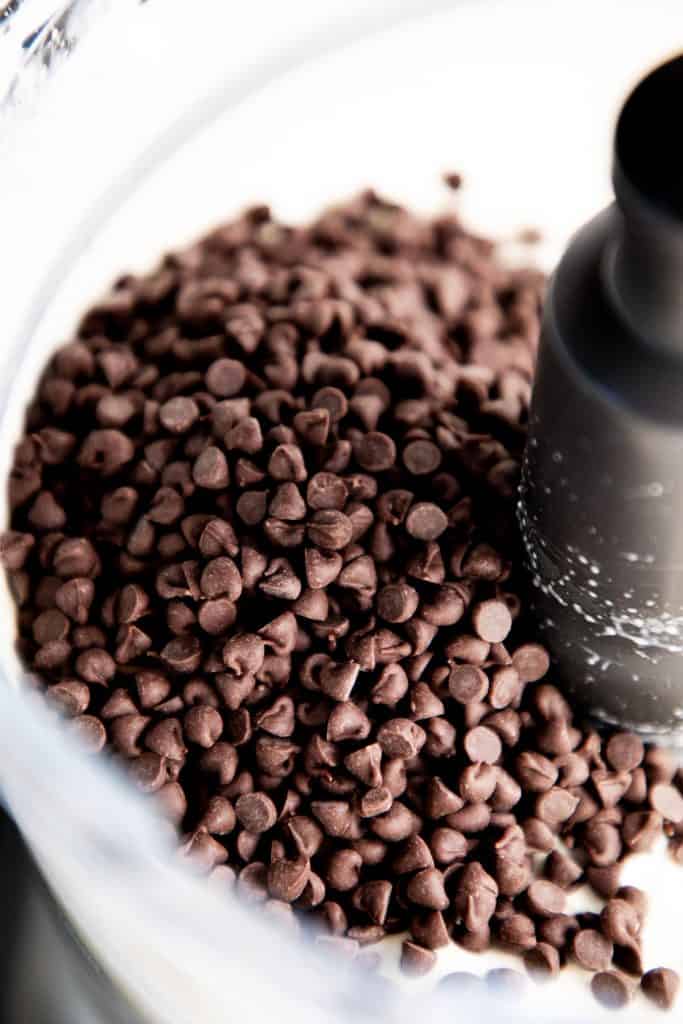
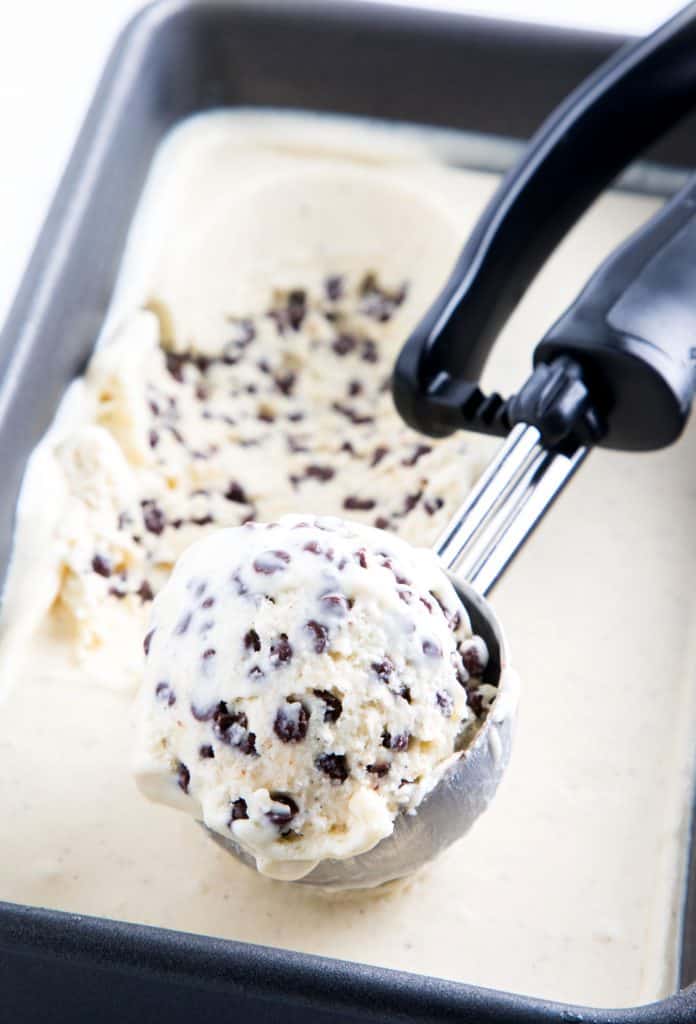
Pour the mixture into a freezer-safe container and freeze for hours until firm. This will take 2 to 4 hours, depending on your freezer.
To Use An Ice Cream Maker
Mix all ingredients except the chocolate chips in a mixing bowl and chill the mixture in the fridge for 15 to 30 minutes.
Add the mixture to the frozen tub of your ice cream maker and churn until thickened.
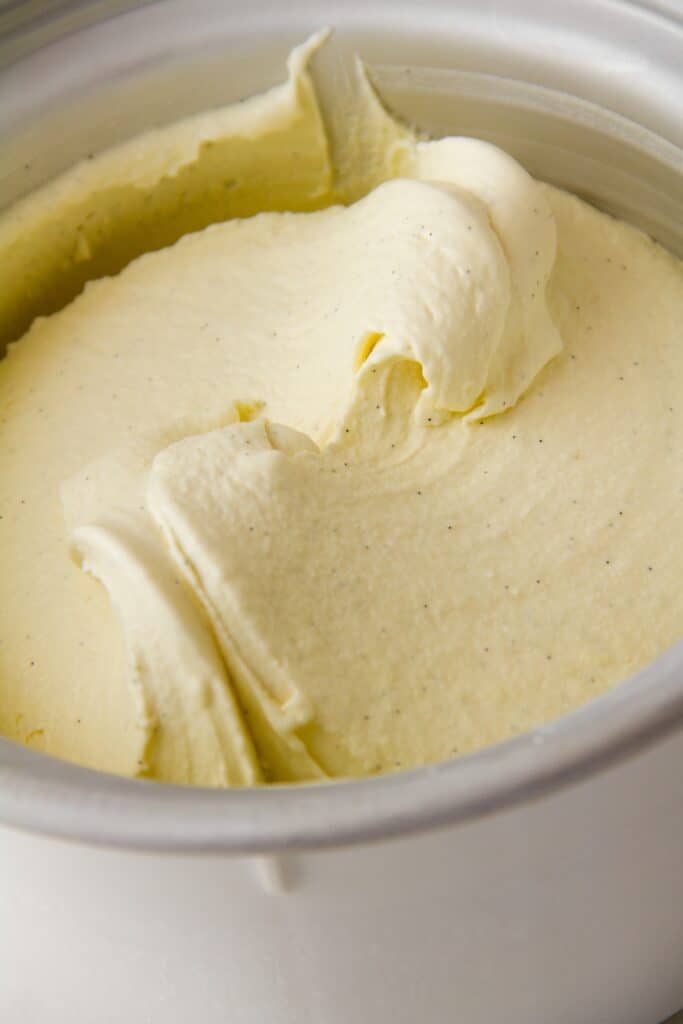
Fold in the chocolate chips, transfer the mixture to a freezer-safe container, and freeze until ready to serve.
Serve and enjoy!
Storing Instructions ?
- Store in a freezer-safe container until set.
- Freezing the ice cream in a metal container will help it to freeze faster than in glass. However, I like to freeze mine in a plastic container with a lid which works perfectly.
- The ice cream can be kept in a suitable freezer-safe container for up to 6 months.
Tips & Variations
- Customize the flavor: Feel free to try different types of chocolate chips, like milk chocolate, if you prefer it over semisweet. You can also experiment by adding nuts, sprinkles, or other tasty ingredients. This recipe is flexible and easy to adapt to your preferences.
- Allow the ice cream to soften: After freezing, let the chocolate chip ice cream sit at room temperature for about 20 minutes before scooping it into dishes. This will give it the perfect consistency to enjoy and help any ice crystals melt away.
- Make scooping easier: Run your ice cream scoop under hot water before scooping the ice cream. This will help the scoop smoothly glide through the ice cream, making it easier to serve and get those perfect scoops.
- Start with cold ingredients: It’s important to use cold ingredients when making ice cream. If you’re using an ice cream maker, the mixture should be as cold as possible before churning. This helps the ice cream freeze properly and results in a better texture. Try to mimic this by chilling your ingredients beforehand.
- Stick to condensed milk: Don’t be tempted to substitute the condensed milk in this recipe. Using other ingredients that don’t freeze well can make the ice cream icy and affect its texture. Condensed milk ensures a wonderful creamy consistency, so it’s best to stick with it for the best results.
FAQs
Can You Use Milk Instead Of Cream For Ice Cream?
It is best to use cream in ice cream; milk doesn’t freeze as well and will result in ice crystals.
What chocolate is good for ice cream?
A semi-sweet dark chocolate is the best choice for ice cream as it adds flavor without making it overpoweringly sweet. However, milk chocolate chips work well too.
Is Condensed Milk Necessary In Homemade Ice Cream?
Condensed milk is necessary for homemade ice cream, ensuring a creamy, smooth consistency. It omits the need for churning.
Did you make this?

Recipe
Chocolate Chip Ice Cream
Ingredients
- 14 oz can condensed milk
- 1½ cups whipping cream ( you can also use heavy or double cream)
- 1 pinch salt
- 2 teaspoons Vanilla bean paste ( or vanilla extract)
- 1 cup semisweet chocolate chips
Instructions
No Churn Method
- Add the condensed milk, cream, salt, and vanilla to a bowl. Whip using a food processor, mixer, or blender until thick.
- Fold in the chocolate chips.
- Transfer to a freezer-safe container and freeze until set (about 5 hours).
Using An Ice Cream Maker
- Add the condensed milk, cream, salt, and vanilla to a bowl to a bowl and whisk to combine.
- Chill the mixture in the refrigerator for 15 to 30 minutes.
- Add the mixture to the frozen tub of your ice cream maker and churn the ice cream until it thickens.
- Fold in the chocolate chips.
- Transfer to a freezer-safe container and freeze until ready to use.
Tips
- The chocolate chip ice cream should be left to sit at room temperature for around 20 minutes before scooping into dishes; this will result in your ice cream being at the perfect consistency to eat and allows any ice crystals that may have formed to melt.
- Before you scoop, run your ice cream scoop under hot water to help it glide through the ice cream, making it easier to serve.
- It’s essential to start with cold ingredients – ice cream made in an ice cream maker works on the premise of the mixture being as cold as possible before you churn. It’s best to try and copy this.
- Do not be tempted to substitute the condensed milk. To ensure your ice cream doesn’t become icy, you should avoid using ingredients that don’t freeze well. Condensed milk results in a wonderful creamy consistency.











Leave a Reply