This site runs ads and generates income from affiliate links. Read my disclosure policy.
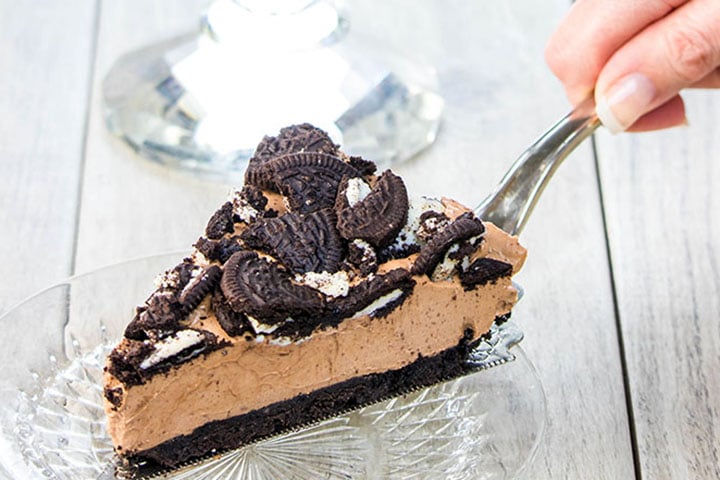
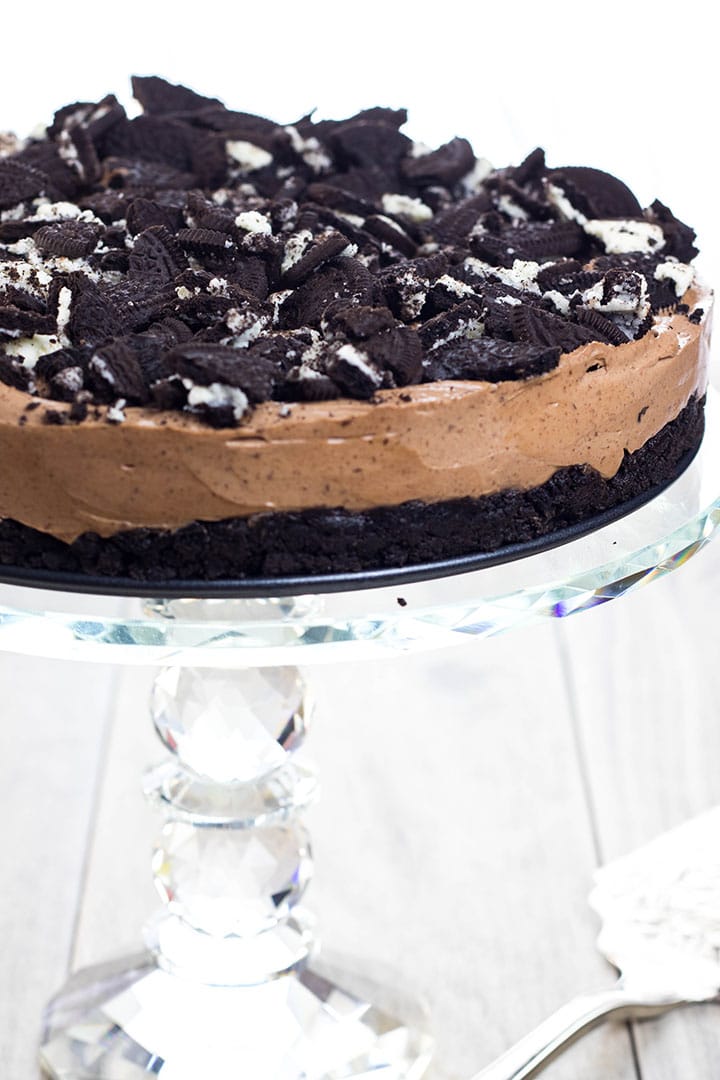
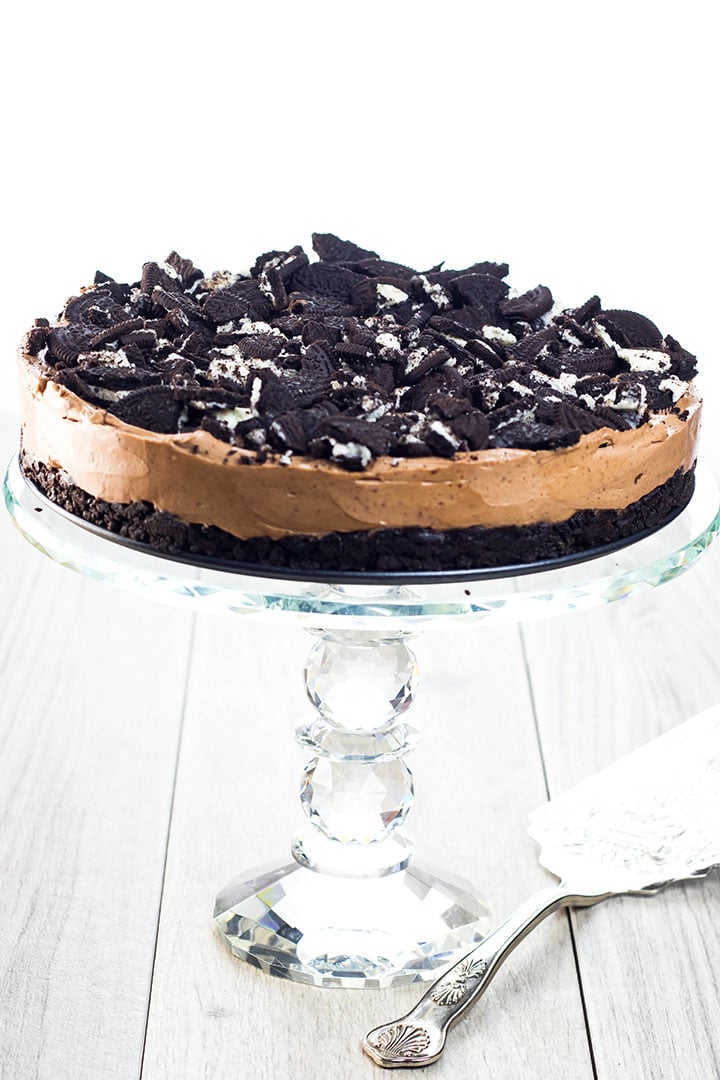
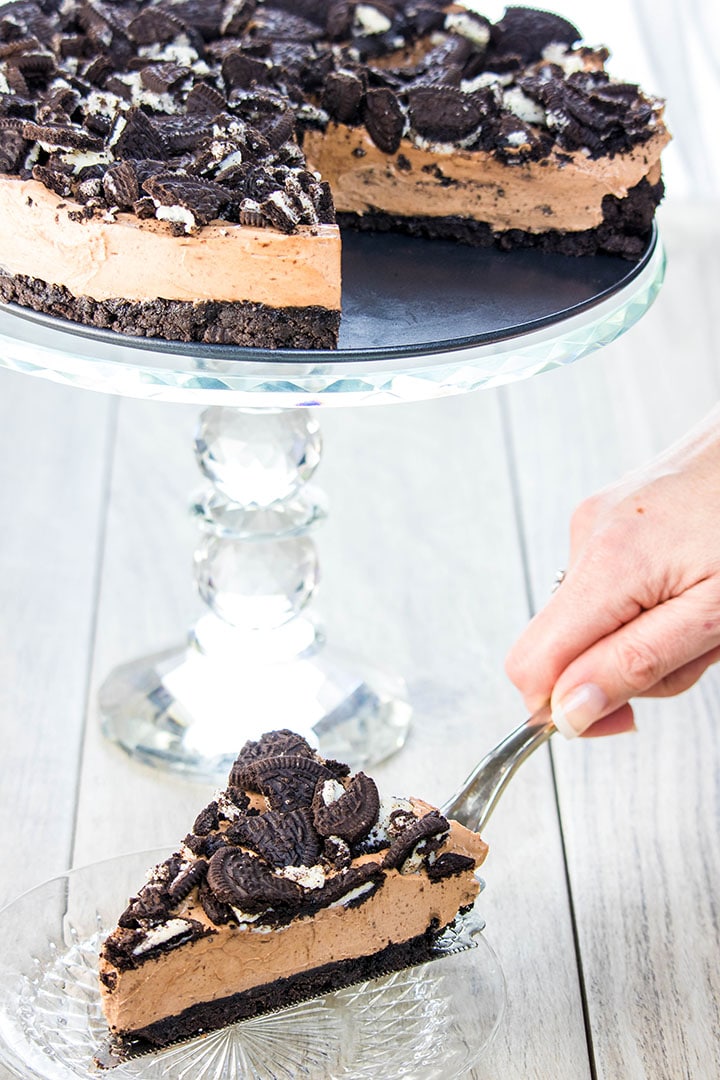
This recipe for no-bake chocolate Oreo cheesecake makes a decadent, tempting chocolate cheesecake that’s loaded with Oreo goodness!
The Easiest, Most Indulgent No-Bake Cheesecake You Will Ever Make!
Don’t you just love making something simple that looks like you’ve made a big effort? Then this recipe is for you! No one will believe you didn’t slave over this cheesecake all day!
The best thing about this cheesecake (apart from being easy to make). It’s a mix of flavor and texture that will tickle your taste buds.
Why This Recipe Works:
- The Oreos make a wonderful, thick, buttery crust.
- There’s no need for gelatin in the filling because the chocolate helps to stabilize it.
- Using dark chocolate in the filling keeps the cheesecake from tasting too sweet.
What Is No-Bake Cheesecake
No-Bake cheesecake is a cheesecake that keeps its structure without the need to bake. In this case, the melted chocolate helps it set as it chills.
How to make No-Bake Oreo Cheesecake
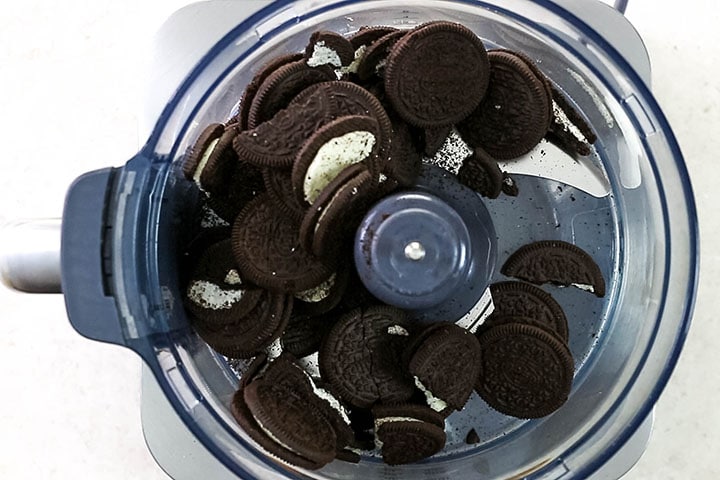
Put the Oreos into a food processor
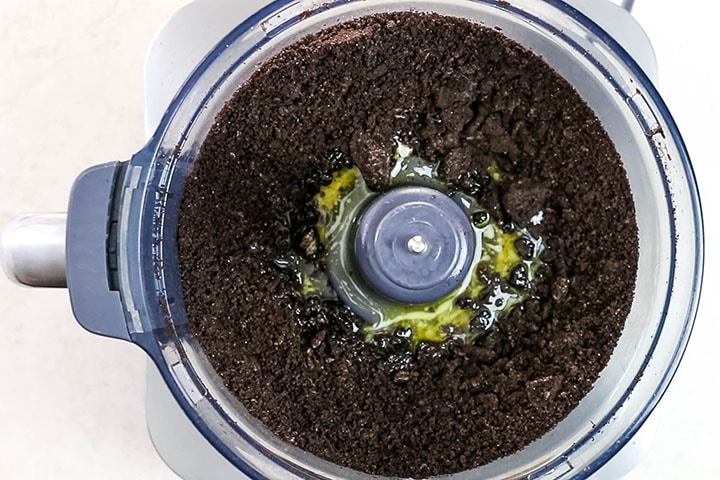
Mix the Oreos into a crumb and add the melted butter.
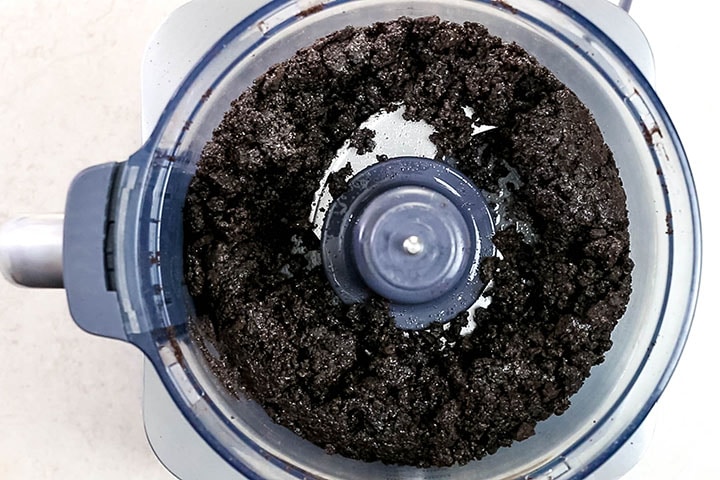
Mix until fully combined.
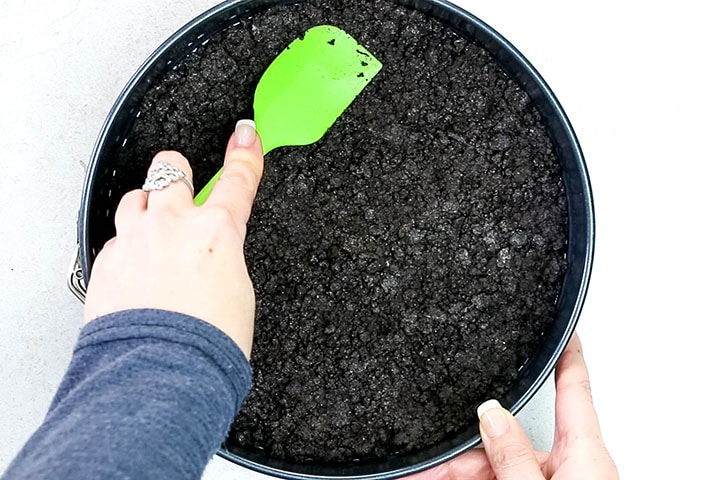
Put the nicely damp, clumpy crumb base into a 9inch spring-form pan and spread evenly.
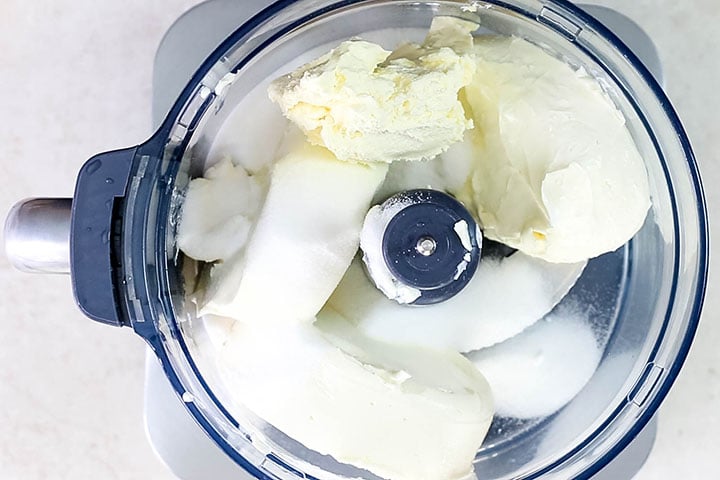
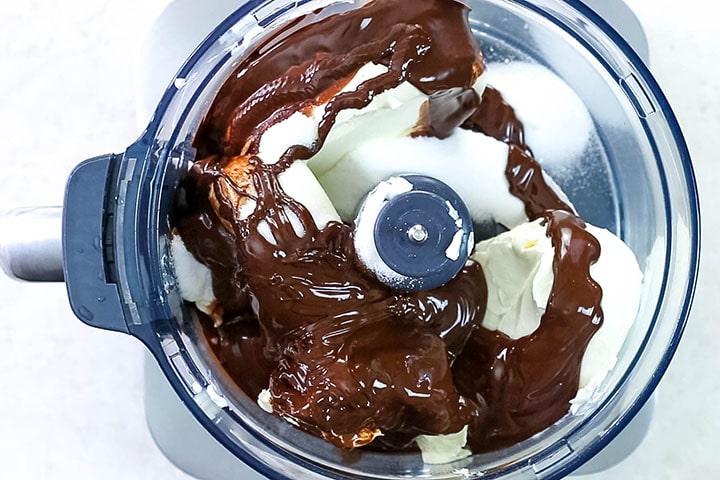
Put the cream cheese, whipped cream, and super-fine sugar into the food processor.
Melt the chocolate and allow it to cool slightly (for more information on how to properly melt chocolate, see my guide on How to Melt Chocolate), add to the other ingredients with the cocoa powder mixture.
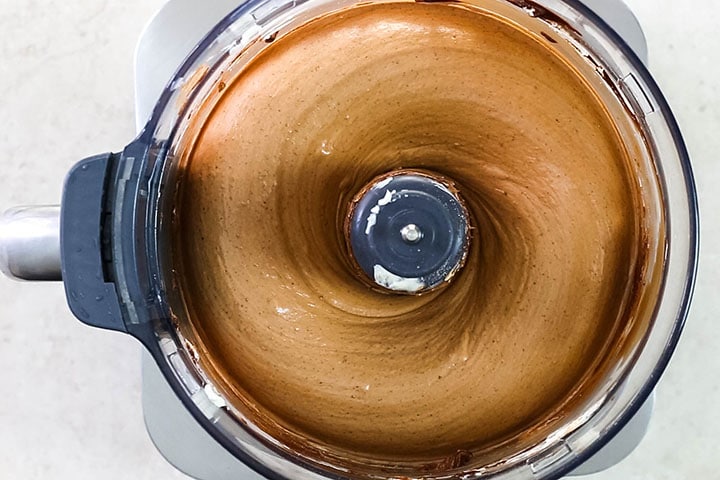
Mix until combined.
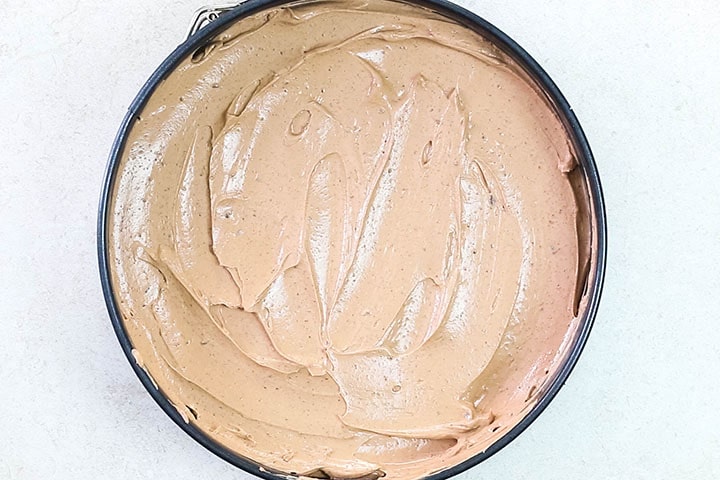
Spread the mixture onto the chilled biscuit base.
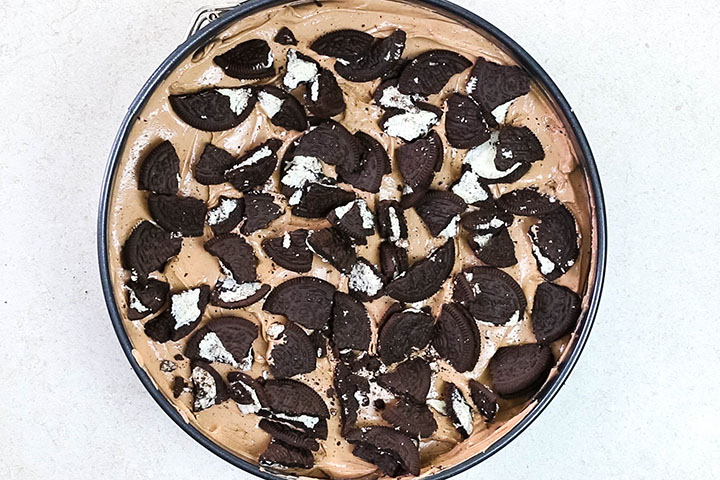
Add some crushed Oreos onto the cheesecake.
How to Remove a No-Bake Cheesecake From a Springform Pan
The easiest way to remove a no-bake cheesecake from a springform pan is to heat the outside of the pan before removing it. I do this with a hairdryer. Just run it over the sides until the condensation has dried and no frost appears.
For more information on this, check out the end of this video on YouTube.
Serve and enjoy!
Tips for the Perfect No-Bake Cheesecake:
- Use Full Fat Cream Cheese. Low fat or nonfat cream cheese may become runny when beat and may not set.
- For a crispier base, bake the base for 5- 7 minutes on 400F. Once baked, you should chill the crust in the fridge for at least 15 minutes before filling.
- Use bittersweet or dark chocolate to avoid an overly sweet filling. See the FAQ section for my recommendation.
- Don’t over mix. This can result in a super-soft cheesecake. Make sure you use room-temperature cream cheese and mix at a lower speed to avoid breaking the emulsion created by the cream cheese.
- To keep the Oreos crunchy, add them to the top just before serving. They soften in the fridge as the cheesecake sets, but it’s still just as delicious so it’s your call.
- To easily remove a no-bake cheesecake from a springform pan, just heat the outside of the pan before removing. I do this with a hairdryer. Just run it over the sides until the condensation has dried and no frost appears.
FAQs
How do you Remove a No-Bake Cheesecake From a Springform Pan?
The easiest way to remove a no-bake cheesecake from a springform is to heat the outside of the pan before removing it. I do this with a hairdryer. Just run it over the sides until the condensation has dried and no frost appears.
Can you set a no-bake cheesecake in the freezer?
You can set a no-bake cheesecake in the freezer by covering with plastic wrap and placing it in the freezer for 20-30 minutes to set.
Can You Freeze A No-Bake Cheesecake?
To freeze a no-bake cheesecake, cover with plastic wrap and place in the freezer for 3 to 4 hours. To thaw before serving, place in the fridge overnight.
How long will a no-bake cheesecake last in the refrigerator?
A no-bake cheesecake will last chilled in the refrigerator for up to three days.
Please note – The Oreos on this cheesecake to soften. If you like them crunchy, add them just before serving.
Which Chocolate is Best for No Bake Chocolate Cheesecake?
Couverture Dark Chocolate Callets (54.5 Cacao) is best. You can get them on Amazon by clicking here . (#paidlink). It’s my favorite chocolate to use for desserts.
Variations:
- Try adding a pinch of sea salt flakes to the filling. This really brings out the chocolate flavor and cuts down on the sweetness.
- Choose a different flavor of Oreo for the crust like Mint or Chocolate Creme.
Recipe
No Bake Chocolate Oreo Cheesecake
Ingredients
For the base:
- 1¾ cups Oreos (crushed, about 20)
- 6 tablespoons butter (melted)
For the filling:
- 6 ounces dark or bittersweet chocolate (chopped small)
- 24 oz cream cheese ((three 8oz packages))
- ¾ cup superfine sugar
- 1 tablespoon unsweetened cocoa powder (dissolved in 2 tablespoons hot water)
- ½ cup freshly whipped cream
For the topping:
- 15 Oreo cookies (broken)
Instructions
- Blend the cookies in a food processor until cookie crumbs are formed. Add the melted butter and mix until combined.
- Add the cookie mixture to a 9-inch spring-form pan. Press the crumbs into the bottom of the pan to make an even base, and put into the freezer while you make the filling.
- Melt the chocolate either in a microwave or double boiler, and set aside to cool slightly.
- Beat together the cream cheese, whipped cream, superfine sugar, and cocoa powder mixture. Then add the melted chocolate, and mix until the mixture is smooth.
- Take the springform pan out of the freezer and pour in the cheesecake filling.
- Top the cake with the rest of the broken Oreos. Cover the pan with plastic wrap and chill for 4 hours (or refrigerate overnight) to set.
Tips
- Use Full Fat Cream Cheese. Low fat or nonfat cream cheese may become runny when beat and may not set.
- For a crispier base, bake the base for 5- 7 minutes on 400F. Once baked, you should chill the crust in the fridge for at least 15 minutes before filling.
- Don’t over mix. This can result in a super-soft cheesecake. Make sure you use room-temperature cream cheese and mix on a lower speed to avoid breaking the emulsion created by the cream cheese.
- To easily remove the chilled cake from the spring-form pan after it’s been in the freezer, use a hairdryer on its hot setting and run it all along the pan until the frost is gone.
- To keep the Oreos crunchy, add them to the top just before serving. They soften in the fridge as the cheesecake sets, but it’s still just as delicious so it’s your call.
- To easily remove a no-bake cheesecake from a springform pan, just heat the outside of the pan before removing. I do this with a hairdryer. Just run it over the sides until the condensation has dried and no frost appears.
Update Notes: This recipe was originally posted in 2015, but was updated in March of 2019 with slight changes to the recipe as well as new photos, nutritional information, tips, and a video.






Leave a Reply